


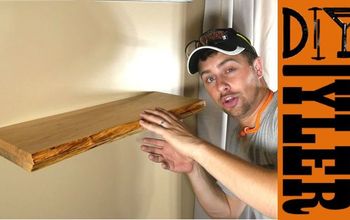
One Sheet of Plywood Floating Shelf
Please take a minute to click here to sign up for the Mother Daughter Projects weekly newsletter. You'll get notification about our new projects and what is up and coming.
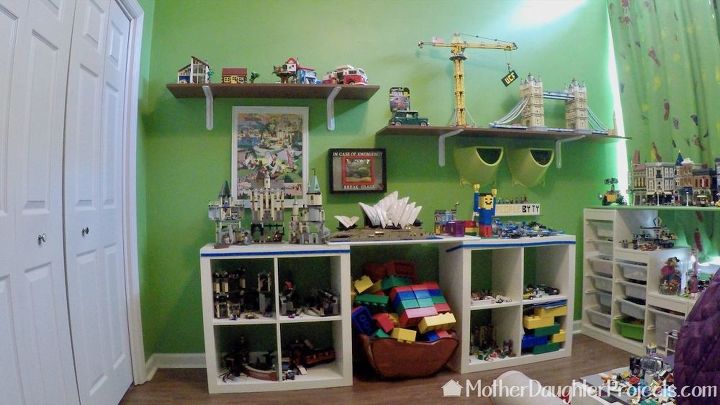
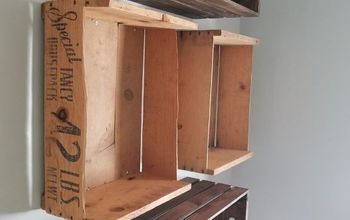
When Steph moved into her home four years ago she needed some display shelves for her growing collection of Lego sets. We put up a couple of pre-made shelves using white brackets. They solved the storage problem but were not attractive by any stretch of the imagination. Fast forward a few years; Steph was ready for something a little more stylish to replace them!
The step-like design stretches 9 feet long against the wall and is 3 feet high and provides lots of storage for small and large Lego sets.
Watch the video to see the build and final staging!
Want to see our latest projects? Sign-up for our weekly newsletter here!
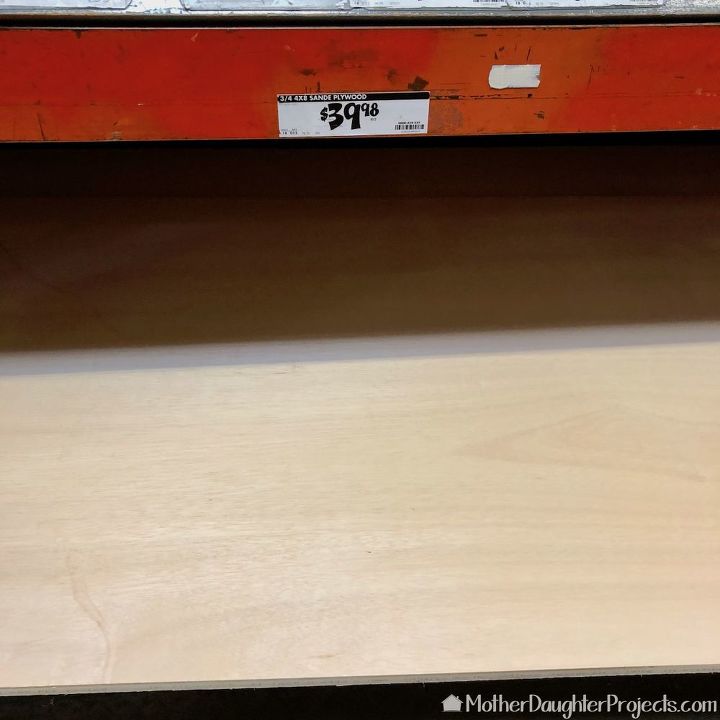
Gather your supplies. We started with one sheet of 3/4" thick plywood which we had cut in half so that it would fit in the car.
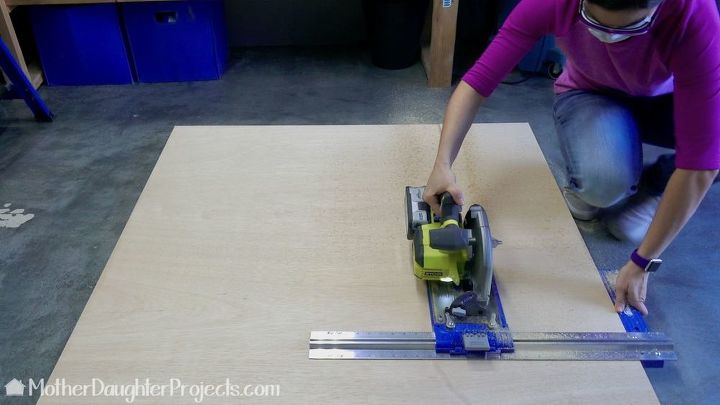
One halve was cut into (4) 3' lengths and the other (4) 4' by 1' lengths in our shop. That's a Kreg Rip Cut which helps to make nice straight perfect cuts with a circular saw.
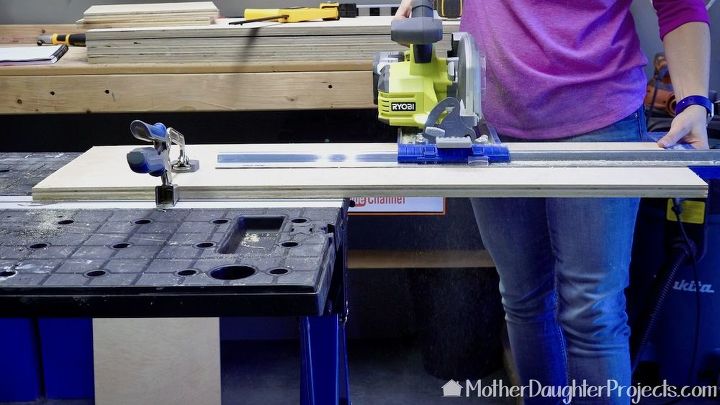
Nine 12" by 12" boards were cut. Six of these are the sides of the cubes and three are the backs.
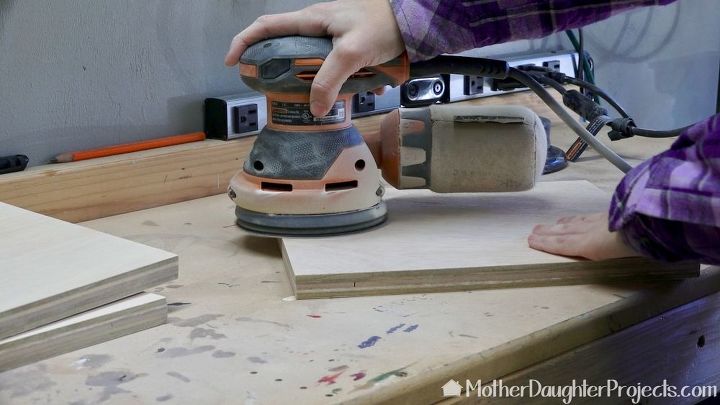
Before assembly, everything was sanded well with 120 and 220 grit sandpaper.
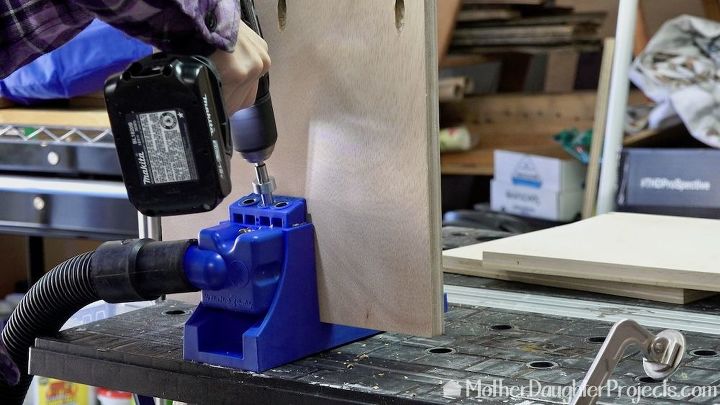
Using a Kreg Pocket Hole Jig, pocket holes were made in the (9) 12" by 12" boards. Six got six holes and the other three got one pocket hole on each of the four sides.
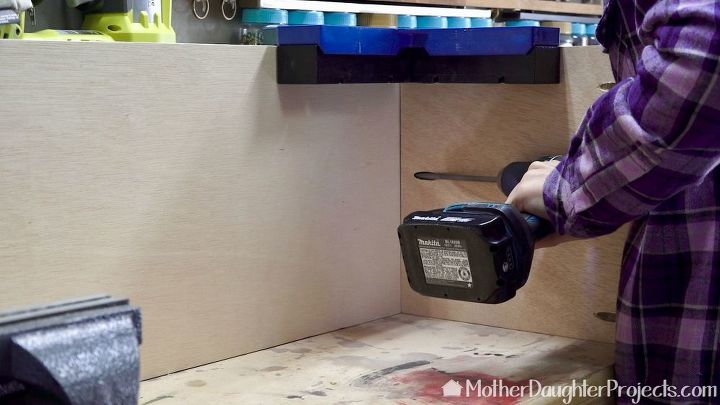
The cube sides were glued and screwed into place.
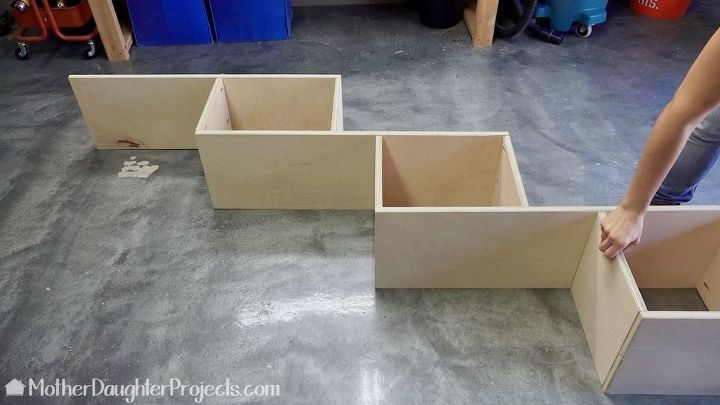
All the pieces were arranged on the floor so that the pieces could be screwed together.
The pieces were positioned so that the cube is now 12" square. It was clamped to hold it in place then glued and screwed into place.
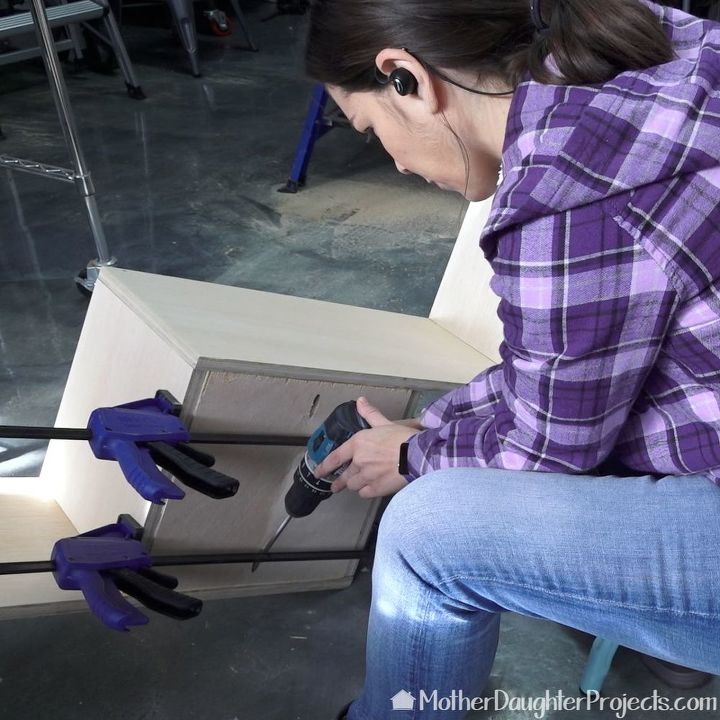
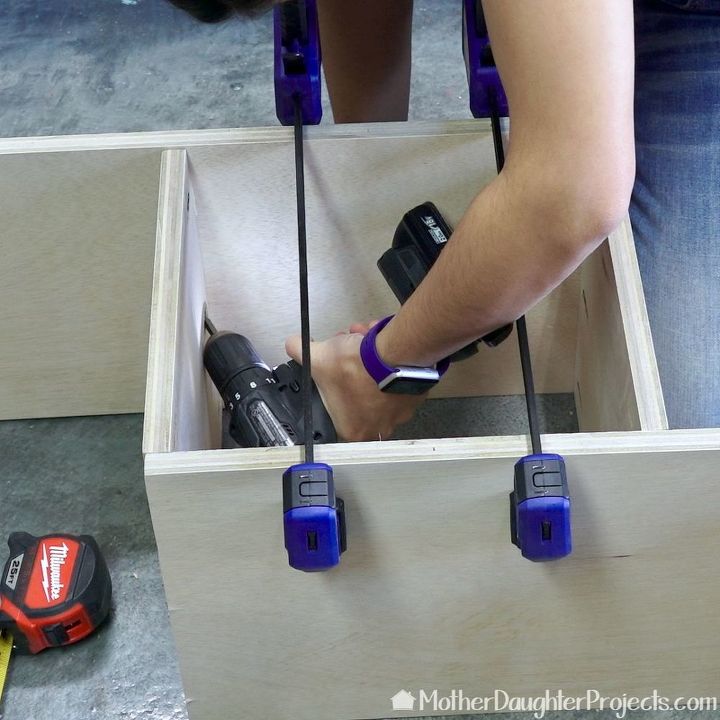
The backs were then screwed into place after clamping. We finished the shelf with a clear coat spray.
Before we hung the shelf in Steph's Lego room, we had to take out the previous shelving, fill the anchor holes, and repaint the damaged wall.

The shelf is hung with French cleats. One on each of the cube backs. A French cleat comes in two parts, one goes on the shelf and the other on the wall. Once the cleats were in place we hung it on the wall. We needed to do a little adjusting to get the placement just right. We used a Milwaukee Inspection camera to "see" behind the shelf to be sure the French cleats were seated correctly.

We first styled the shelf with decorative objects and books.
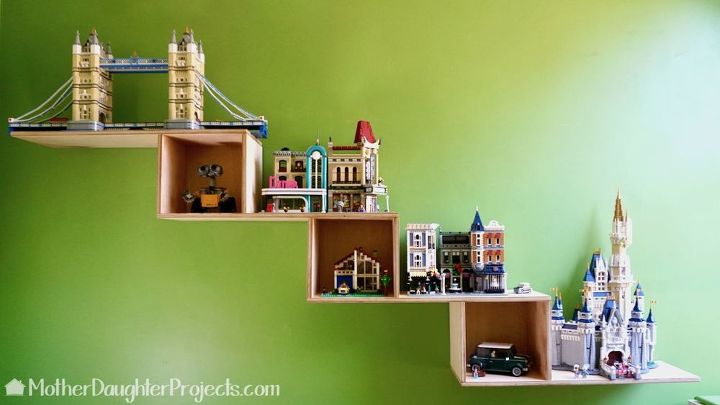
Then we changed it out for it's intended purpose--Lego display! The shelf provides lots of room for small and large models and the cube sections can easily hold Lego instruction booklets and manuals.
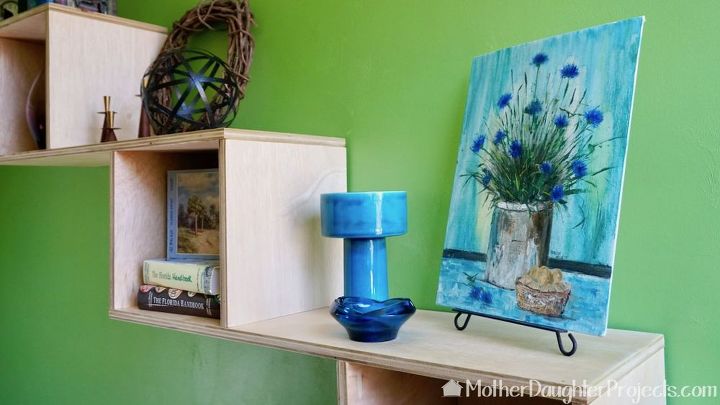
The shelf provides lot flat surface for display of all kinds of things.
Resources for this project:
See all materials


Comments
Join the conversation
-
Yes I'm going to make this floating shelf. Thanks for inspiration. Love it.
-
I'm curious if the french cleats used to attach to wall give you enough strength to hold some the bigger LEGO builds. I'm always a little surprised how heavy they are and pretty sure no one wants to redo a set damaged by a falling shelf.


Frequently asked questions
Have a question about this project?
Love. Love it. Where do you get your lego sets from? I especially like the bridge!
What kind of clamps are shown in photo?
Great job!
I like your ideas. I dont mean be rude or anything. But why do you assume everyone has power tools, not everybody does. I dont. I can use a hand saw, screwdrivers. And a hammer. Do have any projects that use those type of tools? Basics hand tools.