


Make a Picture and Frame Look Old

by
Cynthia H
6 Materials
$5
1 Hour
Easy
This week, I've been challenged to take a picture frame and picture and make it look old. So I rifled through my container of unused picture frames and found an inexpensive one with a cheap finish that probably originated at a thrift or dollar store. It had a fake gold finish. I don't like chippy paint, but, I do like the "old" look of age and layered color that is very subtle. Then I took a modern, recent photo of my granddaughter and scanned it into my computer. I played with changing the color and sizing. The one I ended up using, was a crop that made it into a head shot. Then I played with the color, changing it to "slate" on my Windows 10 photo edit program. Please take a look and see how I did!
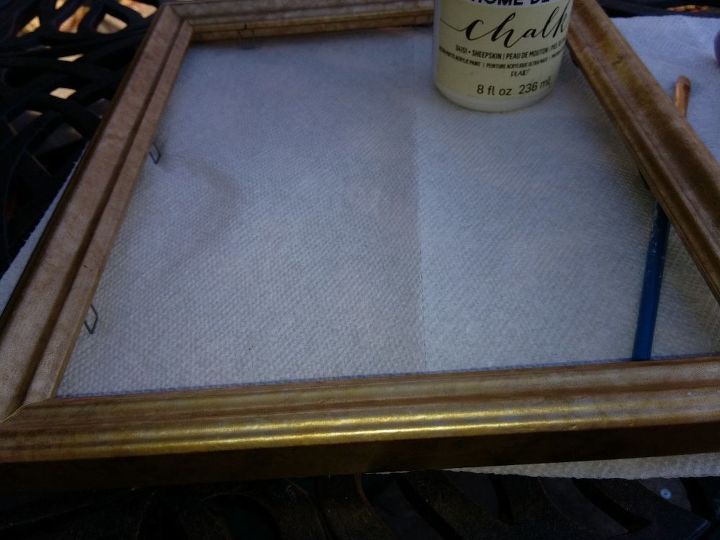
Here's a close look at the frame. The finish was glued on, I discovered from poking around on the back of it, and since I didn't want to peel it off, I decided to paint over it, and let the gold peek through here and there. I've seen dozens of frames like this at dollar stores and thrift stores. This frame was 8"x10".
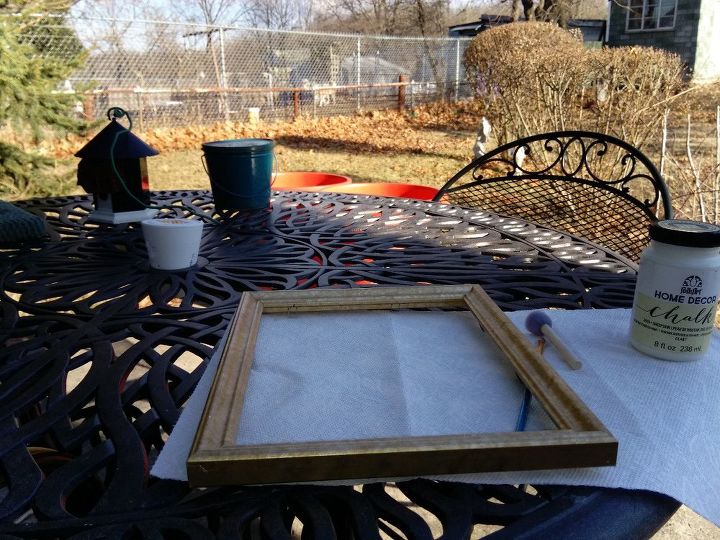
I took out the glass and backing and the frame so I wouldn't get paint on them, because I knew I would make a mess with them if I didn't, and it's too easy to forget to do that until you realize you jumped ahead and already have paint on something. How do I know that? Need you ask?
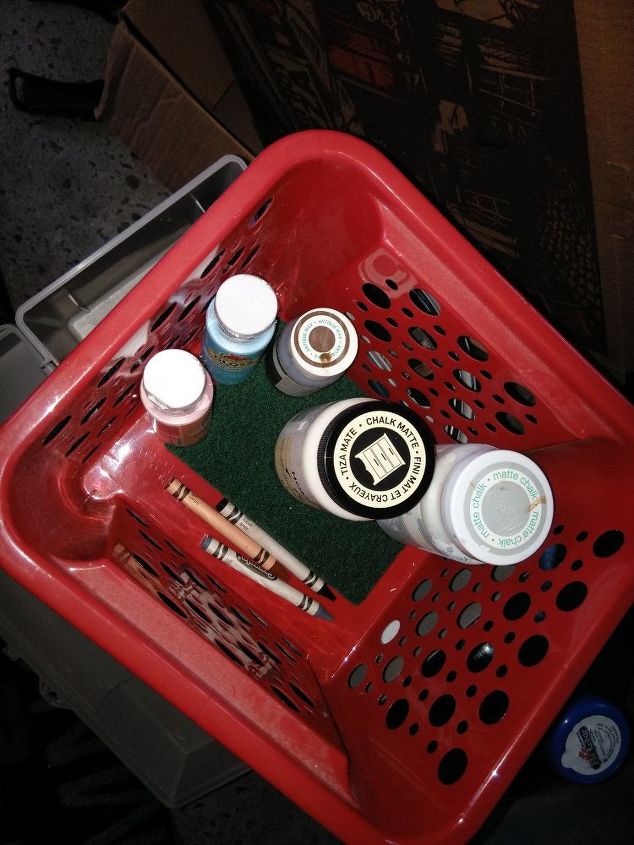
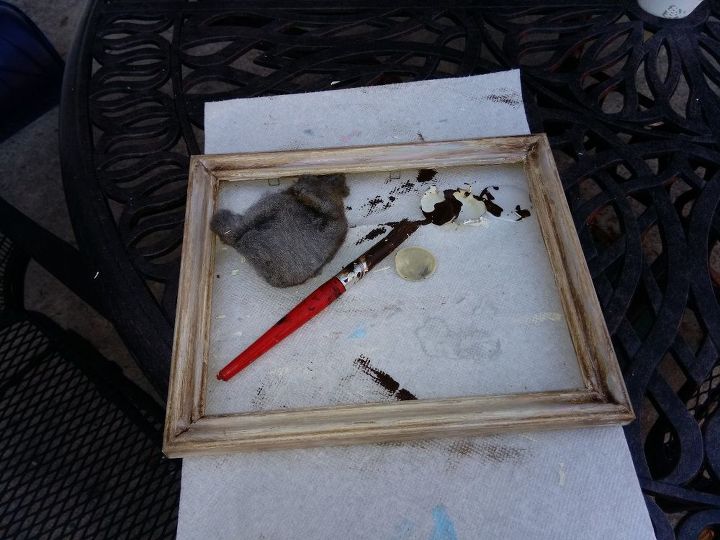
I gathered up some chalk paint, steel wool, a sample bottle of Waverly dark wax and some paper towels. I didn't end up using the crayons by the way! The steel wool isn't pictured.
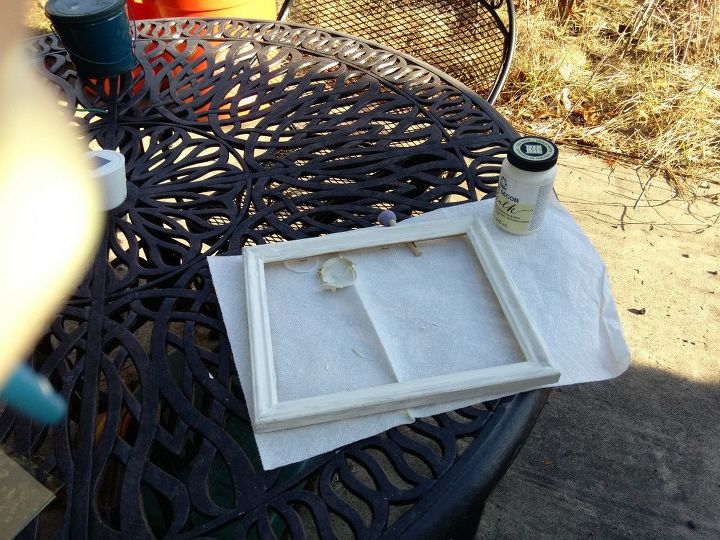
First I painted it a color called Sheepskin, which is chalk paint. Adhered well in one coat. I dabbed tiny amounts of blue craft paint and some pink craft paint in the attempt to make it look like it had other paint over time. It's very subtle, so may be hard to see in the pictures I took. Then it was time for the wax. I'll be honest, I liked the white color, but, it didn't have the older look I wanted.
While applying the wax. It was surprisingly 'liquidy' which surprised me. I layered it on, rubbing it into the nooks and crannies with the brush, and then wiped it off with the steel woolpad.
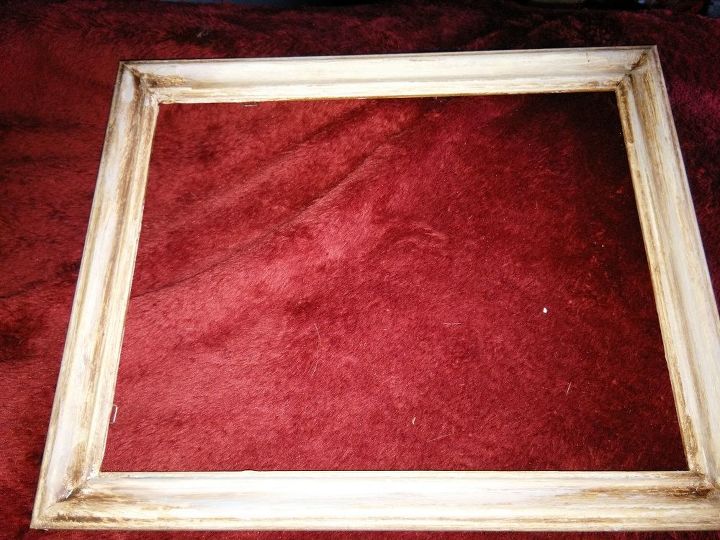
Here it is after painting it and "aging" it with the wax I had in the sample bottle. I hadn't used it before and found it very easy to apply, like paint. You could do the same thing with brownish craft paint or sienna. I dabbed it on with a paint brush and then rubbed most of it off. I wasn't worried about a 'durable' finish since this was to hang on the wall, and would receive minimal handling except for dusting, but, you could seal it at this point.
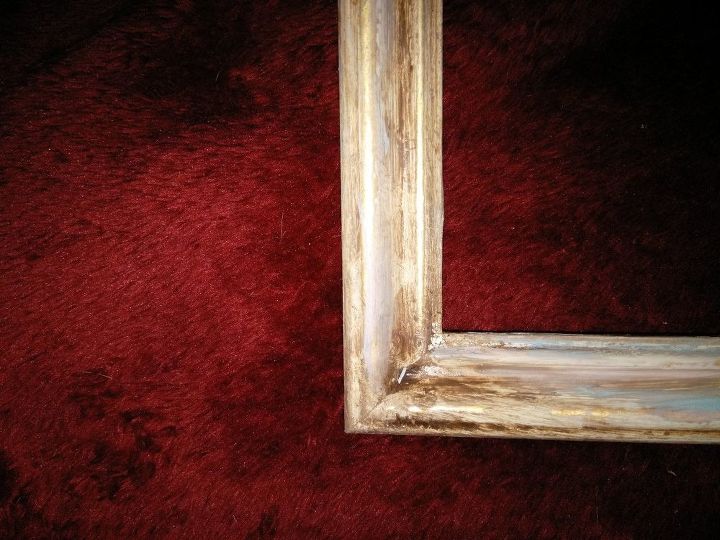
Here's a close up of one corner.
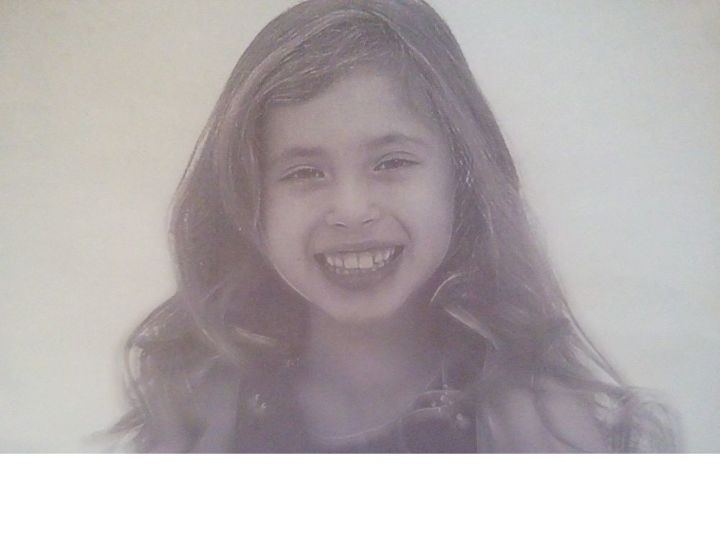
This is the picture after I scanned it, cropped it and changed the color with the photo edit program. This was printed on regular paper, but, you could use photo paper. I didn't have any, so I made do. To get the look of the finish I wanted, I "painted" the photo with mod podge. Be sure to let it dry completely or it will stick to the glass when you put it in the frame. That way, it had a finished look to it, instead of the flat look it had just printed on the paper.
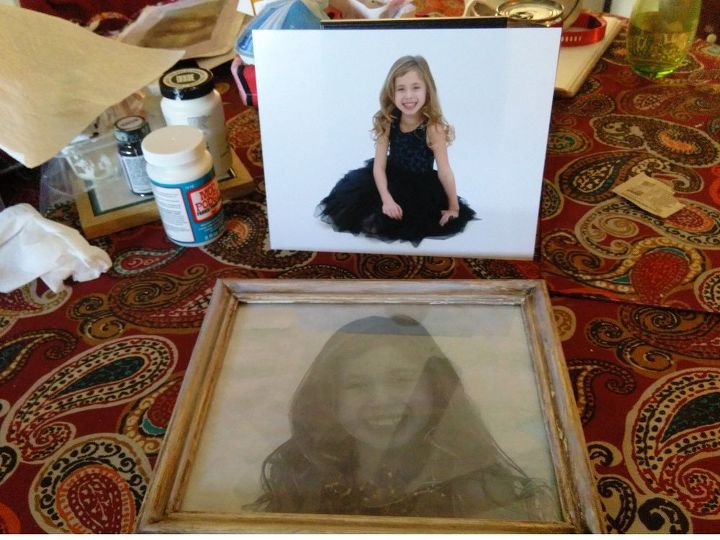
The upper picture is the one I scanned. The lower one is the picture I ended up with.
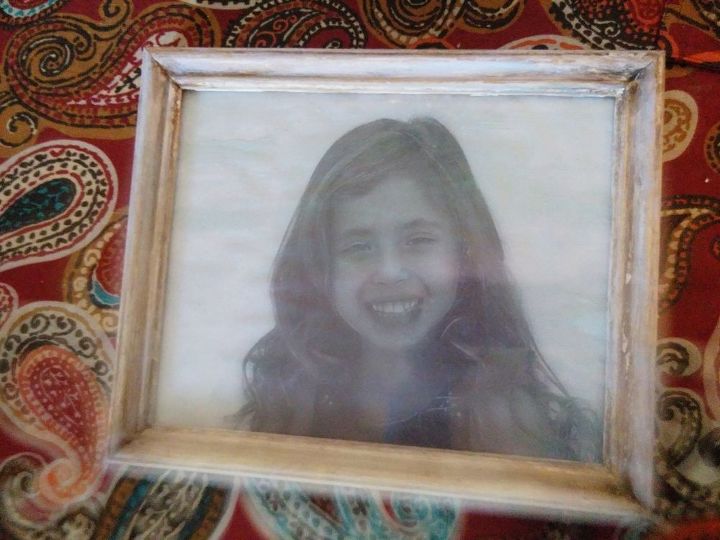
Here's my final product. A vintage looking picture and frame. What do you think? The photo doesn't do it justice, but, gives you the overall look.
Comments
Join the conversation
3 of 4 comments
-
Thanks Wendy!
-
Oh wow you did a great job! It so reminds me of some old photos I have of my Grandmother as a child!


Frequently asked questions
Have a question about this project?