


Everything You Need to Know Before Installing 12×24 Tile
2 Materials
$200
6 Hours
Medium
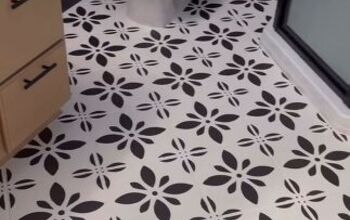
Installing 12×24 tile can be a little tricky compared to smaller tiles, but with a little planning, and a few tricks up your sleeve, this can be a great DIY project even if you don’t have a ton of tiling experience.
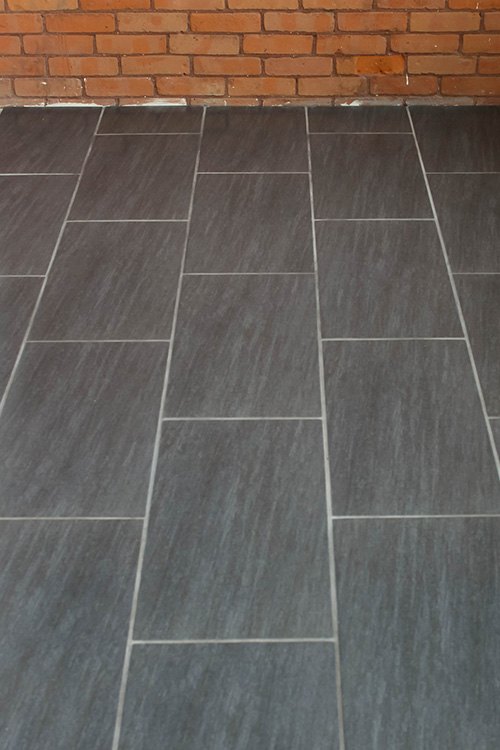
12 x 24 tile is everywhere lately. When we installed it in our bathroom a few years ago, it seemed like kind of a fun, more modern choice, but now it seems to have pretty much become the standard for new tile floors everywhere.
[You may also enjoy: How to Install Heated Tile Flooring (And Also How NOT to)]
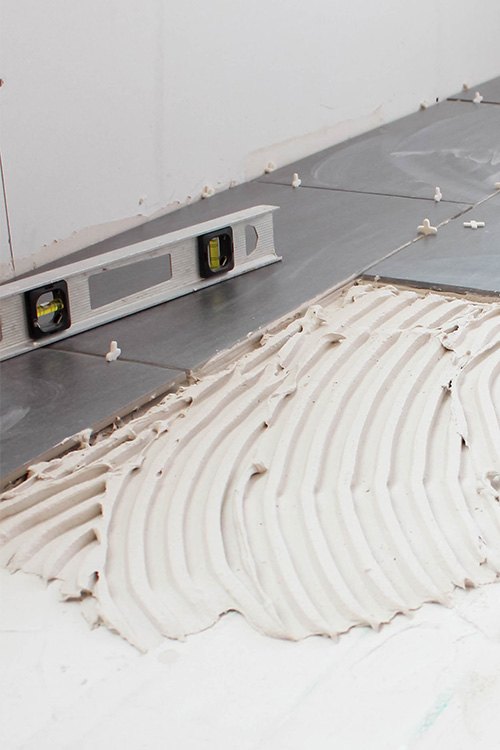
When you’re working with giant tiles like these, getting (and keeping) everything level is pretty much the biggest challenge. You need to make each individual tile level, but you also want to make sure that all of the tiles are sitting evenly and at the same height as one another on top of the mortar.
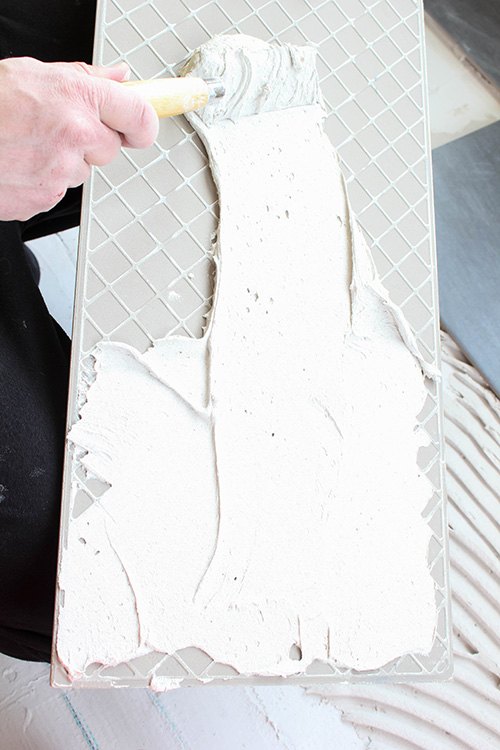
We’ve also noticed that if you mix your mortar to be a little bit on the thicker side, it’s much easier to achieve and maintain levelness. If you’re getting a bit frustrated with how difficult it is to make things level, try making your next batch of mortar a little thicker.
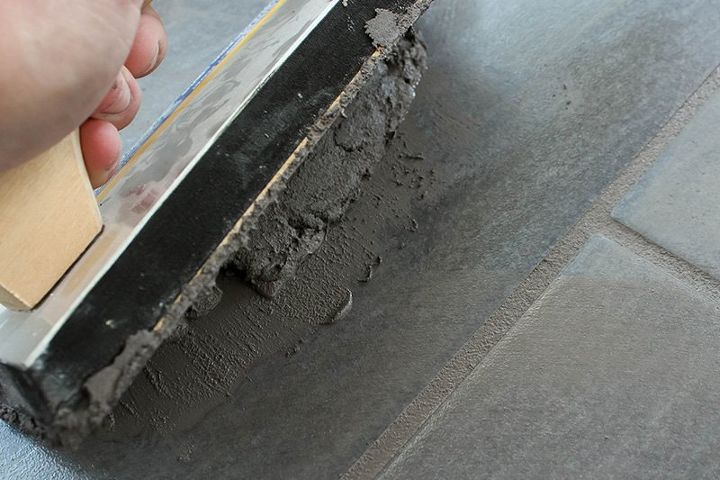
We used a sanded grout for this project, which is almost always recommended for flooring and for larger grout lines because it tends to be a bit stronger than un-sanded grout.
[Another great tip to check out: How to Get Rid of Leftover Grout Haze Quickly and Easily]

Want more details about this and other DIY projects? Check out my blog post!


Frequently asked questions
Have a question about this project?