


HOW TO MAKE VERTICAL SHIPLAP PANELING (ON THE CHEAP!)
I LOVE a dramatic before and after - you too? And this room has me smitten.
Our vision was to create a cozy welcoming guest room that doesn't feel like it's in the basement. Have we achieved that?
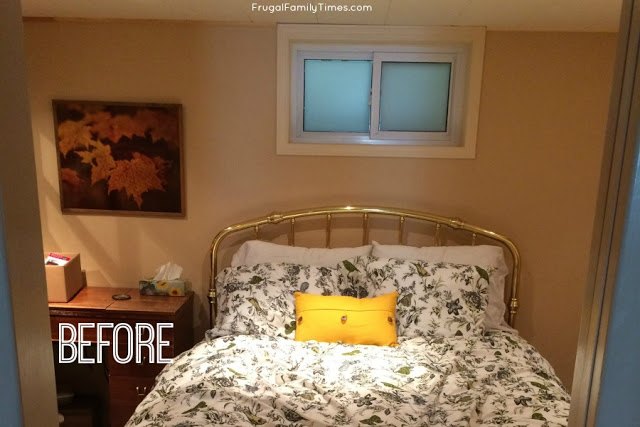
I can't get enough of this before and after! It was just a dreary, bland box that screamed BASEMENT! Maybe a step up from sending our guests into a dungeon room filled with hand me downs.
Instead of saying, "Welcome, friend" it said something more along the lines of, "Don't get too comfortable. You aren't staying long."
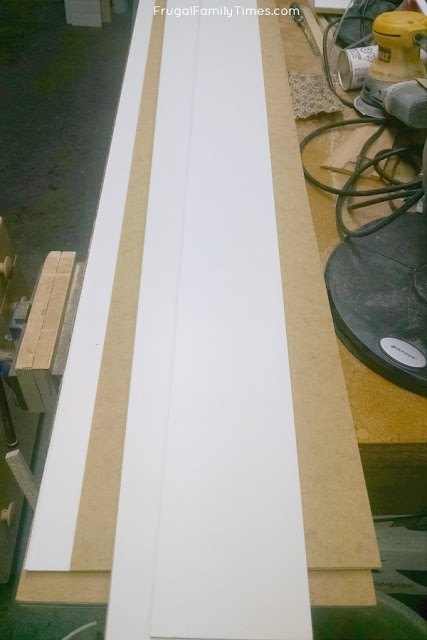
You'll need to cut your panelling into strips. We determined that a panel width of 4.5" was optimal - this made the best-sized strip and also kept waste to a minimum.
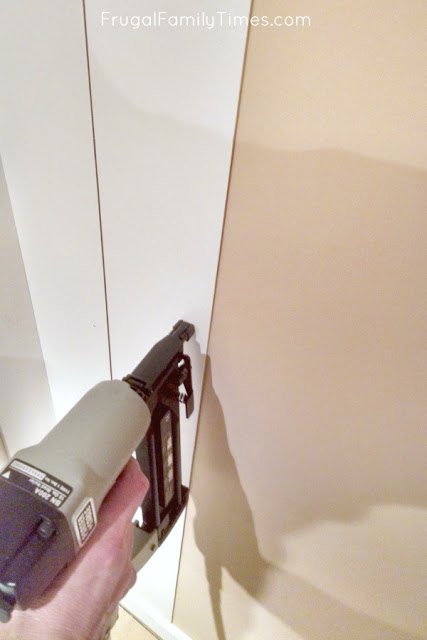
Fasten your pieces to the wall.
Notice no photo of us applying the adhesive - this is a mistake - we didn't do that!
We thought we could do it all with nails and things would be fine. Wrong! You end up needing to use a LOT of nails, which means more filling and mess.
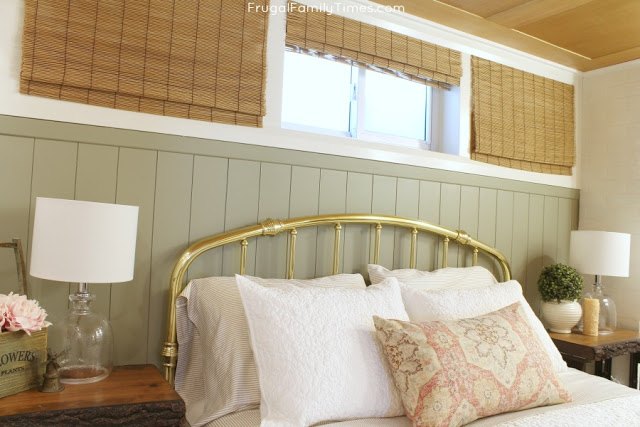
Here is how the room turned out... The vertical panelling added the perfect backdrop for this once dreary basement bedroom!
- Psst... Here's another Guest Bedroom Makeover project that you might enjoy: Antique Treadle Sewing Machine Tables


Comments
Join the conversation
-
Absolutely gorgeous!!! Love love love how you added the blinds giving the space a transom window effect. Brilliant!!!
-
Such a great job! The room is truly transformed. P.S. Clever use of window blinds without the windows.


Frequently asked questions
Have a question about this project?
You do know that without having an egress window, it is an illegal bedroom?
This looks really good. I particularly like how you added shades on either side of the window to give the appearance of more windows.
How did you attach the paneling to the wall? You said you didn’t use adhesive or nails.