


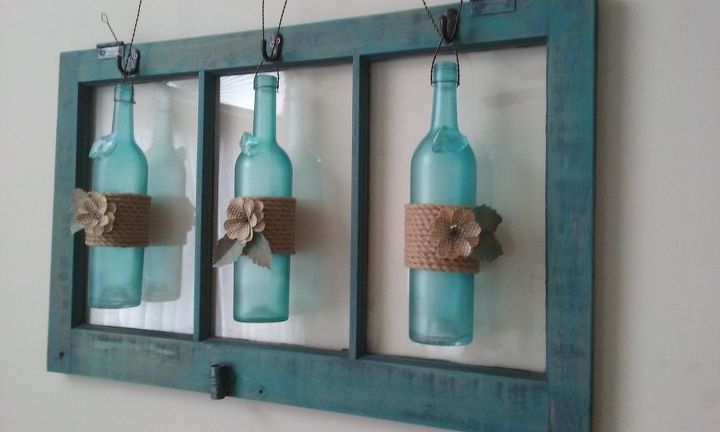
Wine Bottle Paper Flower Tutorial

Recently my wine bottle window was featured on HOMETALK. I was thrilled beyond words. What followed was a number of questions about how I created the flowers used on the wine bottles, so here is my tutorial.
On one of my trips to Michaels, I found a pack of textured papers on clearance ($1.49) who could pass that up?!? That pack was the inspiration for these flowers. So I gathered my materials
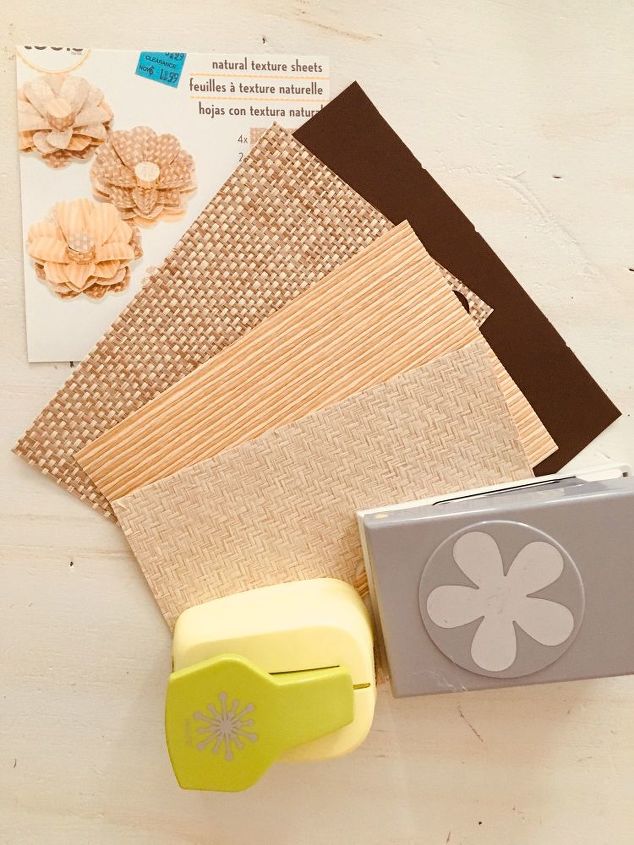
and using the paper punches, cut three flower shapes and one center and two leaves (the leaf punch is not pictured here...oops)
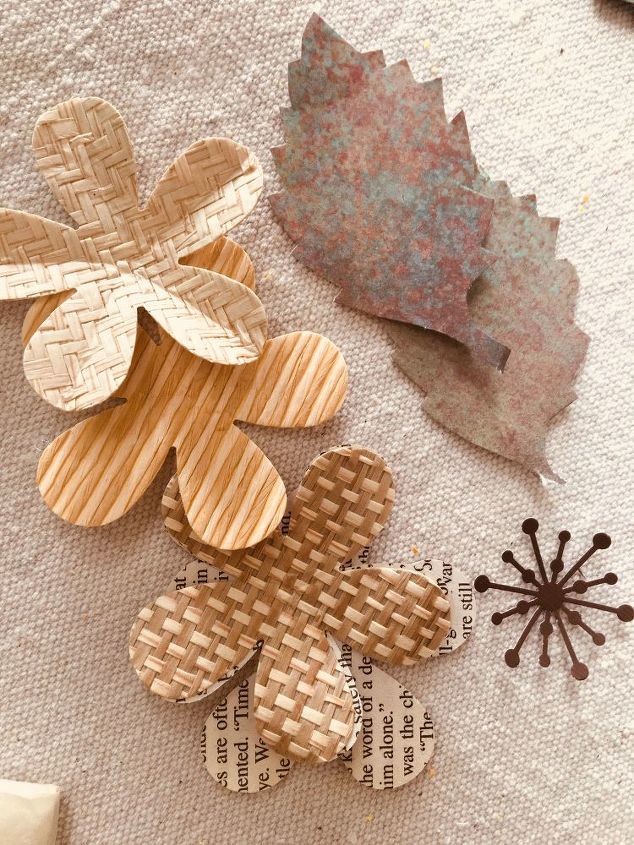
Don't you just love these textures?
Next I shaped the petals a bit and stacked and glued (hot glue) the pieces together
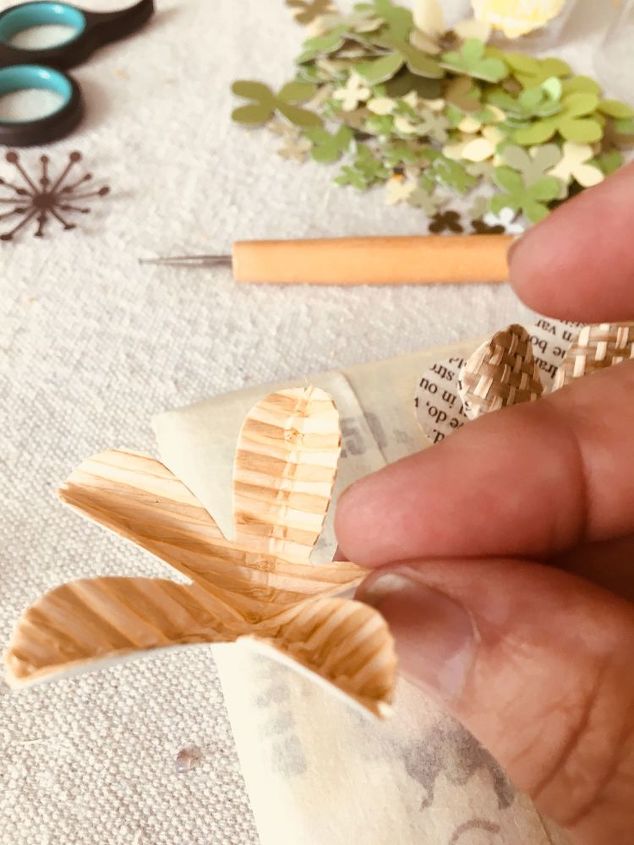
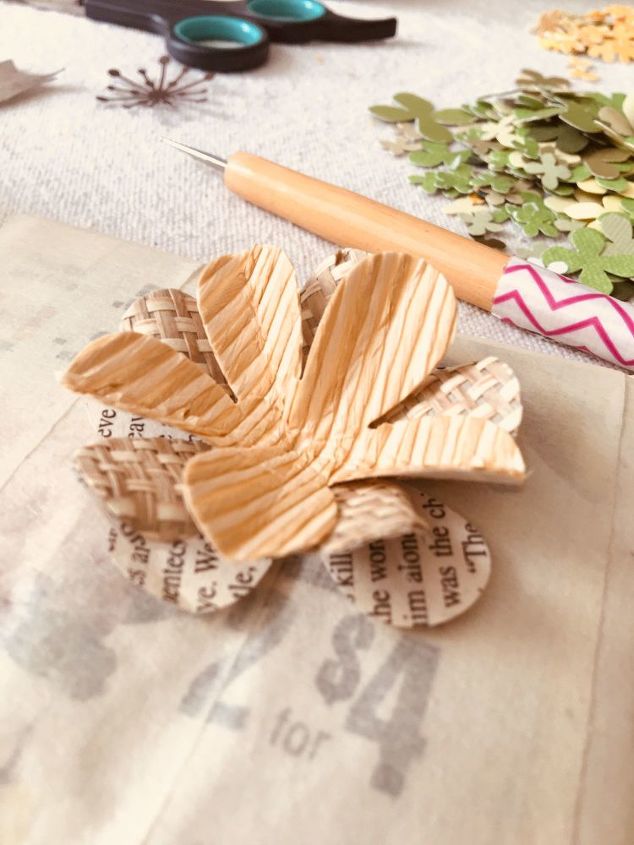

for the center, I used the end of a ball point pen (no ink) and using a circular motion right in the center the "spokes" curled in.
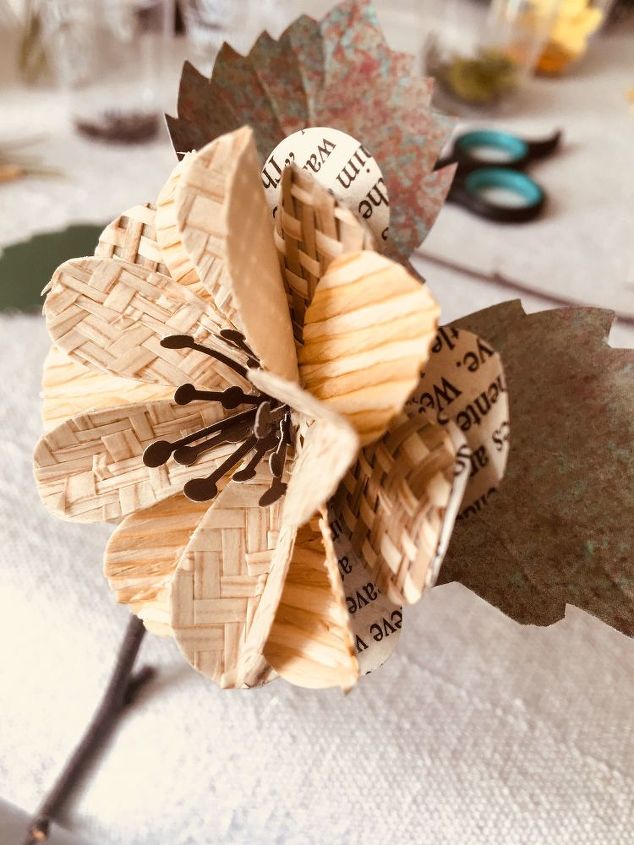
I always like to give the leaves some texture, so using my balled tool or a ball point pen (no ink) I placed the leaf on a padded surface and added the veins

in the case of the wine bottle project, I glued two leaves to the back of the flower and then glued the flower to the bottle. For this tutorial, I used an actual twig from the garden. With a small amount of hot glue on the stem of the leaf, I added them to the twig and glued the flower in place as well.
I hope you like it and will give it a try.
Happy crafting everyone!


Comments
Join the conversation
-
I am so glad you posted this tutorial!

-
This is really beautiful! (I said it outloud when I saw the post, and so I figured it would be nice to tell YOU)


Frequently asked questions
Have a question about this project?