


How to Flip Furniture - With Kids
Furniture flips have intrigued me for a long time. I just love how a plain and boring piece can be transformed into something simply stunning with a little paint and creativity.
But when I heard that even kids could turn basic pieces into works of art, I had to see this for myself!
Several weeks ago my friend Val messaged me about a furniture flipping course she had just produced with her 12-year old grandson. She knew I still had some pre-teens and asked if I'd like to try the course out to see what I thought about kids actually flipping plain furniture into something beautiful.
If I was already intrigued by furniture flipping, I was insanely curious about how she managed to teach the skills to a child to get gorgeous results.
Of course I said yes and pulled my 10-year old daughter into the project - which really wasn't hard at all since she enjoys getting her hands into projects too.
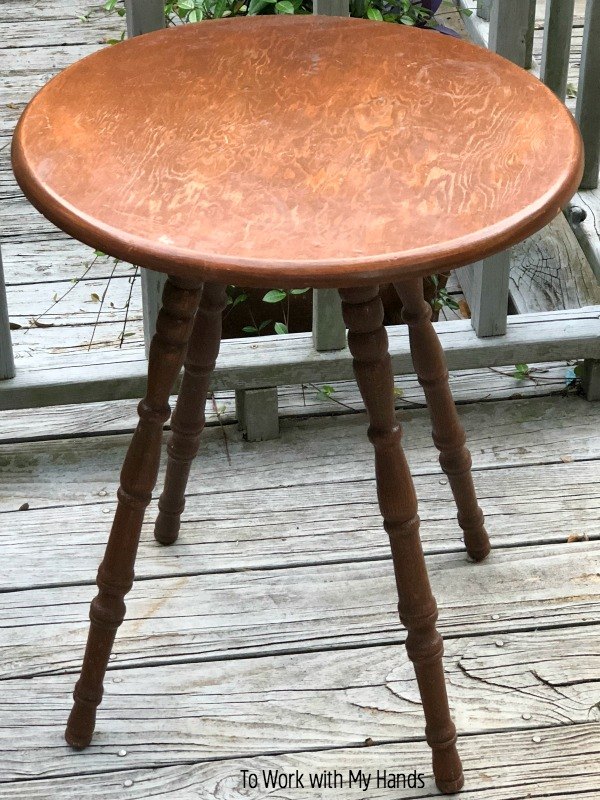
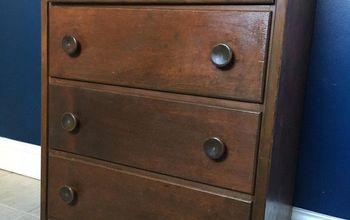
We decided to keep it small and simple, and chose a basic round side table that was a prime candidate for some TLC and sprucing up.
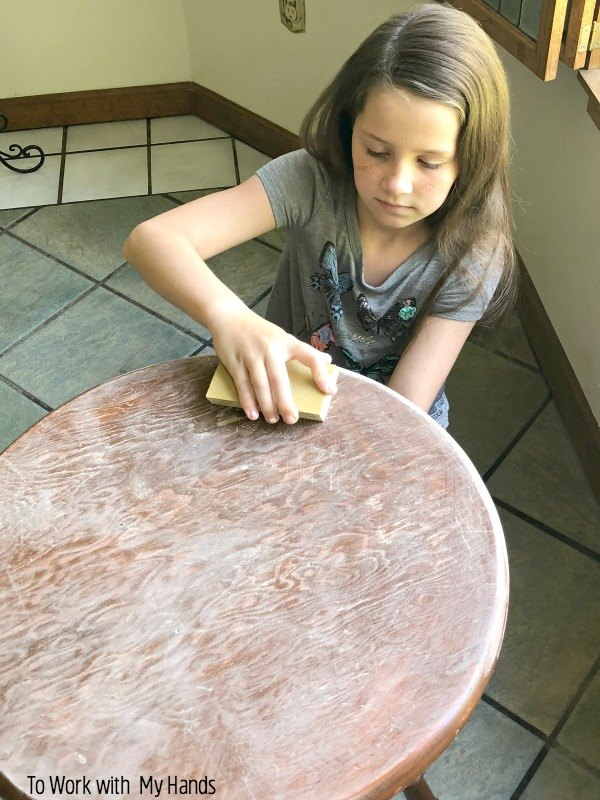
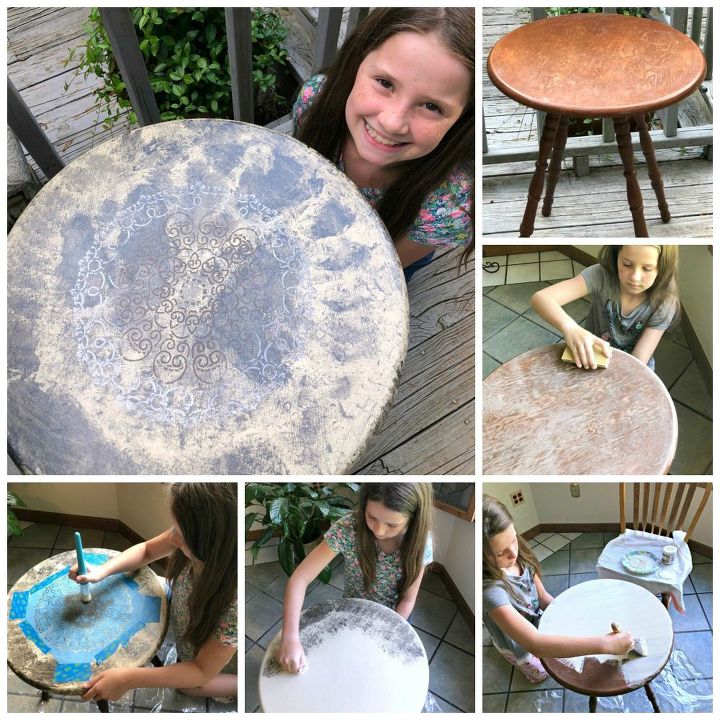
First step - sanding. I gave her a sanding sponge and she went to work.
This is where I discovered the value of a slanted sponge. The top was pretty simple, but the curvy legs would have been a real chore with a plain square sponge. That angle fit right into the dips and curves beautifully.
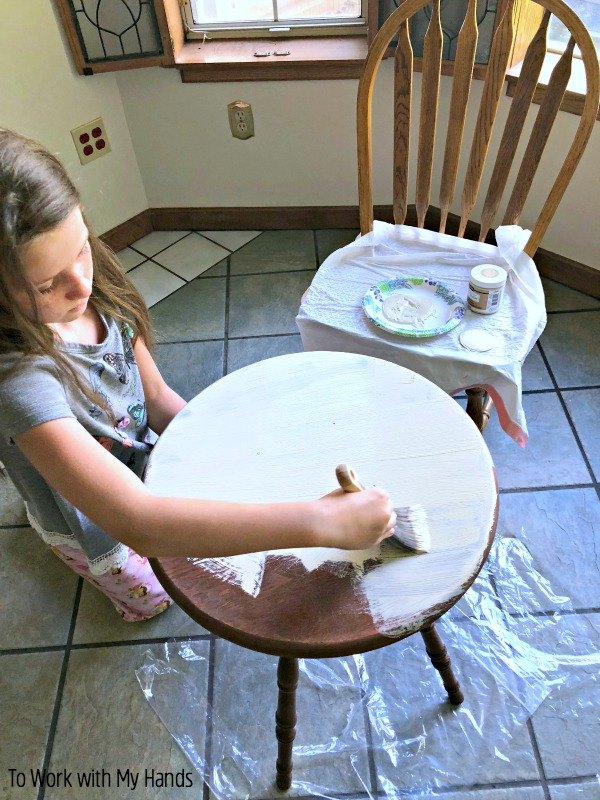
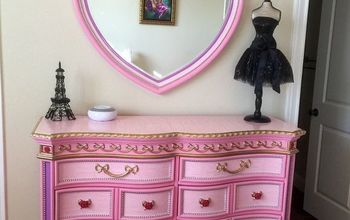
Next, she painted on the base coat. We used a Deco Art chalk paint I found at Michael's. The nice thing about a small project is that you won't need much paint at all.
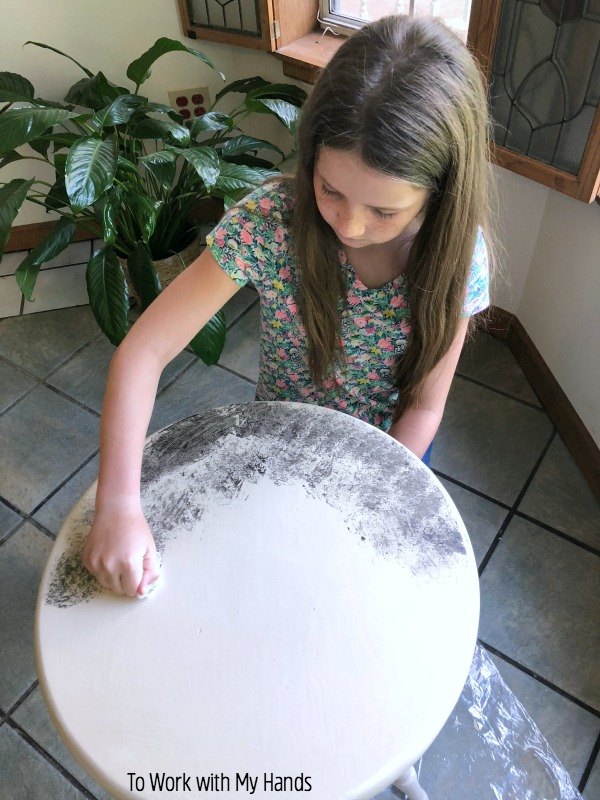
After the base coat was dry, Hannah added a background accent using a technique she learned in the video.
By this point, I was becoming quite impressed.
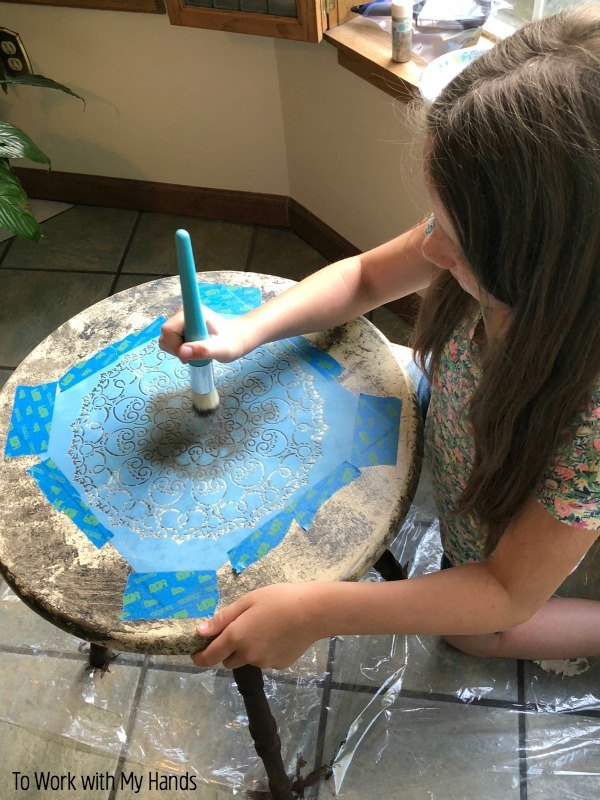
Next, I taped a stencil on the center of the table and Hannah got to try her hand at stenciling. Again, she used a technique we learned in the tutorial video - which really made the image pop.
I was getting so excited seeing it come together - and she's just 10!
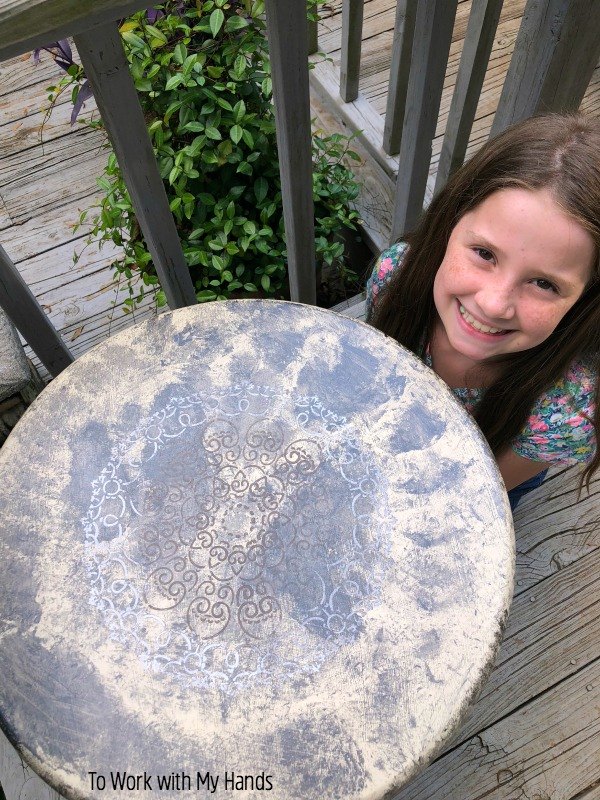
Finally, I helped her add a sealer and once it was dry, she was able to admire and show off her work.
Admittedly, we learned a lot from the project and might do things a little differently next time (like interchanging the background accent and stencil colors), but overall I was amazingly impressed by how easy it was for her to watch the video course with me, then put what she learned into action to really transform our plain table.
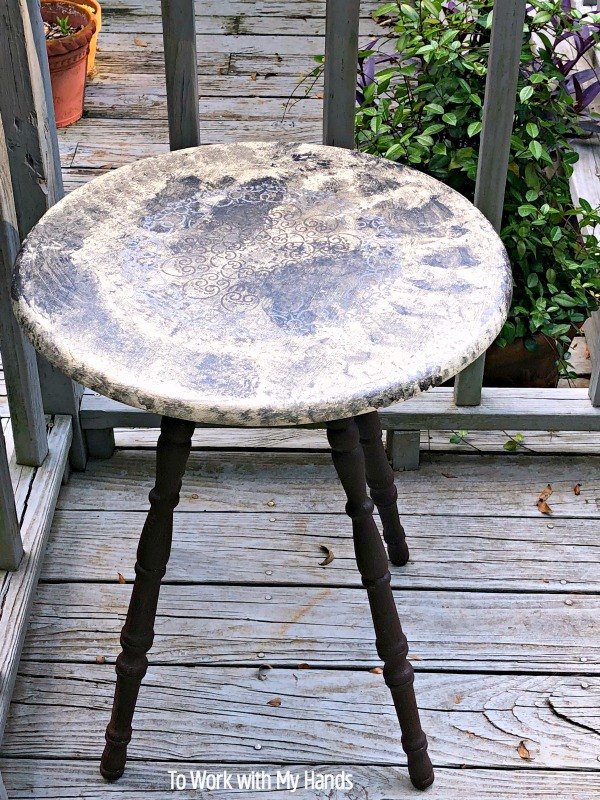
I love the updated look!
This was such a fun project to share with my daughter and I'm here to tell you that kids can indeed make gorgeous and artistic pieces of furniture - with just a little bit of instruction.
But, I have to say that I was also personally impressed with the course and learned a few new tricks of the trade myself when I first reviewed it.
There's lots more information on the course over on the blog, plus I share 5 of my personal tips I learned from using it with Hannah. Click my bio link below to visit and get the details.


Comments
Join the conversation
-
Excellent project! Can I rent your daughter to help me? LOL!

-
Love this! Going to do this with my 10 year old grandson! He has been begging to help me paint!!


Frequently asked questions
Have a question about this project?