


The Water-Logged China Cabinet

Here's the back story on this piece... The storage unit we rented was in an old factory and they were cleaning-out. When we arrived with the movers (same company) I spotted the china cabinet that had been left out in the rain for a loooong time. It was warped, split, peeling, and had no glass. Since I'm an id!@t...ahem, love a challenge, I offered to buy it. The owner told me to take it - no charge.
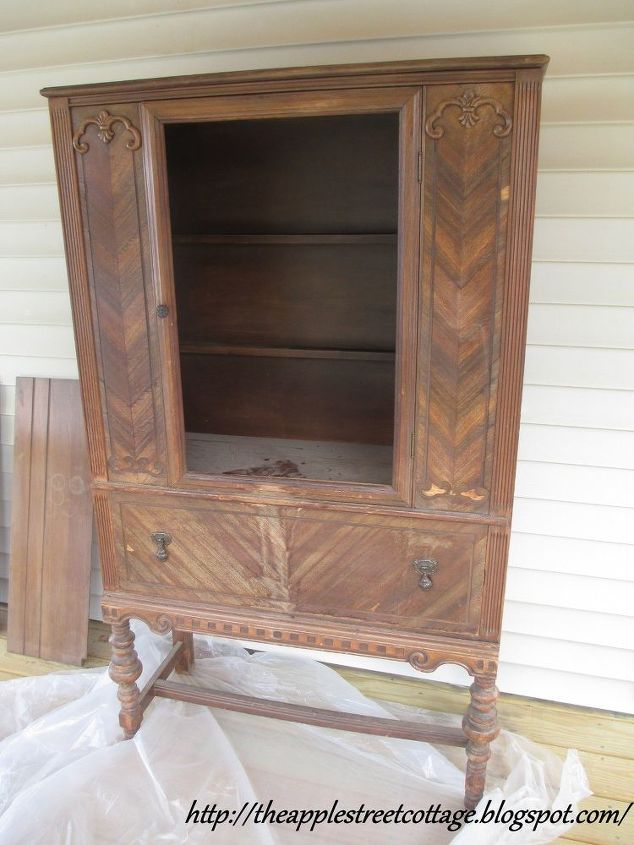
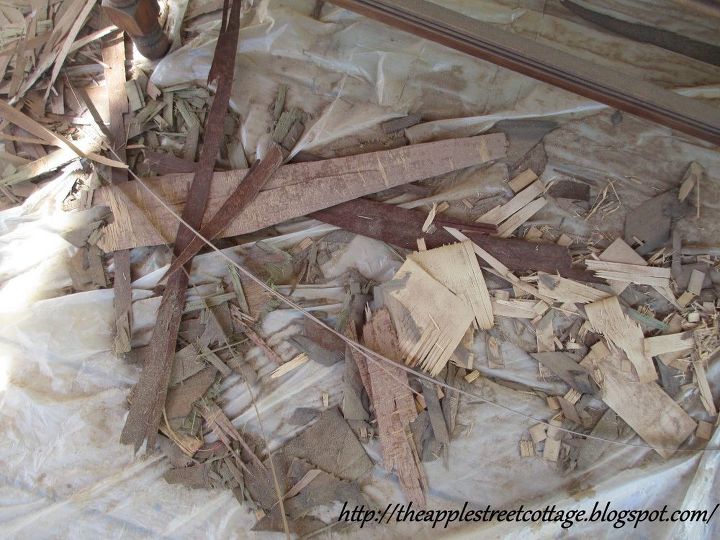
The original plan was to reglue the veneer and try to add stain to blend in what was missing. That plan was tossed aside as soon as I realized the extent of the water damage. Take a closer look:
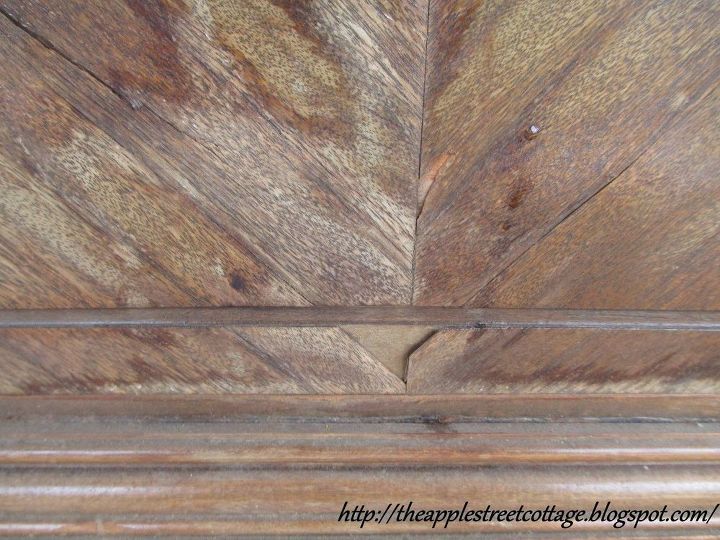
The more sanding I did, the more veneer came off. It was so sad... Time for a new plan...get rid of the veneer.
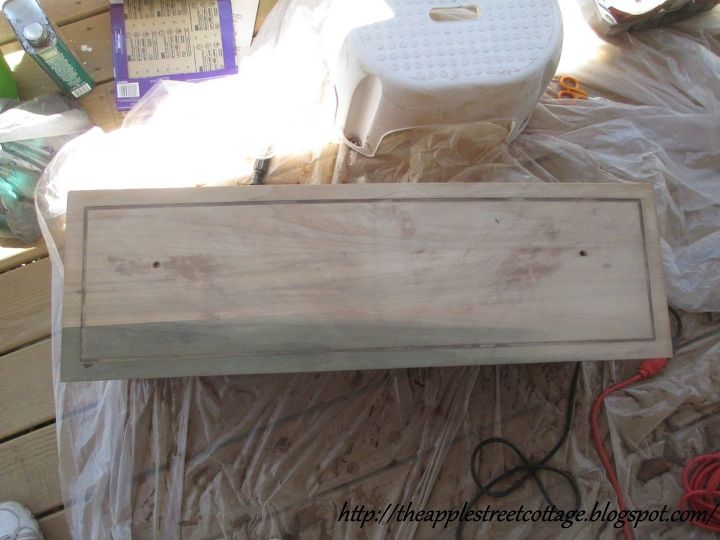
I started with the drawer and veneer was flying EVERYWHERE! Once it was down to bare wood (which didn't take very long) I saw the lovely green hue...hello, poplar! The drawer would be painted.
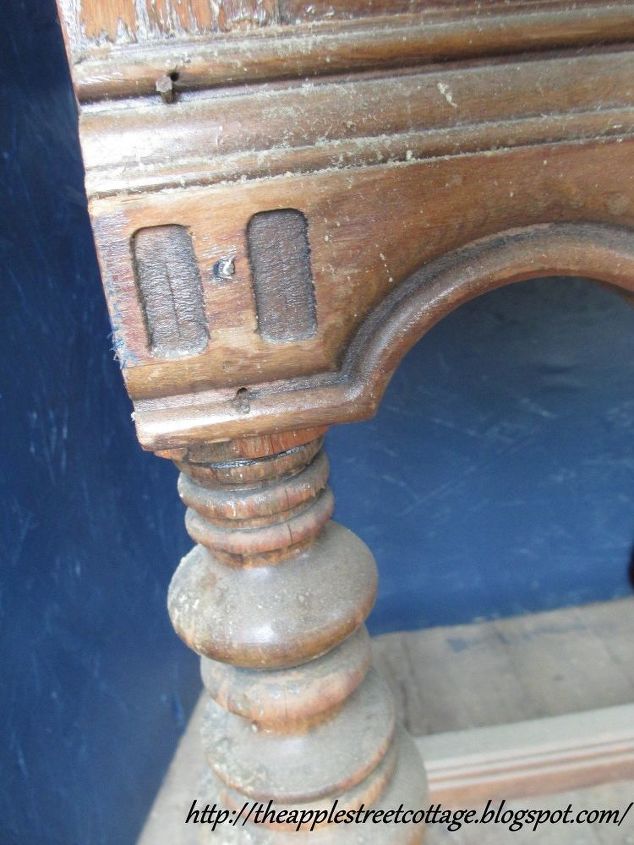
I continued with the two panels on either side of the door. Once again, the veneer was flying and then I discovered another issue. There was a layer of veneer under the veneer that also was loose. You can't see it in the picture, but, trust me, it was lifting right off.
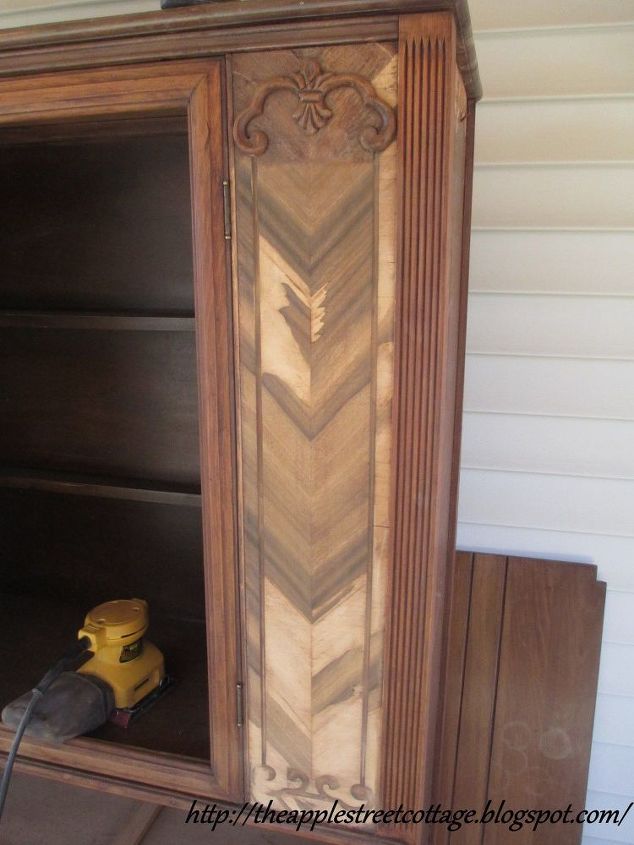
I consulted with my assistant (aka my husband), who agreed with me, it all had to come off. There was just no way to re-glue all that veneer successfully. Off it came! Let's just say, there was a lot of ruined veneer:
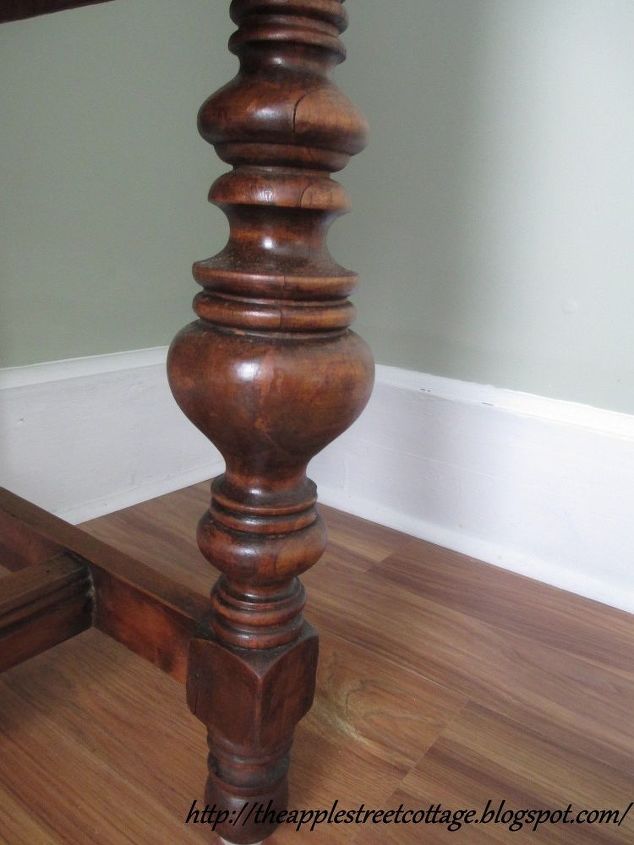
After sanding everything smooth, I got to work on the solid-wood parts: the door frame, the corners, those legs...I used Furniture Refinisher & Tung Oil from Homer Formby with no expectations. This wood had very little finish left on it, but I was pleasantly surprised with the results.
Before & After
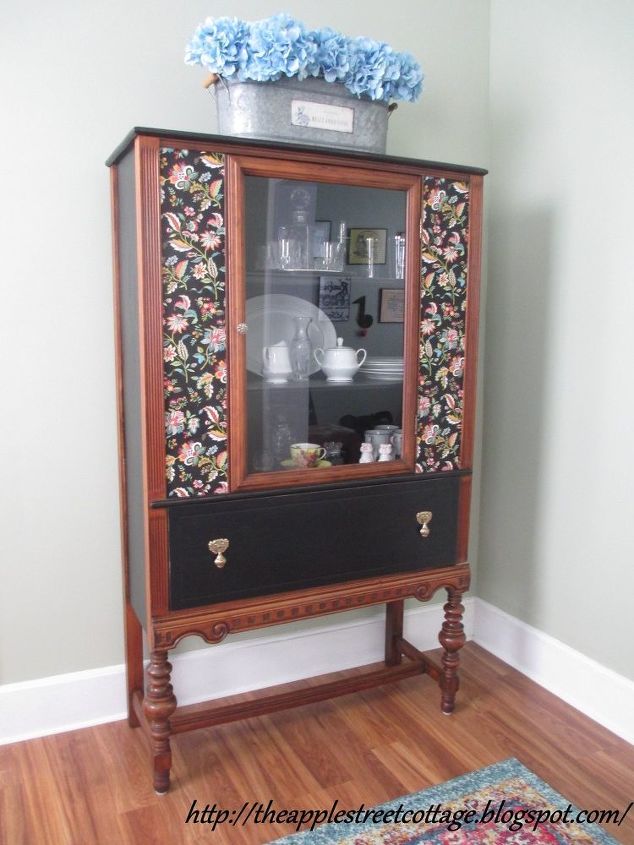
The top and sides got 2 coats of black chalk paint to cover the damage (the top was warped & split and had to be screwed back together)and a coat of polycrylic. I also painted the inside and the drawer. Everything got a little distressing with sandpaper. A new piece of glass was cut for the door and then it was time to tackle those front side panels. Since the green poplar was shining through, I gave them 2 coats of white paint and bought some fabric. I cut the fabric a little larger than the panels and used Mod Podge to apply it.

Once the entire piece of fabric was secure and dry, I trimmed it with an exacto knife and applied one more coat over the top.
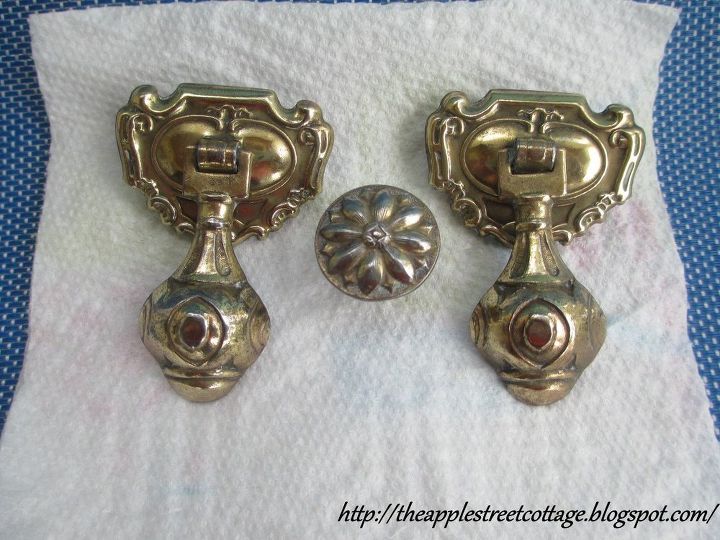
Last, but not least, I had to clean the knob and drawer pulls. A little metal polish and some elbow grease turned them into this:
This china cabinet was a lost cause that I just couldn't give up on. If you'd like to see more before and after pictures, stop by my blog.
https://theapplestreetcottage.blogspot.com/2018/08/the-water-logged-china-cabinet.html
Here's the final picture:
Resources for this project:
See all materials


Comments
Join the conversation
-
Not a question but a definite statement -
Its f a n t a s t i c !!!!! Its beautiful and you have done a really great job on it! All of it - I love it and you should be very proud of it and of course - yourself!!!
-
Thank you so much, Linda!


Frequently asked questions
Have a question about this project?
I love this idea. . . it's beautiful!
Question: the 4th photo still shows the molding at the top of each side panel, but they are not on the finished piece. Were you able to pry them off and keep them intact for future use?
Awesome makeover Ann! Have you ever had to deal with a warped china cabinet door? Any Idea how to fix that?
What kind of sander are you using?