


Repurposed Map Ornaments
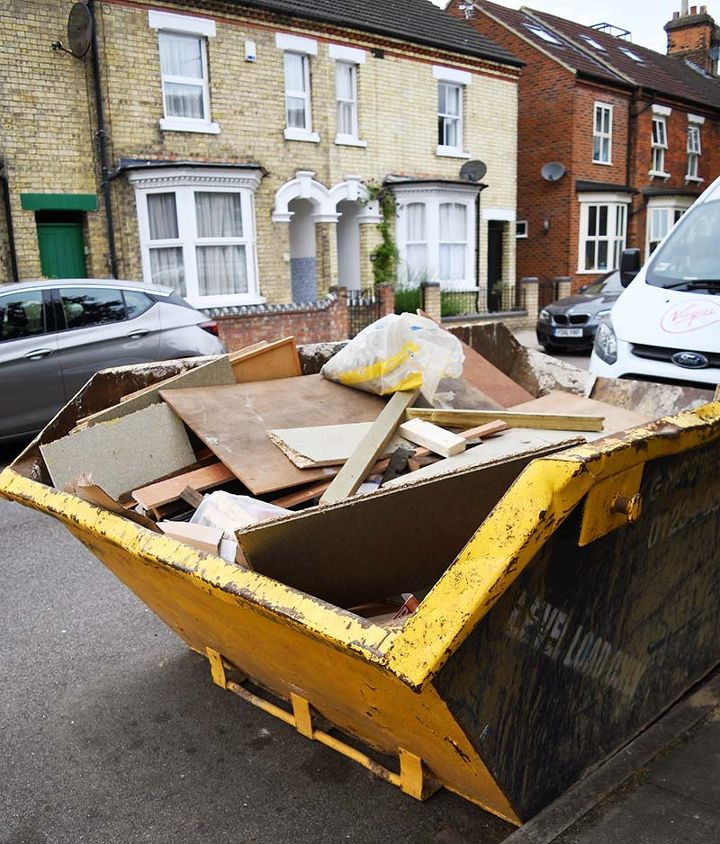
My neighbours were having a lot of building work done over the summer and, they had a skip(dumpster) outside their house full of lovely bits of scrap wood. I rescued some of this wood and combined it with some old road maps to make some fabulous ornaments for my home.
This isn't the first time I've combined maps and wood I made a map printed pallet frame you can see here.
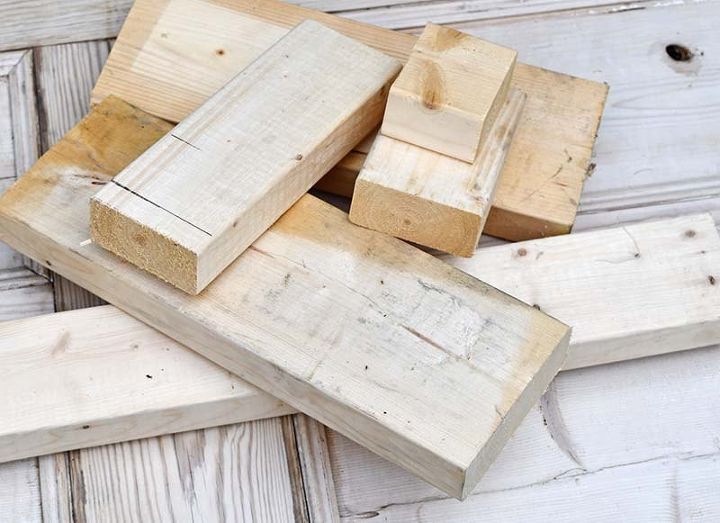
You need chunky pieces of wood that can stand up for this project. The pieces I used were at least 5 cm thick.
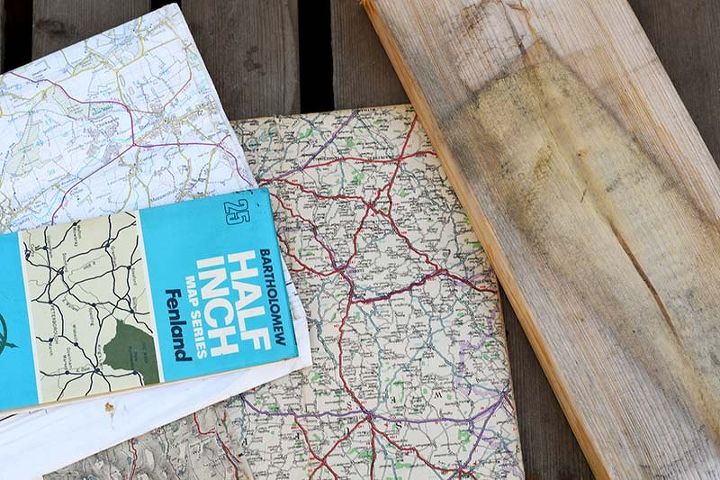
I used old road maps of my favourite places for this project. You can use any maps or even download and print some for free from the internet (see here).
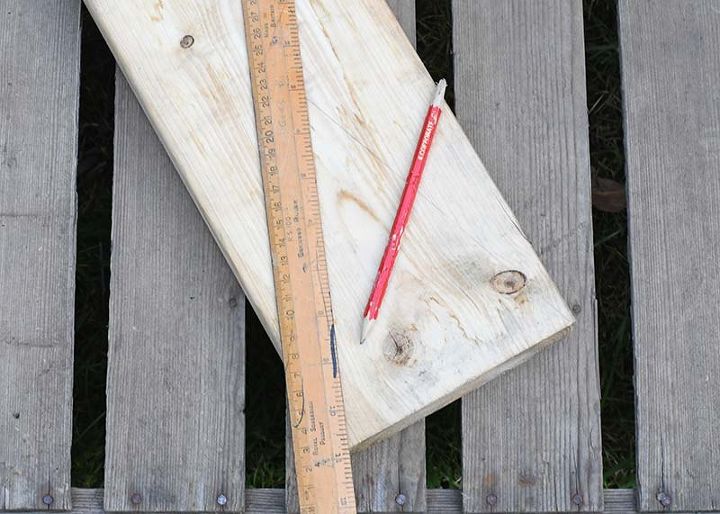
I marked the triangle shapes out with a pencil first. My triangles were approximately 15 cm wide and varied in height from 15 to 20 cm. You can make them any size you want.
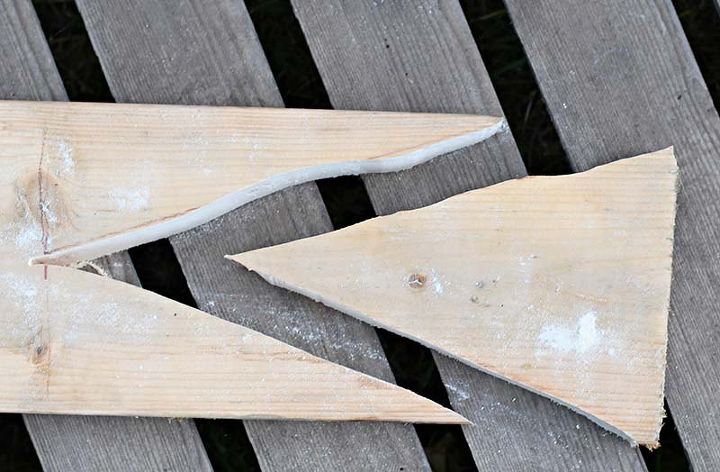
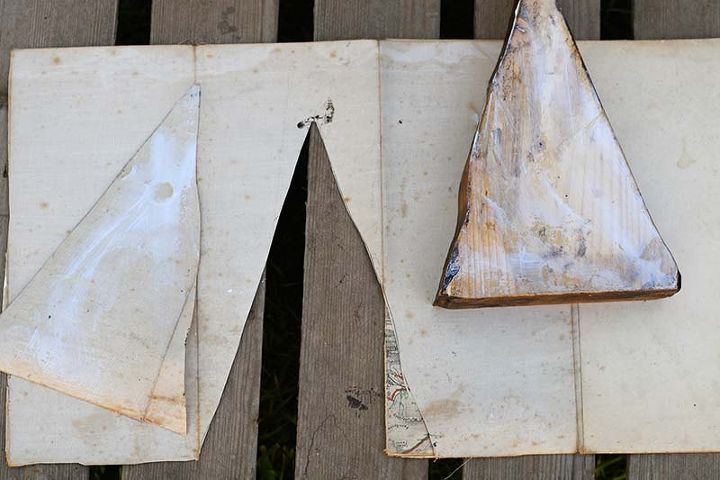
The next thing I did was saw the wood into triangle shapes. You can do this by hand or if you have an electric saw even better.
As you can see my hand sawing is not very straight. But don't worry about this it just adds to the character of the project.
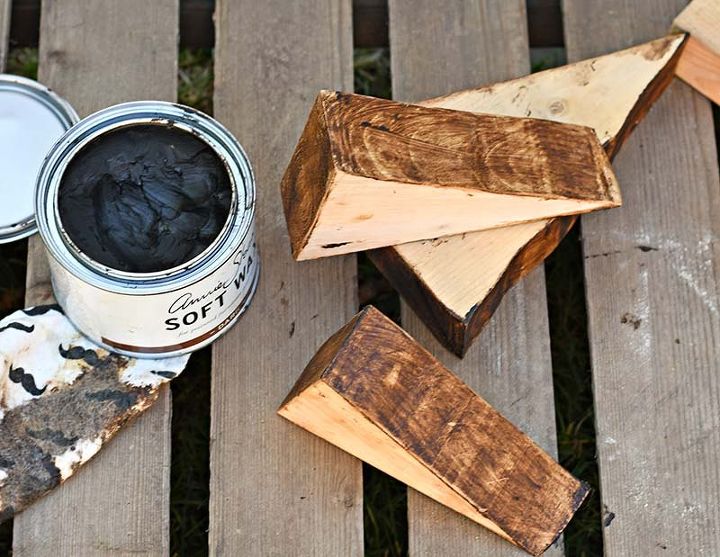
Next, I sanded and stained the wood a darker colour on the sides. No need to stain the front and back as these will be decoupaged.
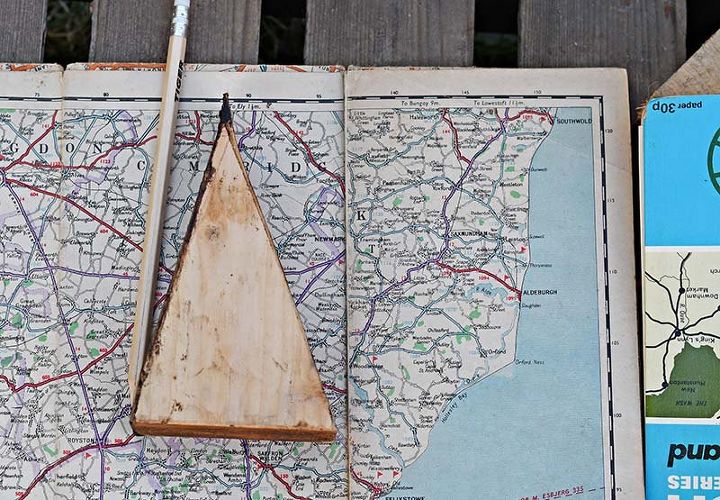
Next, place the cut wood onto the area of the road map you want to use and draw around it with a pencil.
Cut out the map template.
Paste both the face of the wood and the back of the map with Mod Podge decoupage glue .
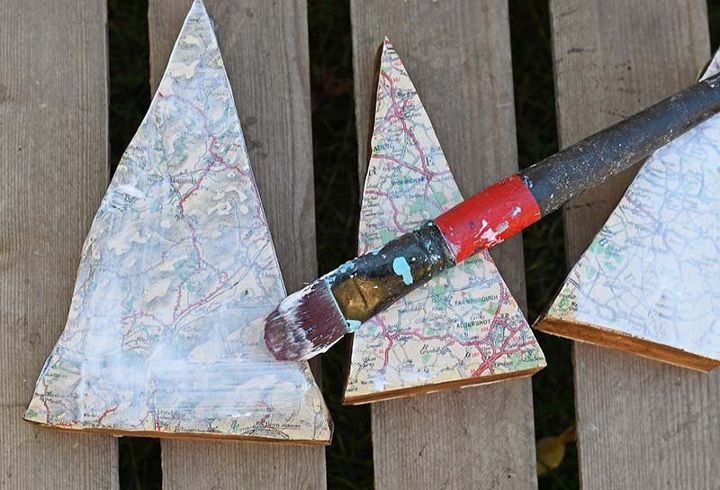
Stick the map to the wood block. Then cover the map with another layer of Mod Podge. This will act as a sealant.

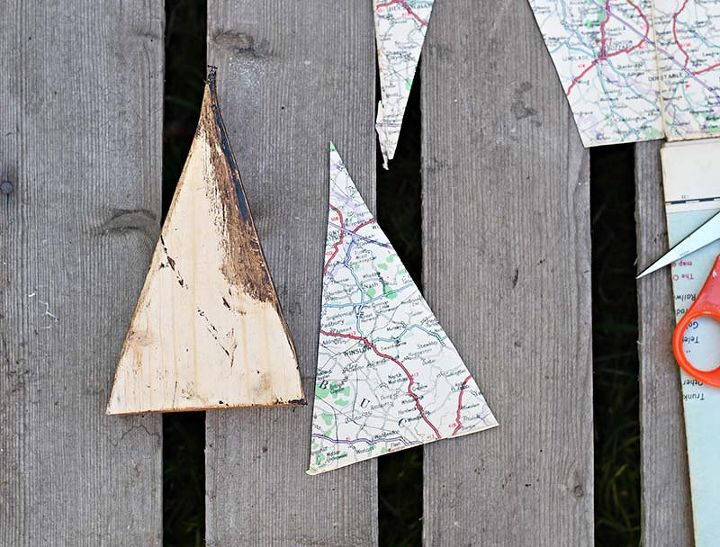
Decoupage a different map on the back of the wood block. When my map ornaments face one way I think they look like map mountains.
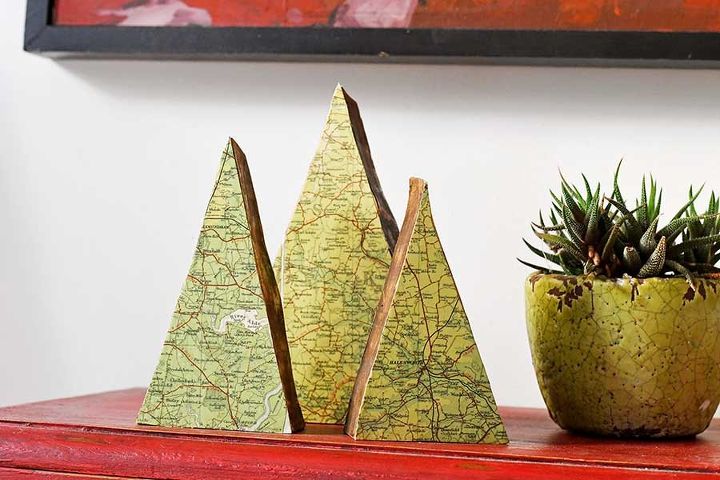
However, when I turn the map ornaments around they look more like trees as the maps I used on the back were green. I think I will keep them this way round for Christmas as they look like map Christmas tree ornaments.
I think that these map ornaments would make a lovely present. Especially if you use maps of places that are special to the recipient.
Check out the blog post at the end for more photos and instructions.
Resources for this project:
See all materials


Comments
Join the conversation
-
I am going to try this! I love it!
-
A really nice project and the uneven saw cut was actually the focal point. The map project would have been rather unappealing if you had used a power saw. A straight cut would detract from the uniqueness of the project. The use of a narrow blade copping saw would be perfect because it would be hard to make an even cut.


Frequently asked questions
Have a question about this project?
Can you do this with pictures?
what coating/sealing did you put on top
Anyone else think that these 'trees' look a little lifeless without stars on the tops?