


DIY Colored Gel Candles
Do you love burning beautiful and colorful candles?....Nothing sets a warm glow in a room better than a candle....and what if I say they are wonderfully easy and fun to make them yourself ? It is pretty much exciting craft and not at all difficult.
The transparent nature of the Gel candle makes it even more exciting to work with.It is also fun to work with the colors for these candles. You can play around with the colors and create your own candles for specific holidays. It is just that you have to take care to use colors that are wax soluble.
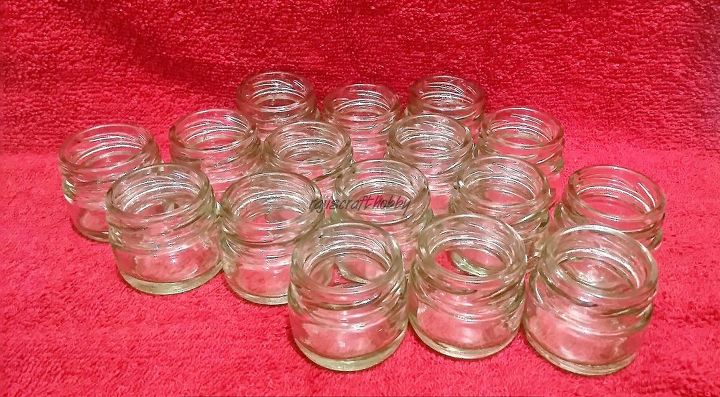
Prepare the jars by cleaning them properly so that there are no dust particles.
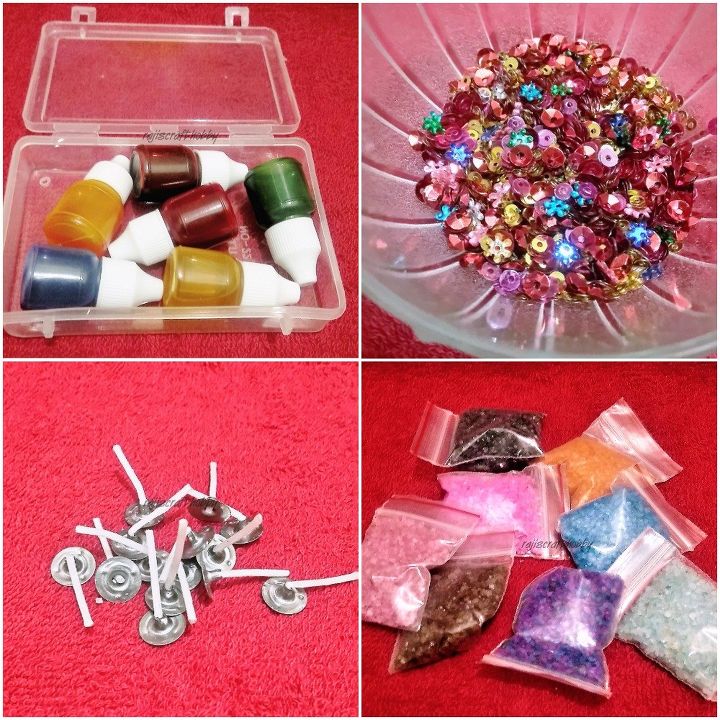
And these are the colors and the decorative objects I used.
And I always prefer using Pre-tabbed candle wicks. They are ready to use, making them easy to use.
It is absolutely essential that you use colors that are made for candles.
You can also use essential oils to make scented candles.
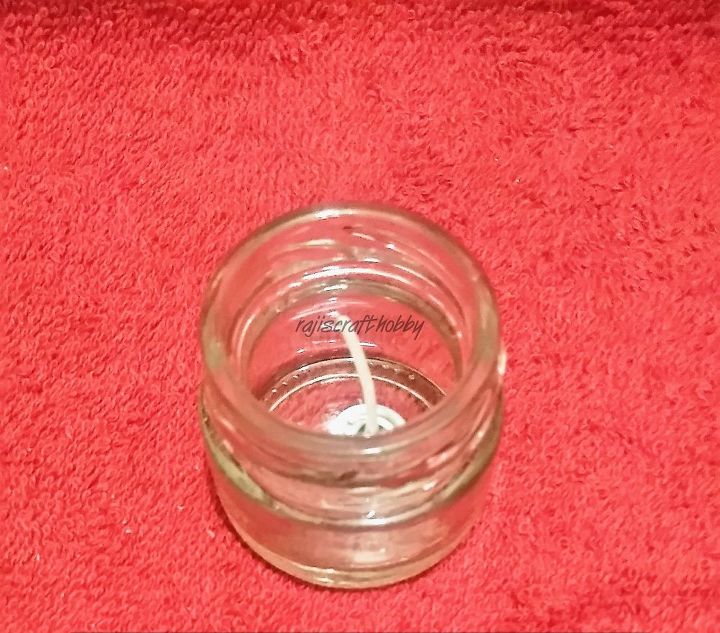
Start by fixing the wicks into the jars. The best way to do this is to just dip the metal end into the melted wax and place it inside the jar. Just hold it in place for few minutes untill the wax cools down. This works like a charm.
I tried using glue but my candles turned out foggy.
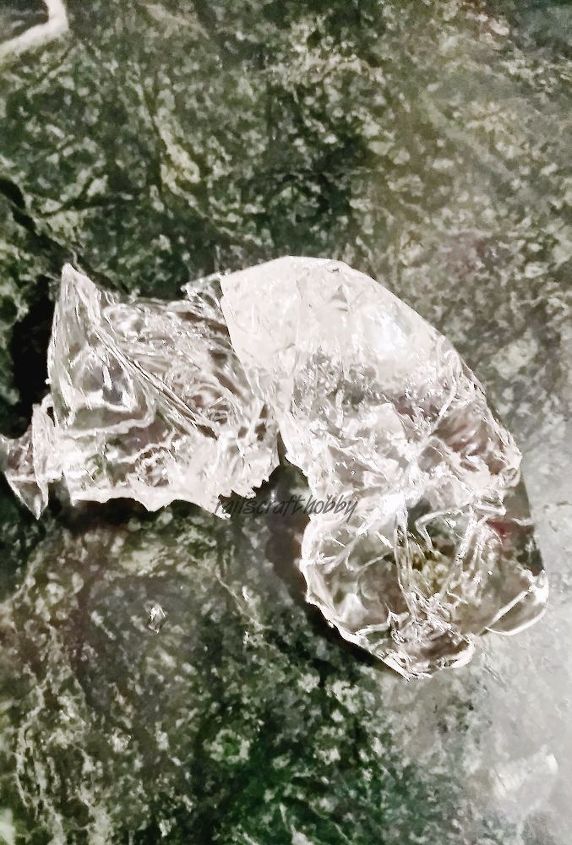
Use double boiler to melt the wax. You can also choose to melt it in oven. Directly heating it over the stove top sometimes makes it catch flames.So, better be safe, right!!!!
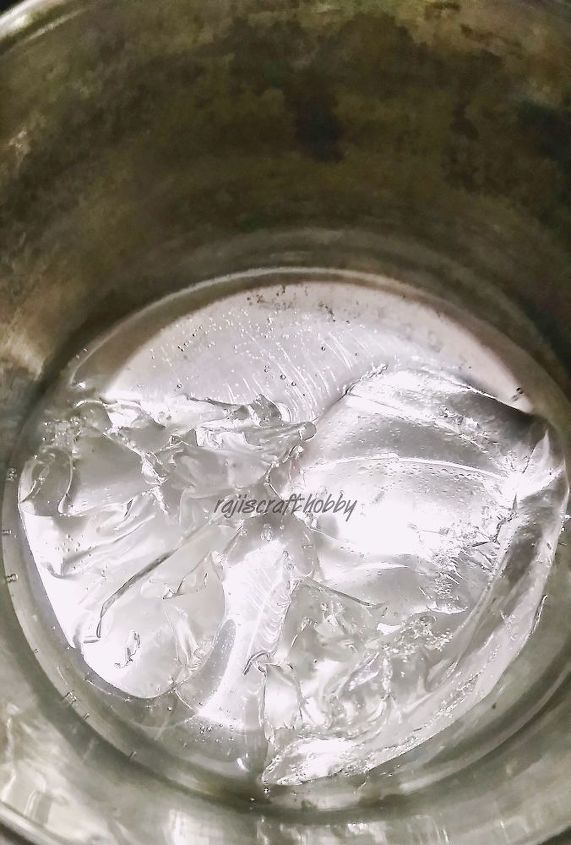
Take two containers. One for pouring water and the other for melting the wax.Pour water in the bottom pan,and put the wax pieces in another container and put it on bottom pan.Start heating.Keep your burner on the lowest temperature so that it doesn't burn up your wax.
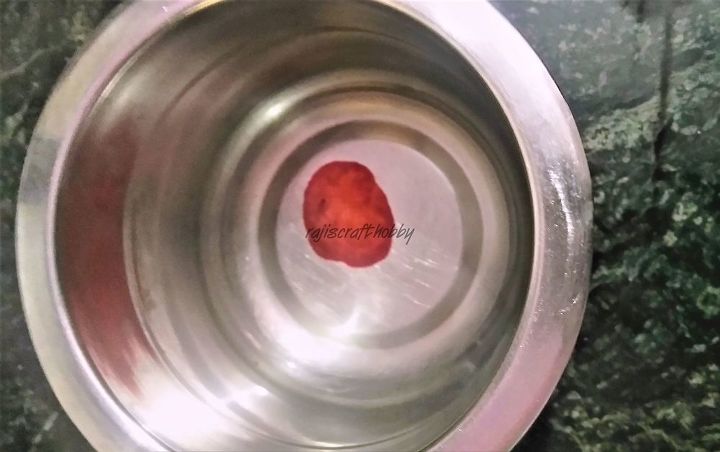
Once the wax is melted completely, take it off the gas , and immediately add the liquid color.
Take care not to add too much. Even 2 to 3 drops are sufficient to get the desired color. At this point, you can also use essential oil of your liking to make scented candles.
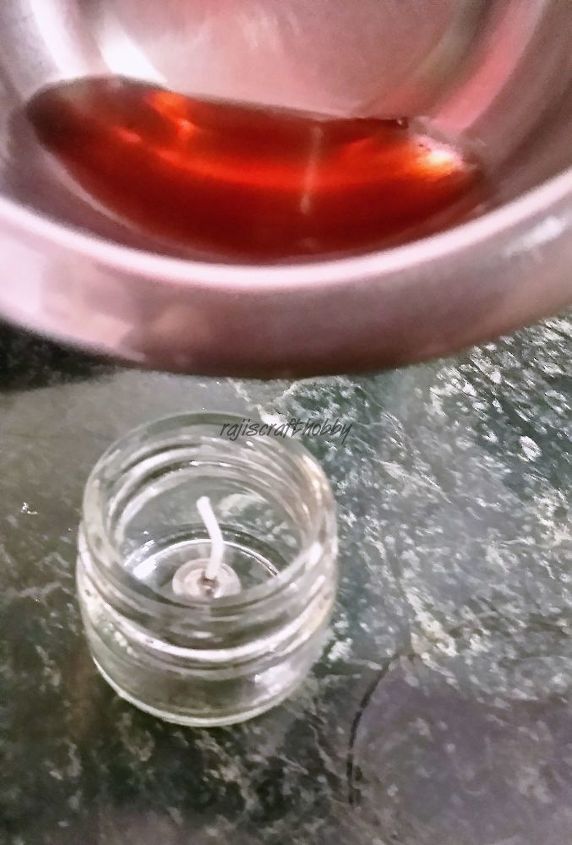
Gently pour them into the containers.
Never pour the wax directly into the container. Always use a support system to pour it. Just hold a metal spoon and pour the wax over it into the jars.
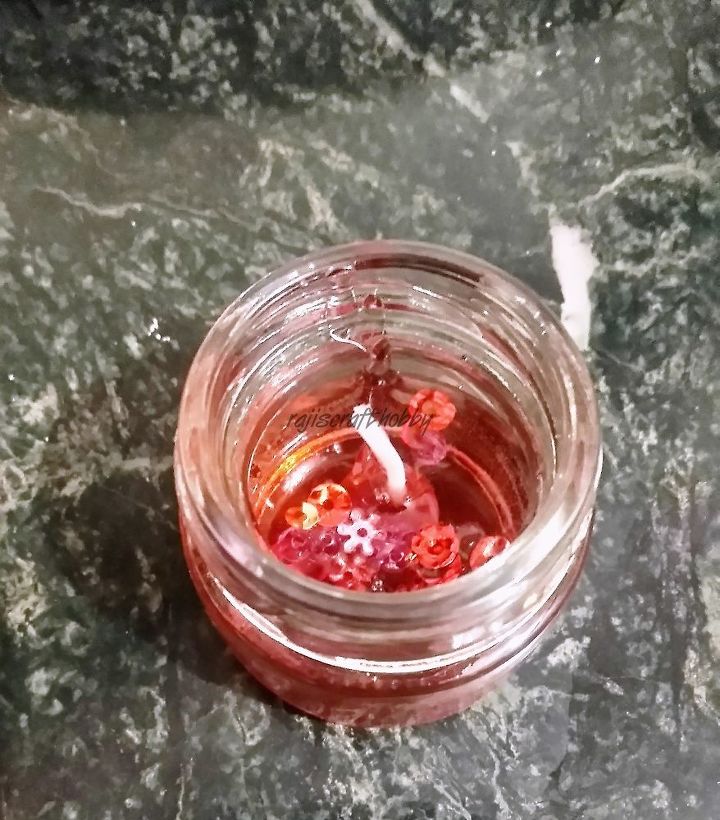
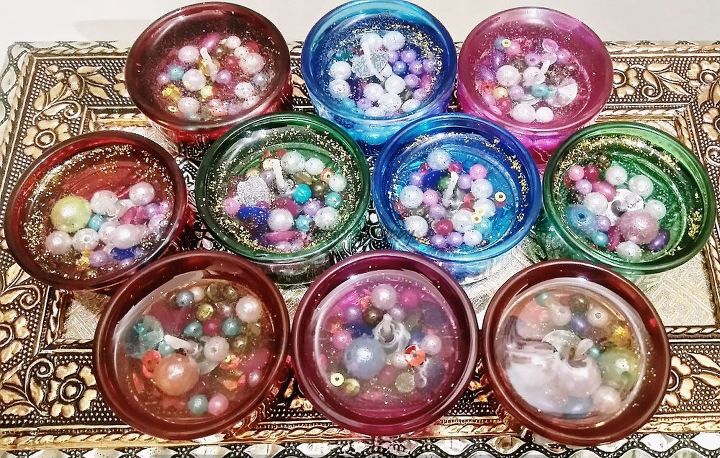
Now add the decorative objects.
Use tooth pick to hold the wick in place which may sway once you pour the wax.
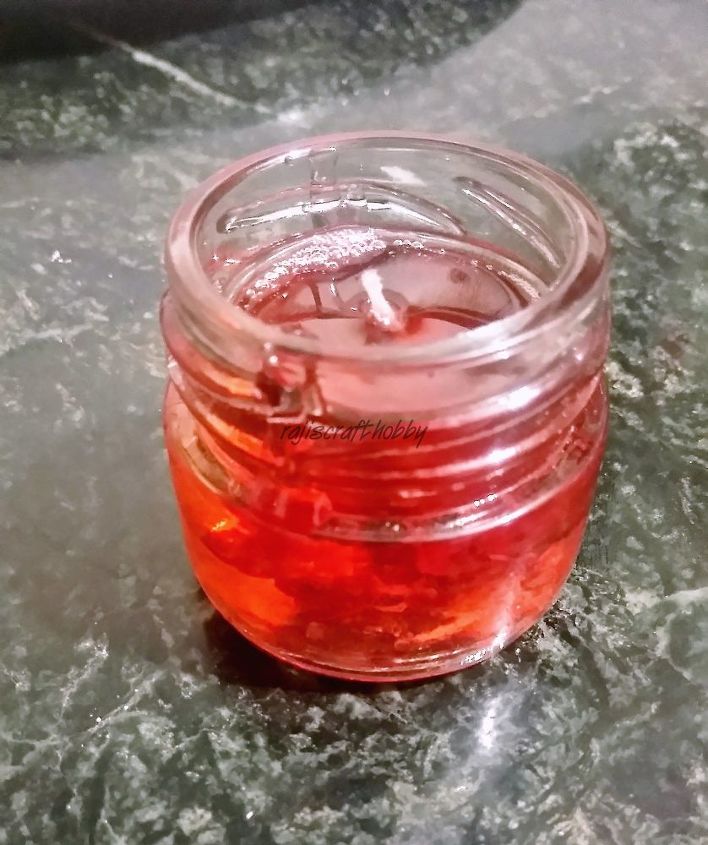
If by any chance you spill the wax, which I did here while pouring, don't worry, you can just wipe it off or once it is cooled , you can easily remove it with your fingers.
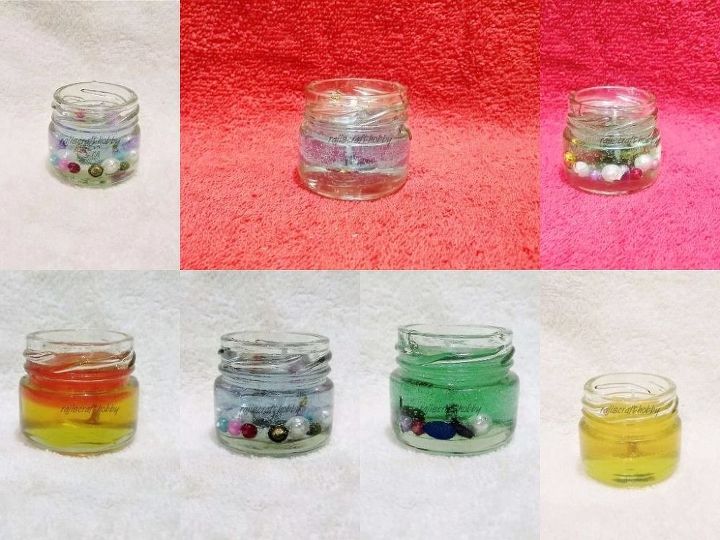
Play around with different colors and decorative objects. Let your creativity take a stride!!!
Let them cool down at room temperature.
Don't touch them untill they are completely set. This would ensure lesser number of bubbles.
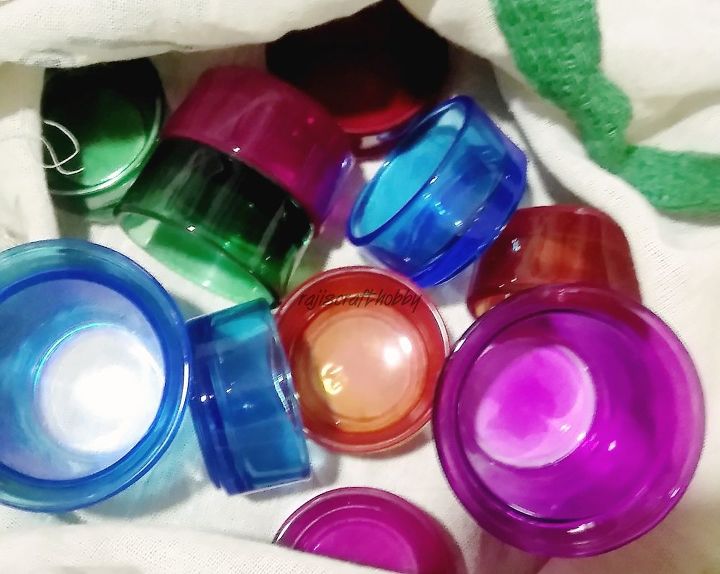
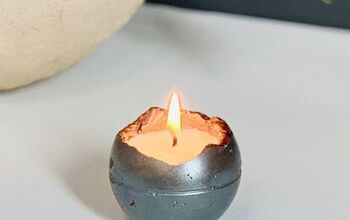
I had some colored tea light holders .
I used them in the same way mentioned above.
Oh... I love the color of these holders.
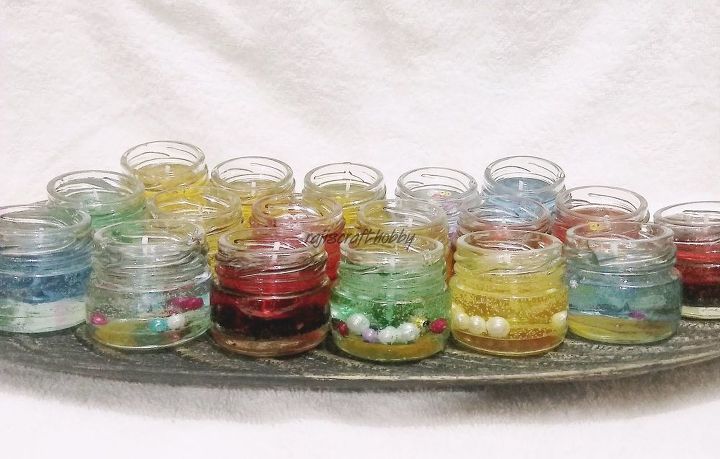
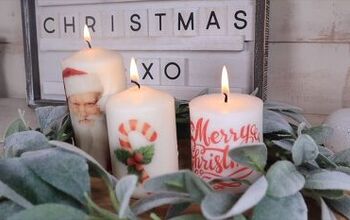
There you go....!!!!
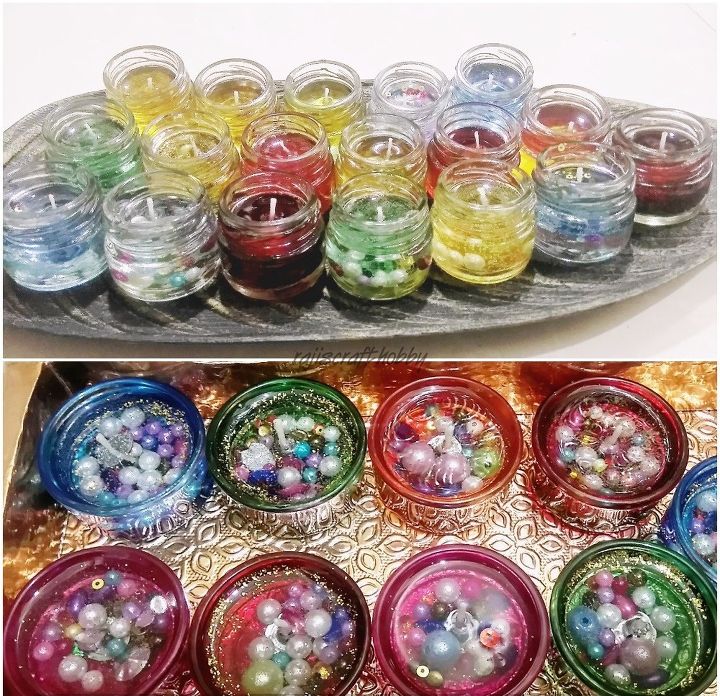
Light them up and enjoy the ambiance they create!!!
Resources for this project:
See all materials


Frequently asked questions
Have a question about this project?