


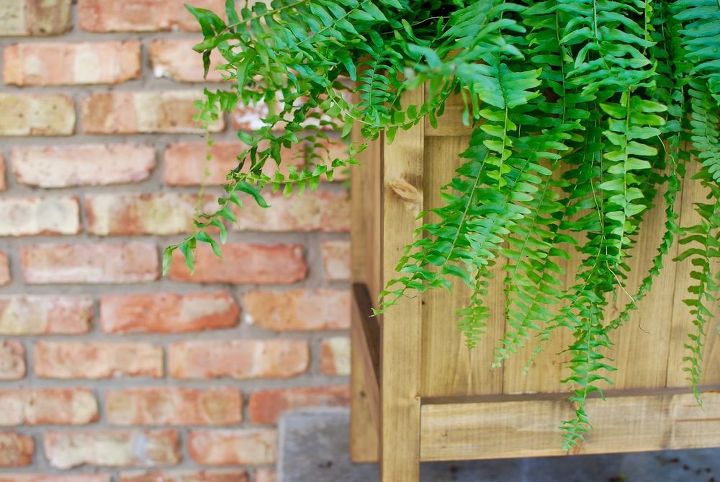
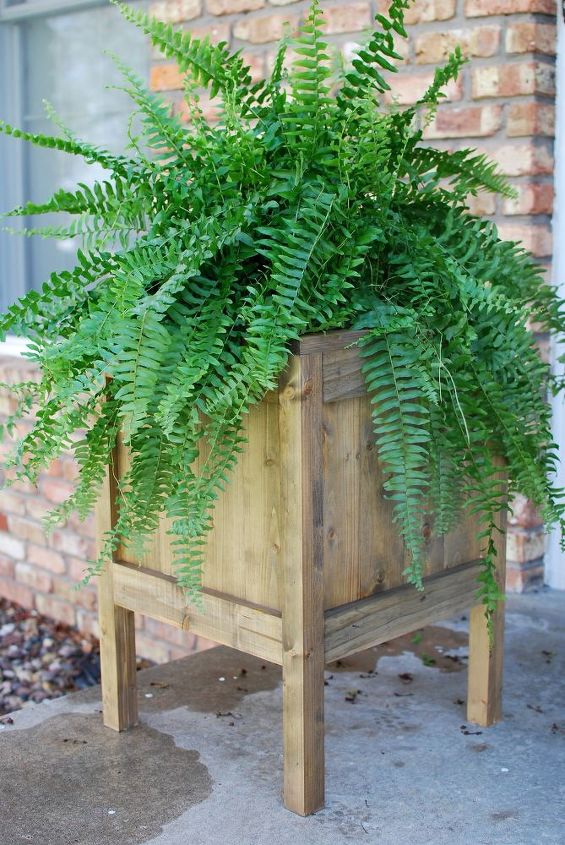
DIY Easy Wood Planter for $20
What better way to bring in the warmer weather than with a beautiful wood planter. And friends, I built this entire planter for $20. And do you want to know the best part? It was super simple. I would rate this build a beginner level.
To find a full list of materials and tools you will need, head over to the blog for all the details!
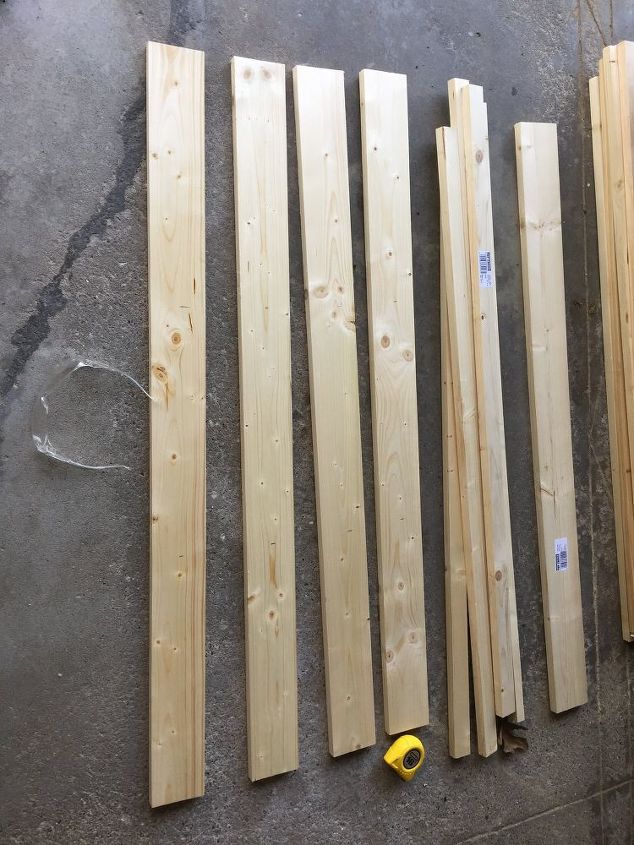
STEP ONE
Cut all boards to size.

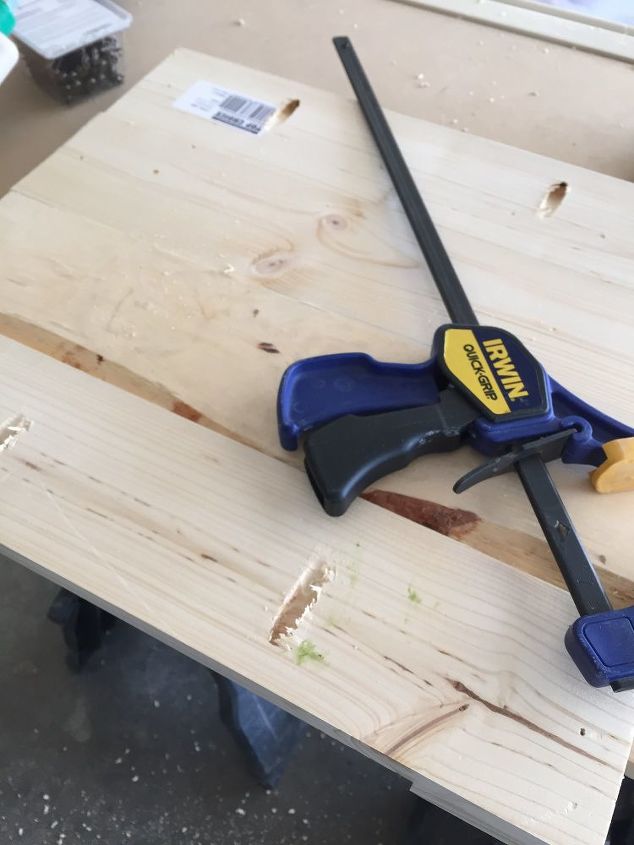
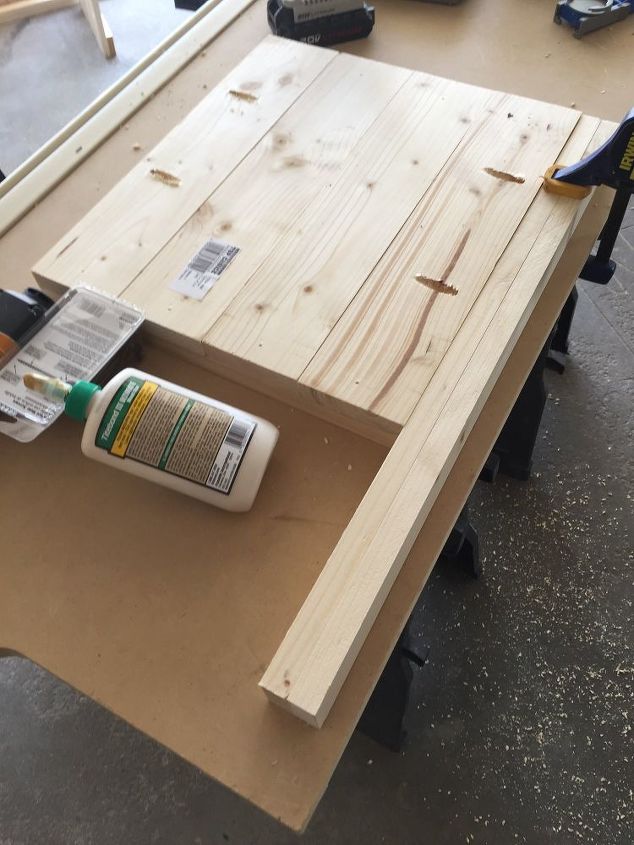
STEP TWO Make the planter side panels.
Glue the 4 1x4s together and nail a 1x3 on the top and bottom (see photo below).
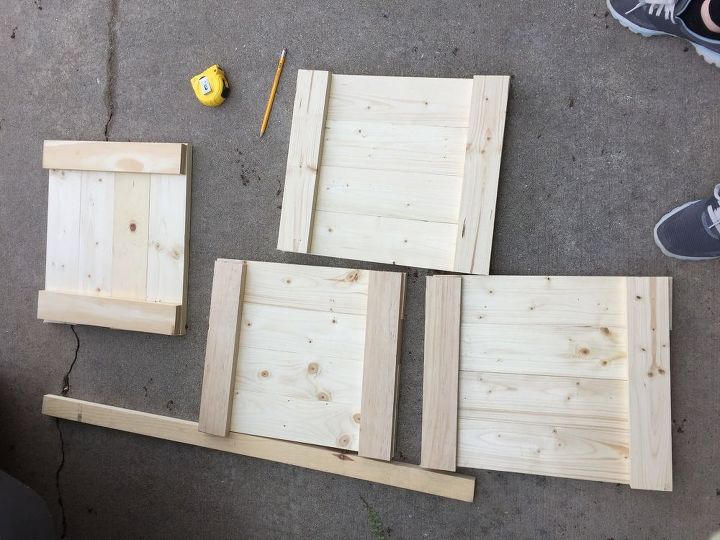
I nailed the 1x3 from the front and back for extra support.
STEP THREE
Nail the legs together.
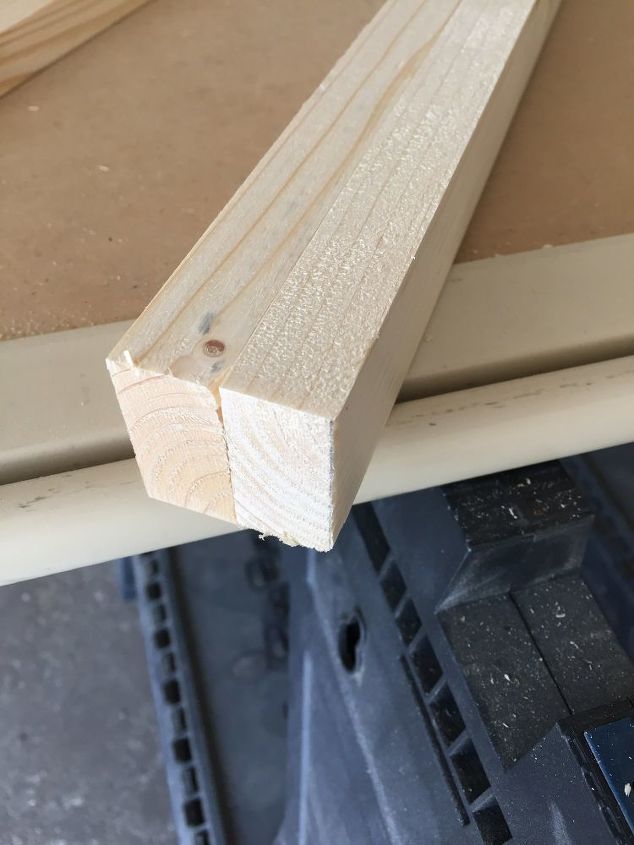
Once the 1x2s are cut in half, nail the two pieces together to create each leg (4 legs total).
STEP FOUR
Drill pocket holes in the side panels.
I drilled two holes on each side of the panels.
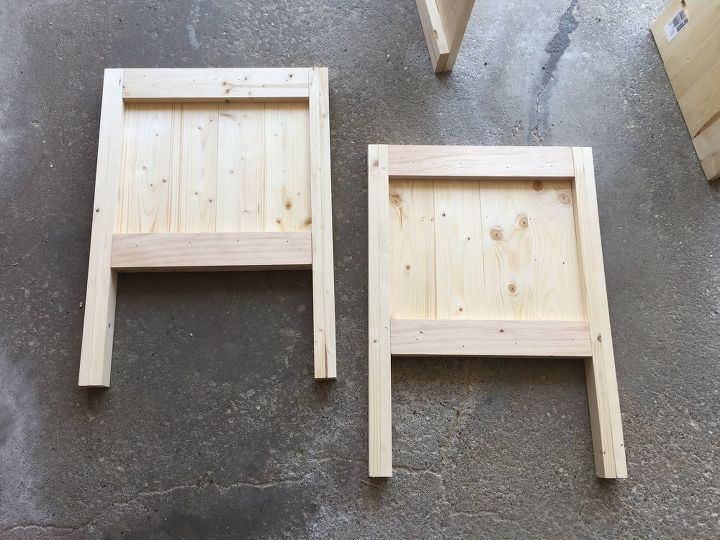
STEP FIVE
Attach the side panels to the legs.
Use pocket hole screws to attach the side panels to the legs. I made everything flat on the top, but you could screw the side panels in at whatever height you prefer.
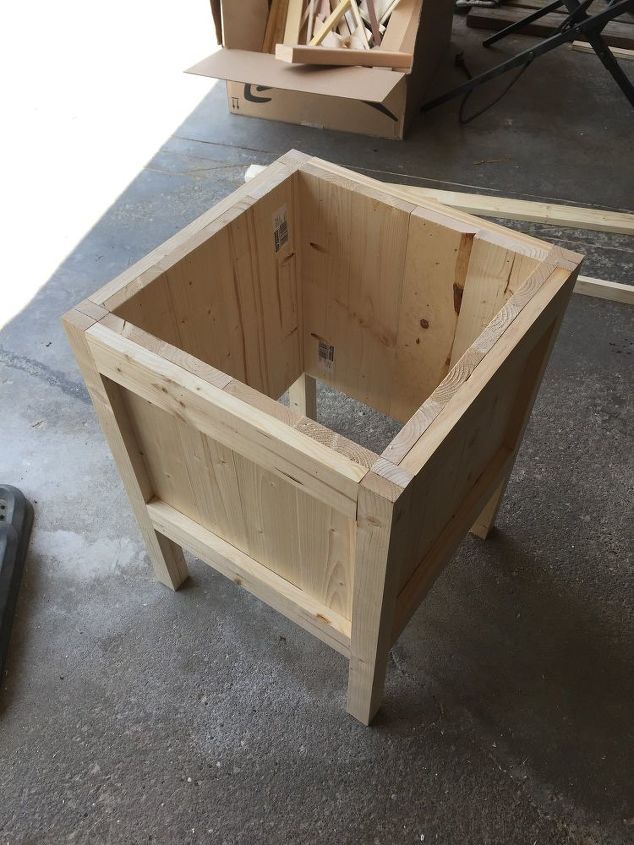
STEP SIX
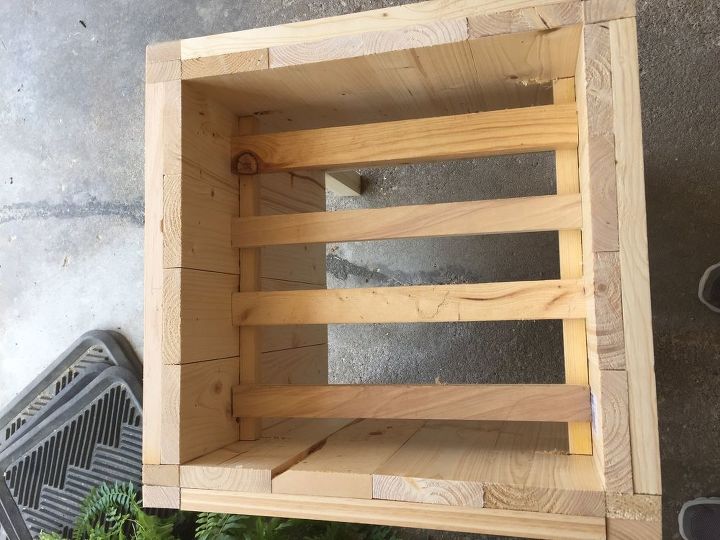
Create 2 cleats and a ‘shelf’ for the plant.
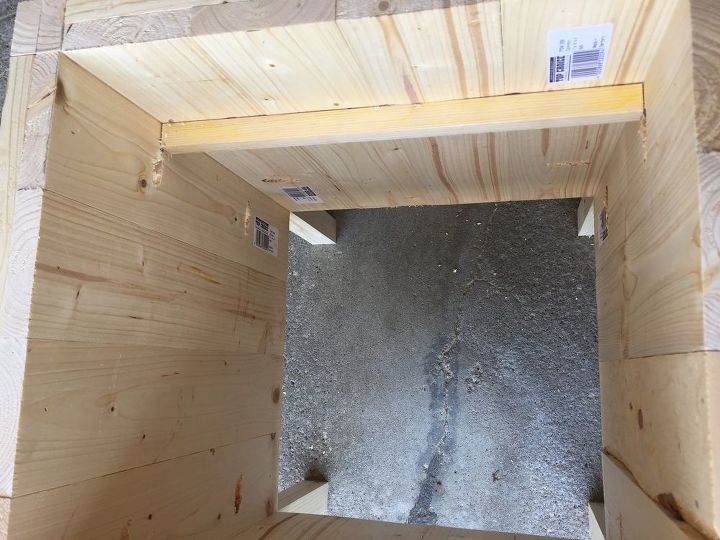
I used scrap wood (you could also use a 1x2) to create 2 cleats. I then cut a few more pieces to create a ‘shelf’ for the plant to sit on and used the nail gun to attach these pieces.
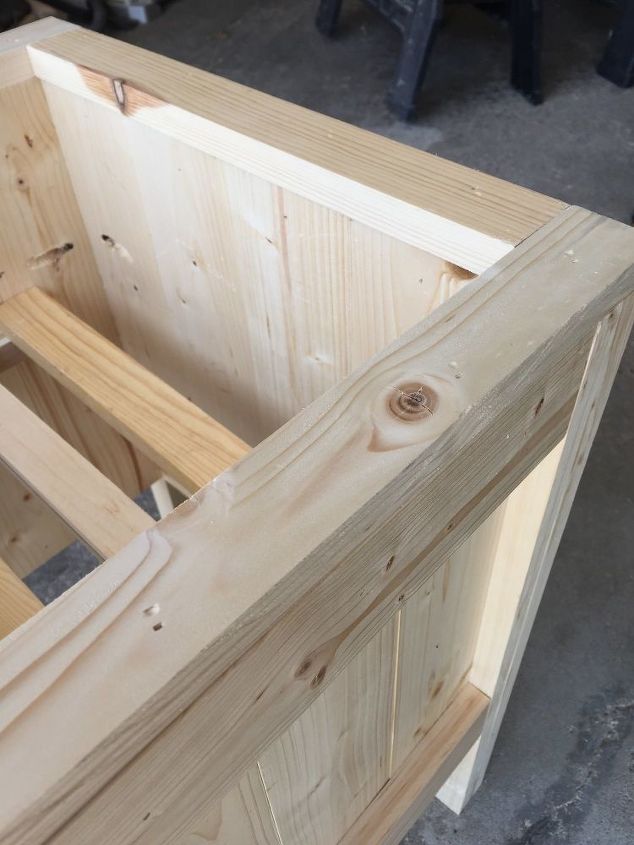
STEP SEVEN
(Optional) Cut 4 pieces of 1x2 to size to trim the top of the planter.
STEP EIGHT
Stain and finish.
Stain the wood however you’d like, then finish it with an outdoor finish.
To see more photos and the full details of the wood and measurements needed, head over to the blog post!
Resources for this project:
See all materials


Comments
Join the conversation
-
Thanks for the idea. I will go to your blog to get the cutting instructions.
-
This is a reallllllllllly nice planter.........especially if ya put casters on it.????? Great job!!


Frequently asked questions
Have a question about this project?