


DIY Lid for a Wood Crate
Store things in a wood crate and make a top for it!
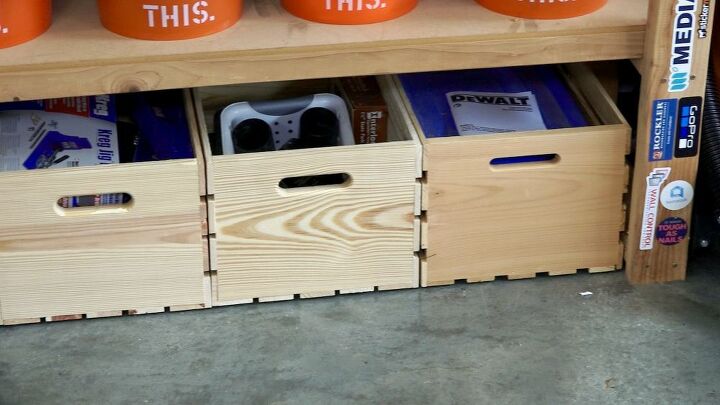
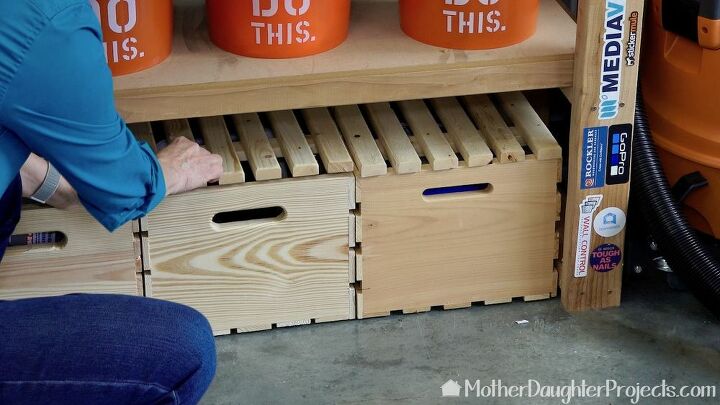
As part of Steph's garage reorganization, we added five wood crates beneath the workbench to store all kinds of odds and ends. We decided we didn't like the look of the open crates, so we made simple lids for them.
Please take a minute to click here to sign up for the Mother Daughter Projects weekly newsletter. You'll get a notification about our new projects and what is up and coming.
After
Watch the video to see how to make lids for ready-made wood crates.
For your convenience, there are links to the products we use in our projects from Amazon as well as The Home Depot, Wall Control. (Mother Daughter Projects is a participant in the Amazon Services LLC Associates Program, an affiliate advertising program designed to provide a means for sites to earn advertising fees by advertising and links to Amazon.)
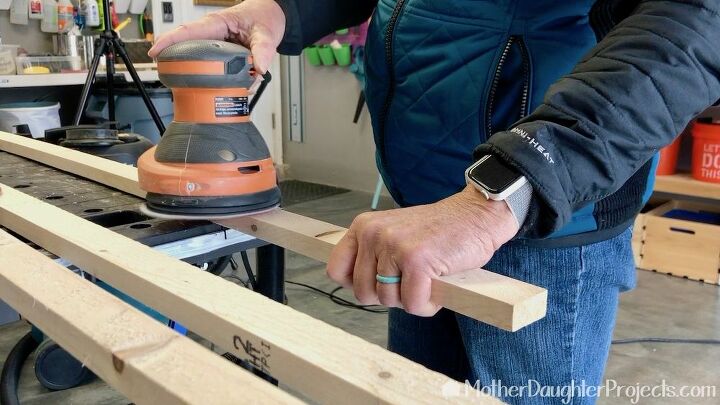
We are using furring strips. They are very inexpensive. We started by sanding them as they are fairly rough.
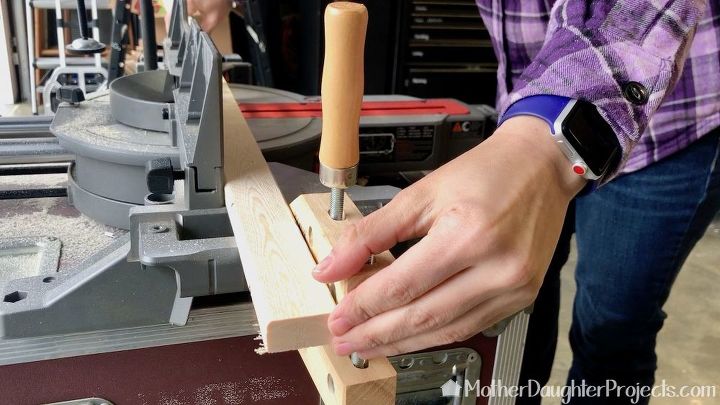
Six slats are needed for each lid. Each slat measures 18" long. We are using a miter saw, but these can be cut with a miter box and hand saw.
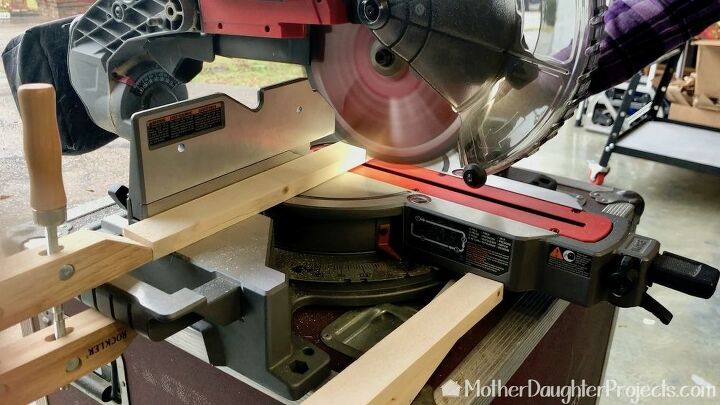
We also cut two cross bars for each lid. These are from the same furring strips, but are cut to 11 3/4" long.
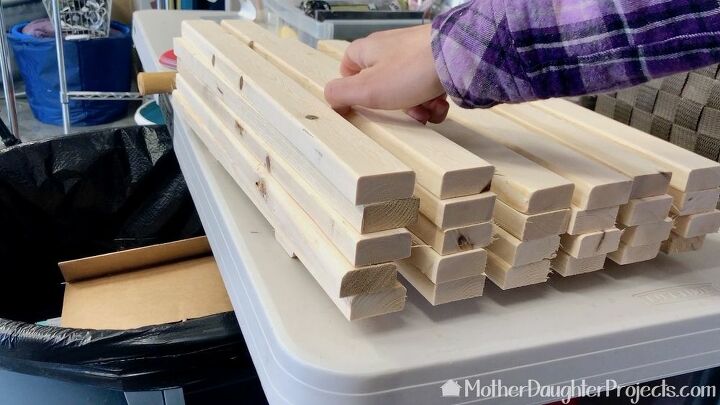
All the cut pieces are now ready for assembly.
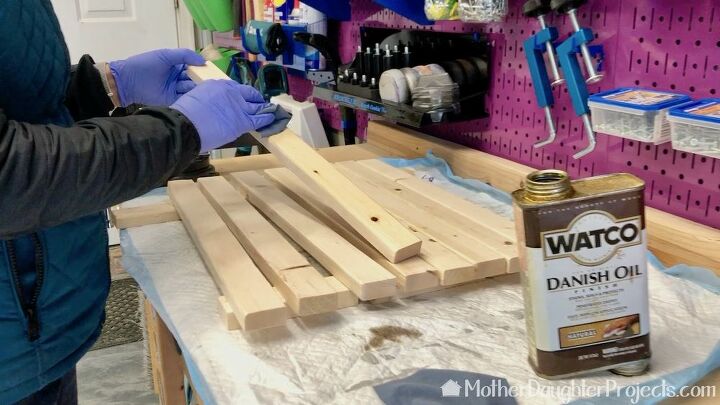
Using some kind of finish on the slats is optional. We chose to finish with a bit of Danish oil to better match the existing color of the crates.
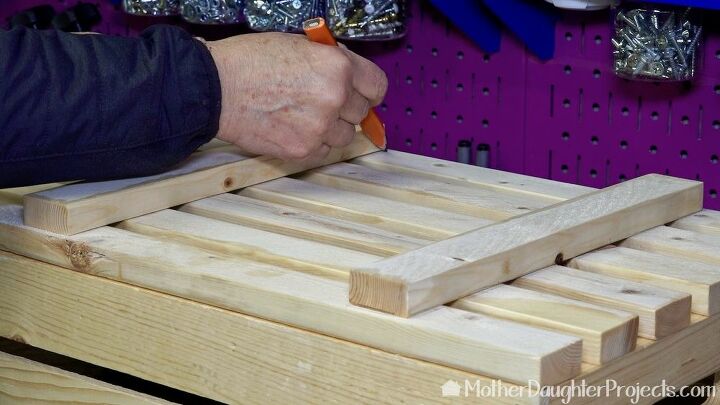
To assemble, we laid the slats upside down on the top of the crate. We just eyeballed the spacing, but you could measure the spacing if you wanted. We put the cross bars in place and then marked around them.
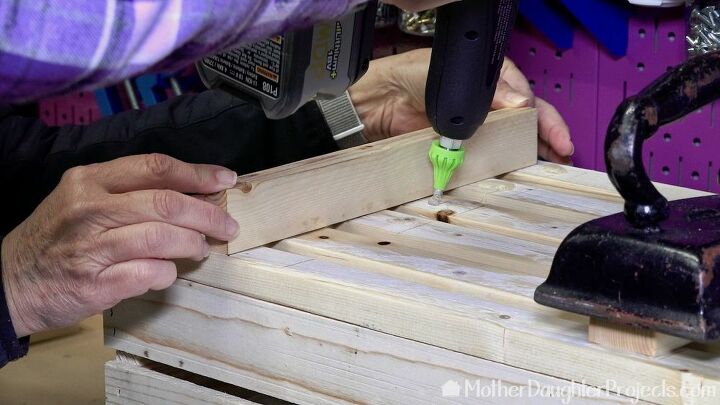
We are using a Surebonder hot glue gun with their wood glue. Work with a buddy as the glue cools quickly. We traced the outline so that we could quickly line up where the crossbar needed to be placed once the hot glue was put on. Weigh down the crossbar once glued until the glue dries. We are using our vintage irons for this.
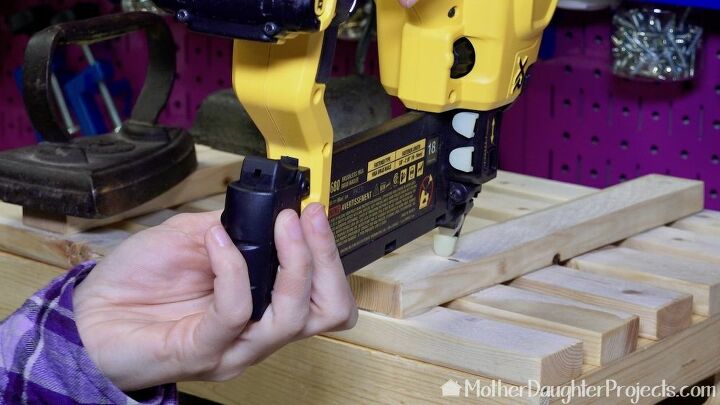
We finished with a coupe of brad nails or you could use screws or nails.
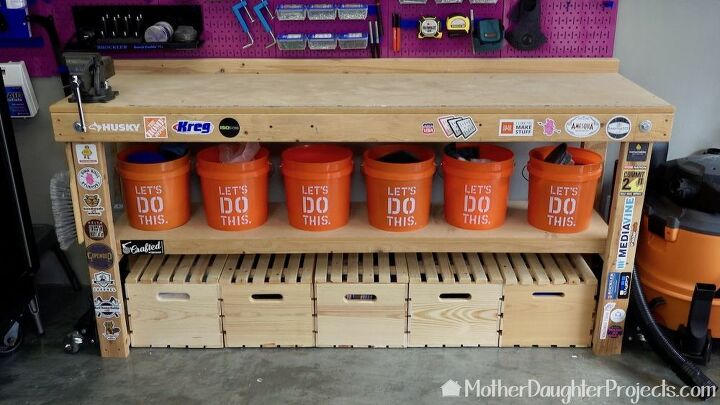
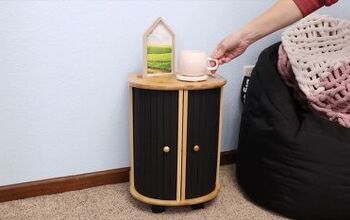
Here they are all covered and in place. A bonus to having lids is we can now store additional items on top of the crates.
Resources for this project:
See all materials


Comments
Join the conversation
-
I really enjoy the Mother/Daughter Projects.
I'm asuming that one of ur advertizements is for naturefreshpurifire. Thanks ,I was ready to buy some..
-
Im in Athens, Pa.


Frequently asked questions
Have a question about this project?
I like the idea but Just asking...why did you not make the lids solid instead of having open spaces ?