


DIY Footed Planter
Calling all plant lovers! (Real OR fake plants, I don’t judge). This DIY takes a $4 planter and turns it into something much more chic. If you love the look of ceramic footed planters, but don’t want to pay the price, this is for you!
Watch the video above to see how you can easily make your own, or keep reading for step by step instructions. Enjoy!
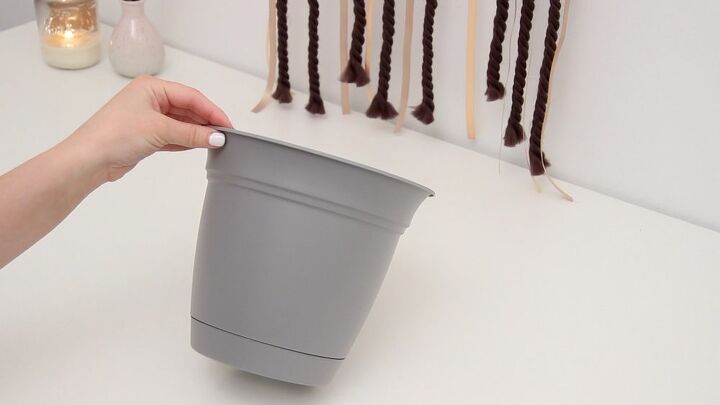
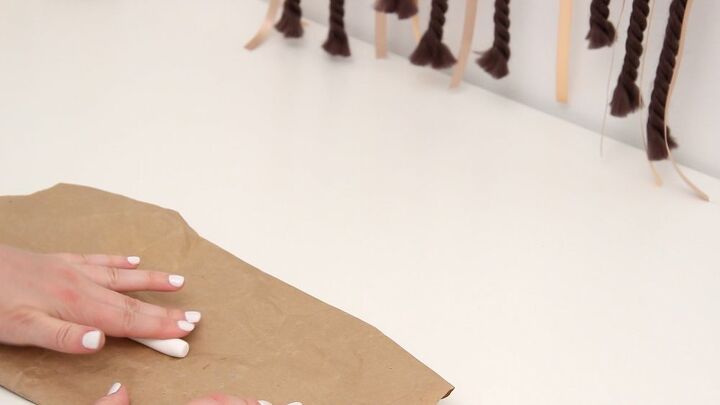
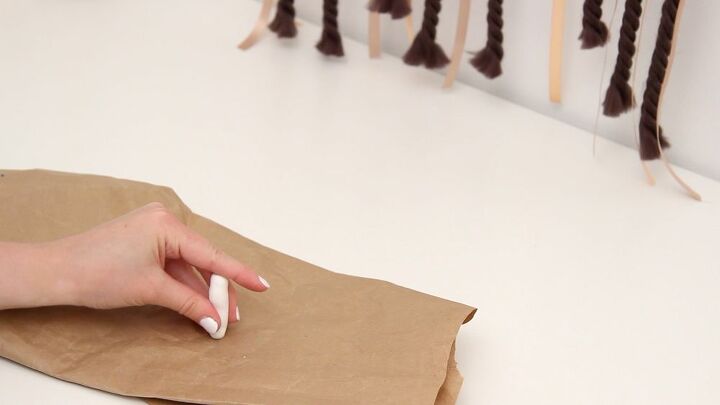
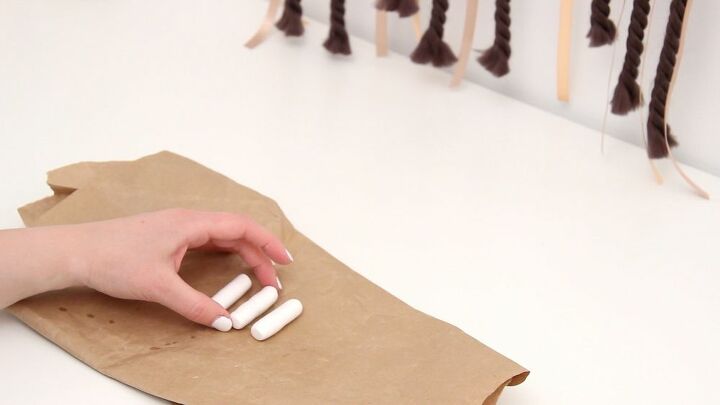
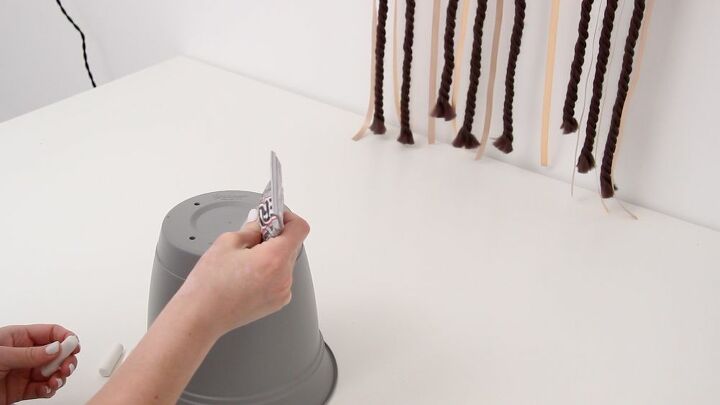
I used a lightweight plant pot that I picked up in the gardening section. It doesn't have to be anything fancy. Using some oven bake clay, break off a small piece and begin working with it to soften it. Roll it in between your hands or onto a piece of paper, forming a tube shape that is about 2 inches long. Press each end down onto a flat surface to give it a flat bottom.
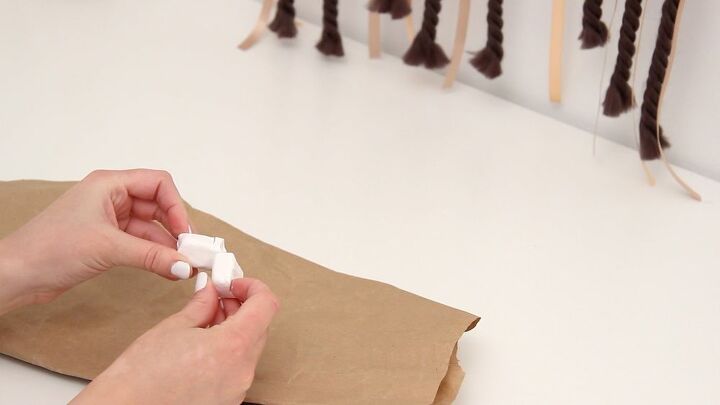
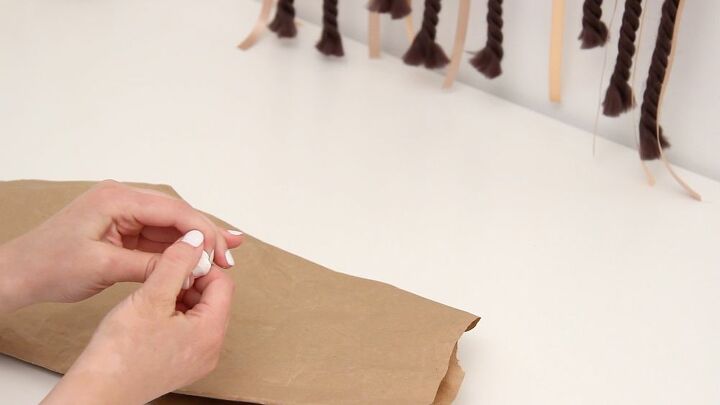
Create 3 clay legs of equal size and bake them according to the package instructions. Mine were baked for 30 minutes at 275 degrees Fahrenheit.
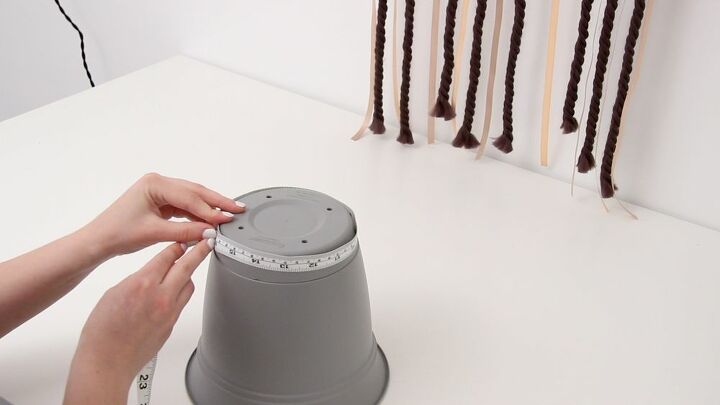
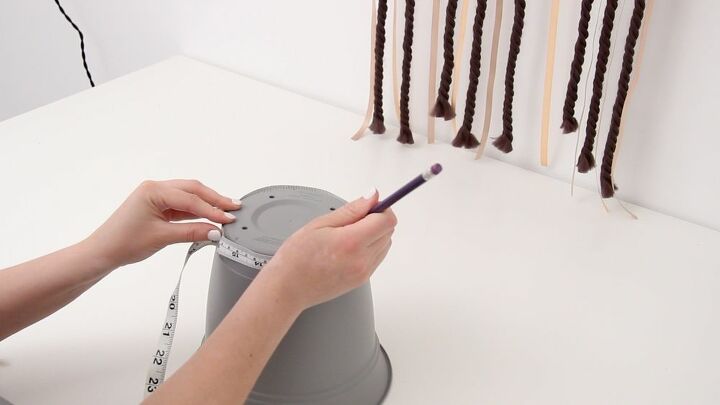
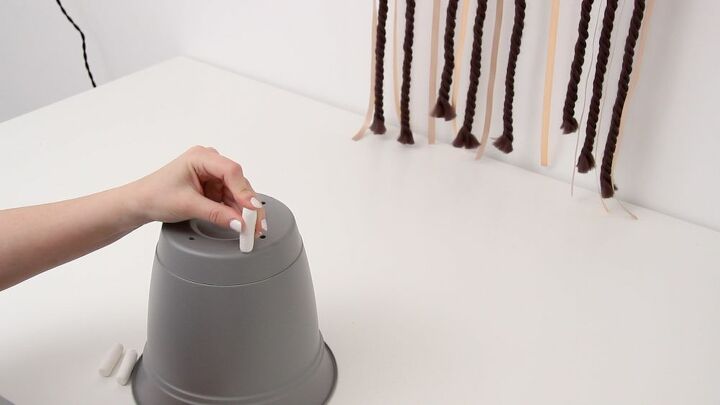
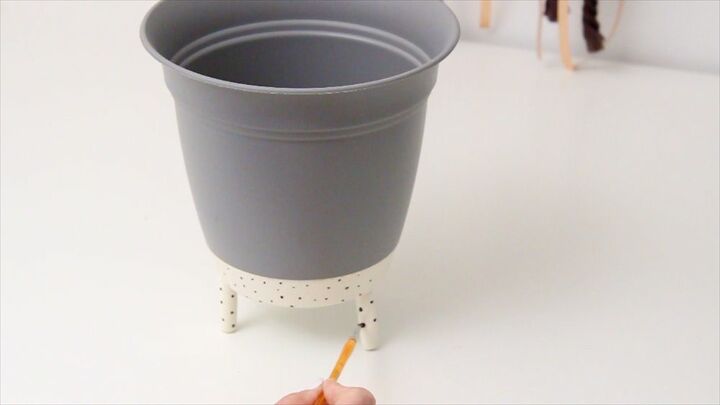
Measure the circumference of the bottom of your pot and make 3 pencil marks that are equidistant.
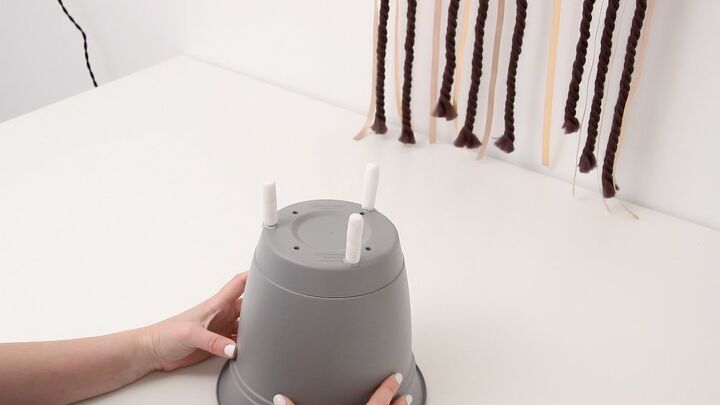
Apply a generous dot of E6000 glue to each mark, then glue a clay leg to each, angling them outward just slightly. Let the glue cure for as long as the package advises.
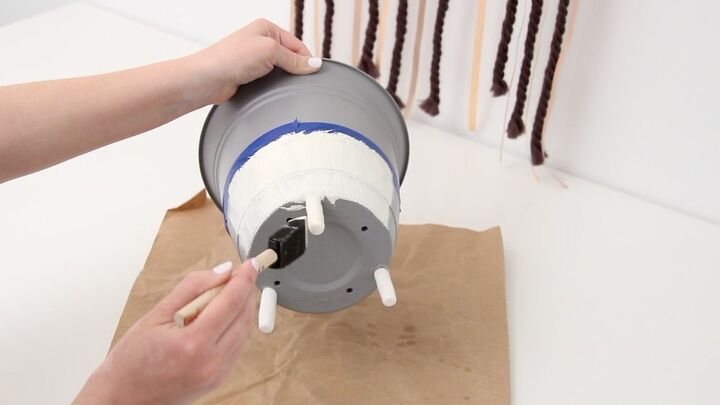
Use painter’s tape to tape off the bottom third of the planter, including the legs. Paint the bottom of the pot any color that you like. Peel off the tape and then use black paint to make tiny dots to create a speckled effect.
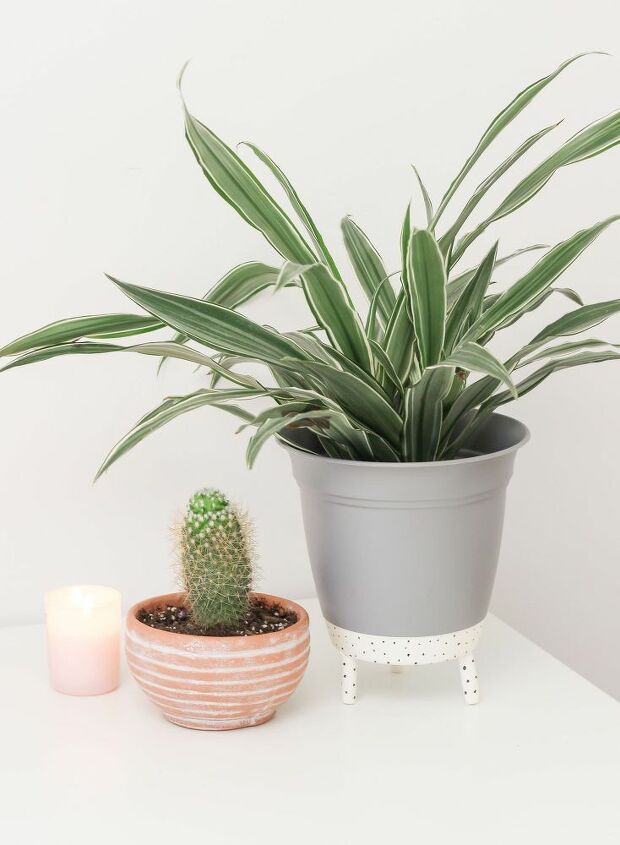
Add your favorite plant and enjoy! I love this simple transformation and how easy it was to upgrade a plain planter into something a little more modern. If you like this project and want to see more, check out my YouTube channel by clicking here, or visit my website: www.katiebookser.com
Resources for this project:
See all materials


Comments
Join the conversation
-
Such a great idea and styleistic

-
I will try this but with cut wood dowels instead of clay. Thanks for the idea. It looks great!


Frequently asked questions
Have a question about this project?