


DIY Patio Table for Two

Being single mom to a 9 year old, with a full-time job and a house to take care of, I’ve been on a quest to simplify our lives as much as possible. I don’t want to waste this precious time doing things that aren’t all that important to me.
One of the first things on my list this spring was to get control of our patio ‘stuff’. Each fall I spend so much time trying to shoe-horn all our patio furniture into our tiny shed. And last year I came frighteningly close to being smacked in the teeth with a large metal hammock leg!! This past weekend I sold off a lot of the patio furniture that we never really used, including a 6 person patio table set that literally nobody ever sat at. Not once! I decided a little table for two would work just fine for us. We rarely entertain guests in the yard, but if we do I have a portable folding table we can pull out.
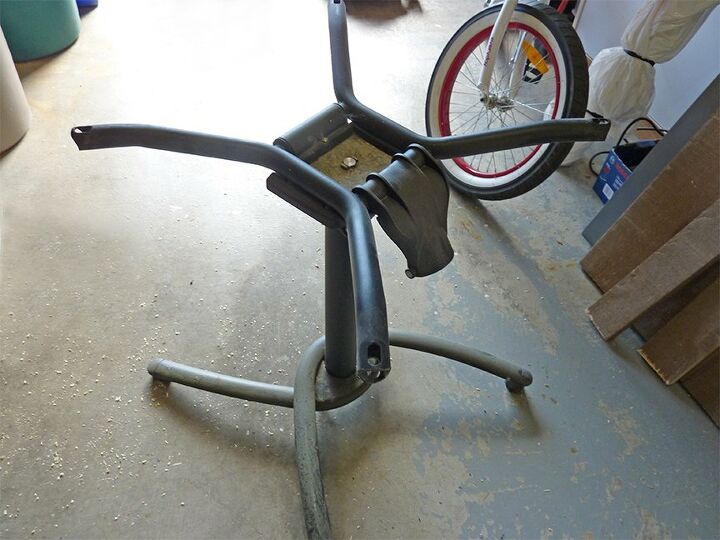
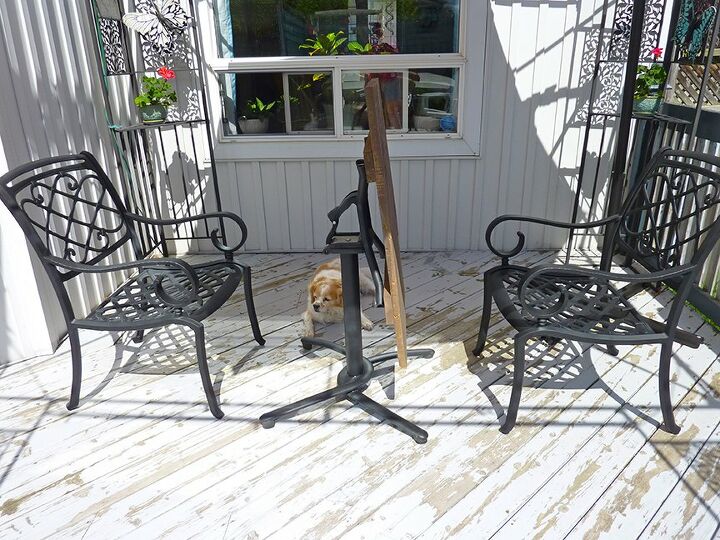
I saw online a nearby restaurant was selling off its patio tables for $5 each. The laminate tops were damaged, but I figured the legs alone were worth $5 given that they were likely commercial grade. And they had a neat folding feature! So I picked one up.
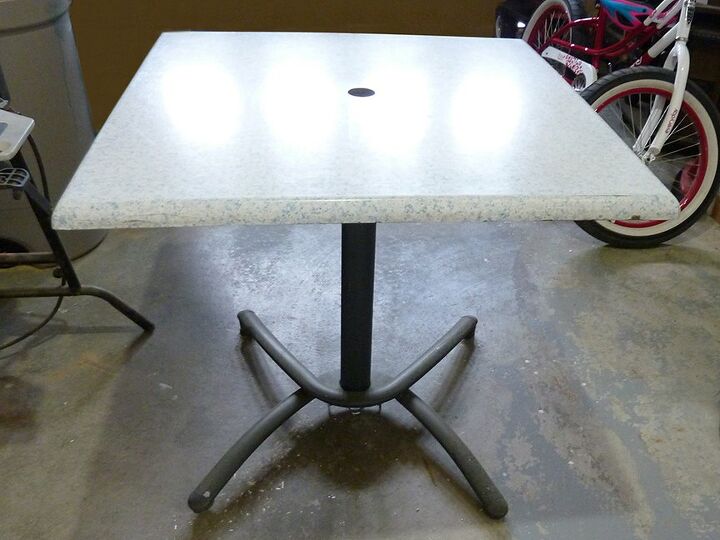
The first step was to remove the old top using a hex key, which was super easy.
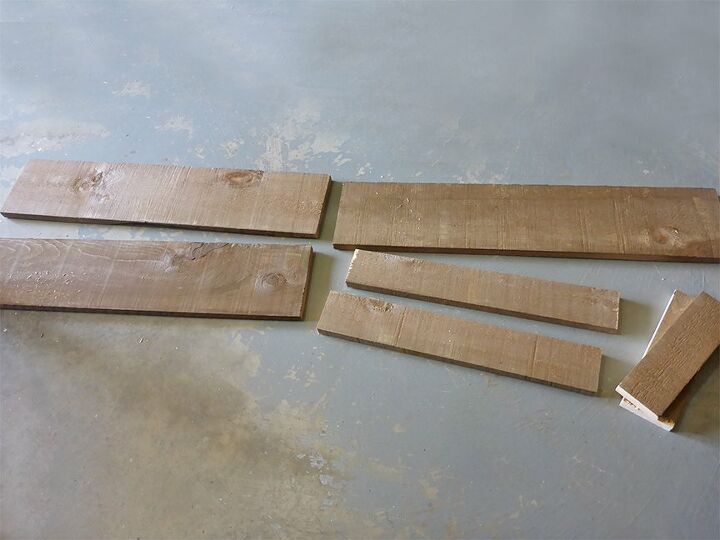
I wanted the new table top to be roughly 2 x 3’. So I went to Home Depot and picked out two barn boards – 1” x 6” x 6’
I had them cut both boards in half
Then one of those halves I had them shear in half and cut to 2’ lengths
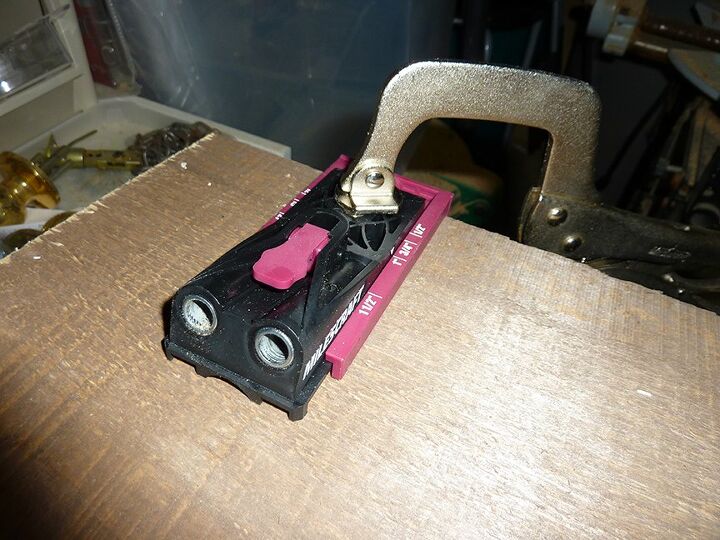
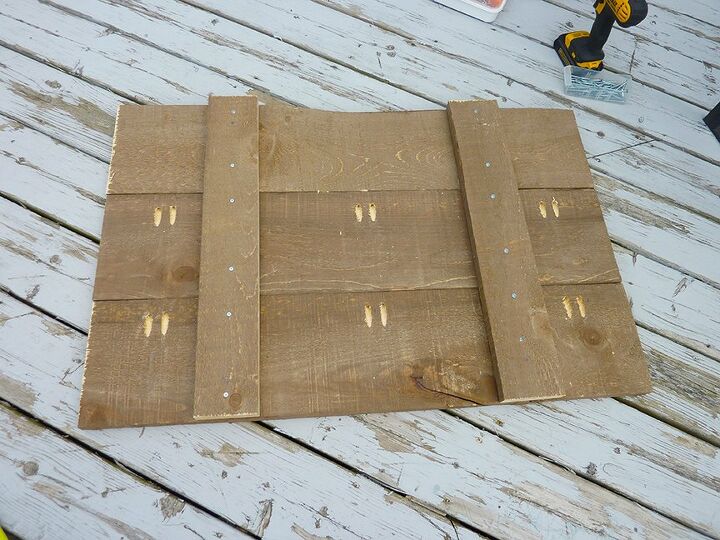
I then drilled pocket holes in the boards (but didn’t screw them together yet)
I glued between each board with wood glue. I used a little precision brush from the dollar store to apply it as I always make such an oozy mess when I squeeze glue directly from the container!
Then I clamped the 3 boards together and left it overnight for the glue to dry.
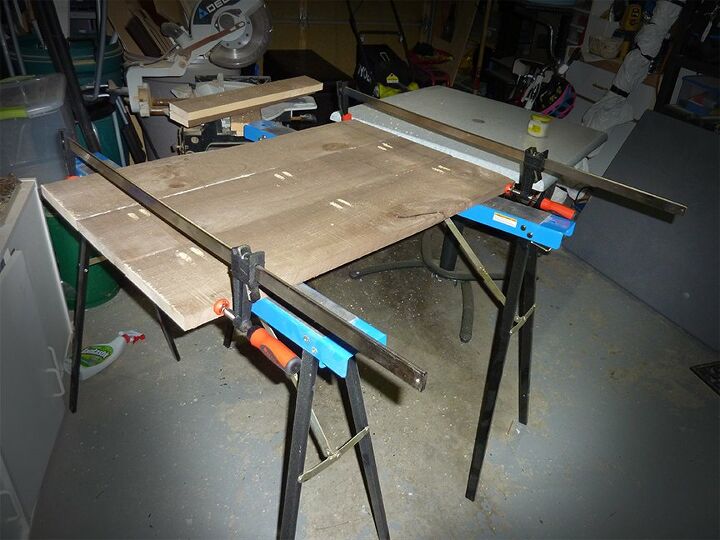
The following morning I screwed into the pocket holes and removed the clamps
I was about to attach the 2’ support boards – but they were too long! So I recommend if you have boards cut at Home Depot for a project that you lay out your pieces to confirm it all lines up before you leave.
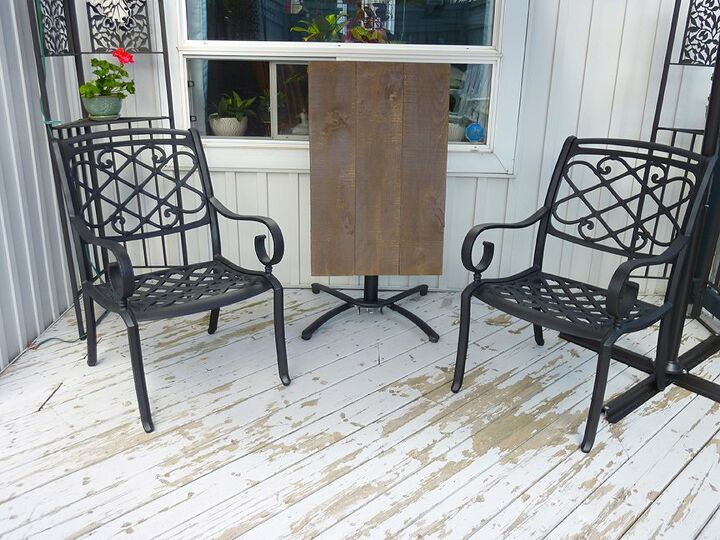
Fortunately I have a saw so this wasn’t a big deal. I shortened them to the correct length and screwed them to the bottom of the table top.
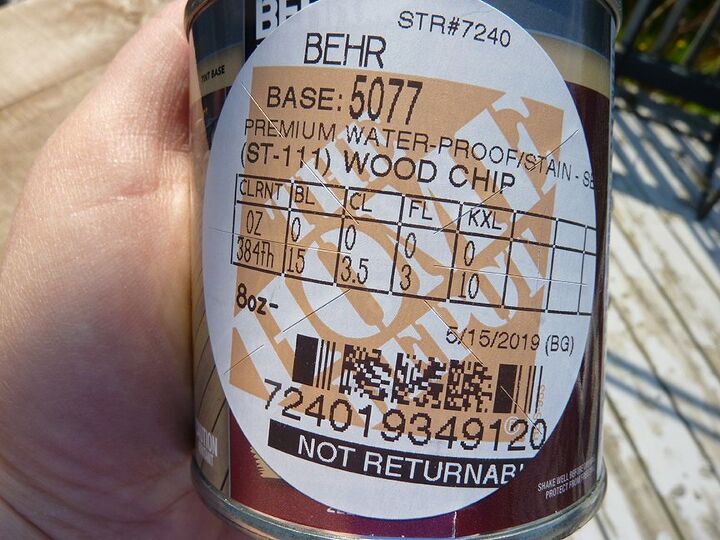
Then I sanded it to be sure there were no splinters and stained it using a sample size can of water-proof stain.
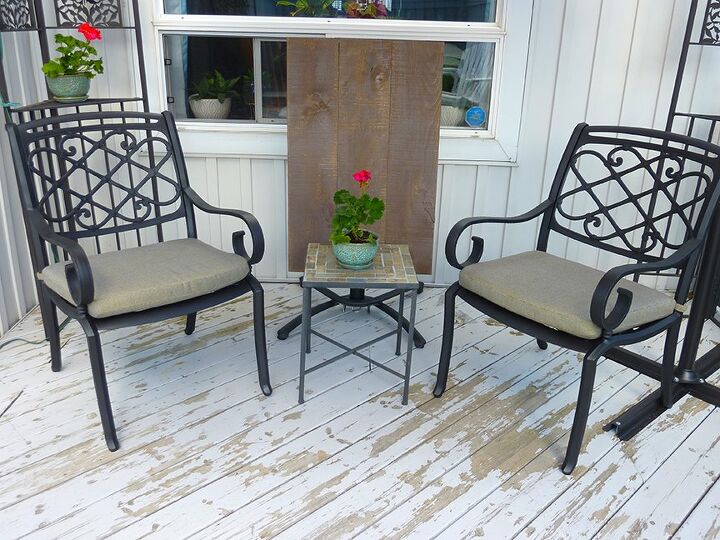
And here’s our cute little table for two.
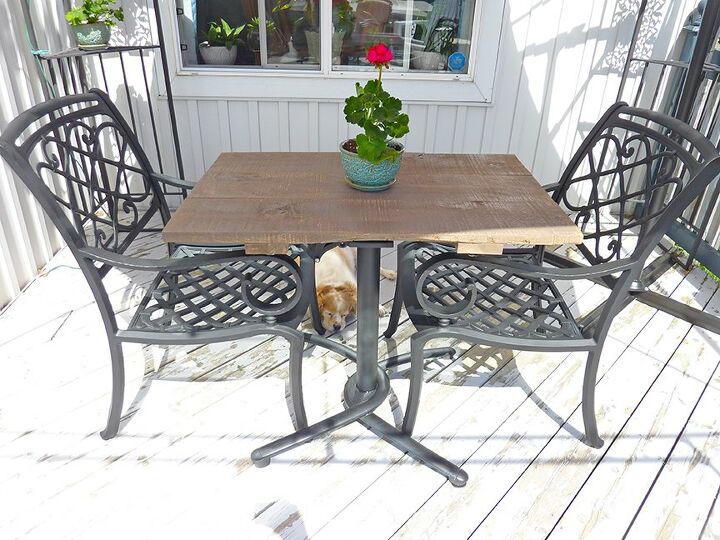
Once dinner is done it takes 1 second to fold up our table
And can very easily slide it out of our way if we want to utilize the shaded area for something else
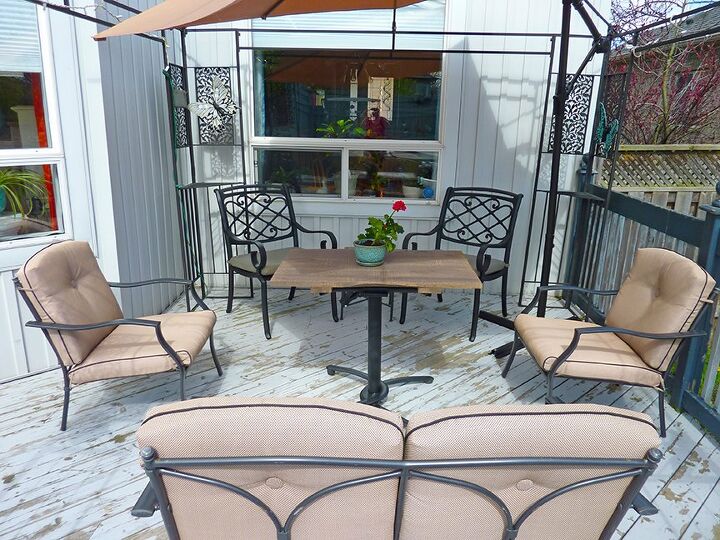
Once fall rolls around – the task of packing up our patio furniture will be far less daunting!
Quest to get control of patio furniture – CHECK! :)

Resources for this project:
See all materials


Comments
Join the conversation
-
What foresight! This is such a wonderful idea for folks with limited space. Genius!
-
Truly a great idea and job well done
 It really is so convenient when it comes time to store it away for the winter.


Frequently asked questions
Have a question about this project?
Do you have to release something to let it fold. Would think it needs to be locked in place when using as a dinner table.
How to unclogged dishwasher
Love, love, LOVE!!!!!🤗🤗🤗