


Dollar Store Pumpkin Upscale

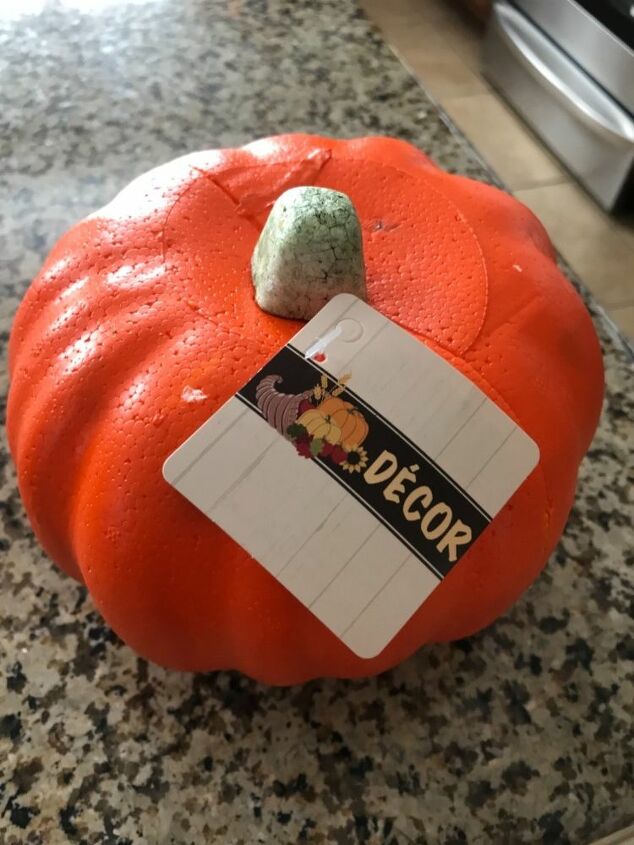
I picked up these pumpkins even though they were not so attractive. Because, hey, who can beat a dollar? I took them home, and easily gave them a new look. Check out how I did it!
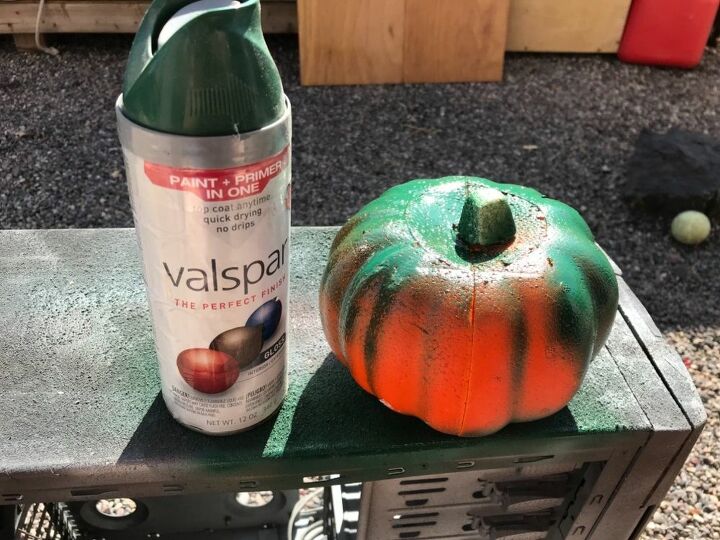
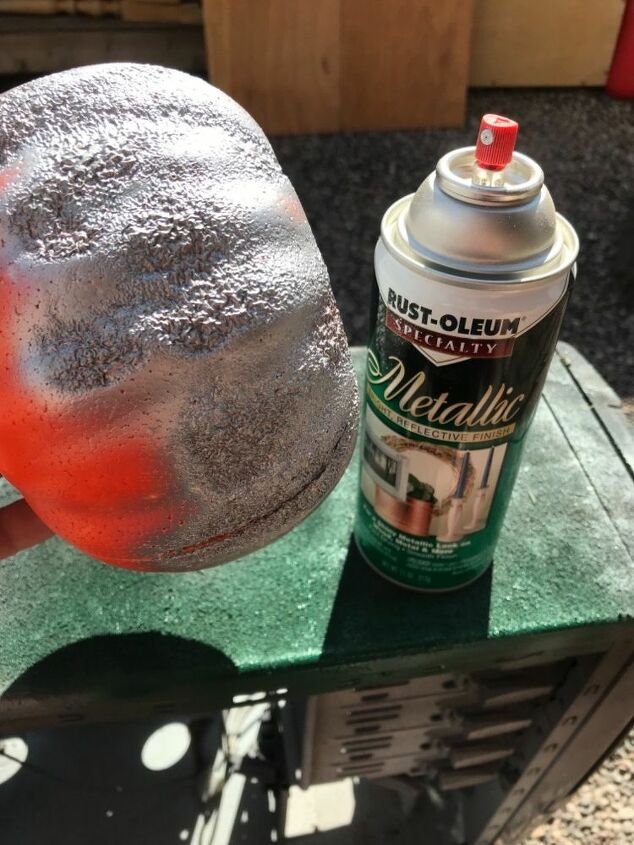
I started off by spraying each of them with a base coating. One green, one white, and one silver. (Tip: Don't spray it too close, or it'll melt the foam! I kind of melted one of mine.)
I decided that I'd use that one as the ugly pumpkin 🤣. They can't all be perfect!
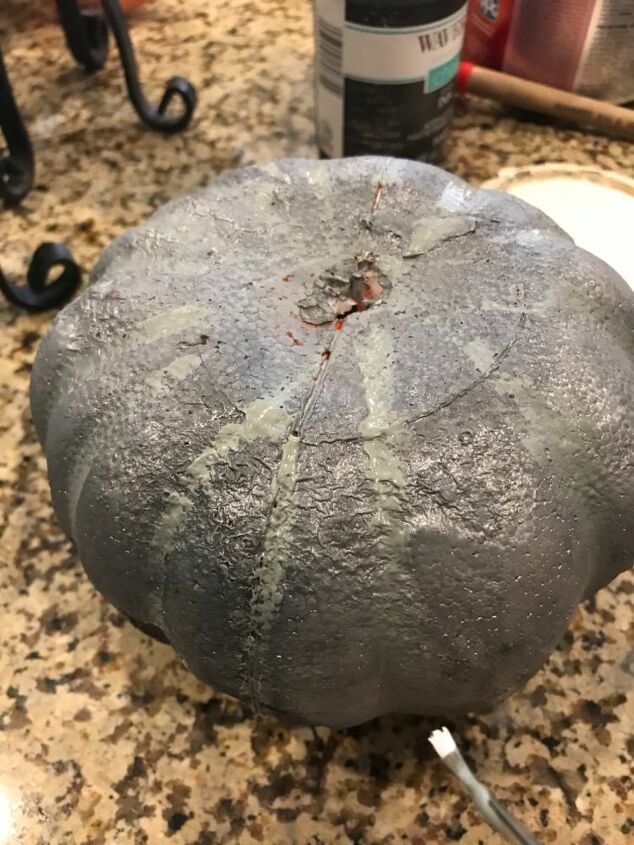
I then brushed some white an black over the silver. It looks like cement which is super in right now! I then added some lines with lighter grey.
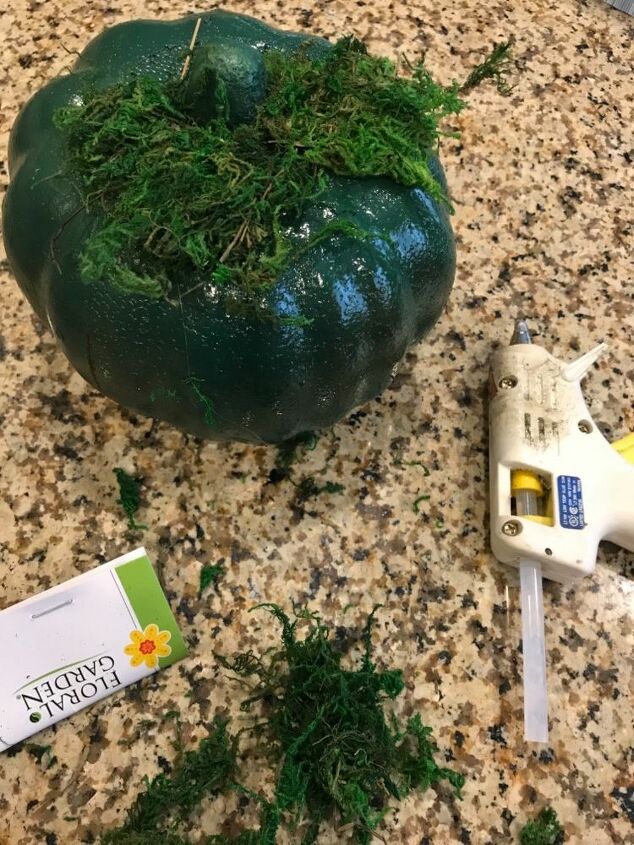
On to the green one! I used hot glue to add some green moss all over it. The last one I just kept white.
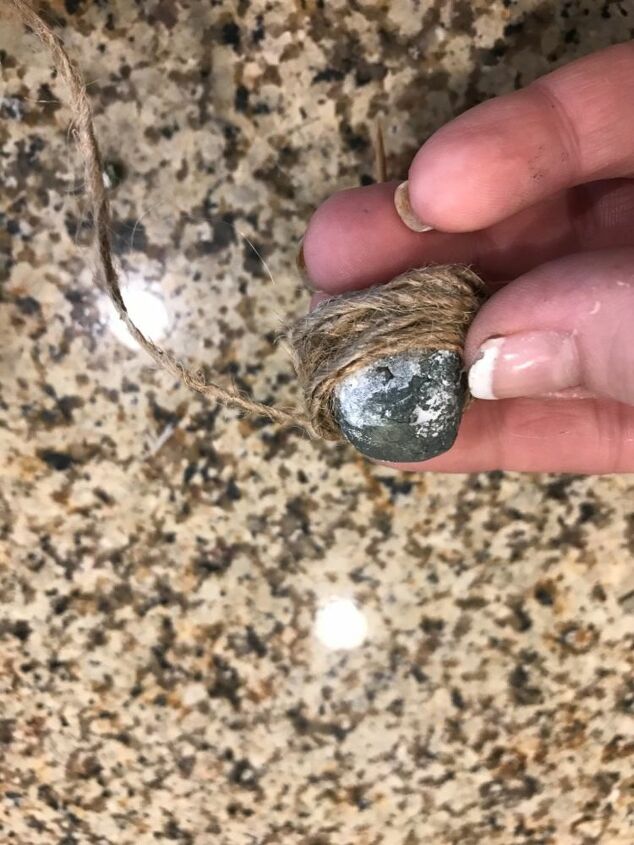
I then removed all of the stems. I added twine (you can also use a branch) to make the stem longer.
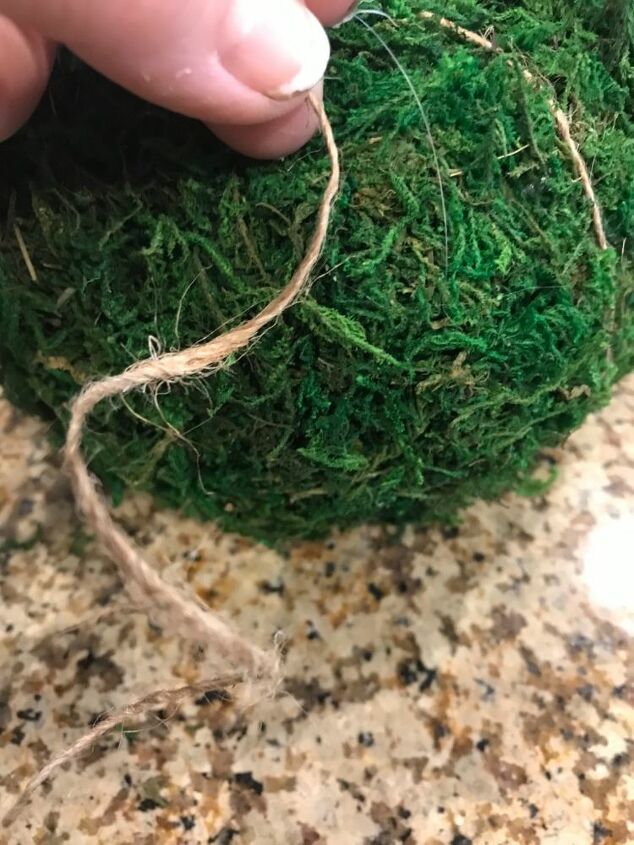
I then wrapped some twine around the green one to create the faux lines.

I then used some of these really cute dollar store leaves to add a sweet detail to the pumpkins.
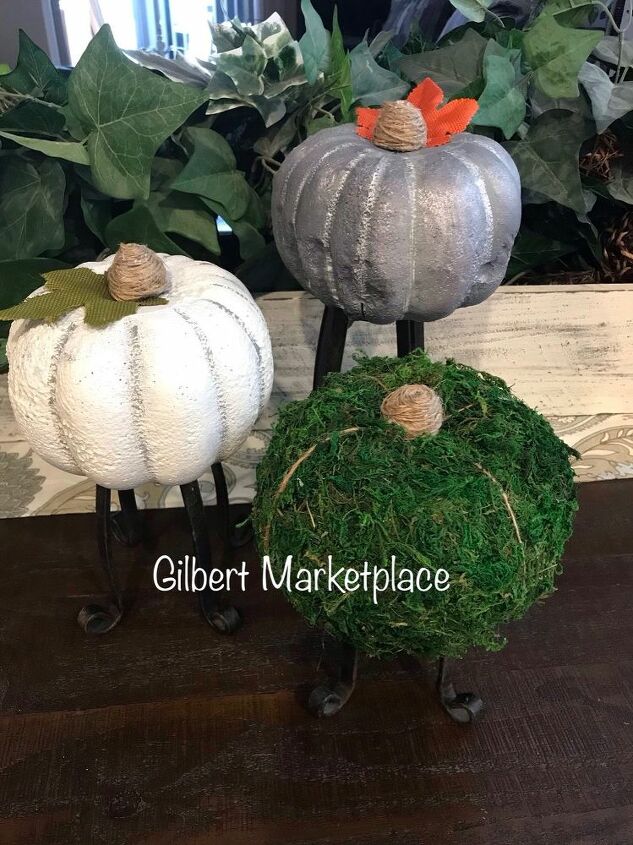
Here are the set of three I made for $5 because I had the paint from past projects.. what do you think? See more at Gilbert Marketplace
And here is the full set together! All for just $5! Check out more of what I do on my Facebook page Gilbert Marketplace
Resources for this project:
See all materials


Comments
Join the conversation
-
I sprayed some with rose gold by Design Master !
-
you can buy styrofoam spray paint.


Frequently asked questions
Have a question about this project?
Where did you get those silly legs? They made me laugh.