


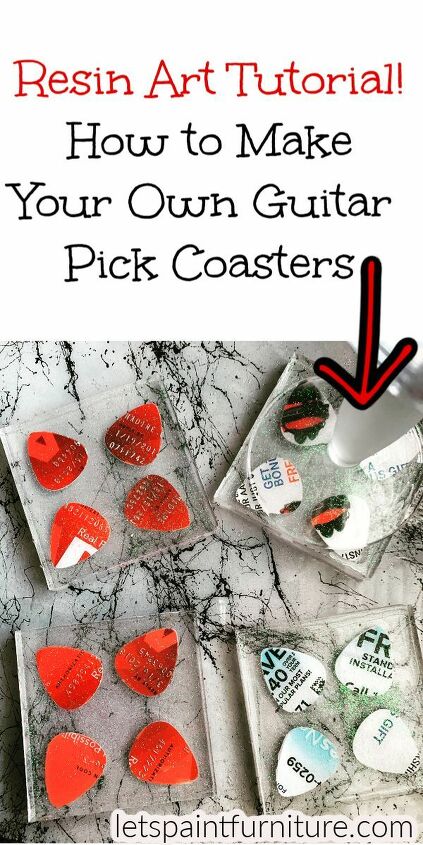
How to Make Your Own Guitar Pick Coasters With Resin

In this easy DIY resin art tutorial you will learn how to easily make your own resin coasters with guitar picks!
I made these coasters with our church organists in mind. I wanted to make her something special for Christmas. Something that would resinate with her as a musician and that could also be used in her home. So I had an idea! The back story to this idea came from an idea that her dad makes guitar picks for her out of junk mail credit cards. Such a great idea! He has a special tool that punches guitar picks out perfectly! What is even sweeter than this is he will try to include her mothers name “Nadine” on the guitar picks that he cuts out of the old junk mail credit cards. Before Christmas I asked our church organists if she had any extra guitar picks that her dad made that I could have. She gave me a few guitar picks and I went to work!
Supplies for Making Guitar Pick Resin Coasters
- Square Silicone Mold
- StoneCoat Countertops Quick Coat
- Guitar picks
- Fine Glitter
- Popsicle Sticks
- Disposable plastic cups
GOOD PRICE!


How to Make Guitar Pick Resin Coasters
Make sure silicone resin mold is clean. An easy way to clean your mold is with soap and water. Let air dry. You want to make sure your mold is free of any dust or lint. NOTE: wear gloves to protect hands! Mix the quick coat resin together according to manufacturers directions. Typically it is equal parts of A to equal parts of B. Mix A and B together for two minutes with a popsicle stick. If you are using the quick coat epoxy you have about ten minutes of working time before the quick coat will start to heat up in your plastic up. Once resin is mixed pour resin into your square coaster mold. Pour equal amounts of resin into each square. Spread resin out with a popsicle stick. Use a heat gun to pop any bubbles in the resin. You can also use a tooth pick!
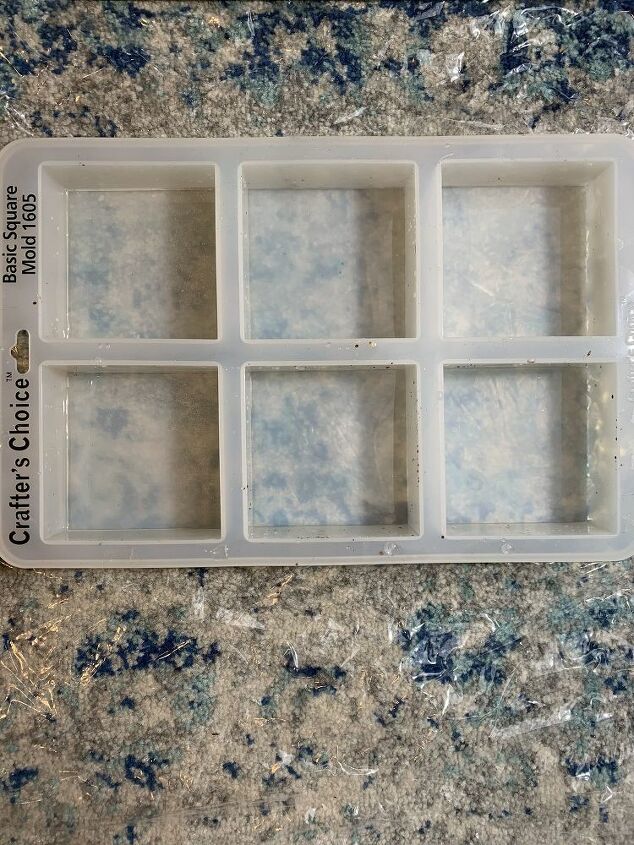
Mold should like the above picture after you have poured your first layer of resin. Let resin completely Harden. If you are using the quick coat this will take about 4 hours.When the first layer has hardened you are ready for the next step! Mix a new batch of resin just as you did in the previous step. Once resin has been mixed for 2 minutes pour over the first layer of resin. IMPORTANT when this layer of resin is sticky press the guitar picks into the resin! This will hold the guitar picks into place. It will prevent guitar picks from floating away with your next layer of resin. After you have place guitar picks in resin coasters should look like the picture below.
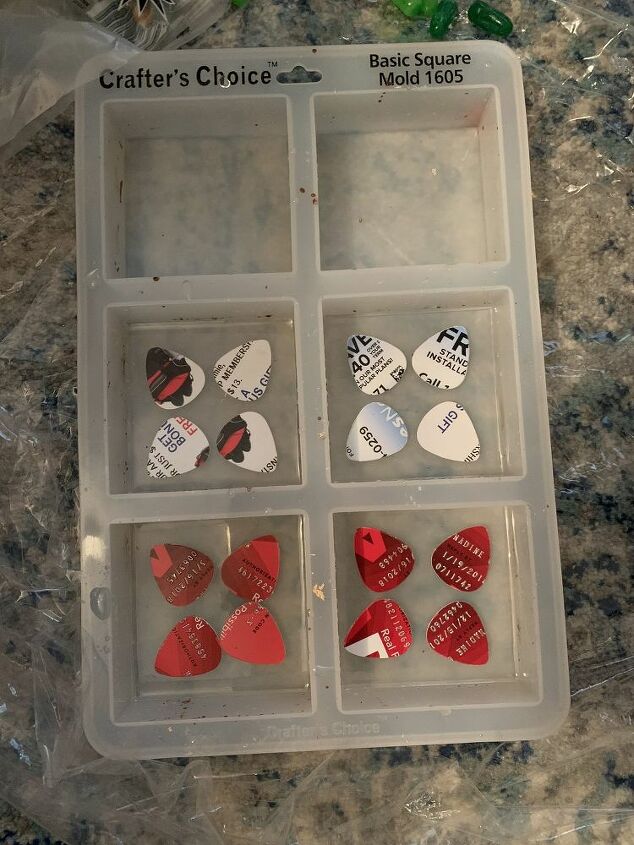
After guitar picks have been placed in the resin let this layer fully cure. About 2-3 more hours. Once fully hard mix another batch of resin adding equal parts of A to equal parts of B. Mix for 2 minutes. This layer you can add glitter! I chose a fine white glitter so that you could still easily see the guitar picks through the resin. Have fun picking your glitter! Add as much glitter to your resin as you would like.
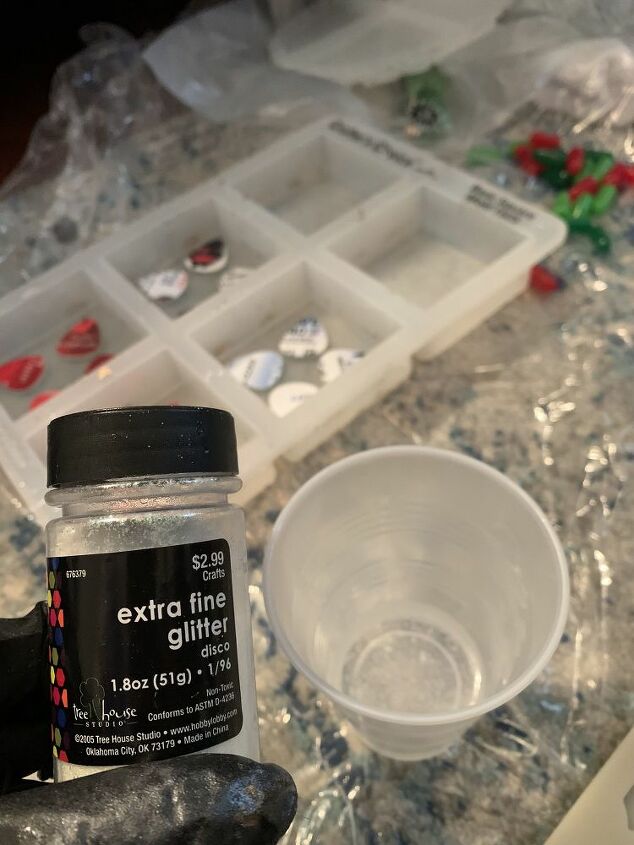
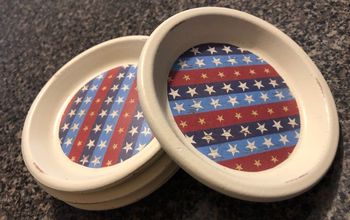
Once glitter has been added to resin pour the resin over the guitar picks and allow to harden over night. When resin is fully cured you can remove your coaster from the mold. This is SO exciting! You now get to see what you created! Great job!!The photos below are the finished coasters! Our church organists loved them!

PS. For a more affordable square mold check out shopresinmolds.com

Do you like this project? If so leave a comment below! I would LOVE to hear your thoughts! This is a fun project to try if you are new to resin! Learn more resin art tutorials at letspaintfurniture.com :)
Resources for this project:
See all materials


Comments
Join the conversation
-
Love these!
-
Now I have an idea as to what to do with my guitar pick collection !! And was delighted to see that Stone Cold epoxy was suggested to use !!


Frequently asked questions
Have a question about this project?