


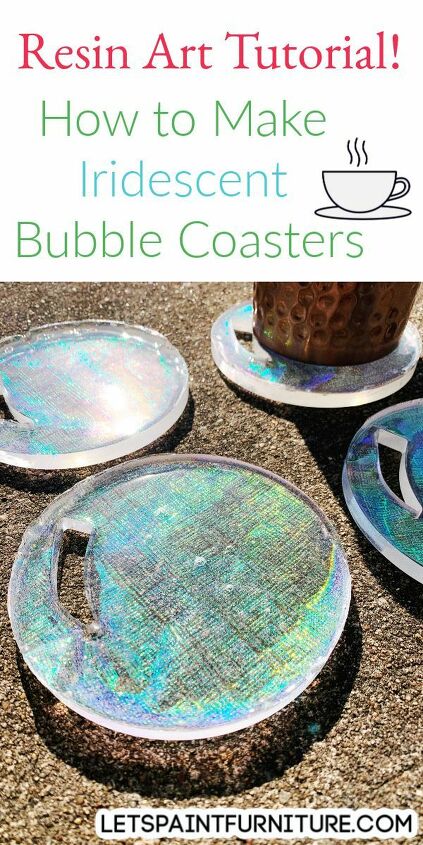
How to Make Iridescent Resin Bubble Coasters

by
Megan
6 Materials
$30
8 Hours
Easy
I want to share with you all another resin coaster craft! This time you will learn how to make bubble coasters. AND how to get the perfect iridescent coloring so that they look just like bubbles!Iridescence (also known as goniochromism) is the phenomenon of certain surfaces that appear to gradually change color as the angle of view or the angle of illumination changes. Examples of iridescence include soap bubbles, feathers, butterfly wings and seashell nacre, as well as certain minerals. It is often created by structural coloration (microstructures that interfere with light).” – Wikipedia After reading the definition of iridescence it may sound intimidating to try and create an iridescent look. You might be wondering “How do you make your resin look iridescent?” It is a lot easier than you think! Keep reading!
Supplies for Making Iridescent Resin Bubble Coasters
- Bubble coaster mold
- Birthday party iridescent table cover ( I used this from Wal-Mart!)
- Resin
- Popsicle sticks
- Nitrile gloves
- Heat gun


How to Make Iridescent Resin Bubble Coasters
Begin by placing molds underneath the iridescent table cover. Cut circles of the iridescent table cover to fit the size of the bubble molds. Use scissors to cut out the the raised part of the bubble mold. You just want to make sure the table cover will fit inside your mold.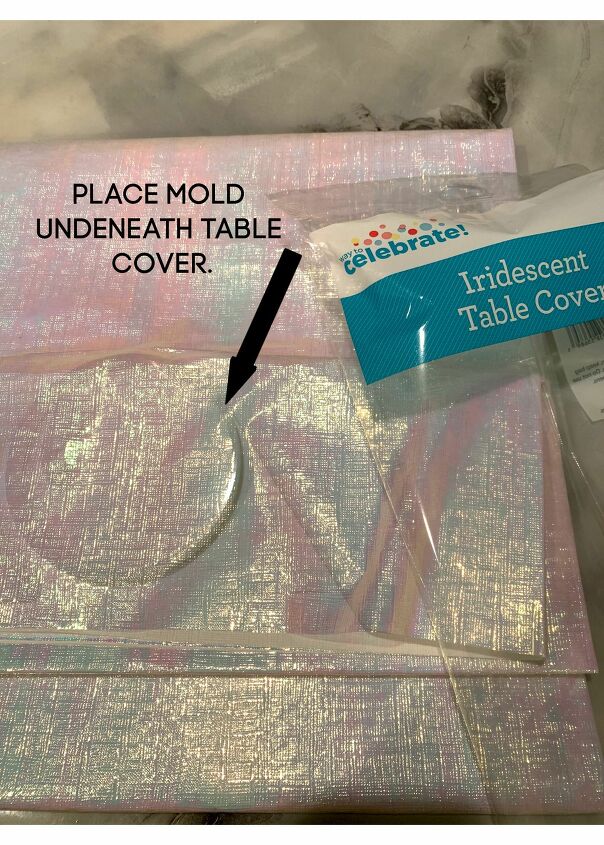
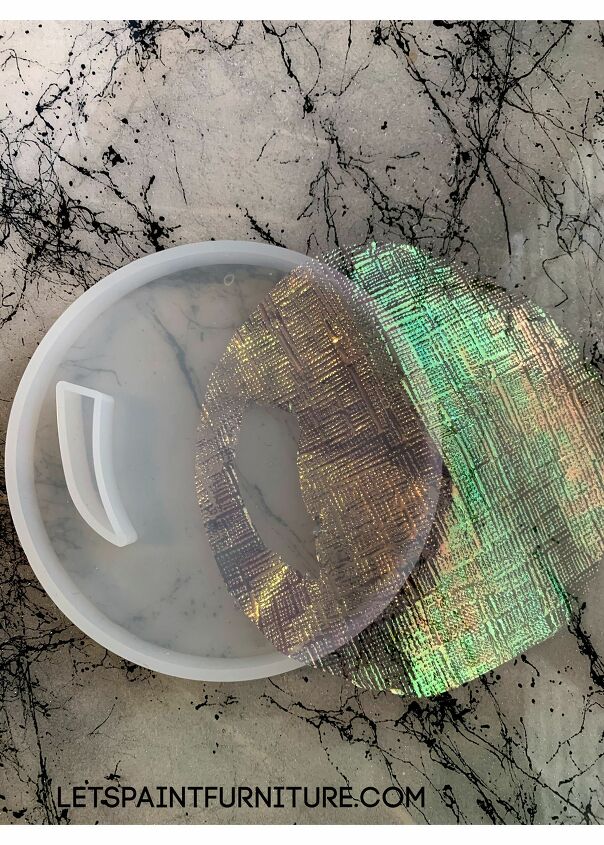
After you have cut out your circles to fit in the mold they should look similar to be picture below.
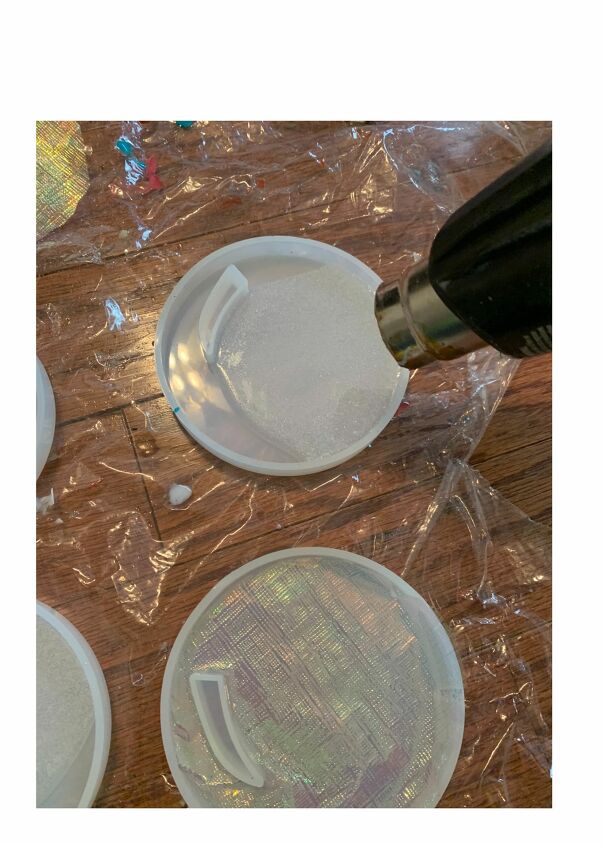
Once you have cut out four circles of the iridescent table cover you are ready to mix your resin! Double check to make sure your bubble molds are free of any lint! Now you are ready to mix resin according to manufacturers directions. Typically this is a one to one ratio. Equal parts of resin to equal parts of hardener. Mix resin for 2 minutes. Once resin has been mixed for two minutes pour resin into the bubble coaster molds. You want a clear layer. After you have poured a layer of resin pop any bubbles that are in the resin with a heat gun. After bubbles have been popped carefully place the iridescent circles onto your bubble coaster mold. The circles just need to lightly sit on top of your resin.
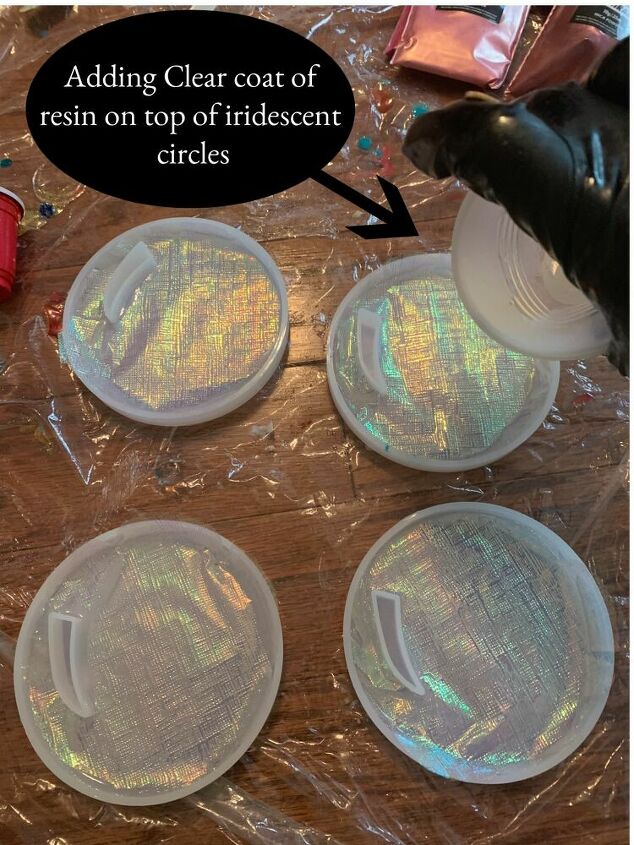
Once all circles have been placed ontop of your resin you are ready to add another clear coat of resin! Mix more resin according to the manufacturers directions. Pour mixed resin on top of the iridescent circles and carefully pop any bubbles with your heat gun.
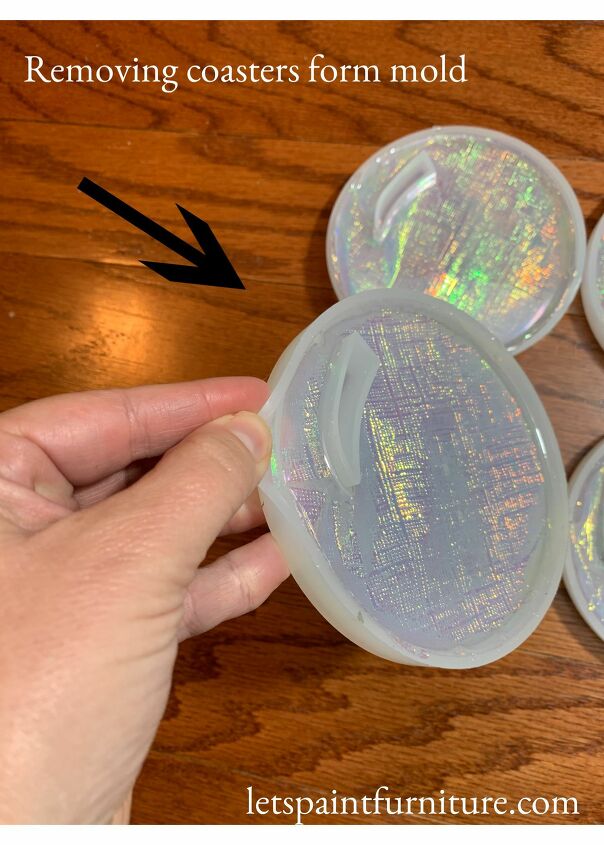
TIP: If you have any overhang of your iridescent table cover I found that the heat gun perfectly melted them to form the perfect shape in the circle mold!Let the resin fully cure. This typically takes overnight. After resin is fully cured you are ready to removed the coaster from the mold! SO EXCITING! I love this part! Remove the bubble coasters! Lightly sand any edges that may feel rough. Your iridescent bubble coasters are ready for use!
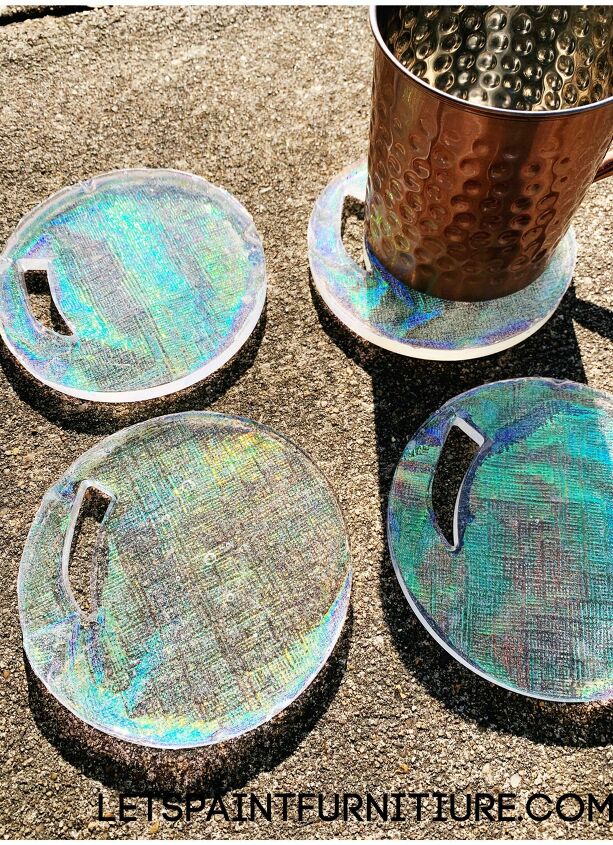
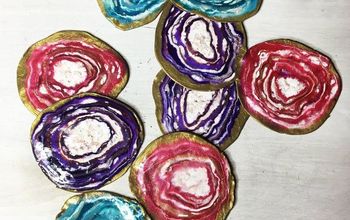
Great job on creating your own iridescent bubble coasters!
Do you like the bubble coasters? I would love to hear your thoughts below!
Resources for this project:
See all materials


Any price and availability information displayed on [relevant Amazon Site(s), as applicable] at the time of purchase will apply to the purchase of this product.
Hometalk may collect a small share of sales from the links on this page.More info
Want more details about this and other DIY projects? Check out my blog post!
Comments
Join the conversation
3 of 15 comments
-
I didn't know there was such as thing as a bubble coaster molds.🍹
Goes to show - you never know what you might learn here on Hometalk!
-
Iridescent fabric - oh! now I know what I can do with those 80's prom dresses that I sometimes see in thrift stores. 😎
Thanks for sharing your project.


Frequently asked questions
Have a question about this project?