


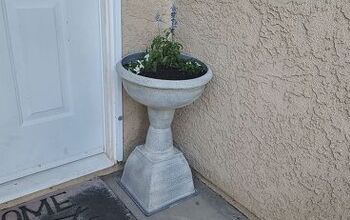
Painted Planter Pot
Learn how to update a flower pot with paint. You can give your old outdated planter pots an update with a little of paint and inspiration! Just to note, All of the supplies I used where already on hand, so this project cost me $0. Happy dance for budget friendly projects!
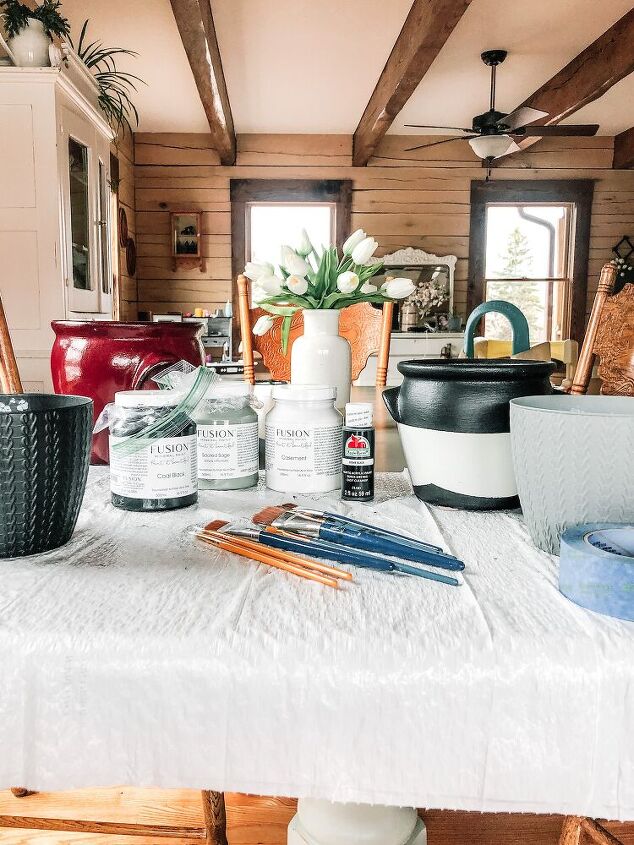
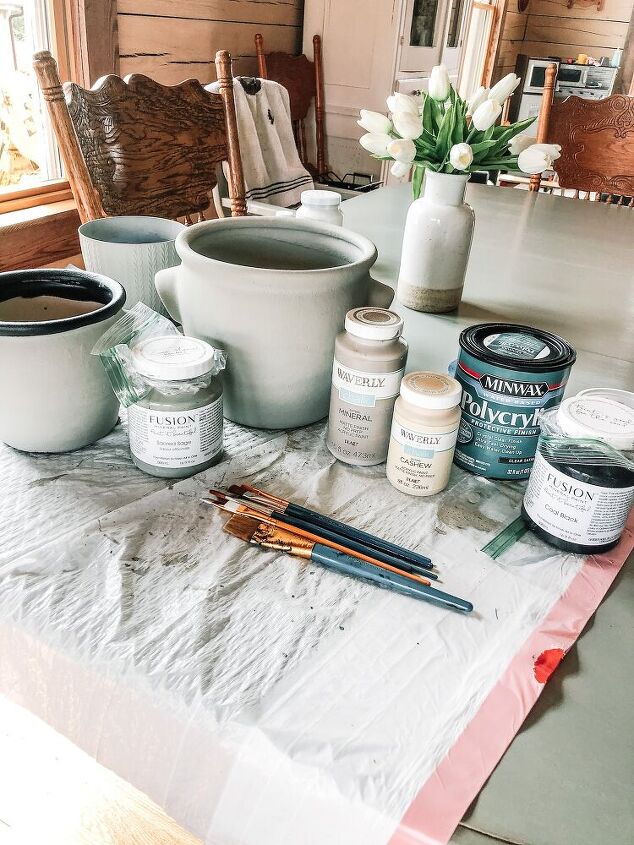
Gather all of your supplies including:
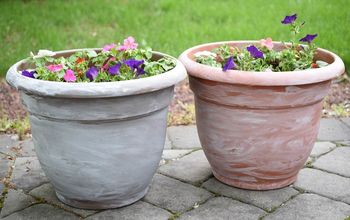
Outdated Flower Pots
Paint
Paint Brushes
Water-Based Polycrylic (if you want to seal the pot)
Painter's Tape (if you want to make straight lines)
Inspiration (from Pinterest or another source)
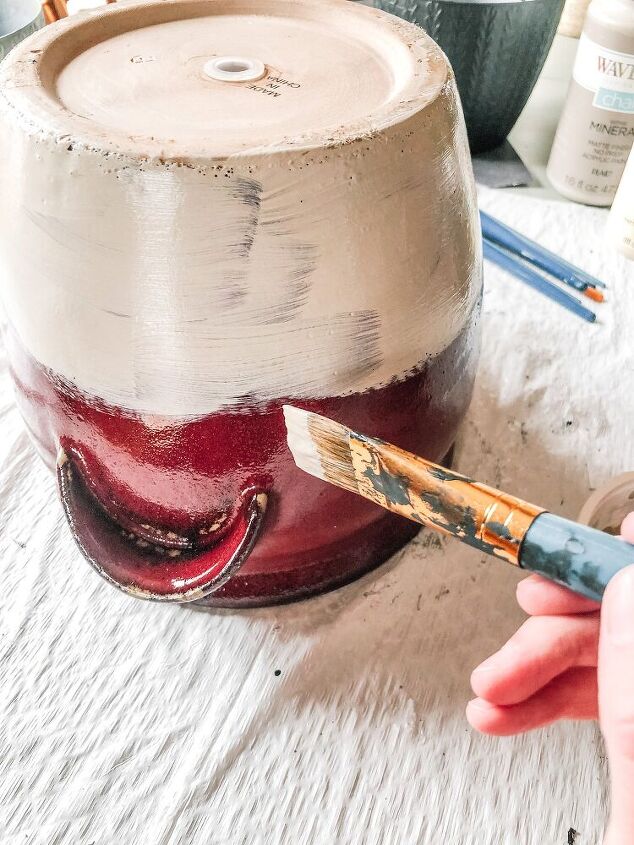
Start by painting your base color - you will most likely need two or three coats of your base color paint to have a good coverage. Allow paint to dry between coats to avoid peeling or smearing paint.
Using one to two different colors to paint a desired design onto flower pot. Allow to dry (again to avoid smearing paint)
If you so desire (especially if you used chalk paint) You can also add a a couple of coats of water-based Polycrylic in light coats to seal the paint.
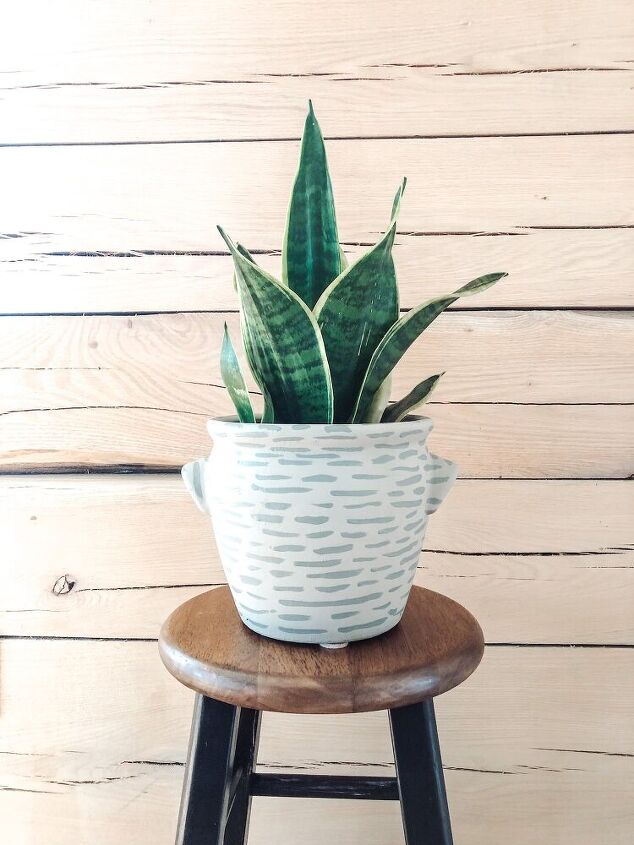
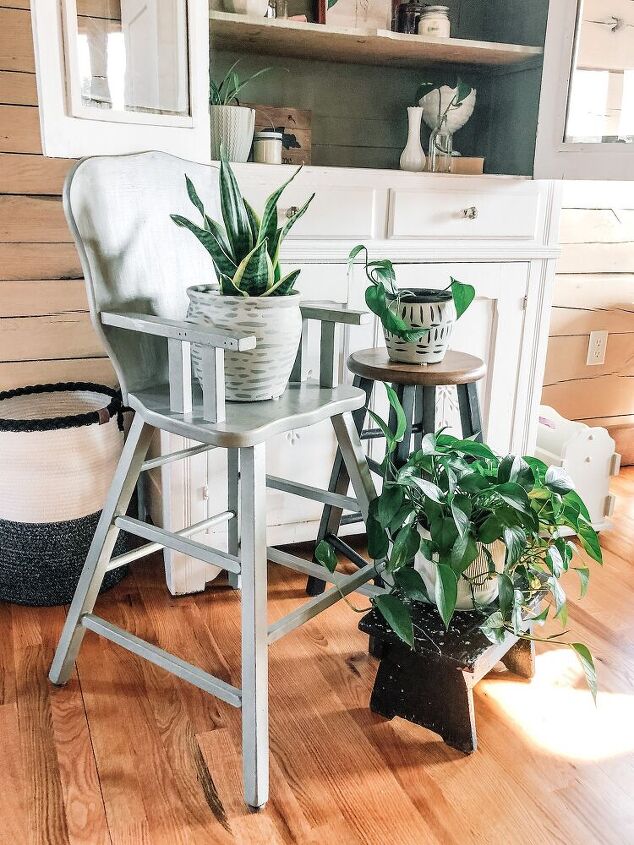
Add your plants and place out to display! Enjoy your freshly updated, budget friendly project!
Resources for this project:
See all materials


Comments
Join the conversation
-
I love your highchair turned plant stand. I always see those and think there must be something one can do with them!
-
I love the pattern


Frequently asked questions
Have a question about this project?
Very inspiring; I have very large plastic or perhaps they are some form of poly styrene which currently are beige and have plants in them. the planters themselves have an algae on portions of them so how should I treat that or clean them up prior to painting them? Any idea? Also, I had large plaster frogs which were painted last year and then sprayed with the polycrylic to keep them from fading and while they didn't fade, they did lose pieces where it seems the paint peeled. I don't want that to happen to the pots once I work on them. Any suggestions? TIA