


Build an Easy DIY Square Farmhouse Coffee Table Yourself

I needed a coffee table for my living room and nothing I saw in stores was quite what I was looking for. As such, I decided to make one myself! I didn’t need it to be anything beyond a coffee table, so I didn’t add any storage features, and in doing so kept it simple and classic. This DIY square farmhouse coffee table tutorial is a great place to start if you’ve never built furniture before.
Tools and Materials:
- One 1”x12” x10ft piece of lumber
- One 1”x12” x6ft piece of lumber
- Two 1”x10” x8ft pieces of lumber
- One 4”x4” x4ft piece of lumber
- Four 3” casters with screws
- Miter saw
- Drill and impact driver
- Tape measure
- 1 ¼” trim head screws
- Wood filler
- Sanding block
- Stain
- Polyurethane
- Protective gear
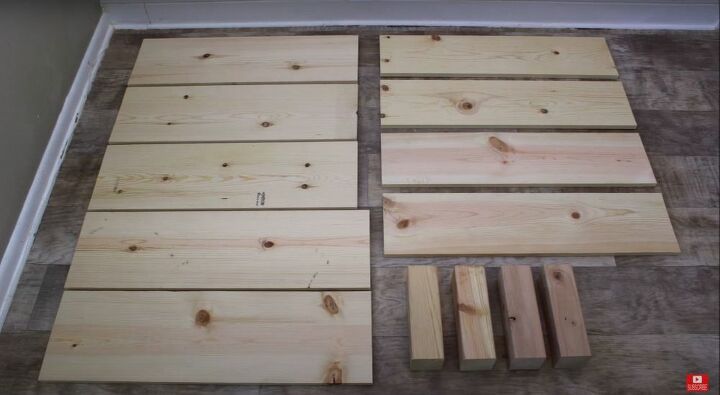
As usual, we’re going to make all of our cuts at the beginning so that they’re ready to go once we start building. I made the following cuts:
I cut the 1”x12” pieces into three 35 ½” long pieces and two 37” long pieces
I cut the 1”x10” pieces into four 37” long pieces
I cut the 4”x4” pieces into four 11 ¼” long pieces
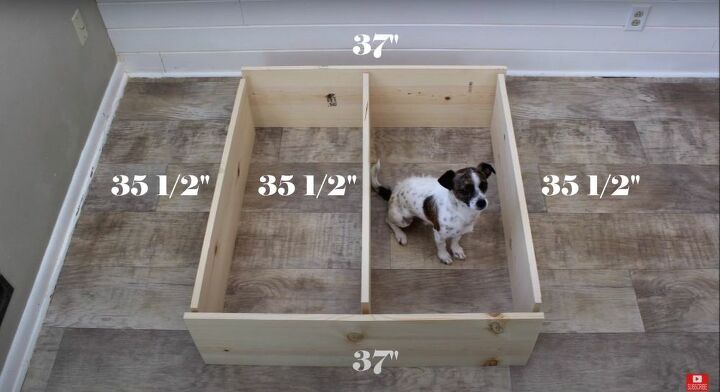
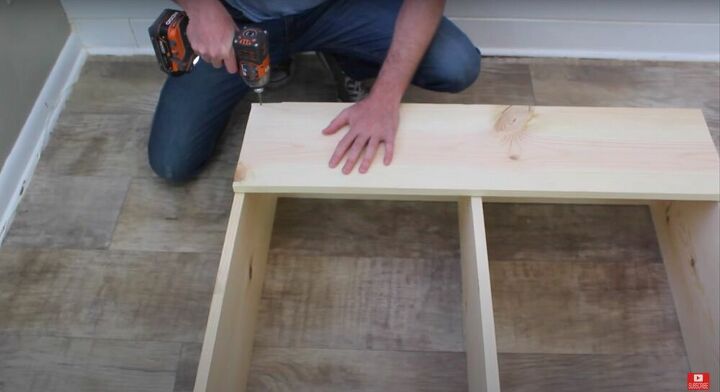
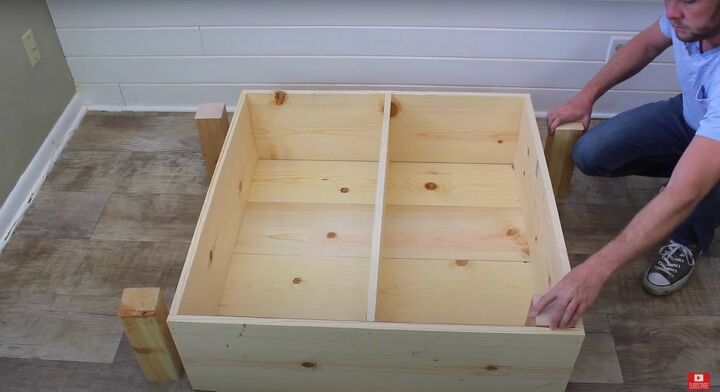
I lay out the three 35 ½” pieces and placed two of the 37” pieces at the top and bottom, as shown above.
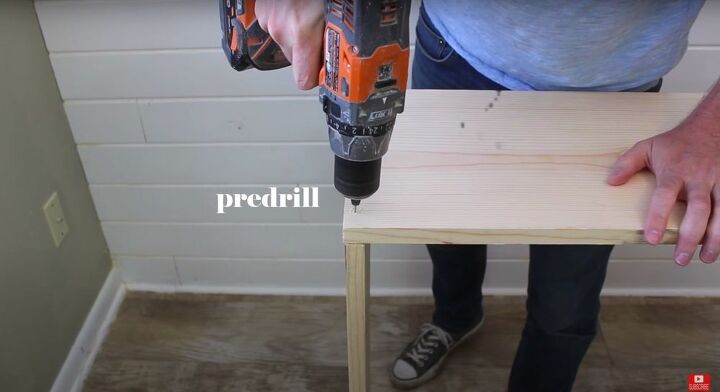
Next I connected the pieces. I drilled pilot holes to stop the wood from splitting when I added screws.
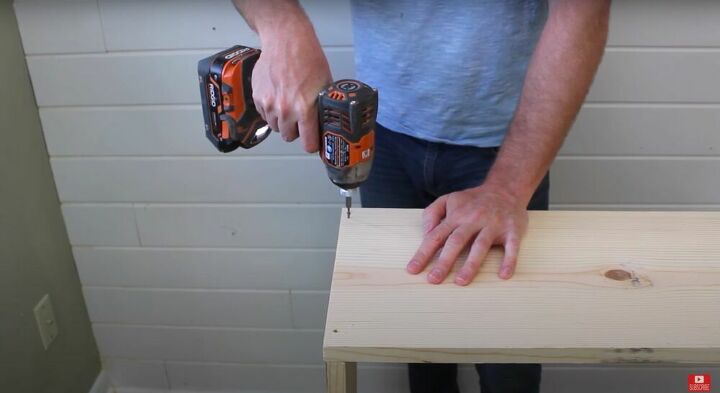
Then I screwed the pieces together. I repeated this process at each corner and then where the center 35 ½” piece met the 37” piece.
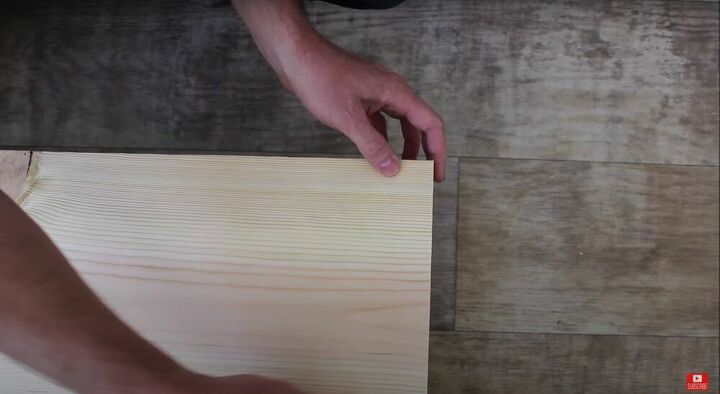
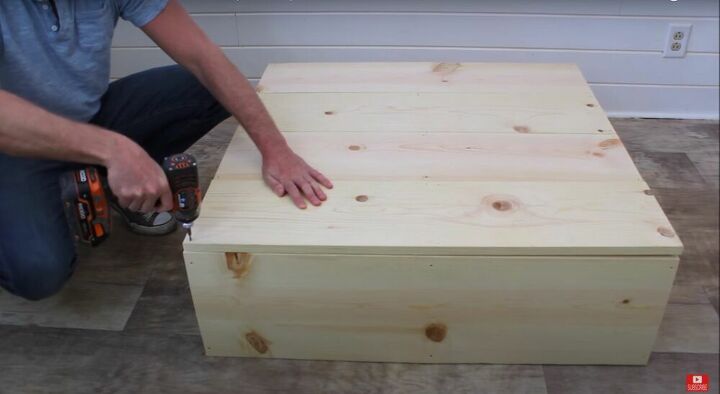
With the frame of the table complete, I now moved on to the top of the table. I took one of the 1”x10” pieces and lay it flush against the edge of the frame.
Then I attached it with trim head screws.
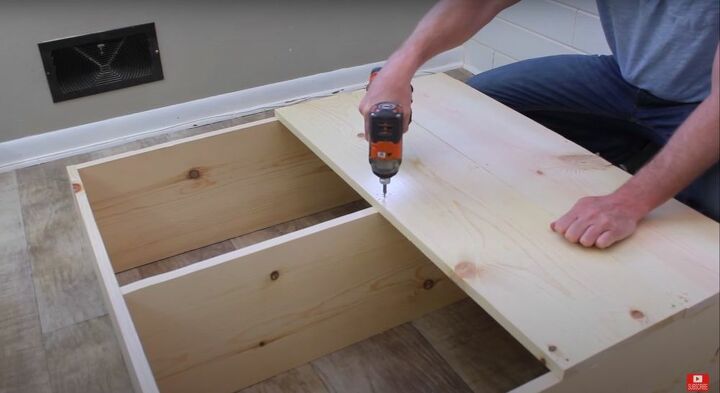
I repeated the process with the other three 1”x10” pieces to completely cover the frame.
Even though I knew that I wanted to put the table on casters to make it easily moveable, I still needed to add legs within the structure for the casters to grab on to. I took the four 4”x4” pieces that I had cut and place on in each corner of the table. The top of them should sit flush with the top of the boards beside them.
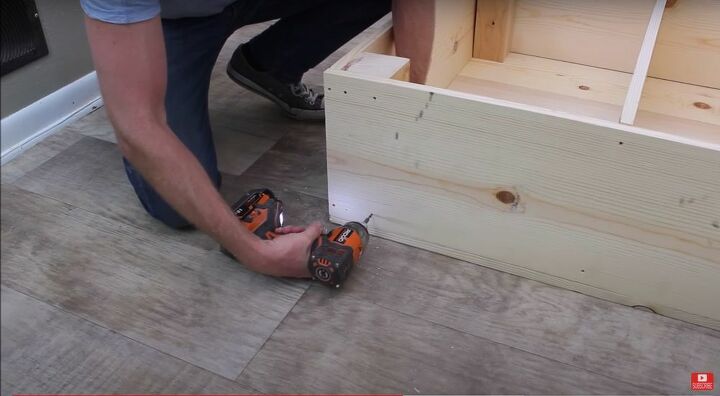
Then I secured them to the table using four trim head screws on each side, from the outside of the structure. Don’t skimp on the screw here. You don’t want one of these coming loose and losing a table leg.
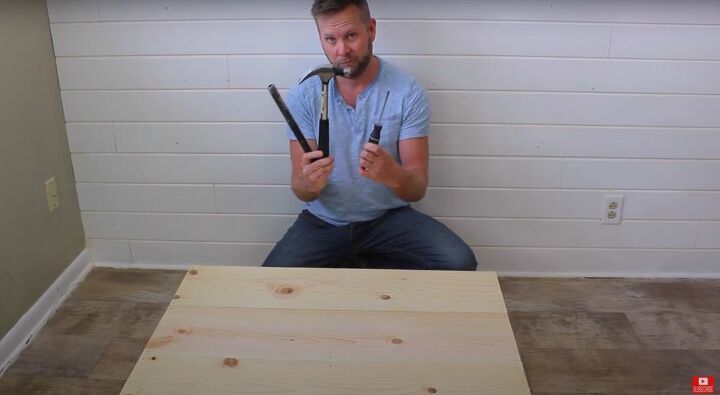
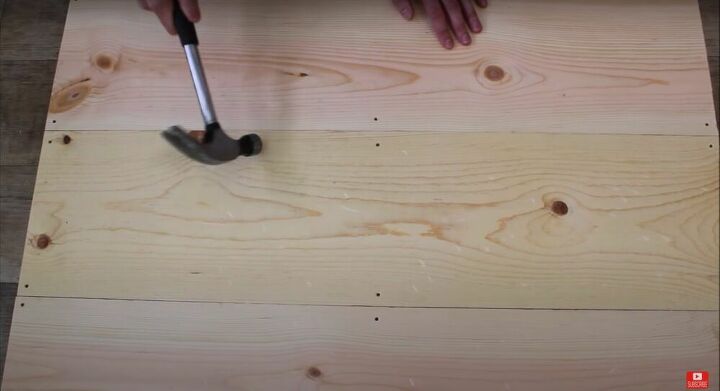
I wanted an extra rustic look for my farmhouse coffee table, so I beat it up a bit. The weapon you choose is really up to you here, but I chose to beat it up with a hammer, pipe, and screwdriver for some varied looking wear and tear.

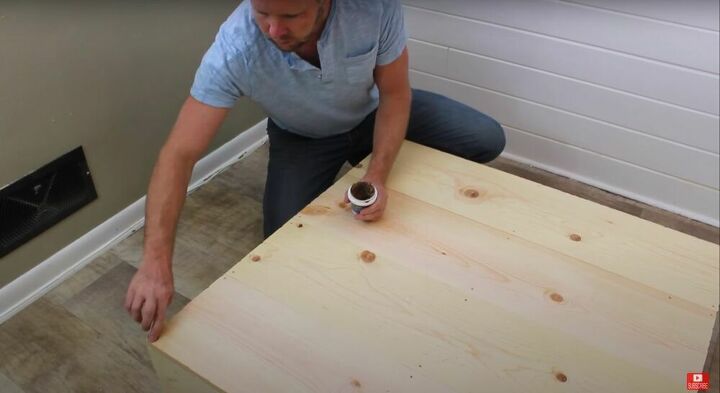
I grabbed my wood filler and started filling in the screw holes. I used my finger, pushing a bit of the filler into the hole, and then smoothing it over. It doesn’t have to look exact, as we are still going for a rustic look here, but I didn’t want tens of screwheads showing all over my table.
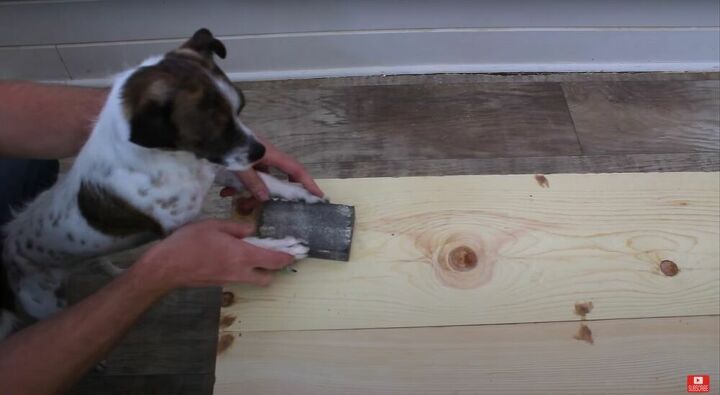
Once all the screw holes were filled in with wood filler it was time to sand. Henry helped out a bit here, and I took over when he got tired. I lightly sanded the entire table, paying special attention to where I had used wood filler and to the corners of the piece.
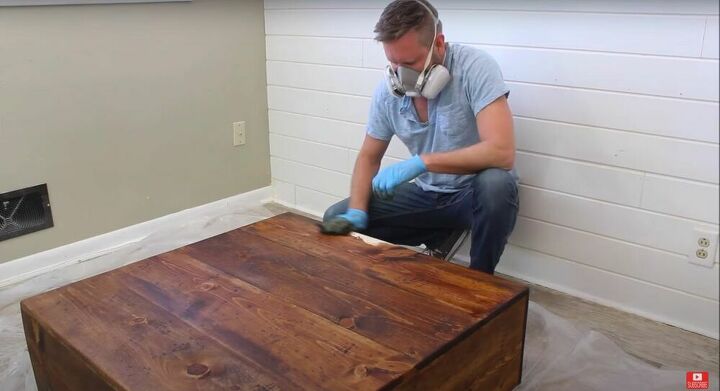
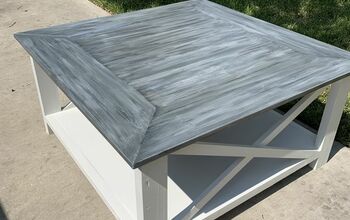
I stained the entire table with a rich stain. You can use any color you choose, but I particularly love how this stain embodies the rustic farmhouse vibe I was going for. Always make sure to wear the proper protective gear while staining.
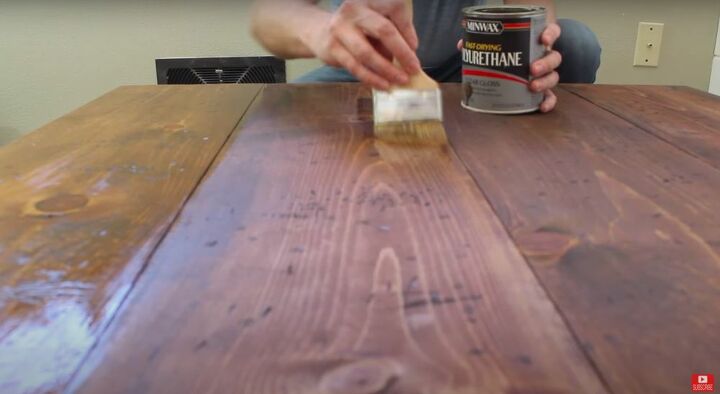
Once the stain had dried I gave it a quick coat of polyurethane to seal and protect it. Coffee tables get spilled on all the time, so it’s important to properly seal it to stop it from getting ruined when that happens.
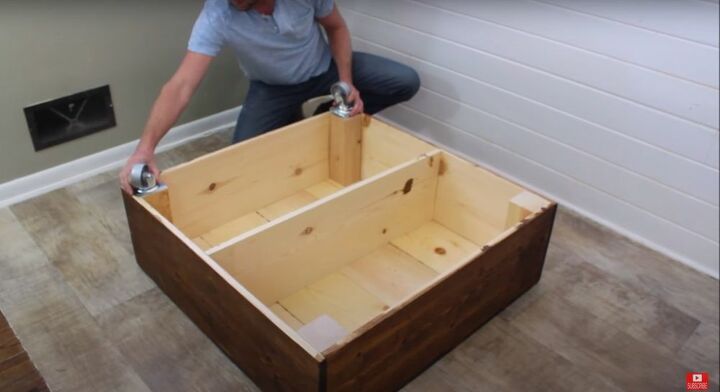
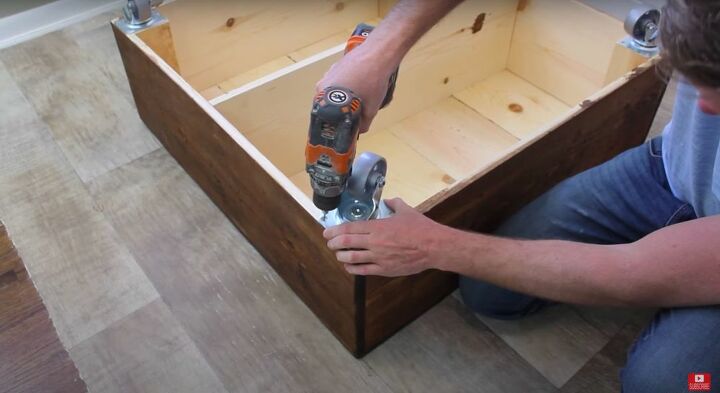
I flipped the table over again to add casters to the bottom. I placed each caster on each of the 4”x4” pieces and screw into place. Make sure that these are heavy duty casters as they will be carrying a rather heavy weight when you take the weight of the table itself and all of the coffee table books that may be put on top of it.
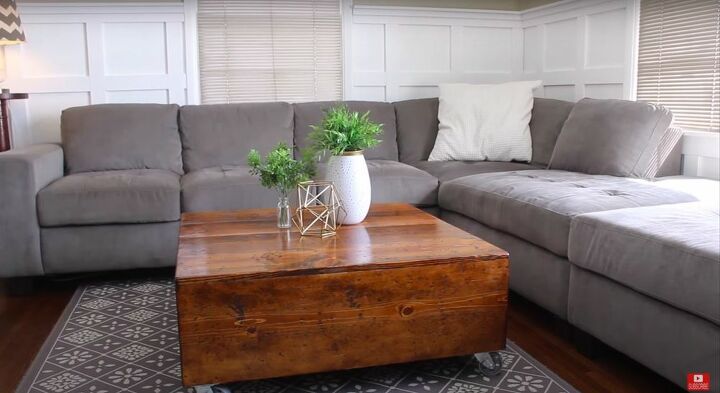
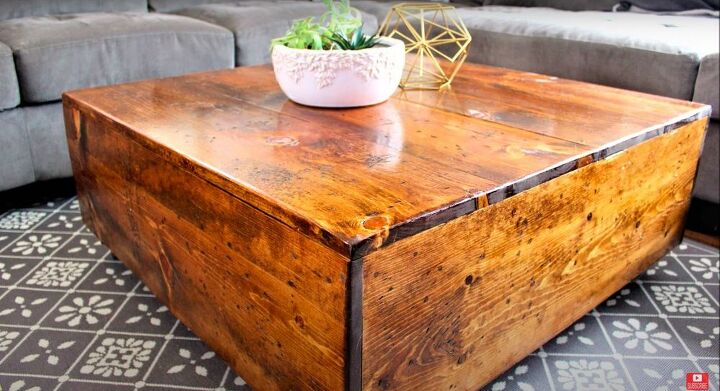
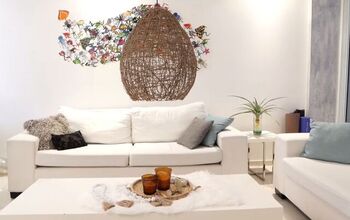
Look how nicely it fits in my living room! This coffee table was a simple build but has maximum effect in this room. It’s rustic, farmhouse style is everything I wanted it to be and more! Have you ever built a coffee table? Let me know in the comments below!
Resources for this project:
See all materials


Comments
Join the conversation
-
Great project! Love it. ❤️ Henry too
-
Color of the stain please. The table turned out beautiful!


Frequently asked questions
Have a question about this project?
I agree with the pup: table looks fabulous. However, I can't help thinking of the storage possibilities the insides could afford. Maybe a hinged to and a piece of wood on the bottom? But it is very good looking.
What is the name of the color of stain?