


Vintage Table Make-over

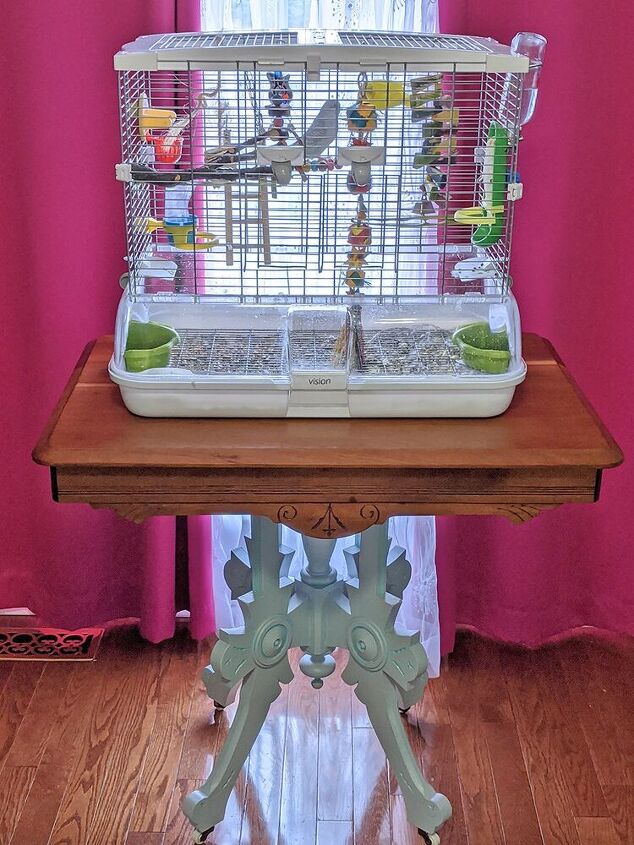
I found a little table at auction that was the perfect size for an additional landing pad for our parakeets’ cage. I’ve been having trouble finger training our birds, so I like to bring them to whatever room I’m in so they won't be insanely bored and will hopefully learn to trust me!
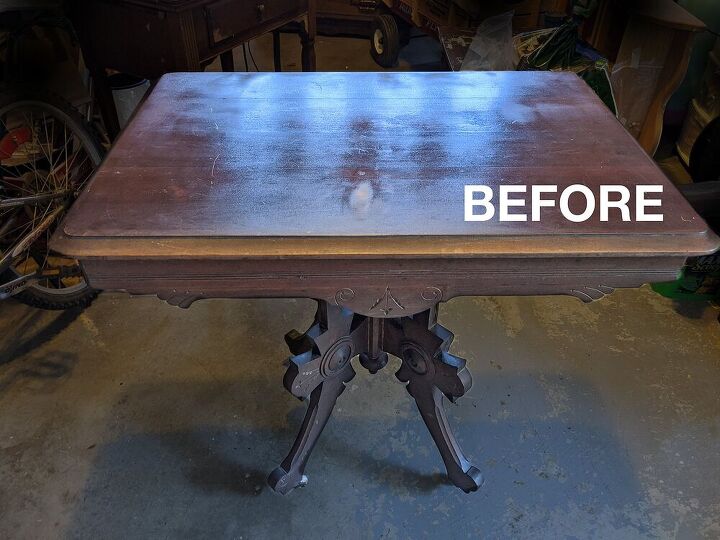
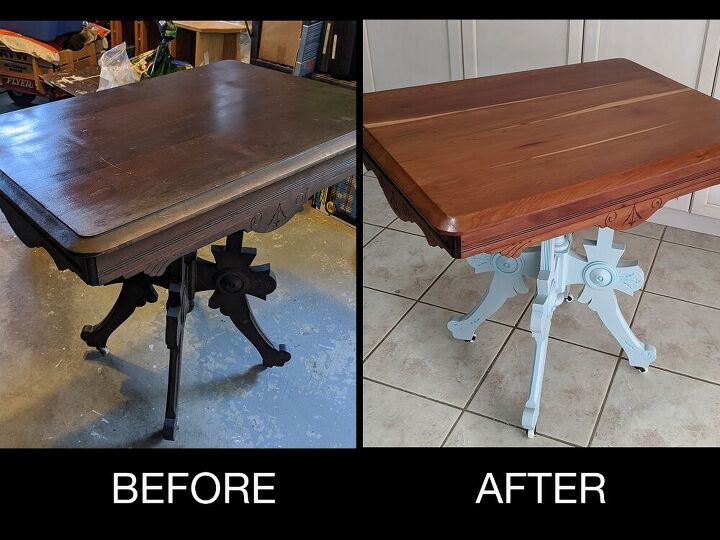
So back to the vintage table: It was pretty dark and drab. And the stain had seen better days.
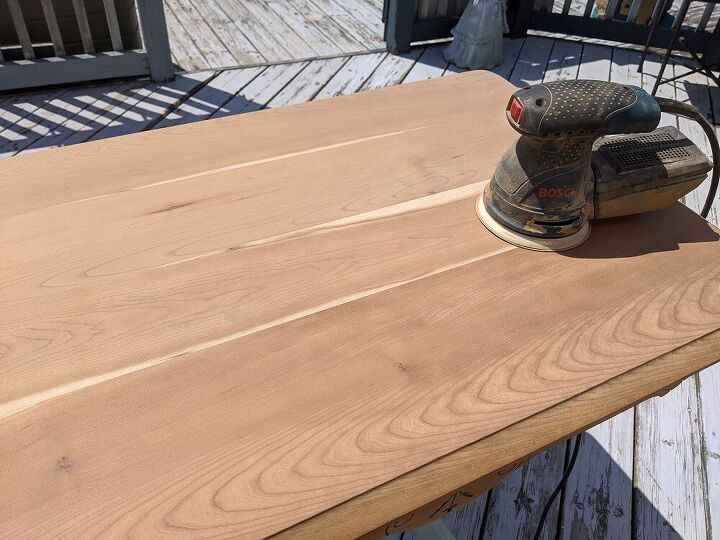
The first thing I did was sand the top, using an orbital sander. I got all the old stain off using 80 grit paper and then I followed up with a 220 grit to smooth the surface. I LOVE the wood grain that was underneath!
I cleaned the legs and little ceramic castors, using TSP cleaner/degreaser. Then I painted the legs with a coat of primer.
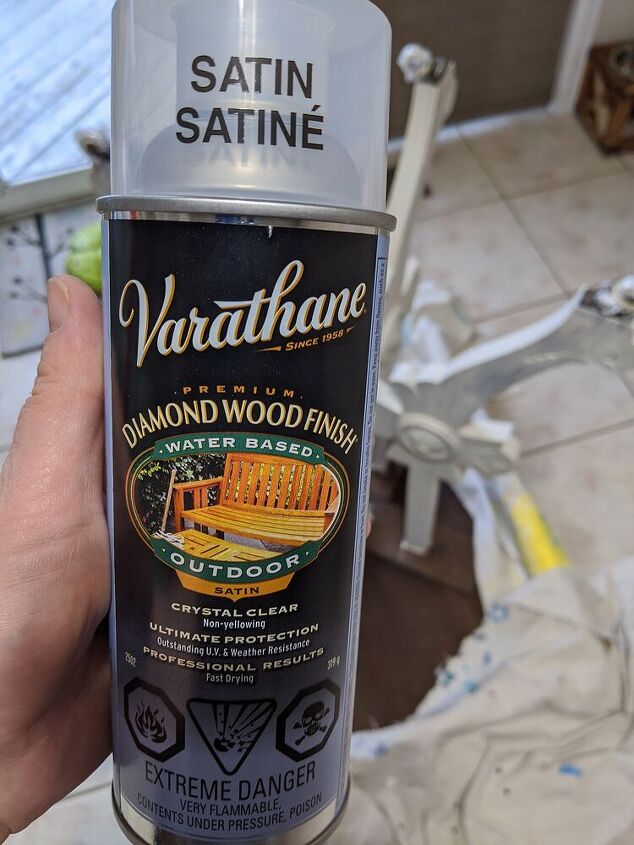
I could see a lot of bleed through, so I decided to try a tip that I learned from fellow hometalkers – I sprayed the legs with Diamond Wood Finish. This is the closest I could find to Shellac here in Canada. (I covered the castors with saran wrap to avoid getting spray on them.) Then I did a second coat of primer…and no more bleed through. Yeah!
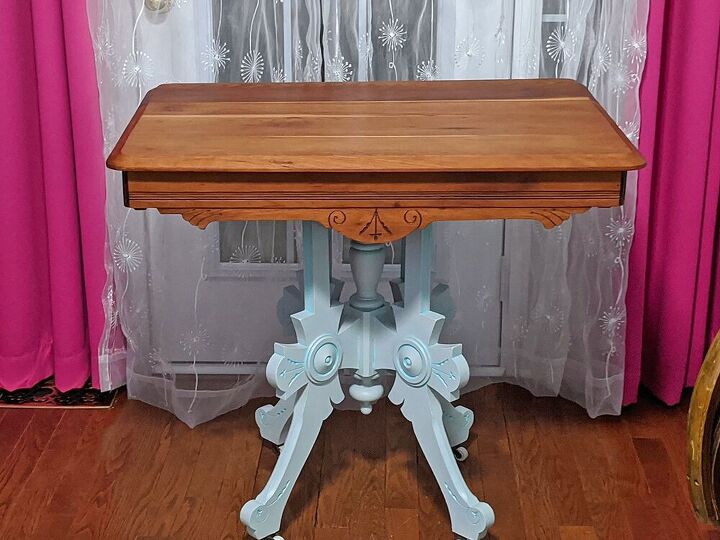
Then I painted the legs light grey – two coats.

My original plan was to glaze the legs with a dark charcoal to make the details pop. But after I finished the first leg, I really didn’t like it!! It just looked dirty. I think I may have added too much paint to the glaze. Either way, it sucked!
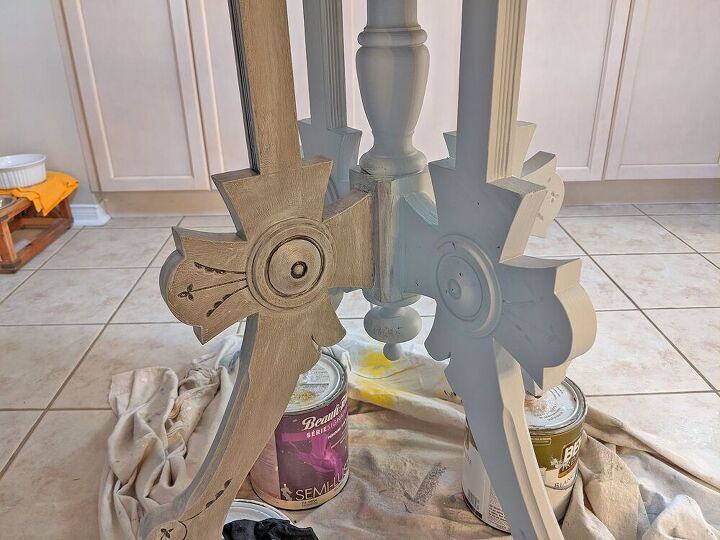
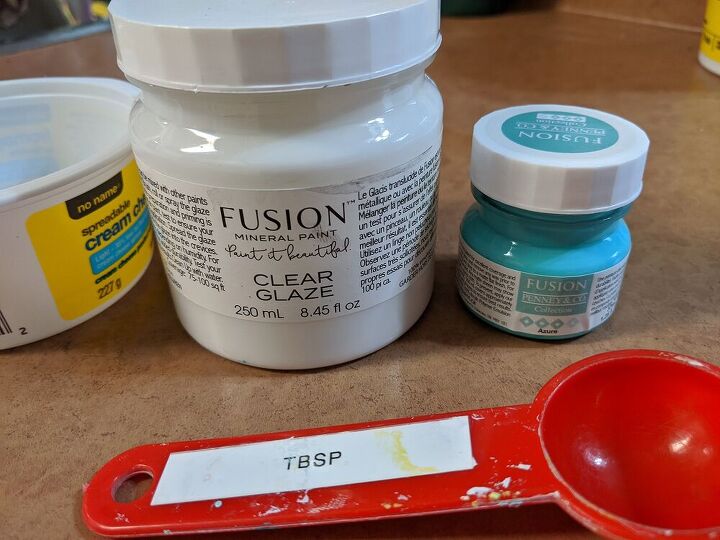
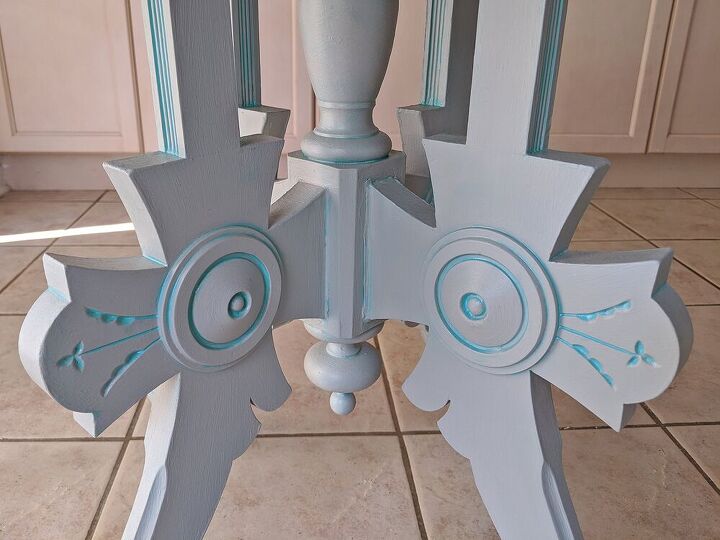
So I re-painted that leg with the original light grey. Once dried, I decided to try a teal blue glaze instead. I used 3 tbsp of glaze with just a small amount of paint – maybe a tsp.
I brushed the blue tinted glaze on the legs, focusing on the detailed areas, and immediately wiped back off with a cloth. I liked this MUCH better than the dark glaze!
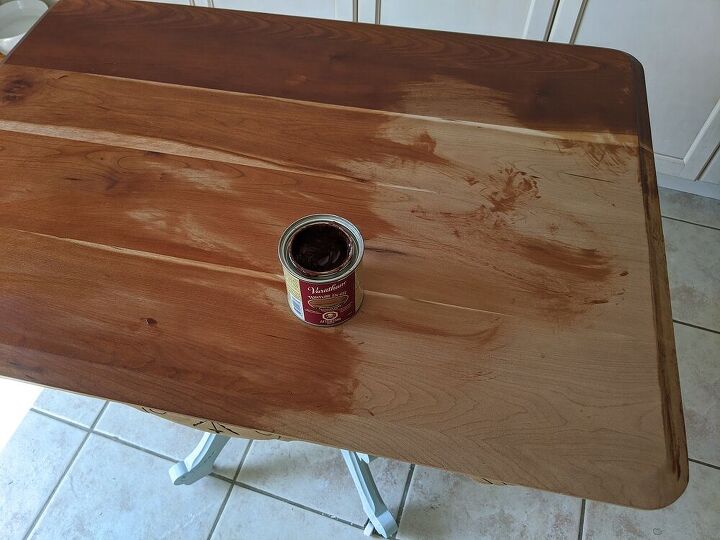
Then I stained the top using gel stain. I loved the original wood, so I went with the lightest stain I had, golden pecan, in the hopes that it would just enhance the colour. Unfortunately the end result was quite a bit darker than I had hoped, but still turned out quite nice, I think.
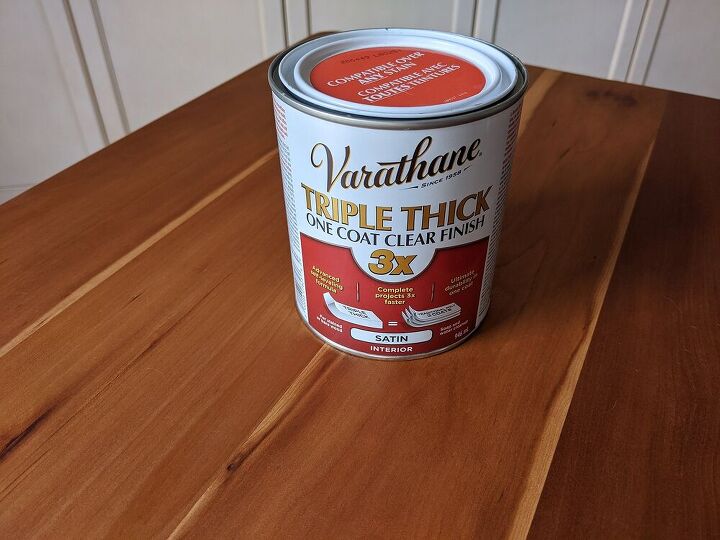
Then I sealed it was triple thick clear coat with satin finish.
And here’s the before and after!
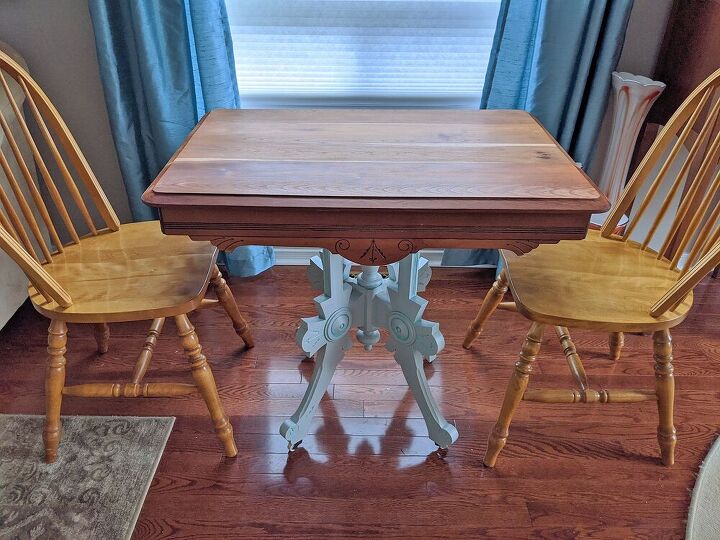
When I get the babies properly trained and I they can fly around the house and go back to the cage on their own – I can always make over a couple of chairs and use this table as a cute little breakfast nook.
I had all the supplies on hand for this project. But I used roughly $10 worth of product.
Resources for this project:
See all materials


Comments
Join the conversation
-
Nice old Renaissance Revival table, made about 1875. Now, painted. I'm sure the birds like it.
-
An original condition walnut Eastlake table, and now it's been painted. Hmm.


Frequently asked questions
Have a question about this project?
Love the table great job!! Does the table have any makers mark?
its beautiful, lucky bird!
Hey did you have to sand the diamond wood finish before priming again?