


DIY Front Porch Welcome Sign
Have you seen those tall wooden welcome signs on people's front porches but been intimidated on how to make one? I created an easy and inexpensive version that I wanted to share with all of you! You can see more of my crazy creations here
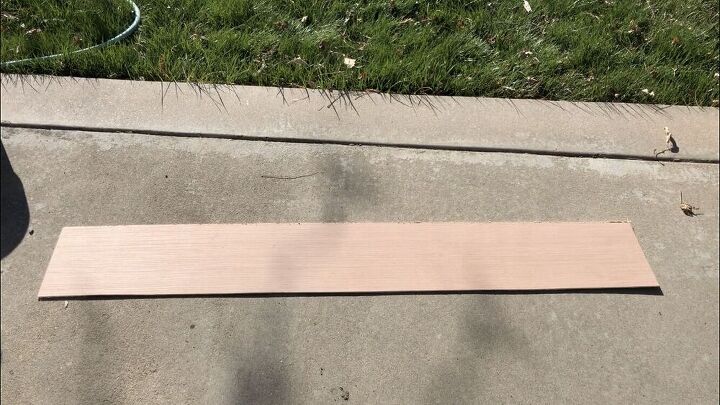
We had some scrap wood at home from re-roofing our gazebo. It's an inexpensive underlayment wood. I explained what I was creating to my husband and he helped me cut the wood into a long tall board.
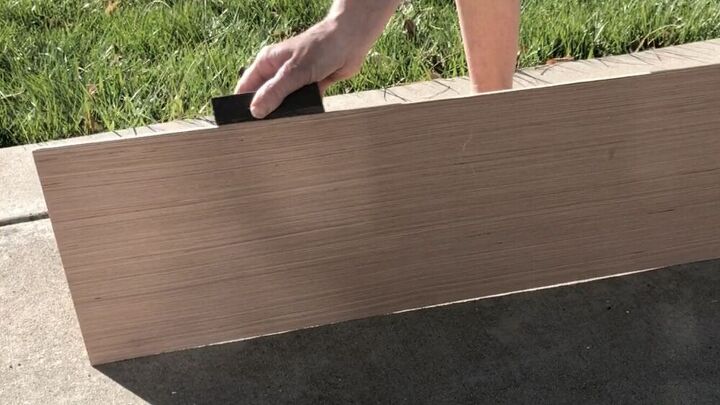
I sanded down the edges with a sanding block I had on hand.
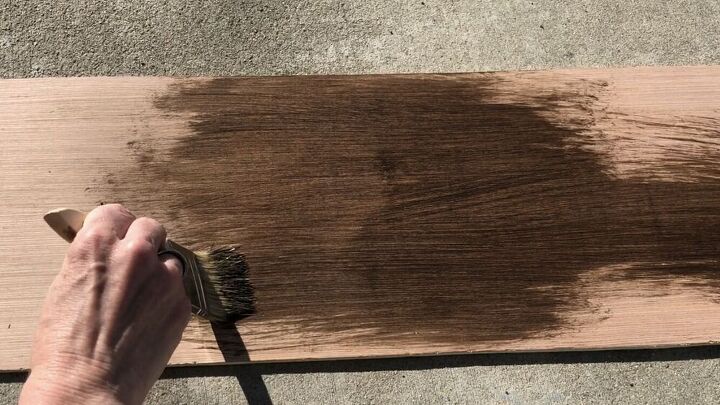
I stained the wood with Folk Art Wood Tint in the color Walnut. It's water based, goes on easy, dries fast.
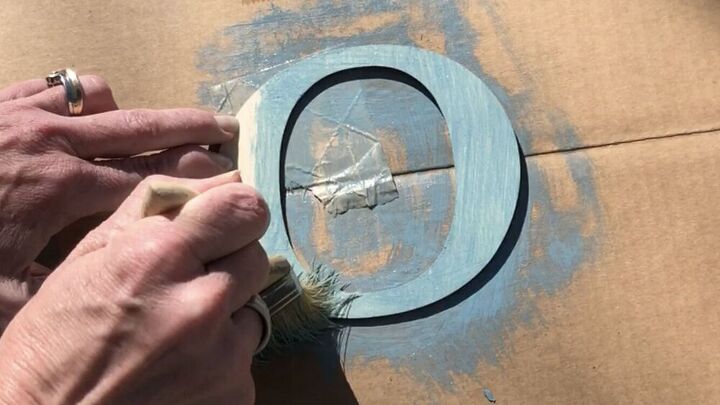
While the board was drying, I painted wooden welcome sign letters I got from the target dollar spot with Folk Art Wood Tint in the color Cascade.
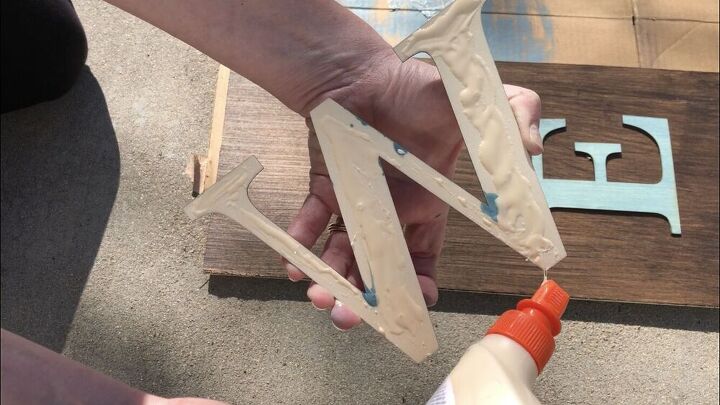
Once both the board and the letters were dry, I used Elmer's Wood Glue to adhere the letters to the wood board.
I was lucky that I had the wood, wood tint, and glue all on hand. I had purchased the welcome letters last fall knowing they would be great for something - and who can beat the price at the Target dollar spot?
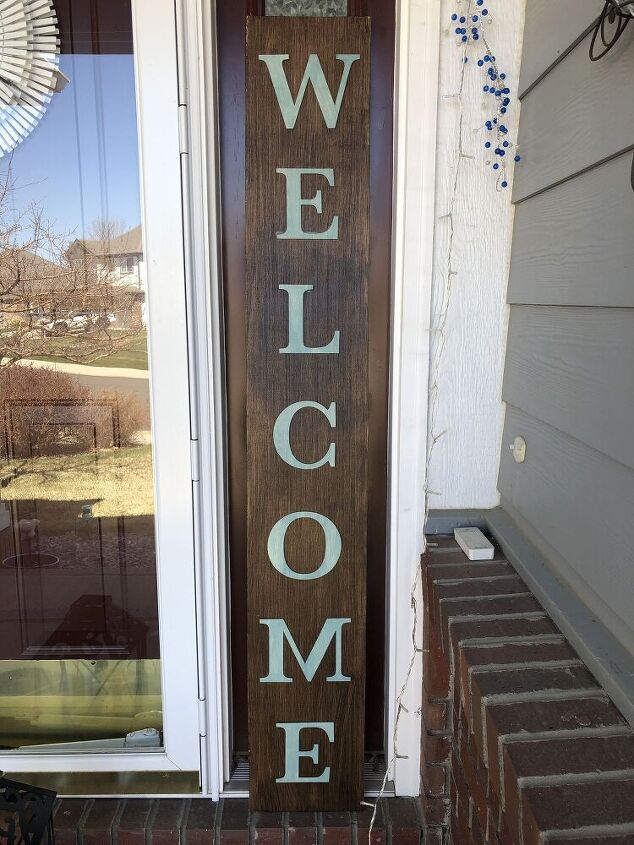
Once the sign was dry, I put it on my front porch for display.
I would love to have you stop by my blog Chas' Crazy Creations for the full tutorial as well as sign up for my latest creations, posts, recipes, exclusives, and more...
I would love for you to subscribe to my YouTube channel to see more of my crazy creations - https://www.youtube.com/c/chascrazycreations
Resources for this project:
See all materials


Frequently asked questions
Have a question about this project?