


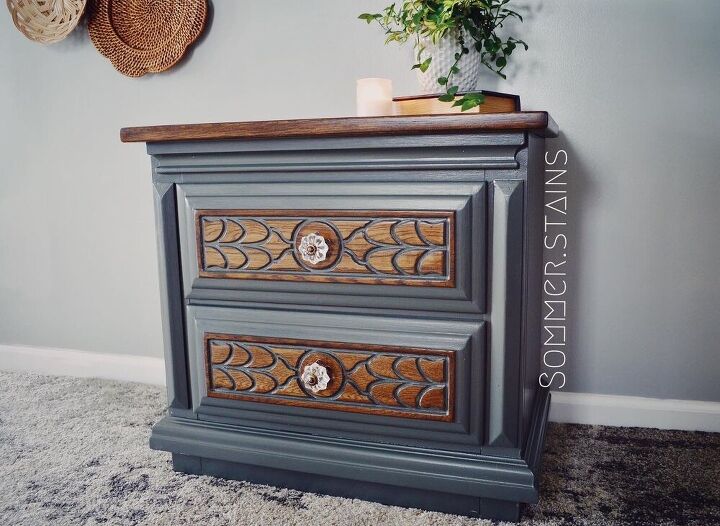
Free Side Table Turned Cute!

I don't know about you, but I am constantly checking Facebook Market Place for new pieces to flip. I was lucky enough to find this piece for free, yes F-R-E-E, that was just 15 minutes down the road from my house, can we say win win?! I used all materials I already had on hand, except for new knobs, so this project was almost completely free!
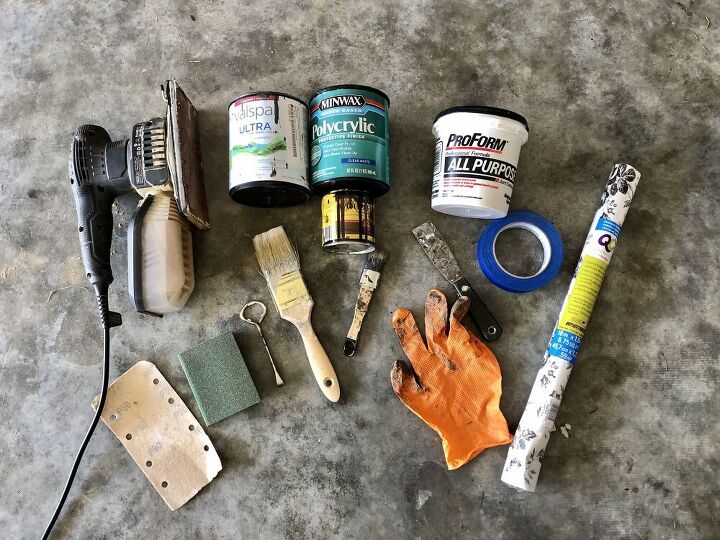
Materials Needed
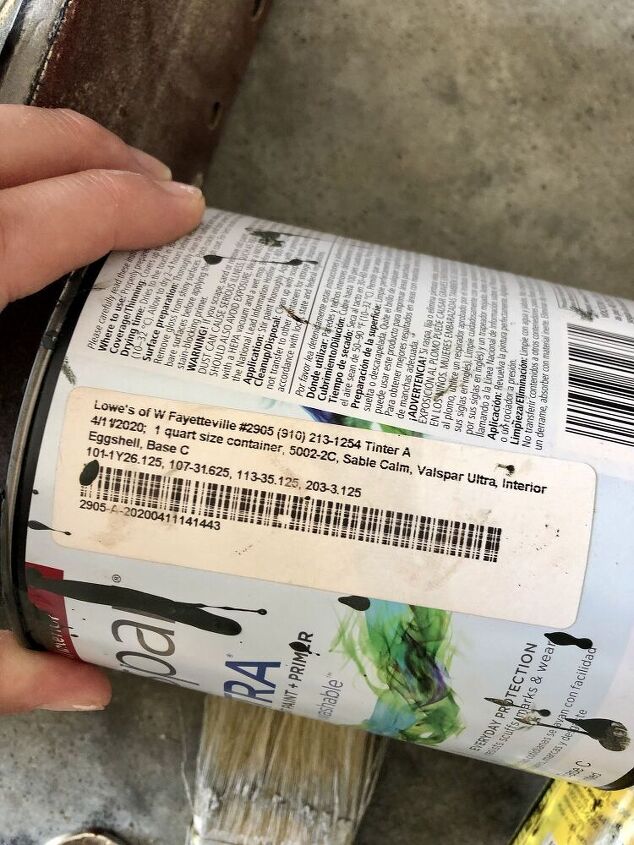
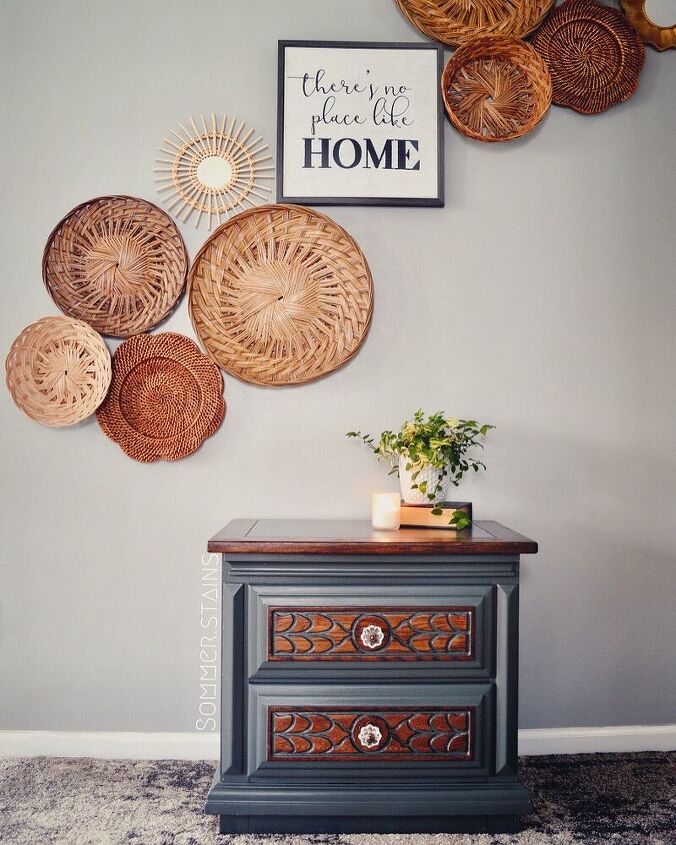
Paint color - Sable Calm
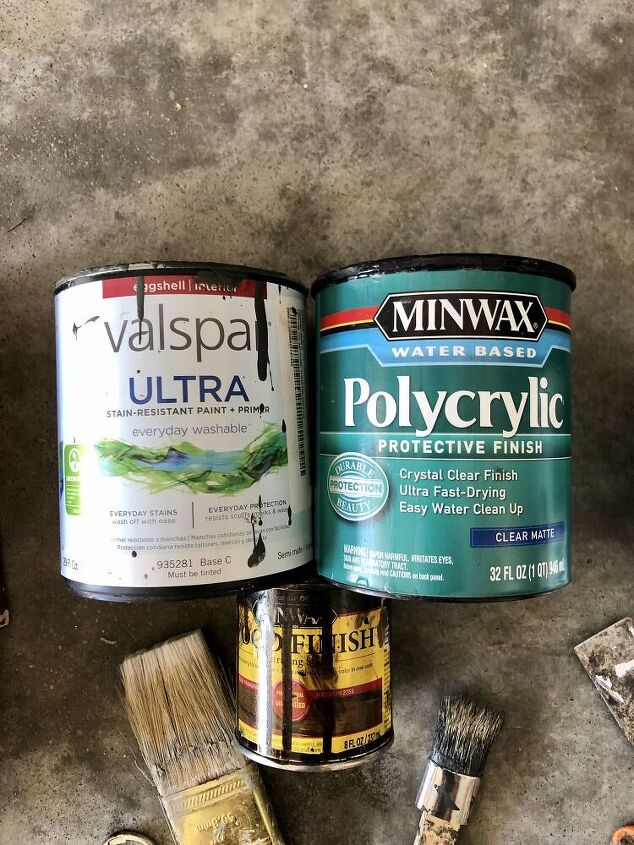
Stain Color - Jacobean
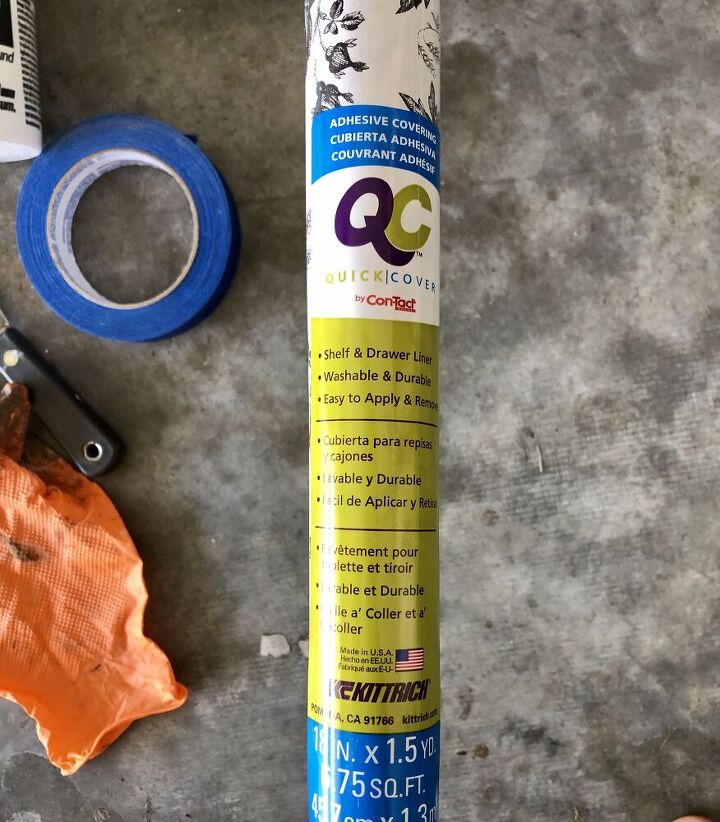
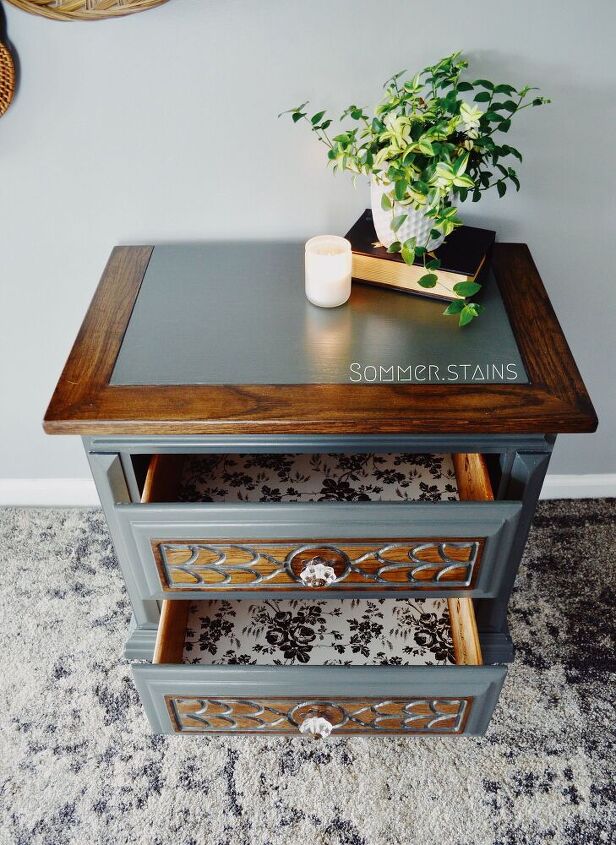
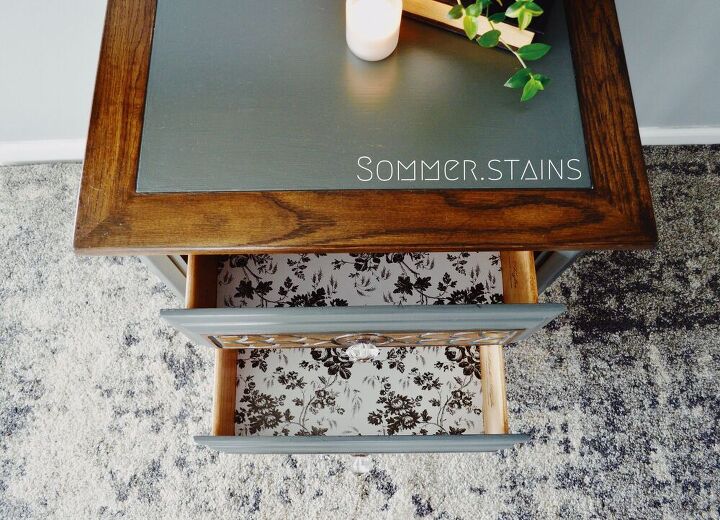
Drawer Liner from Dollar Tree
Knobs I bought from Hobby Lobby. I bought these when they were 50% off.
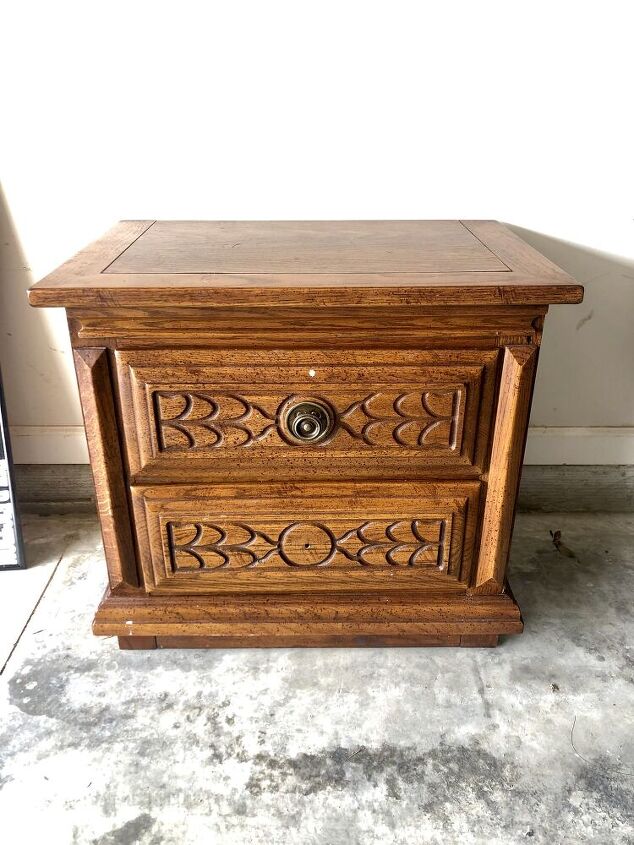
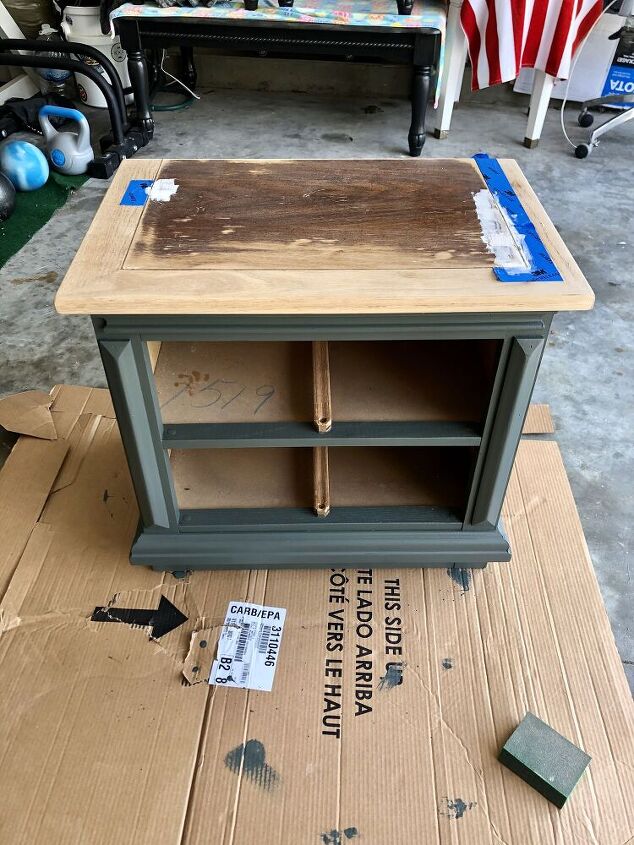
Before - missing a knob, beat up, with grime stuck on the inside.
Clean off the outside from any grime. This piece had crusted on items inside the drawer that I had to chip off.
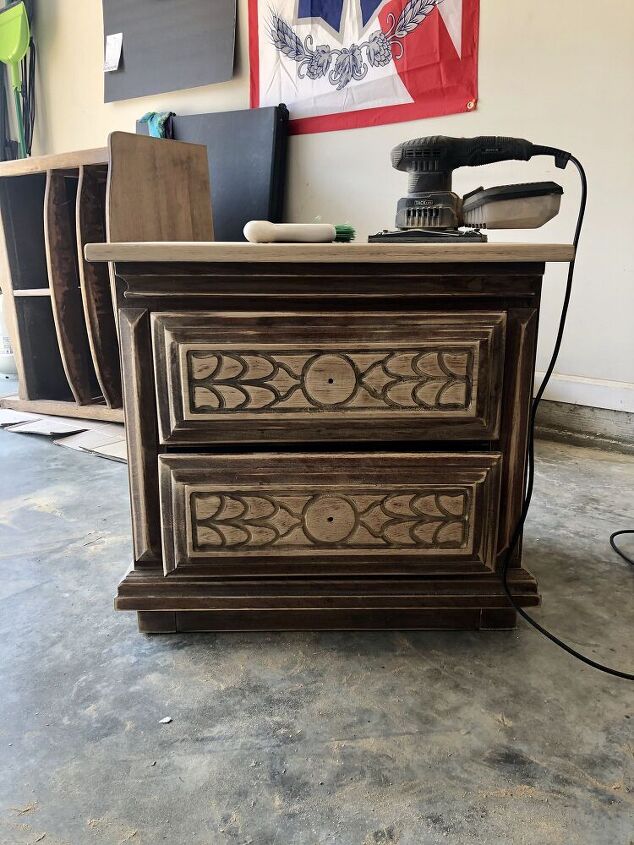
I started with a 80 grit sandpaper, still pretty rough - usually I start with a higher 100-120 just to make sure I know what I'm sanding down to, but I had 80 on hand so I lightly sanded with that before going down to 60 grit.
Link to my sander sets I use -
https://www.amazon.com/BLACK-DECKER-BDERO100-Random-Sander/dp/B00MLSS1SW/ref=sr_1_59?pf_rd_i=328182011&pf_rd_m=ATVPDKIKX0DER&pf_rd_p=aebdcf2a-c487-557d-8d80-d62a0ddc594d&pf_rd_r=P9Y6J57AW03QNCJYNWM5&pf_rd_s=merchandised-search-10&pf_rd_t=101&qid=1557660956&refinements=p_72%3A1248909011&s=power-hand-tools&sr=1-59
https://www.amazon.com/TACKLIFE-Multifunction-Sandpapers-Efficient-Collection/dp/B07X148FRH/ref=sr_1_3_sspa?dchild=1&keywords=electric+sander&qid=1585832868&sr=8-3-spons&psc=1&spLa=ZW5jcnlwdGVkUXVhbGlmaWVyPUEyVkQ3U0gzVkI4WTYzJmVuY3J5cHRlZElkPUEwNzc0NjYzMkVYVEUyU1kzVkRBViZlbmNyeXB0ZWRBZElkPUEwMzI5ODQ1OTNKS0c3UTg1UjlMJndpZGdldE5hbWU9c3BfYXRmJmFjdGlvbj1jbGlja1JlZGlyZWN0JmRvTm90TG9nQ2xpY2s9dHJ1ZQ==
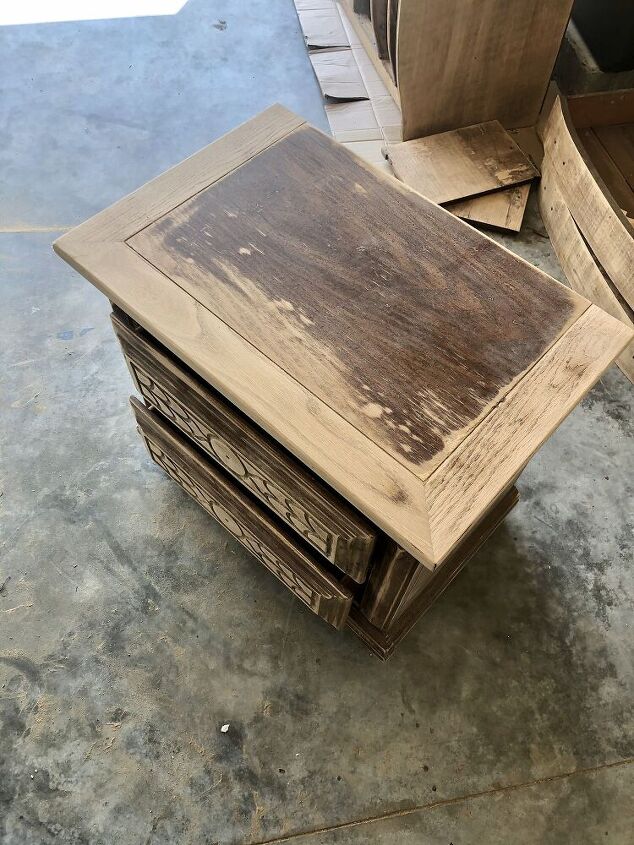
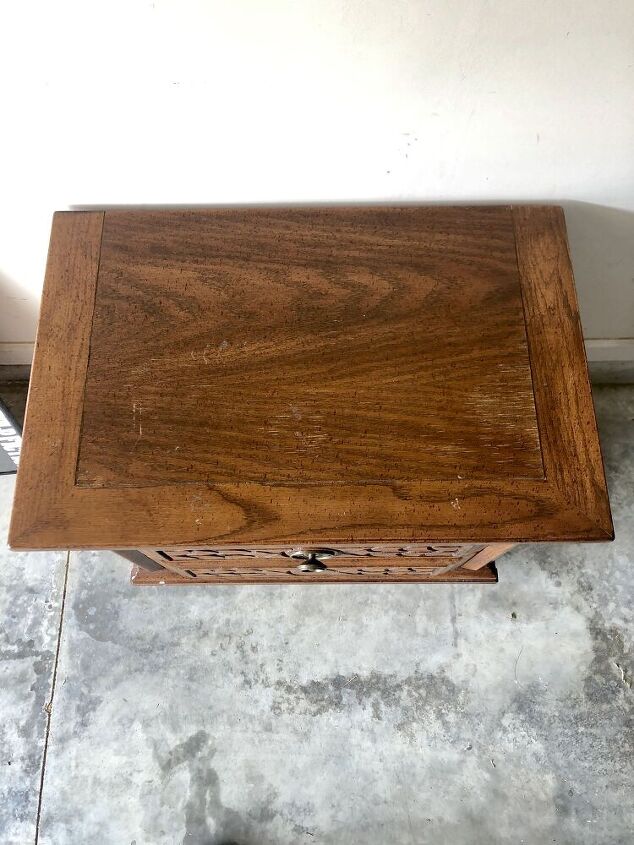
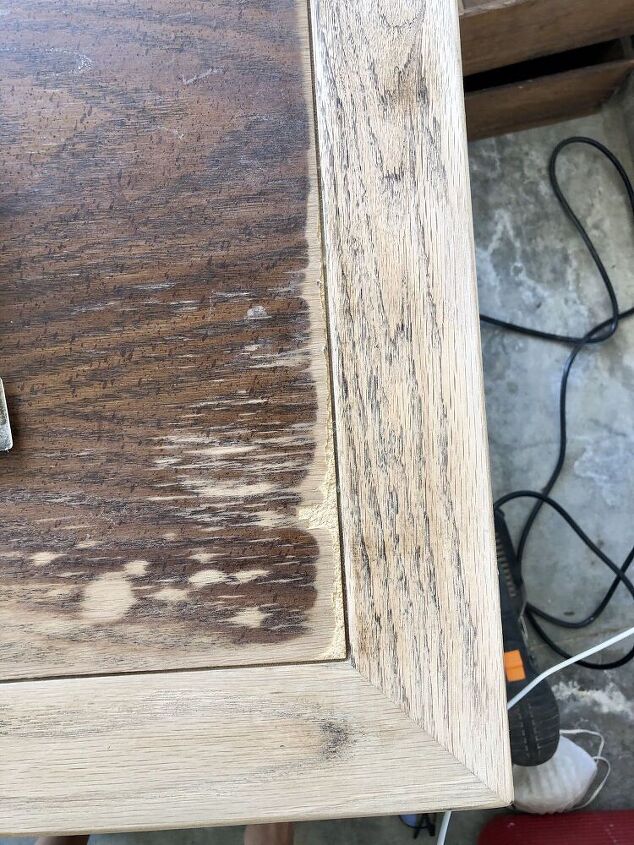
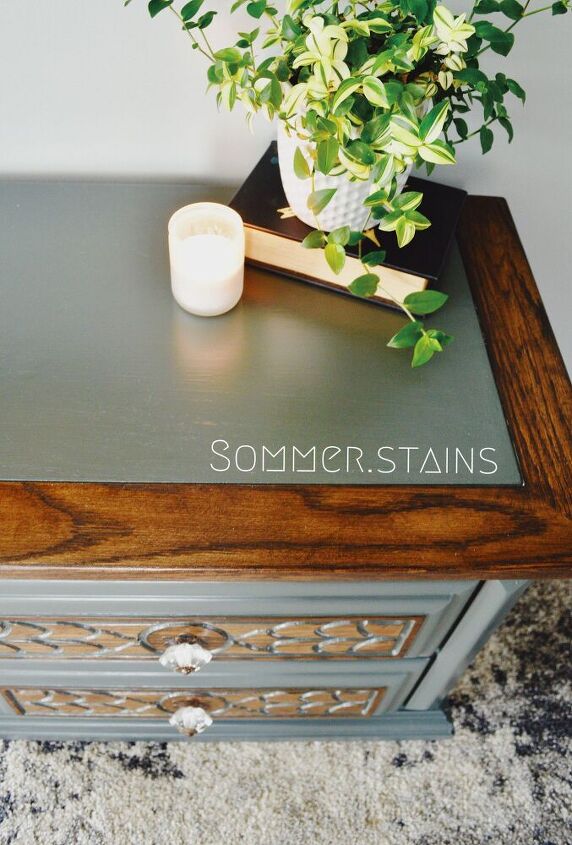
When sanding the top the surrounding trim piece sanded down beautifully. The middle wasn't sanding down too well. The majority of the top was particle board. The edges that met the trim were chipping away so I knew I wasn't going to sand the top completely down to stain, I'd just paint it.
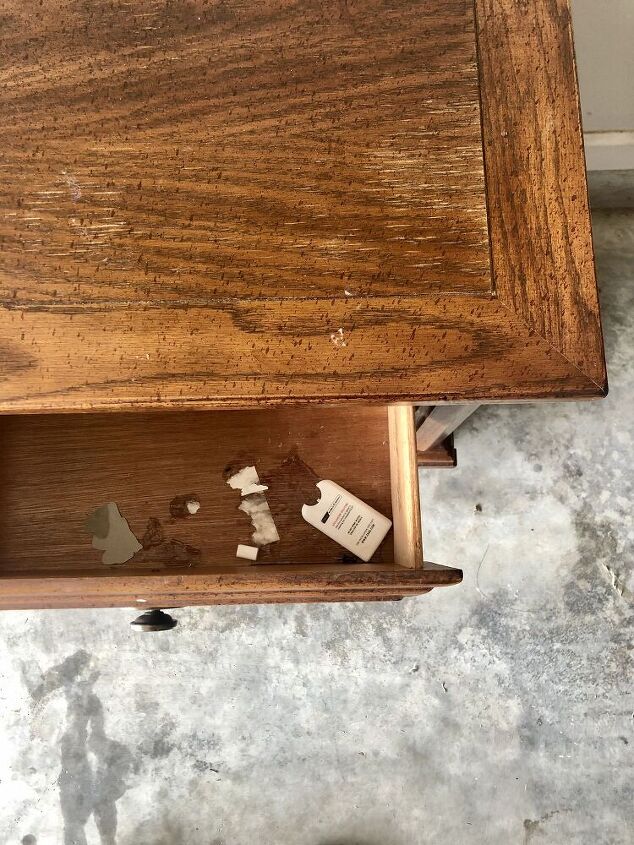
Because the top was chipping when I was sanding it, I decided to smooth it out. To do this I used Spackle I had on hand. Yes I could have used wood filler, I am fully aware of that. To save time and money, I just used what I had on hand, which was all purpose Spackle. I've used this before to smooth out a surface on a table and it works just fine. Just make sure you paint multiple coats over and seal properly.
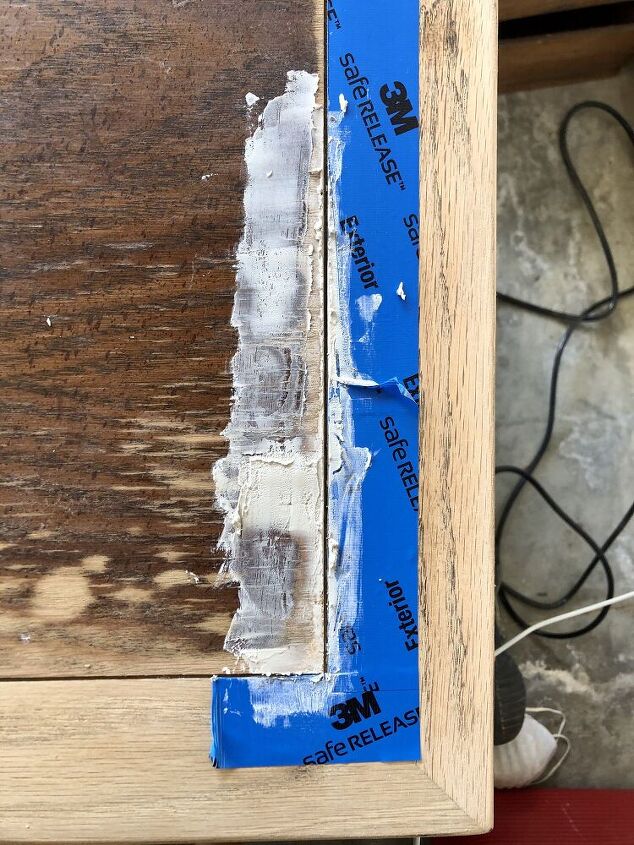
I lined some painters tape to give a nice clean edge. I ended up doing two coats of Spackle, sanding in between the coats.
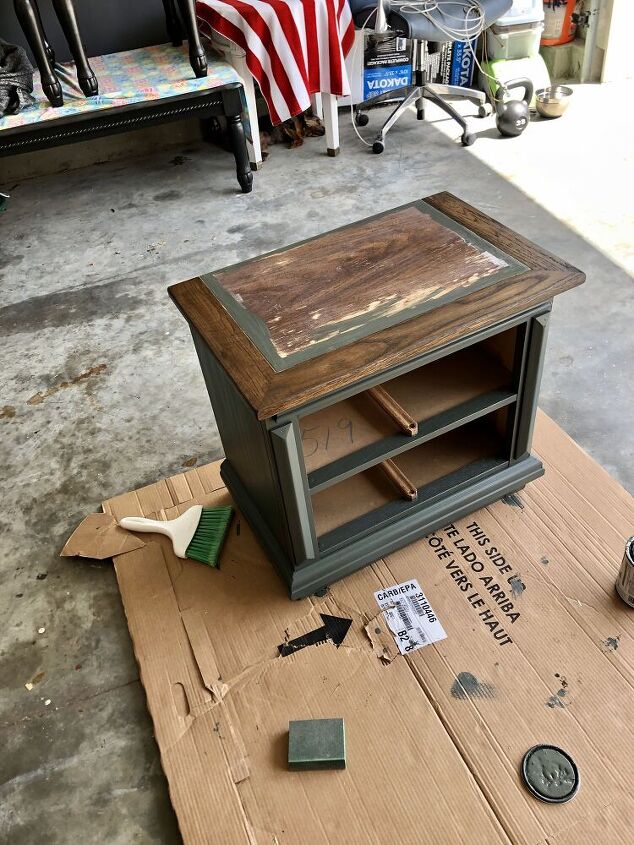
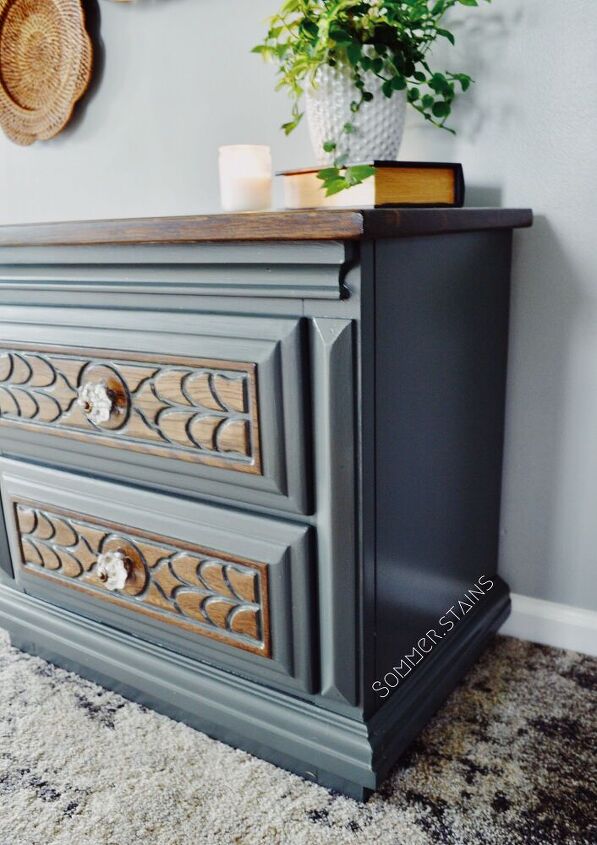
While the Spackle was drying I painted the bottom of the piece and the drawers. I used the color Sable Calm by Valspar in an eggshell finish.
Link to my paint brushes I always use to paint with -
https://www.amazon.com/dp/B07DT5YJQ2/ref=cm_sw_r_cp_api_i_vNXWDb3CWGHJW
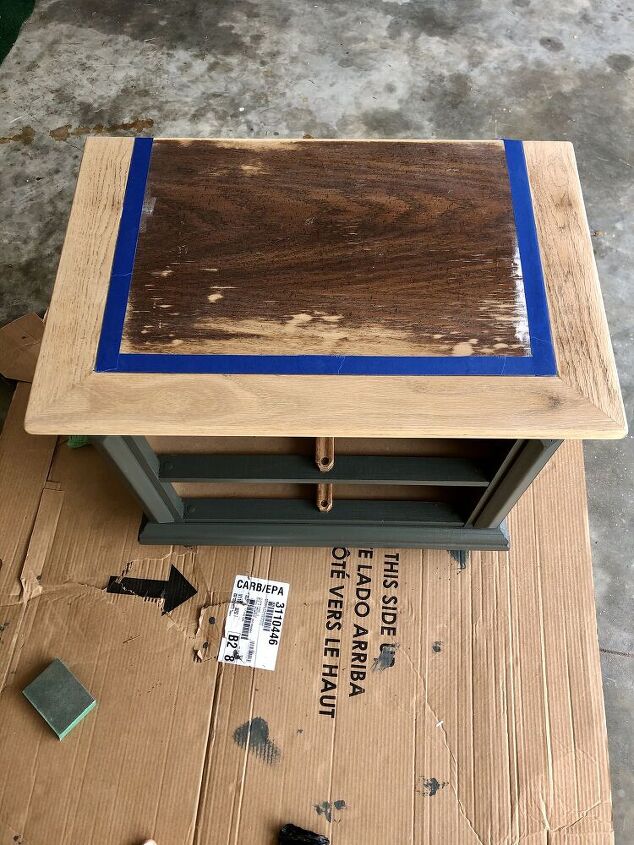
Taped off the rest of the top to stain.
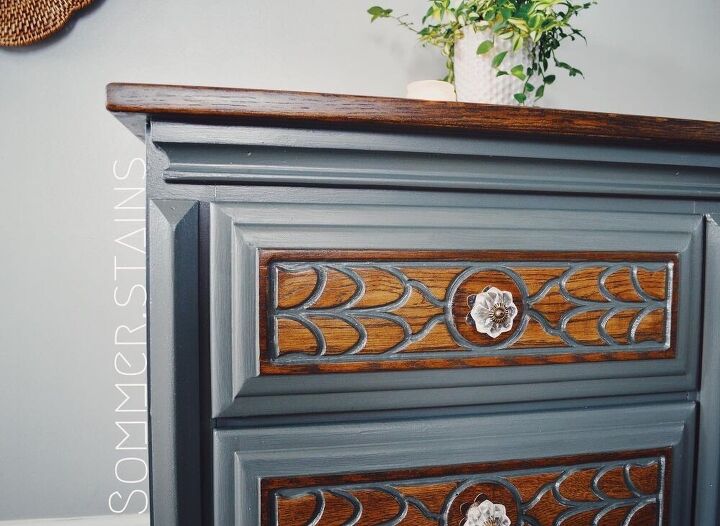
Stain - Jacobean by Minwax.
Link to stain -
https://www.amazon.com/Minwax-70014444-Finish-Penetrating-Jacobean/dp/B000LNUR68/ref=sr_1_1?dchild=1&keywords=jacobean&qid=1594400140&sr=8-1
This is after the top of the pattern was stained. It's a slight difference in color from the original.
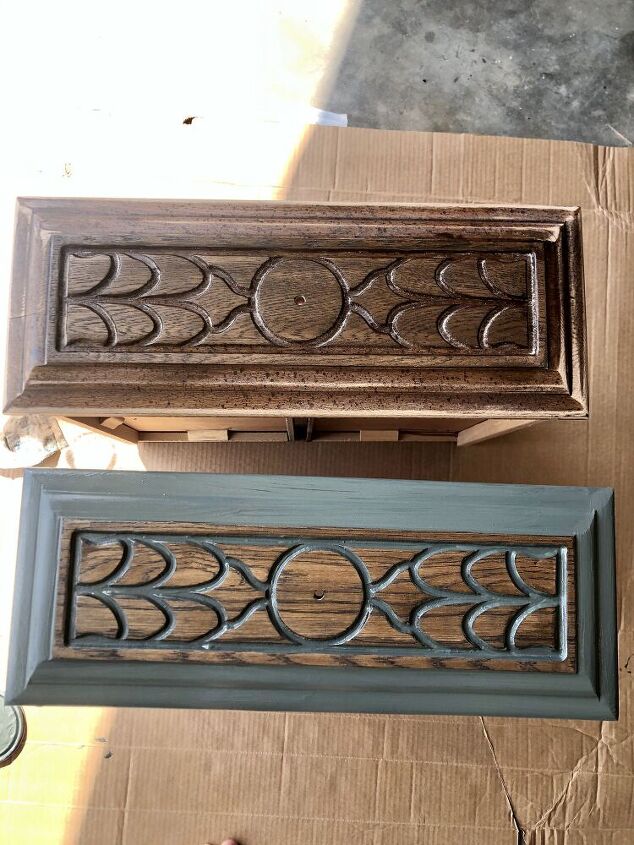
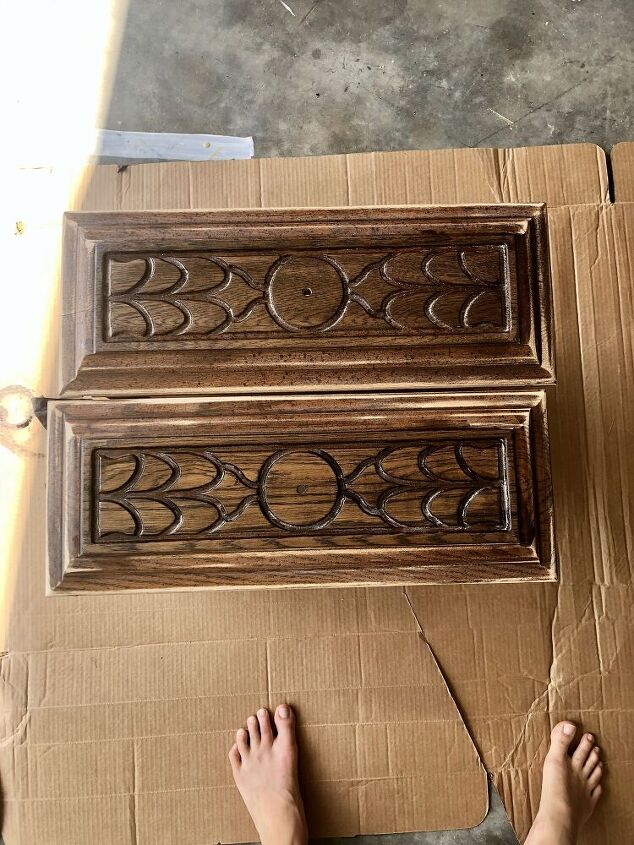
How amazing does this look?! I used a small paint brush and took my sweet time to paint this.
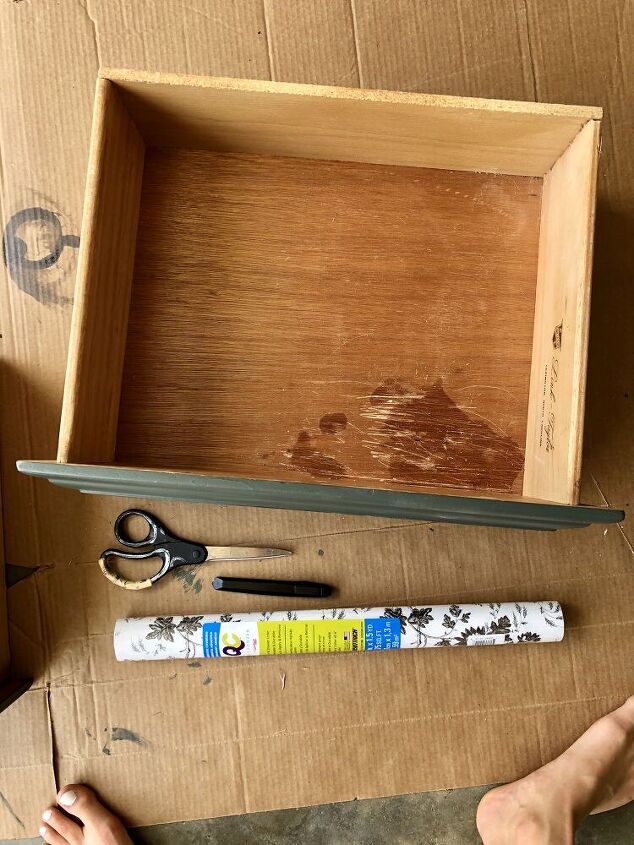
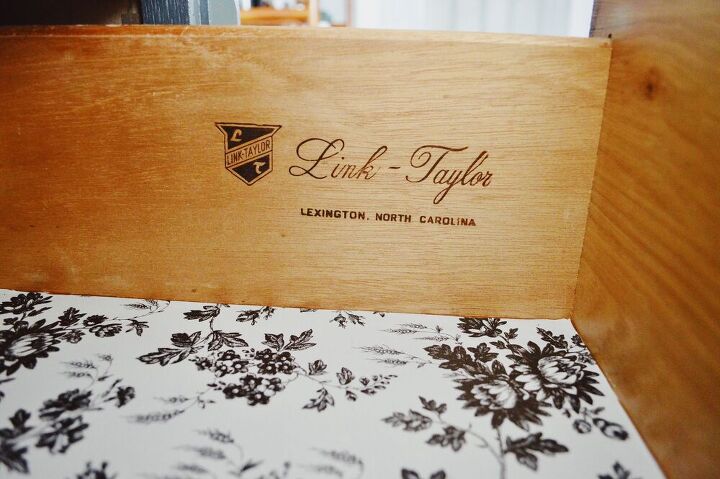
I used this pretty flower pattern liner that I found at Dollar Tree of all places! Such a score for just $1!
I used my go to, holy grail sealer Polycrylic Matte Finish by Minwax. I sealed the entire piece with this painted part and stained part. I did three coats on the stained part and the top and two coats everywhere else.
Link to sealer -
https://www.amazon.com/dp/B000PRNXNY/ref=twister_B07JLY244F?_encoding=UTF8&psc=1
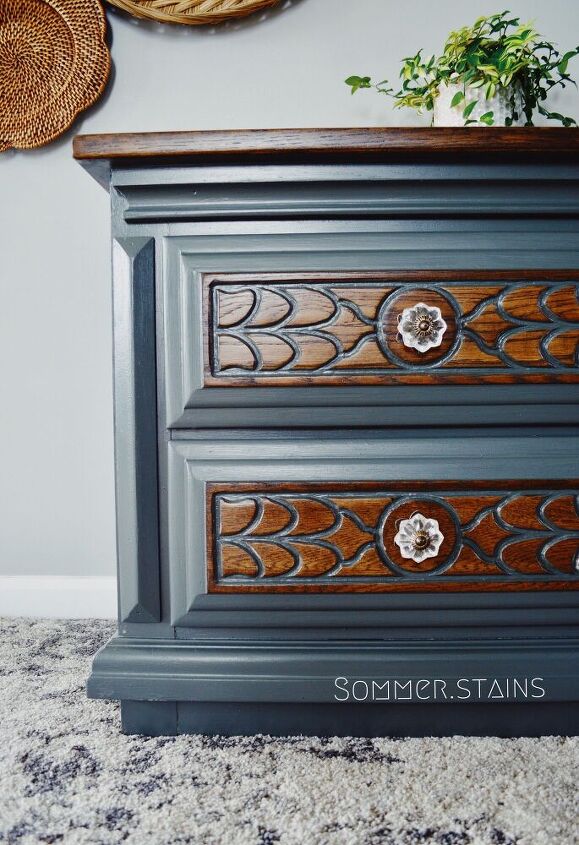
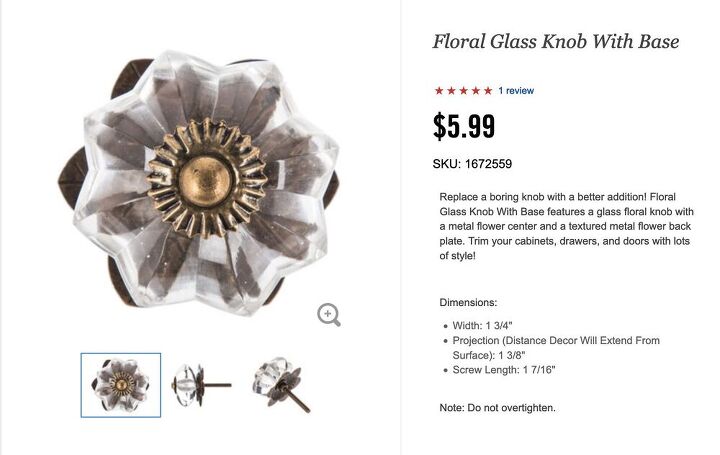
I found these beautiful glass knobs at Hobby Lobby. I love the way they pull the piece together!


Comments
Join the conversation
-
It turned out beautifully... you definitely have an eye for color combos and design..! Just beautiful...!
-
That is a superb refinish and recycle piece of work! Truly an inspiration for others to try a similar project….well done.


Frequently asked questions
Have a question about this project?
All I have to say is “I’M SOOOOO GLAD MY MATERIALS NEEDED....HAVE THE SAME WORN LOOK JUST LIKE YOURS!” That’s when I know for a fact it’s gonna be a great piece!!! THANK U BC IT IS BEAUTIFUL and I stopped scrolling when I said “Whoah there.....I got that stuff....too!!” And mine is used often too!!
How do I paint tiles in the kitchen
How did you get the top to shine so beautifully?