


Upcycle an Old Cabinet Into a Stunning DIY Wine Rack

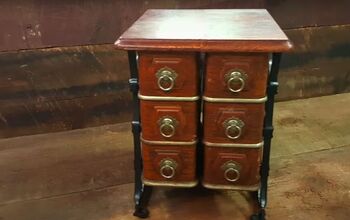
Boy do I love breathing new life into old furniture! In this tutorial I’ll show you how I took a $5 cabinet I got from the thrift store and turned it into a chic wine rack. It was really quite simple and only took a few hours and some basic tools and materials. If you can’t find a cabinet identical to the one I used, you can still use the basic ideas to create one completely unique to you and your home. Check out my step-by-step tutorial below to start making one today!

Tools and Materials:
- Old cabinet
- Country Chic paint in Cheesecake
- Paint brush
- Paint roller
- Tape measure
- Wooden wine rack
- Drill
- Screws
- Stain
- ¼” x 2” lumber
- Air nail gun
- Miter saw (or jigsaw)
- 4 wooden legs
- Antiquing wax
- Cloth
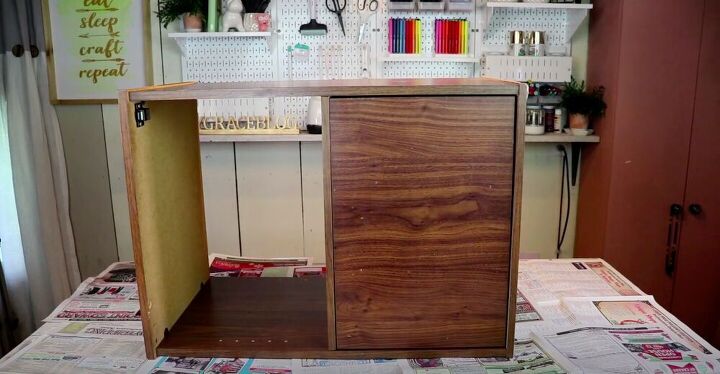
I started out by turning the cabinet on its side. This step will depend on the kind of cabinet you’re working with and the look you’re going for.
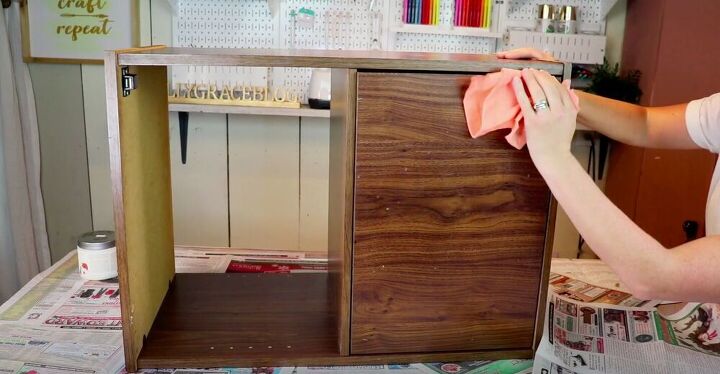
I also thoroughly cleaned the cabinet, inside and out, so that I could start painting.
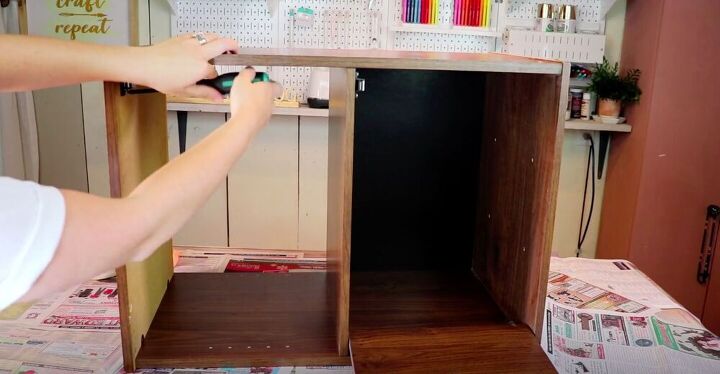
I removed any unnecessary hardware before I started painting as well.

I used the color Cheesecake from Country Chic for my project. I painted the cabinet with two coats of the paint.
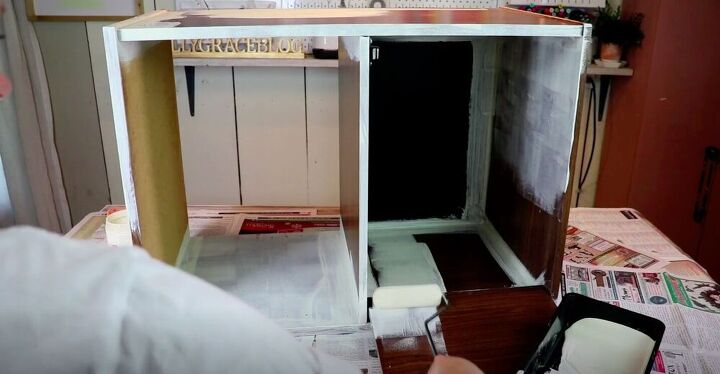
To get into all the nooks and crannies I used a paint brush, but for bigger, flatter areas I used a paint roller. If you don’t like the look of brushstrokes, use a paint roller and you won't have to worry about it. I applied two coats of paint to my cabinet, allowing it to dry in between the coats.
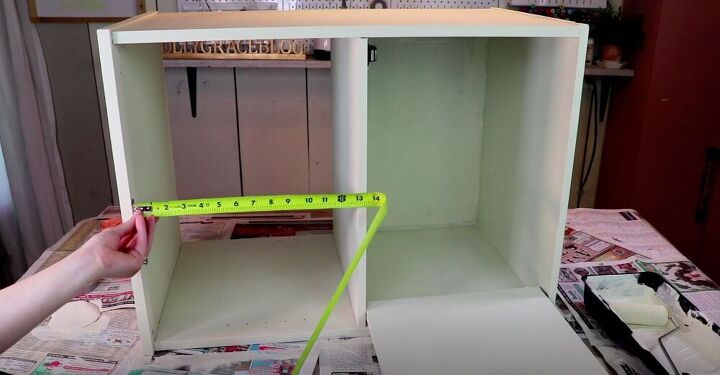
I’m using an old wine rack for this project, so I needed to make it fit properly in my cabinet. I measured the width and height of the cabinet to determine how much I would have to cut my wine rack down.
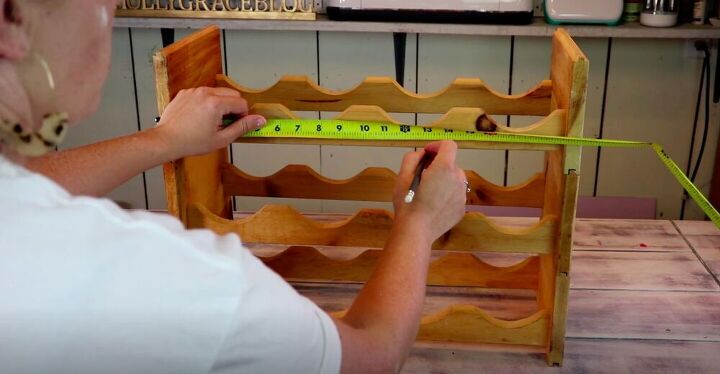
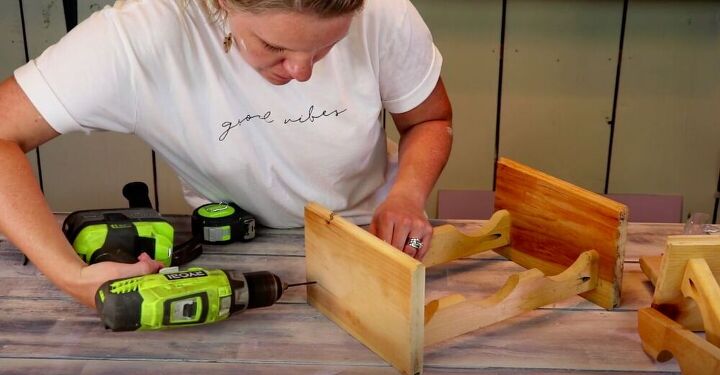
Then I cut it down to size and reattached the end. It was pretty easy to do with a miter saw. You could even use a jigsaw if you don’t have a miter saw.
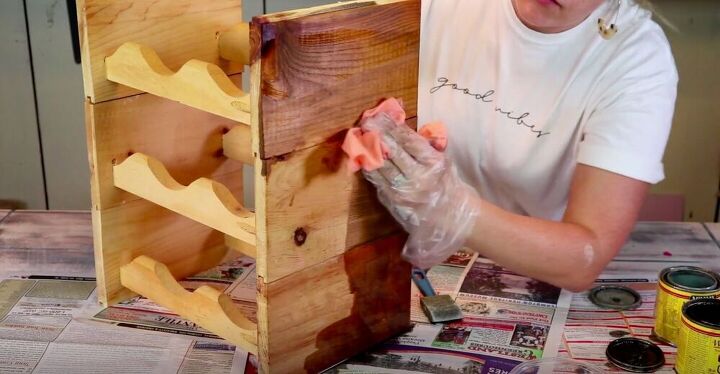
I wanted to give the wine rack a good staining, and I mixed two stains to achieve the color I wanted. Then I rubbed it all over the wine rack until I was happy with how it looked.
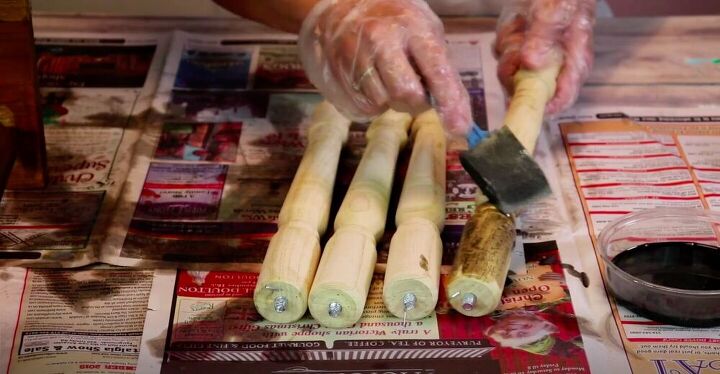
I also stained the legs that I would be attaching to the wine rack later.
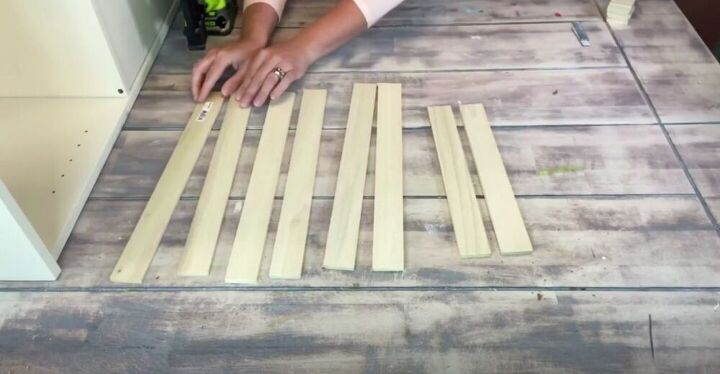
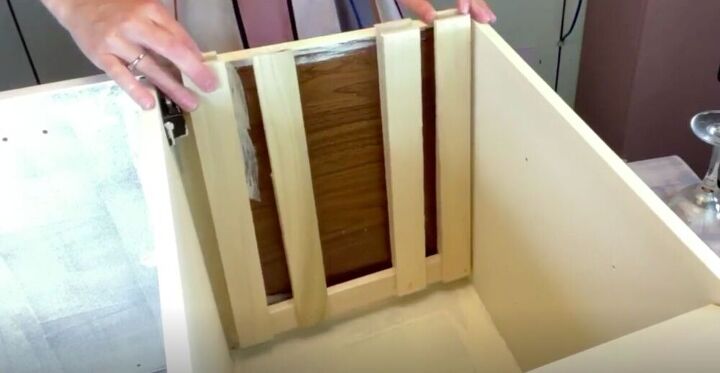
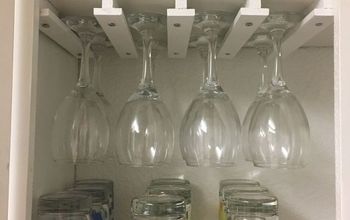
I measured the depth and width of the other side of my cabinet to determine how to cut the wood for my wine glass holders. I’m using thin pieces of wood to put together a wine glass holder. I cut two pieces equal to the width of my cabinet, and eight equal to the depth.
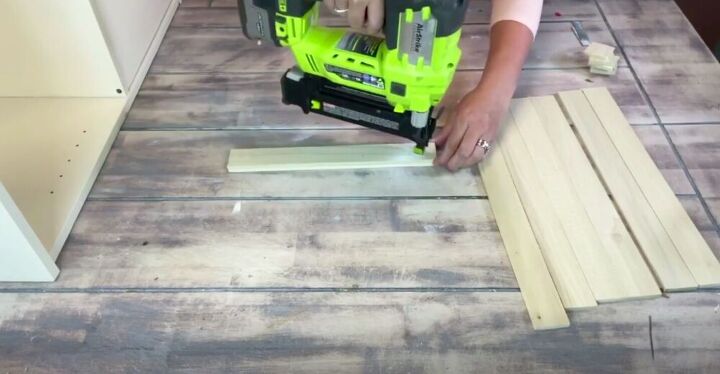
Then I connected the two shorter pieces using an air nail gun.
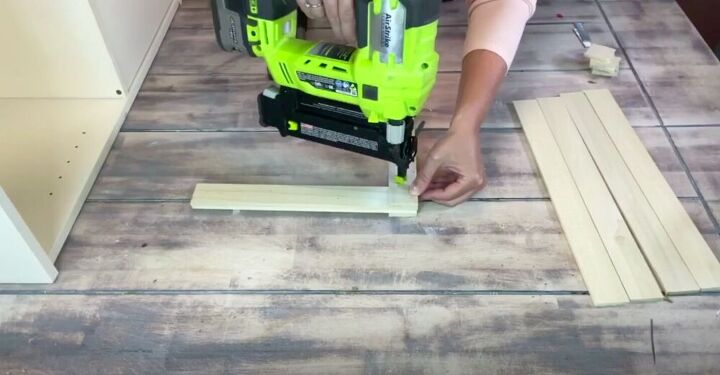
Next I placed one of the longer pieces on top and one underneath the shorter piece and nailed it in place.

Then I used a wine glass to determine where to place the next two pieces so that it would hold it nicely in place. I repeated the process on the other side.
With my wine glass holder complete I flipped the cabinet on its side and installed it.
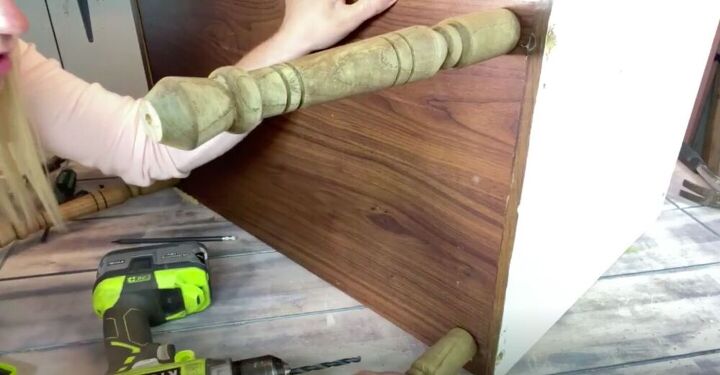
To add legs to my wine rack I marked out the holes for where I wanted to place them. Then I drilled a hole into the MDF, making sure not to go to the other side. These legs are easy to work with as all I have to do is screw them into place with a screw that is already attached to the top of them.

I gave the entire piece another coat of paint. Once it was dry I went in with some antiquing wax and a cloth and rubbed it along the edges of the cabinet to give it a weathered look.
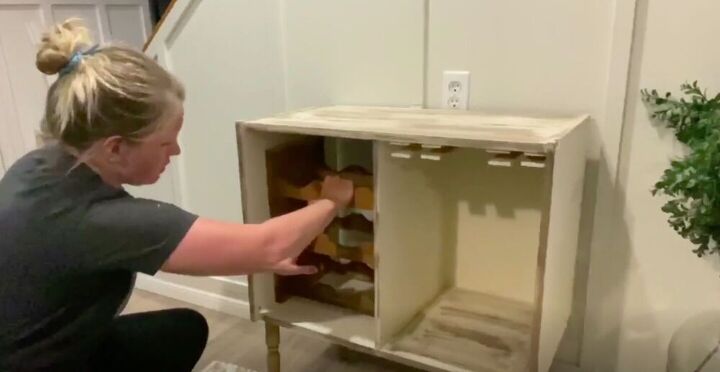
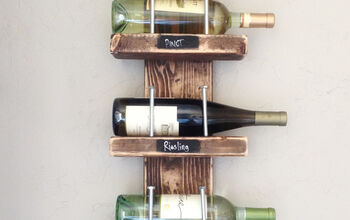
I inserted the wine rack into place and filled it with bottles of wine and glasses.
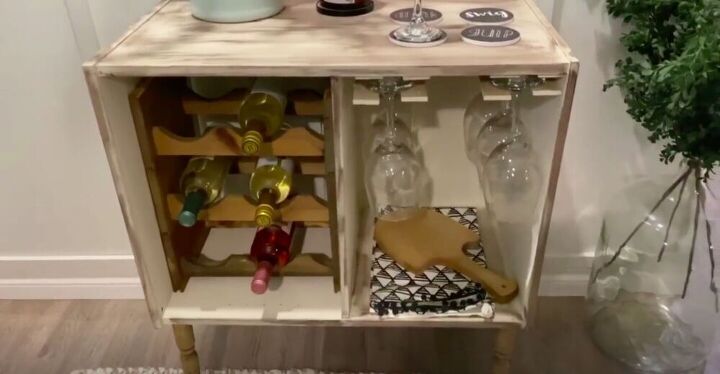
Now I have a stunning, functional statement piece for my home! I love entertaining and it is always a talking piece. How would you personalize your own upcycled wine rack? Let me know in the comments below!
Resources for this project:
See all materials


Comments
Join the conversation
-
great job .you make it look easy I have an old micoway table that it could work with thank for idea
-
Very nicely done 😉


Frequently asked questions
Have a question about this project?
Do you worry about the paint adhering and scratching easily on that type of laminate wood?