


Two Tiered Beaded Stand
I've been wanting to make a tiered stand or tray for a while now and finally decided on a design that I love. These trendy stands and risers are so cute and versatile and can add a little charm anywhere in your home!
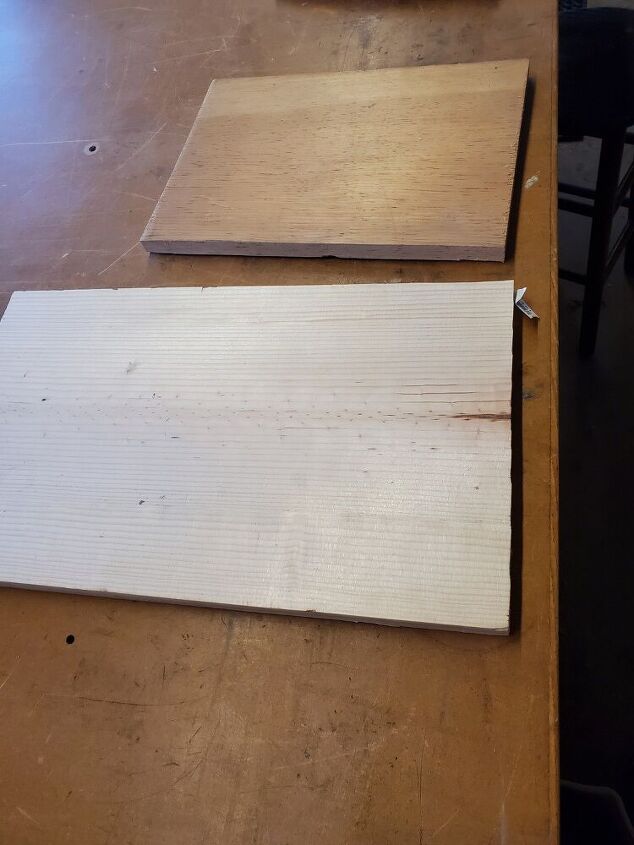
I started with two pieces of scrap pine. The larger one will be for the lower piece and the smaller one will be the top.
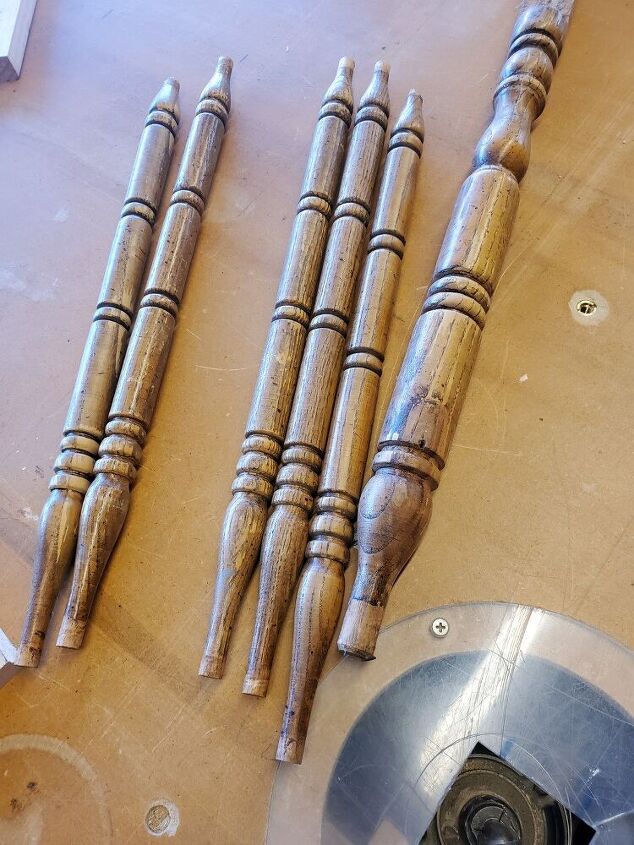
I always save cute spindles from chairs or tables that are broken or that I won't be using. These always come in handy for future projects. I'll be using pieces of these for the feet and center post of my stand.
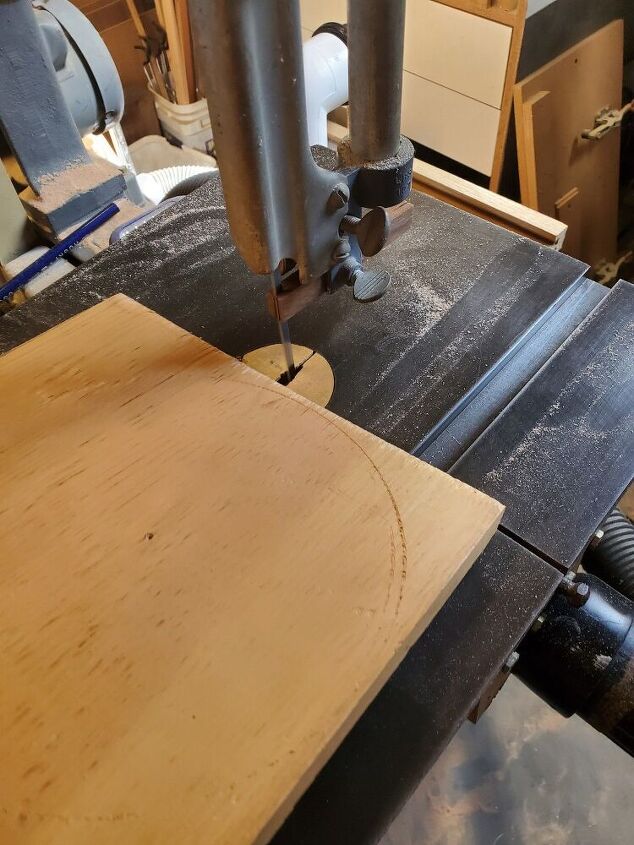
I thought about making a rectangular tray for something different but ultimately decided to play it safe and go with round pieces instead. I marked them out on my scrap wood and cut them on the band saw. Then I sanded them both smooth and even.
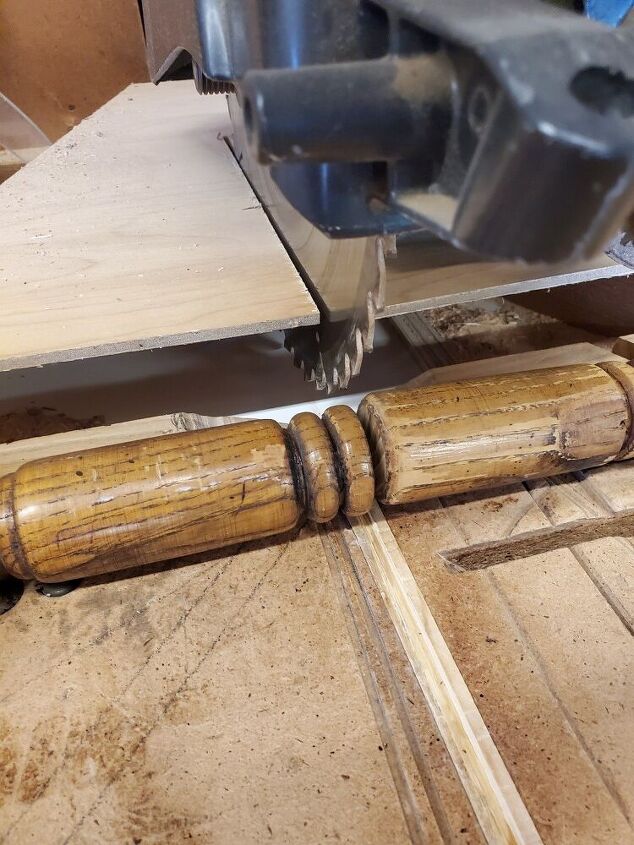
Next I decided which parts of the spindles I wanted to use and how long they would be. I cut those to size using a radial arm saw.
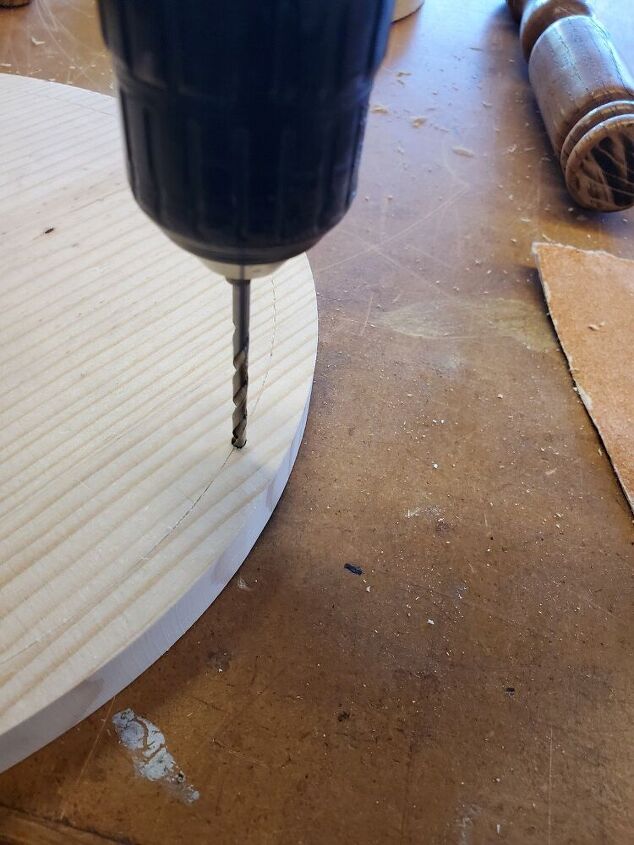
I marked where my 3 feet would go and then drilled clearance holes into my base. Next I drilled pilot holes into each of my feet. This will prevent them from splitting when screwing them in. (I decided on 3 feet instead of 4 because 3 feet won't wobble like 4 will if they happen to be cut slightly off or if the stand is sitting on a surface that isn't completely level).
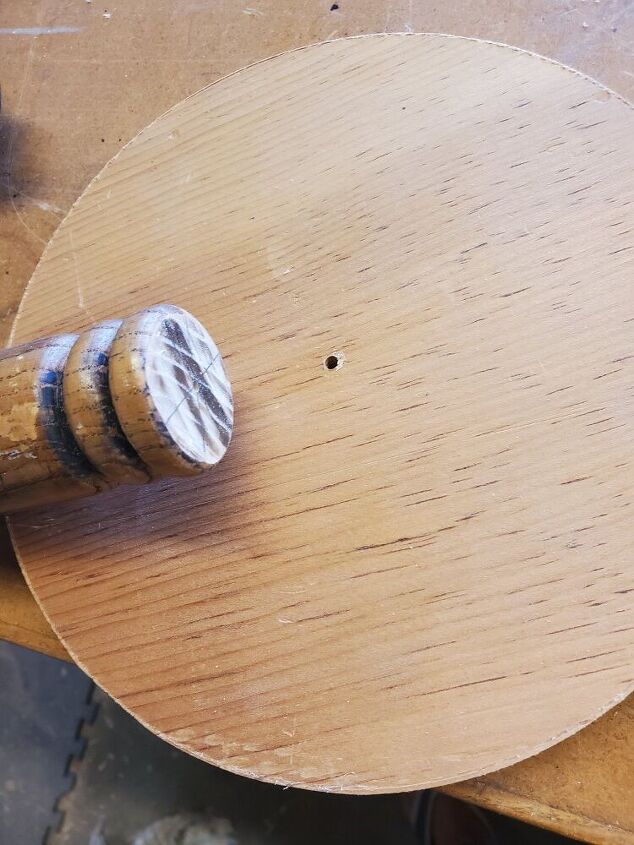
After attaching the feet to the base, I drilled clearance holes for my middle post into my base and top and then drilled a pilot hole into each end of my center spindle.
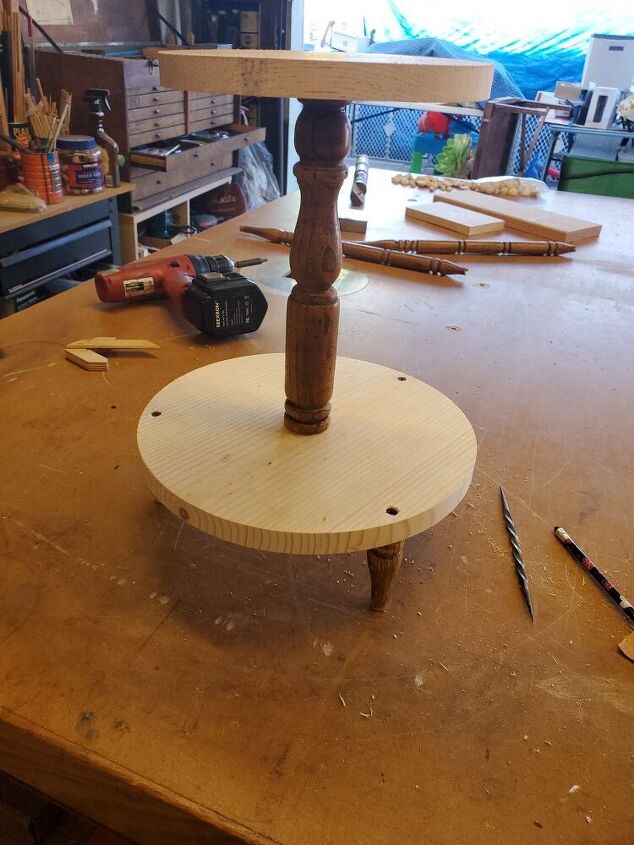
Here's what it looks like so far!
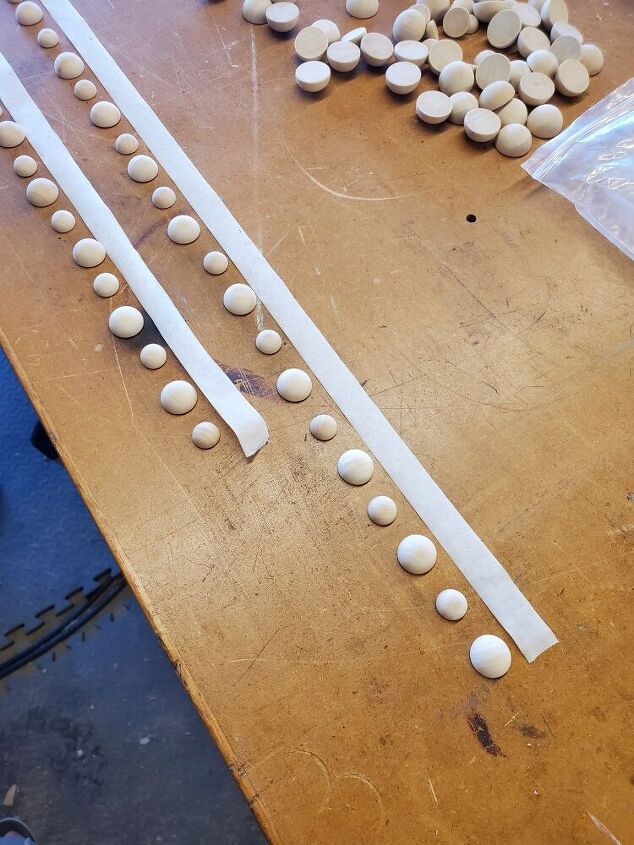
I used a piece of masking tape to measure the circumference of each of my round pieces and then laid them out and used them to decide on and calculate the spacing of my wooden beads.

I was able to use a half inch spacer between each bead for the layout I wanted. The measurements weren't exactly perfect so I had to slightly adjust my spacing once I got to the last few beads but you can't even see the difference. I glued each bead on with wood glue. This part was tedious and time consuming but I just love the look I was able to achieve!
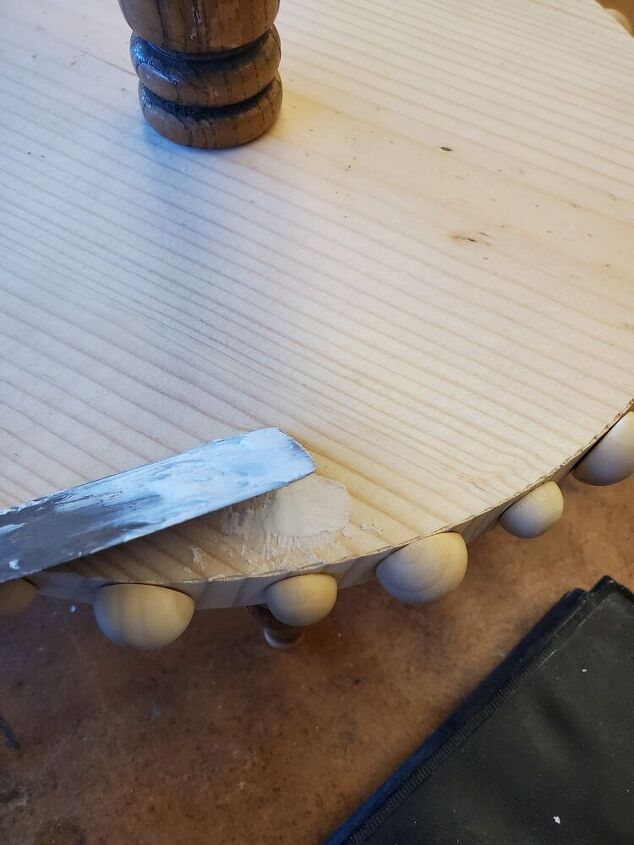
I filled the screw holes with putty, let them dry, and sanded them smooth before I moved on to painting.
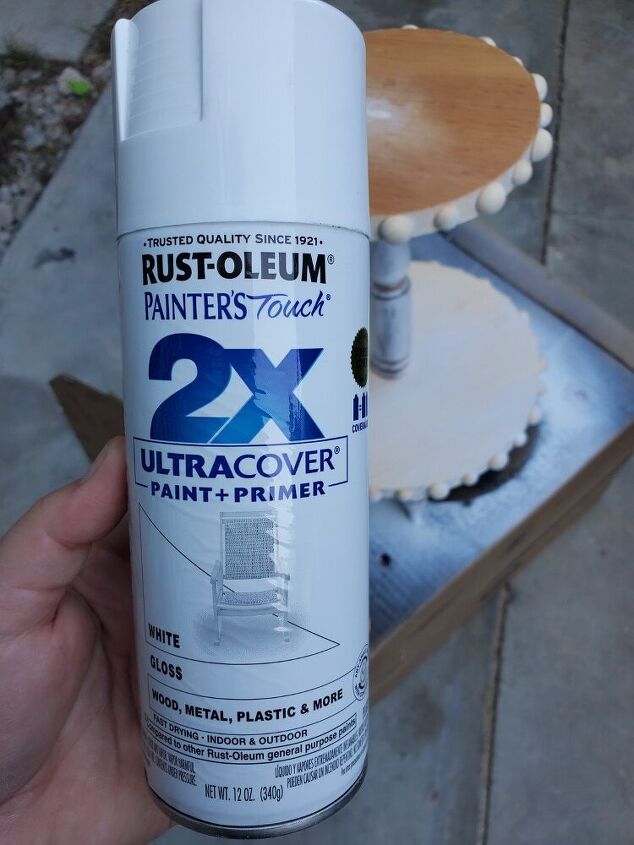
At this point you could add stain and then dry brush over that with chalk paint for a rustic look or you could use a gloss spray paint for a more polished look. I decided on a gloss white spray paint. I sprayed about 3-4 coats allowing for a little dry time in between each one.
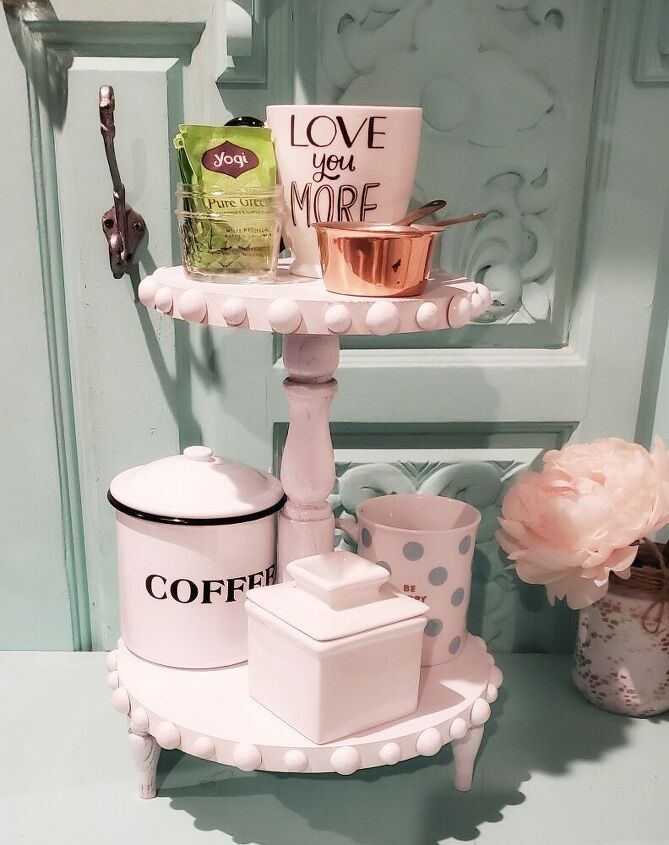
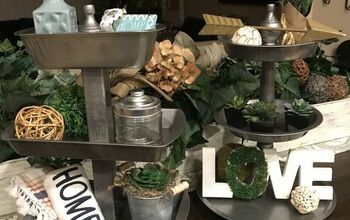
Here is my finished piece! I also think it would make an adorable cupcake stand or would even be great to use on a bathroom counter! I hope you enjoyed following along and please check me out on Instagram for more fun stuff!
Resources for this project:
See all materials


Comments
Join the conversation
-
Great looking
-
Very cute good work


Frequently asked questions
Have a question about this project?