


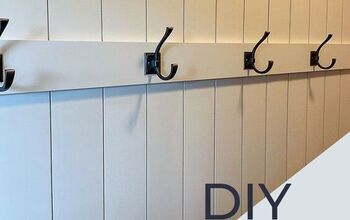
The Ultimate Beginners Tutorial to Board and Batten

by
Andrea Runk
14 Materials
$150
2 Days
Medium
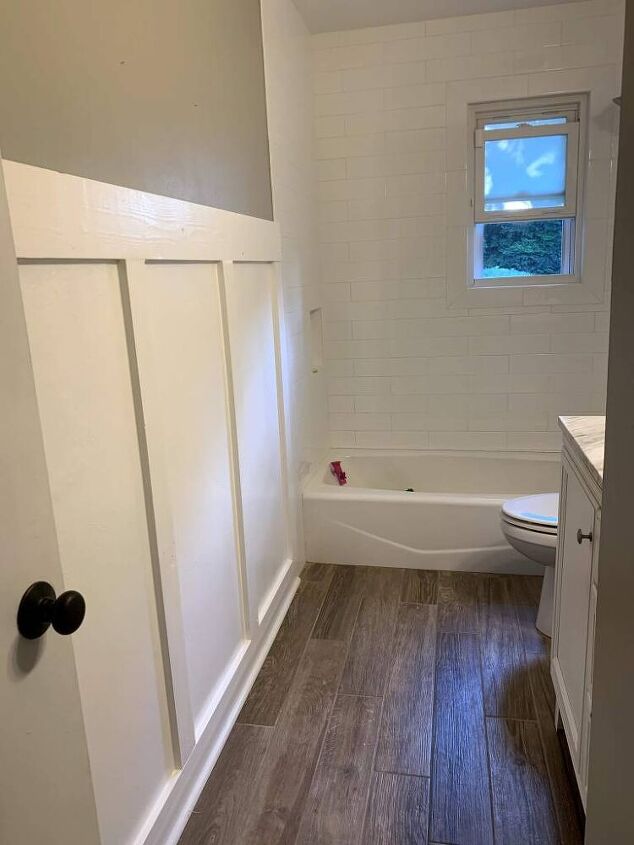
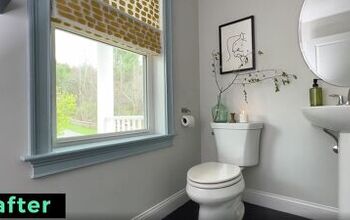
Here are my tips and tricks to the Ultimate Beginners Tutorial for Board and Batten Wall Treatment
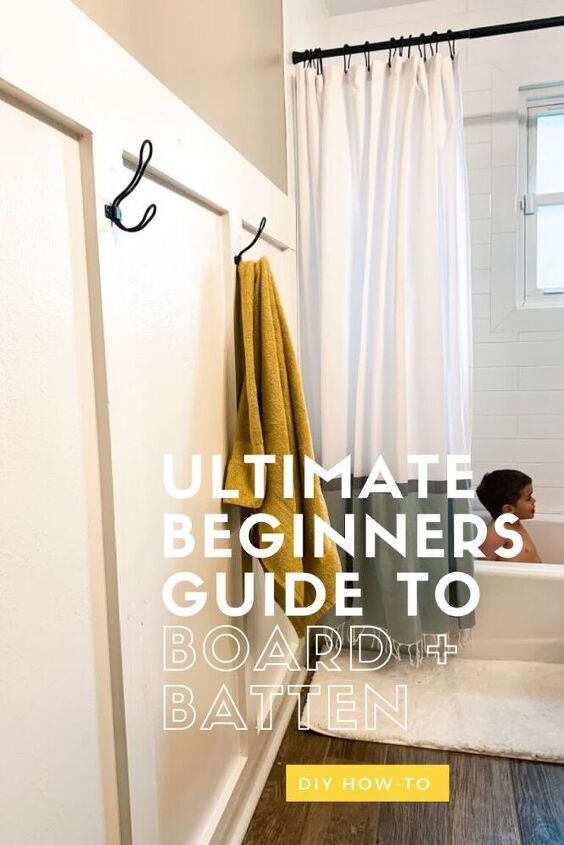
Before this picture was taken I didn’t have the tools or the training on how to make a Board and Batten Wall. But, that wasn’t going to stop me. Being a novice DIY’er and professional Pinner, I researched Pinterest until I found the means to create my own B+B design my own way. I wanted simple steps, a beginners level tutorial, and minimal tools. Not finding exactly what I was looking for I decided to “make it my way” and it turned out pretty great, if I do say so myself!
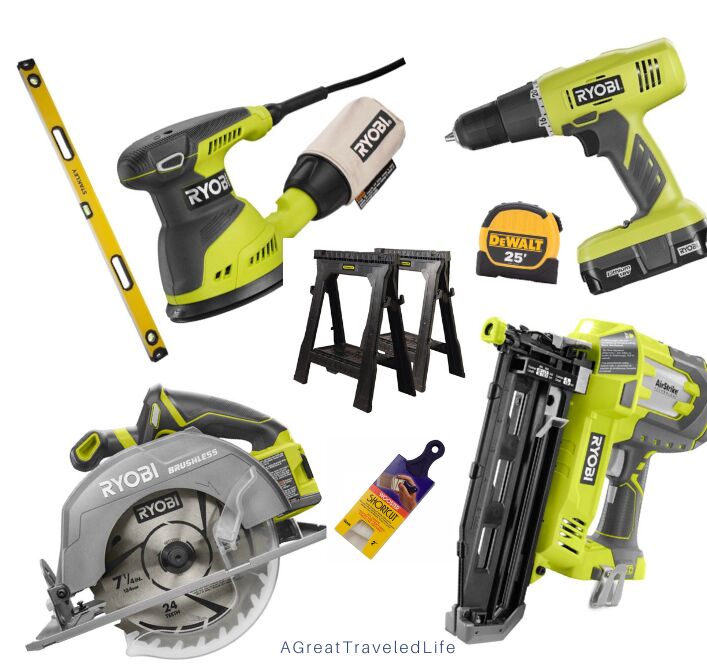
Lets Talk Tools
- Long Level
- Handheld Orbital Sander
- Drill
- Circular Saw
- Saw Horses
- Nail Gun ( I have the 16 Gauge one).
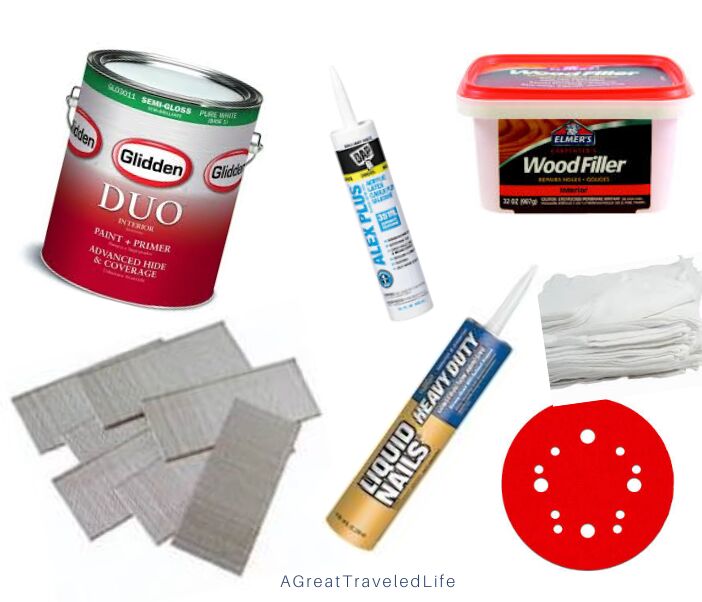
Get your Supplies
- White Paint + Primer
- Finish Nails
- Paintable Caulk
- Wood Filler
- Liquid Nails
- 80 and 120 Grit Sand Paper
- A few spare rags (this is the perfect time to clean out your husbands white undershirt collection).
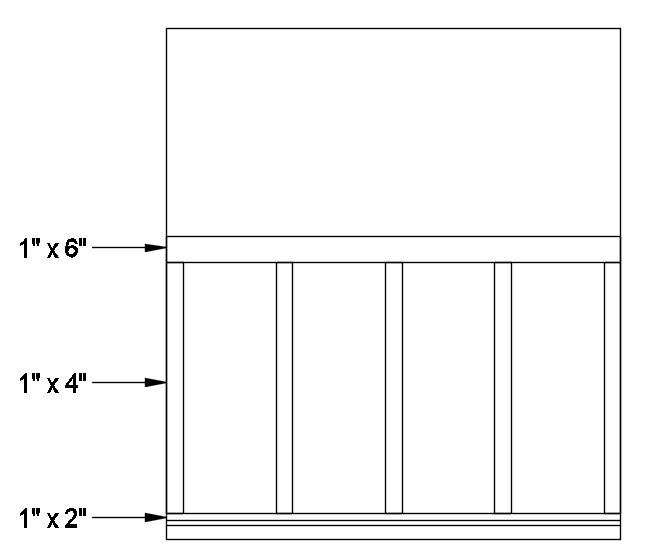
Create a Cut List
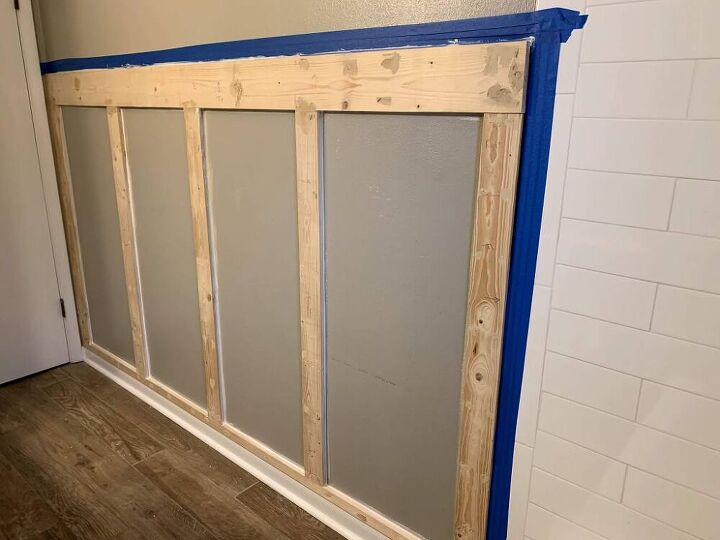
- 1″ x 2″ Common Lumber- Used as my “base trim”. The was added on top of the existing baseboard to bulk it up and to also give me a flat edge to build from.
- 1″ x 4″ Common Lumber- I used this for my vertical “Battens” . Tip: buy an 8′ piece and have them cut it in half at the store. Save time and money!
- 1″ x 6″ Common Lumber- I wanted a beefier top board to balance the baseboard.
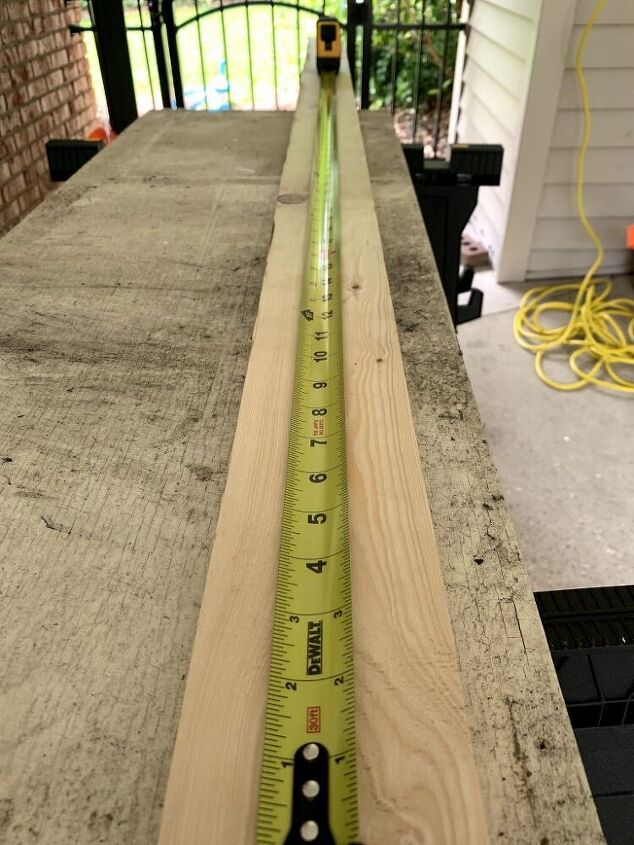
Measure and Cut your Lumber
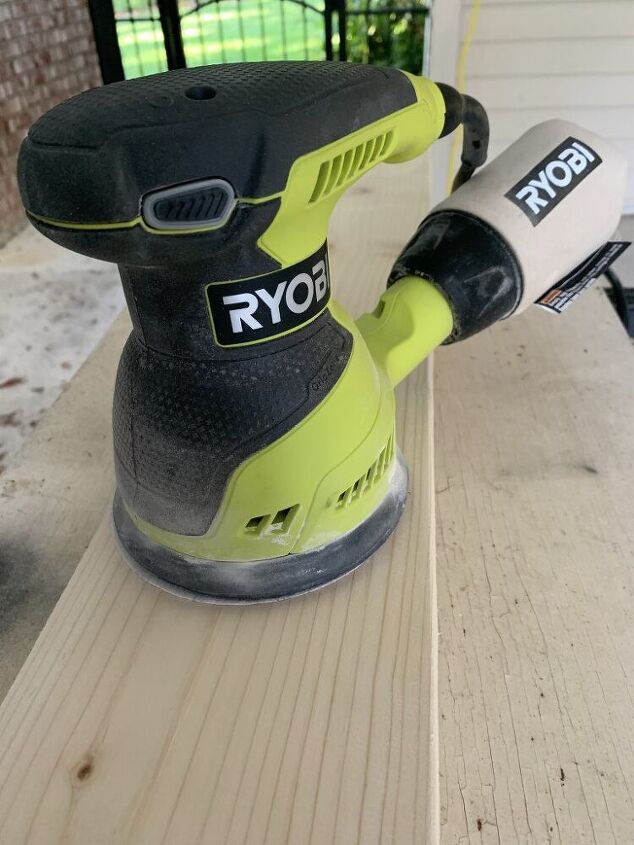
Sand the Lumber
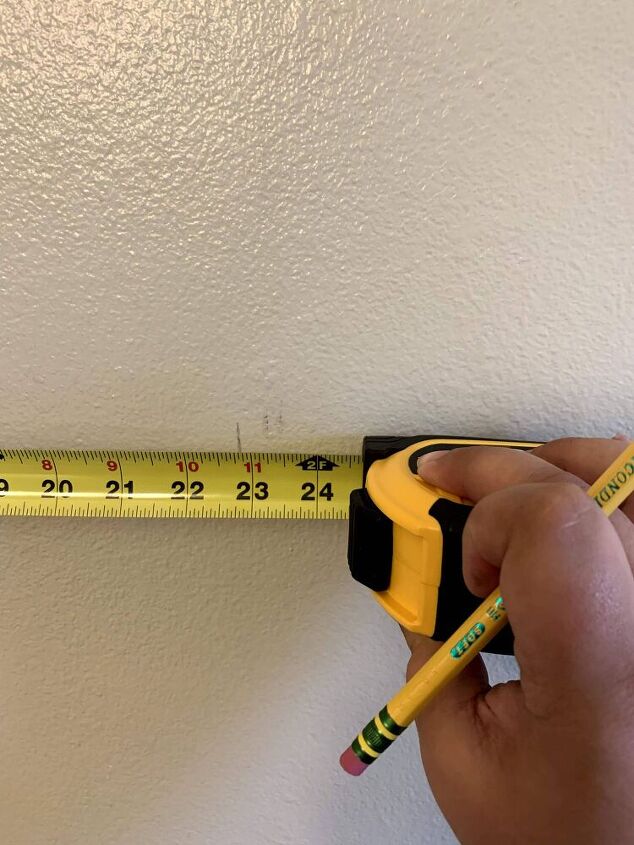
Measure the Wall Spacing
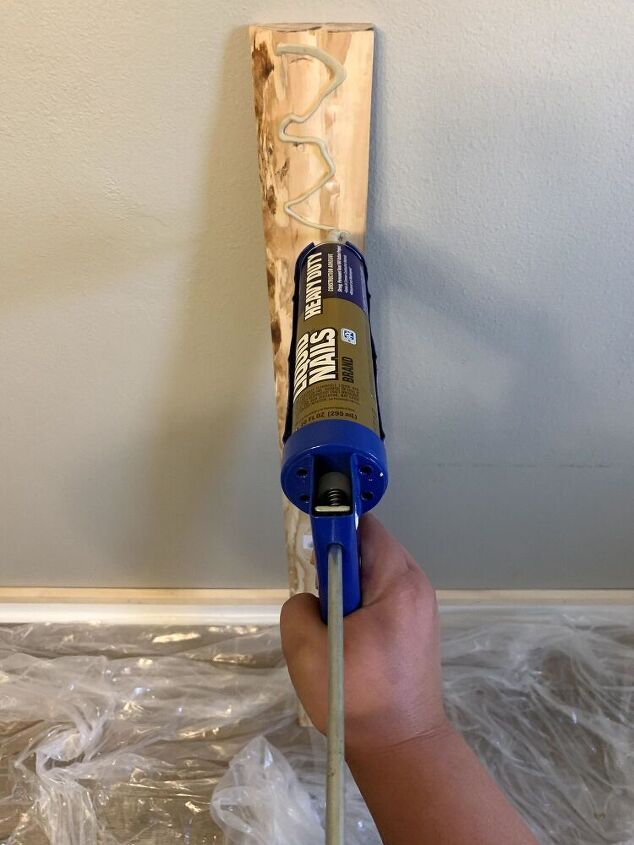
Use Liquid Nails to Adhere the Boards to the Wall
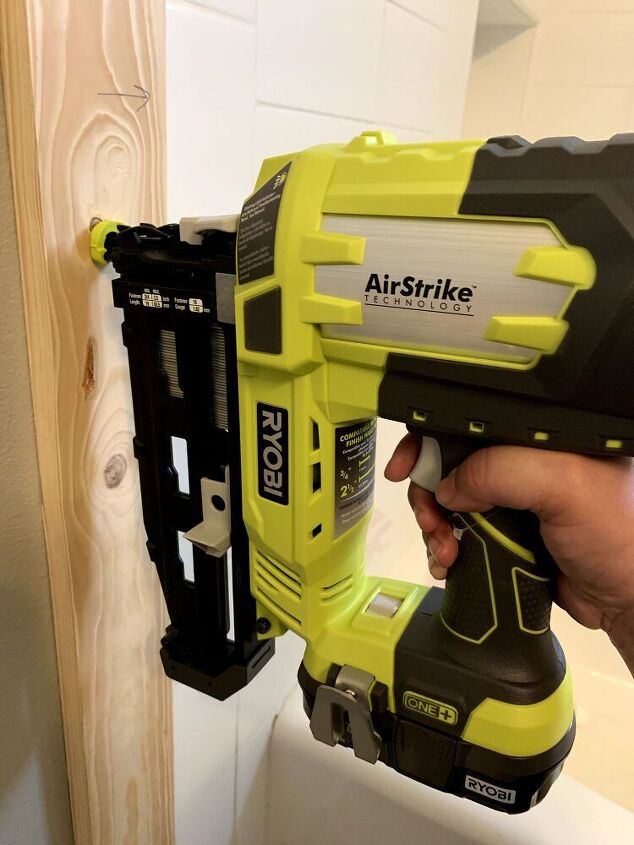
Secure with a Nail Gun
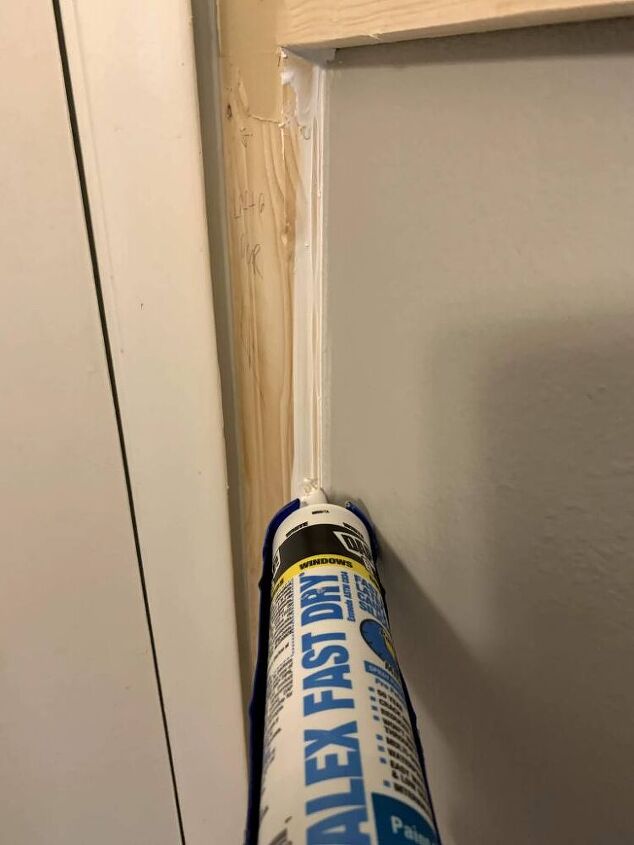
Fill in the Gaps, Holes, and Imperfections
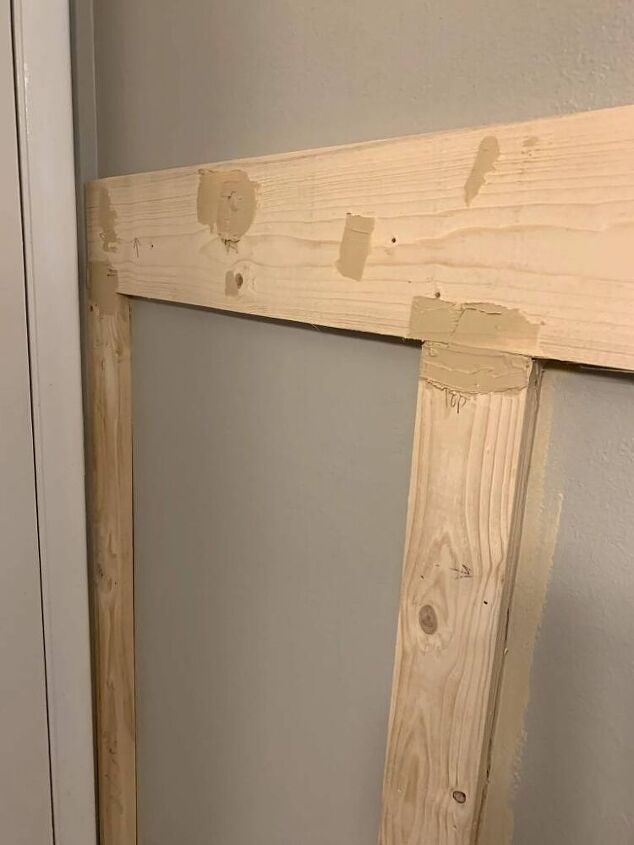
Rule of Thumb:You want to FILL the holes and CAULK the gaps.
Paint
Resources for this project:
See all materials


Any price and availability information displayed on [relevant Amazon Site(s), as applicable] at the time of purchase will apply to the purchase of this product.
Hometalk may collect a small share of sales from the links on this page.More info
Comments
Join the conversation
3 of 8 comments
-
Nice work. Bathroom looks amazing.
Annie🦋
-
Your project looks fantastic!! I was checking out the tools you used/have, are you happy with all of them or have you discovered more "user friendly" brands ? Now that you have them, there's no stopping you!!! Go girl!!!! :)


Frequently asked questions
Have a question about this project?
I’m inspired! Can you tell me what is the dimension from the floor to the top of your horizontal piece please?