


Faux Quilted Pallet Pumpkins
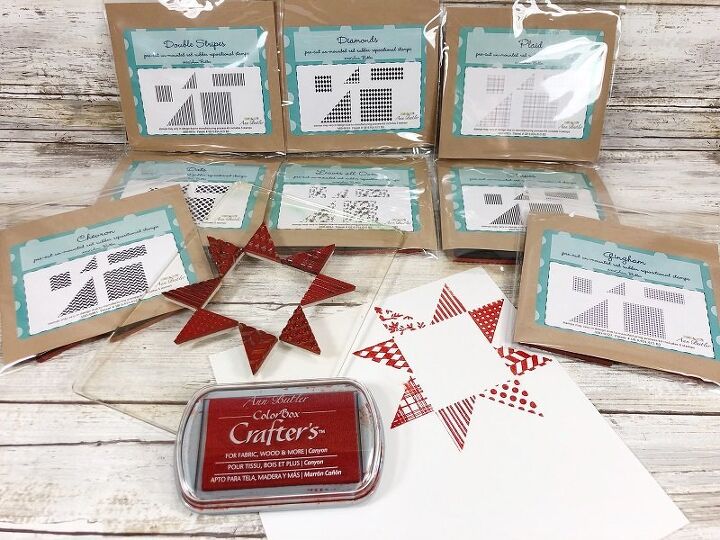
I am not a traditional quilter or paper crafter, so I have created Faux Quilted Pallet Pumpkins with Ann Butler Designs line of quilt inspired stamps from Unity Stamp Company. Ann’s stamps come in a wide variety of sizes, shapes, and patterns, but today I am using triangles in a star pattern and rails to create a striped pattern. Red rubber is perfect for stamping on uneven surfaces like the wooden pallet pumpkins. I love how the modern pumpkin shapes blend with the traditional quilting patterns to create contemporary home decor!
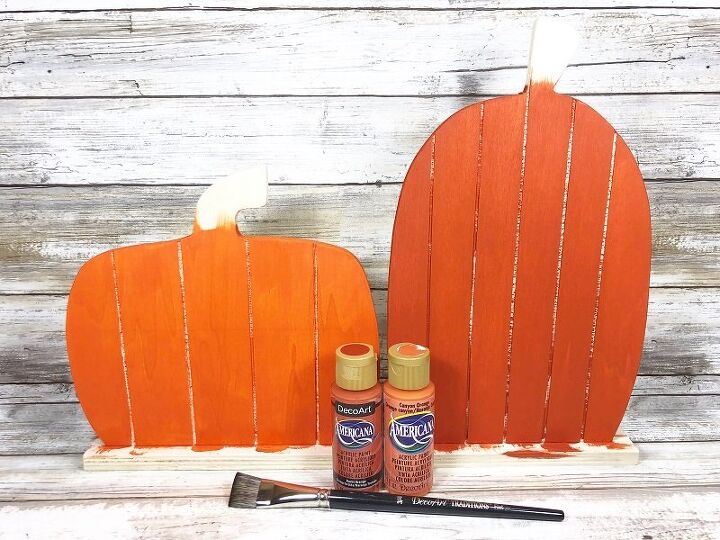
Base Coat wooden pumpkins with Burnt Orange and Canyon Orange, then let dry and apply a second coat if necessary.
On a large acrylic stamp block build a traditional star quilt pattern using the 1″ triangle from the Faux Quilting Stamp Sets. Load the pattern with Canyon Ink and then stamp off on a scrap of paper to ensure you are pleased with the design.
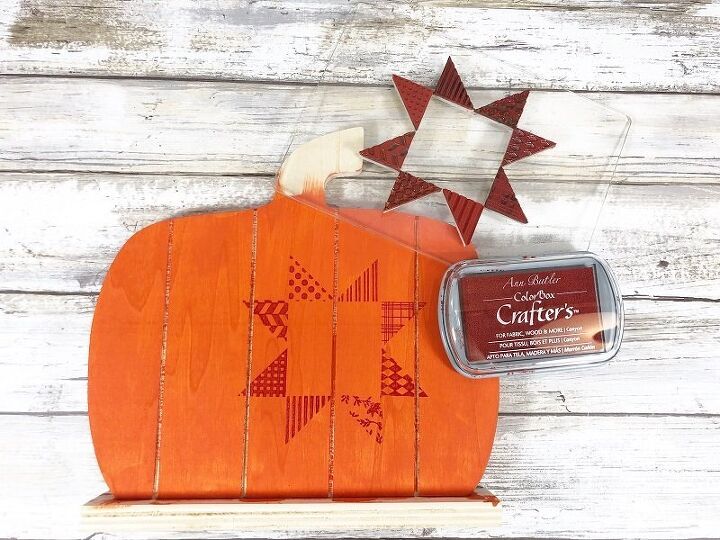
Stamp star quilt pattern along the centerline of the pallet pumpkin, making sure that the points of the triangles all line-up. The great thing about these stamps is that there is no edge, so the patterns line up seamlessly with no blank space.
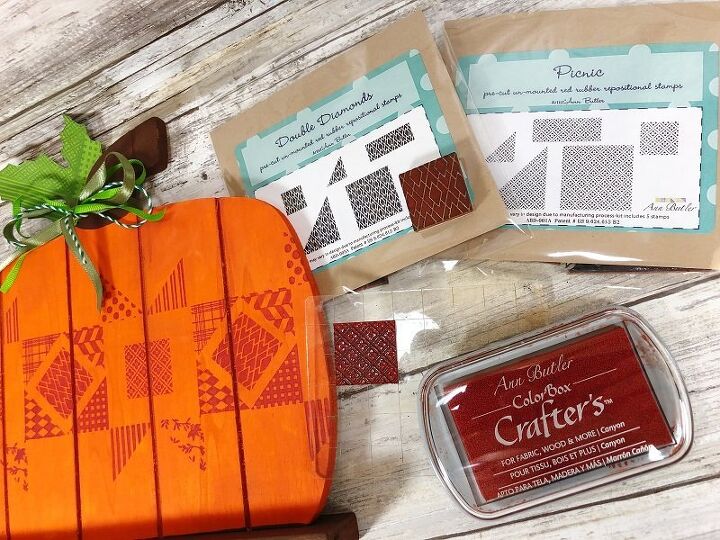
Because I felt the design was incomplete, place 1″ Picnic Stamp on the acrylic block, load with Canyon Ink and stamp in the center of each star pattern repeat. Stamp 1″ Double Diamond in the center of each pattern match.

Place Background Basics on the acrylic block, load with Canyon Ink and stamp a different pattern on each section of the wooden pallet pumpkin. I attempted to stamp Tangarine Ink on the Burnt Orange paint but it did not have enough contrast, so I switched things up! Because crafting is organic and not an exact science, you have to be able to roll with your materials to create the perfect finished project.
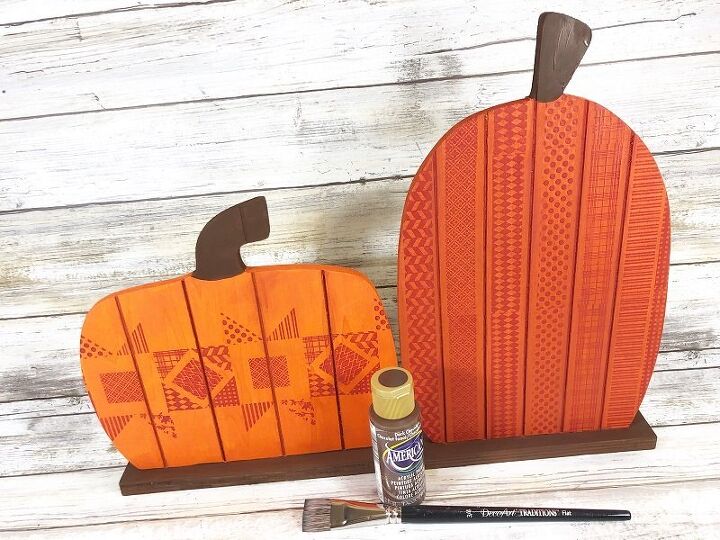
Once the ink has dried, paint the base, stems and recessed channels between the pallet planks with Dark Chocolate. Use the #2 round brush for the detailed painting and the 3/4″ wash brush for the larger areas.
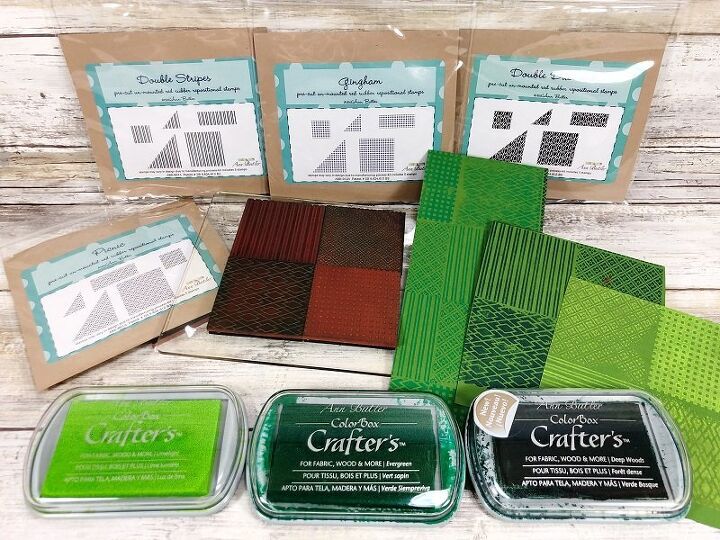
Place four of the 1″ squares from the Faux Quilting Stamp Sets onto a large acrylic block. Load with Limelight Ink and then stamp several times on green cardstock. Repeat with Evergreen Ink and Depp Woods Ink.
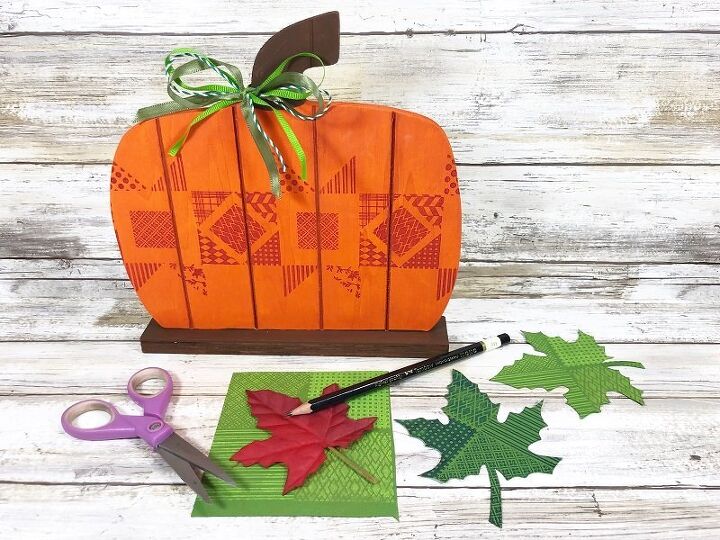
Place four of the 1″ squares from the Faux Quilting Stamp Sets onto a large acrylic block. Load with Limelight Ink and then stamp several times on green cardstock. Repeat with Evergreen Ink and Depp Woods Ink.
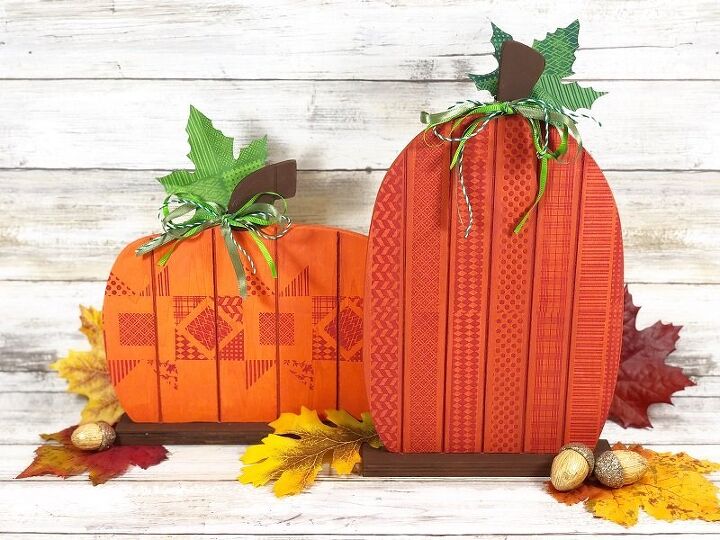
I hope you have enjoyed my Faux Quilted Pallet Pumpkins and you will use my project as a jumping-off point to stamp on a fun wooden surface! Look for flat surfaces like pallets, trays, and picture frames in your local craft stores and add some faux quilted charm!
Resources for this project:
See all materials


Comments
Join the conversation
-
These are funky pumpkins!

-
very cute. a pleasant change from pumpkin decorations.
AND you kept the fall colors. Seeing so many people going with fall wreaths and decorations in pink and blue and Lord knows what else.
Love he idea.


Frequently asked questions
Have a question about this project?
So cute but for those of us who would like to build one of these pumpkins, where are the instructions to do so???