


Simple Cardboard Christmas Tree
It doesn't have to be expensive or complicated to create DIY Christmas decorations. I made these cardboard Christmas trees for my family room out of scrap cardboard. I had already purchased the wrapping paper on clearance the year before. So this project took less than $5 to make. (For the full tutorial with more photos, check out the Simple Cardboard Christmas Tree post on my blog.)
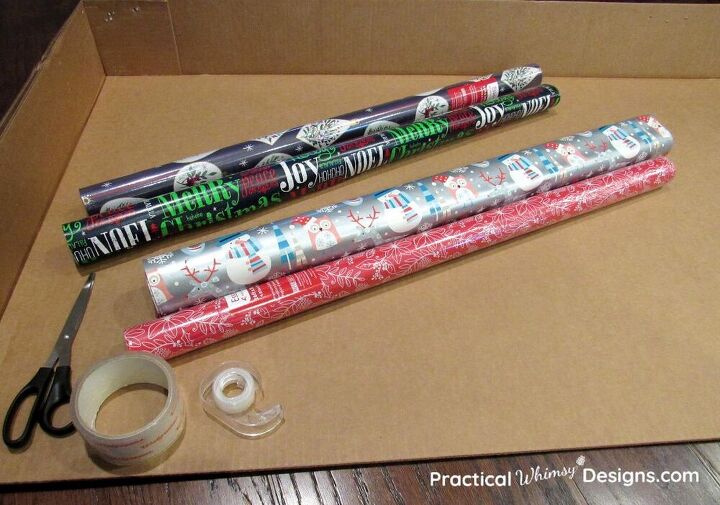
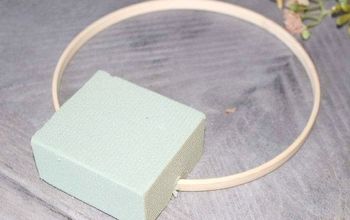
To make this project all you need is some cardboard, wrapping paper, tape, a pencil, and a scissors and/or a box cutter.
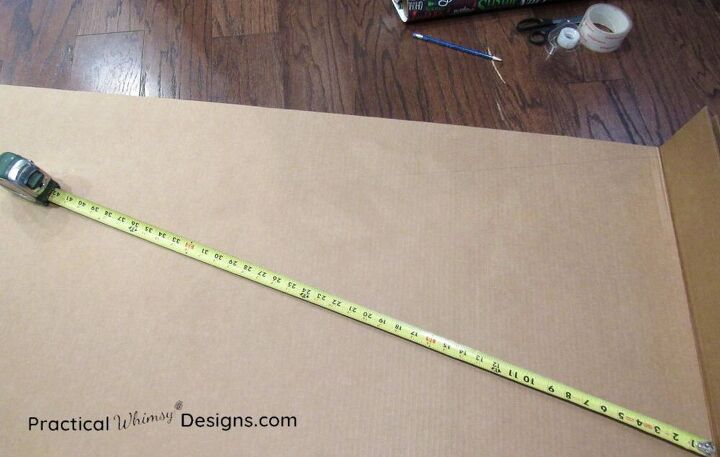
1) Measure and draw your triangle. You need to decide how tall you want your tree. You can use a ruler if you want a certain measurement, or just eyeball the cardboard and mark it at the height you want. Use a straight edge to draw a triangle from the points you marked.
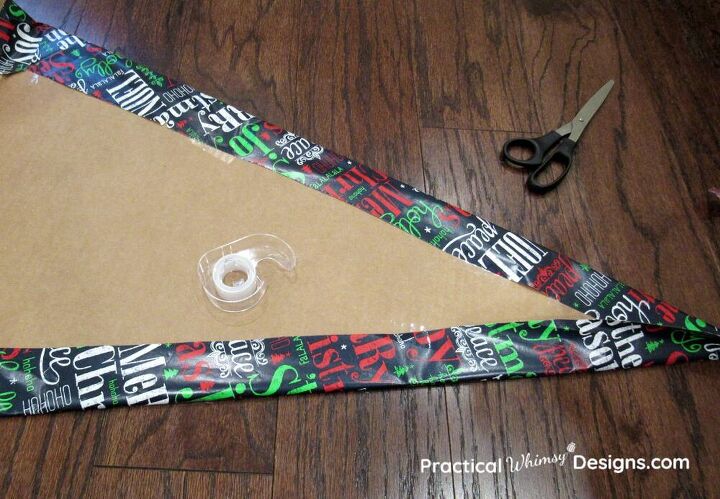
2) Cut out the Christmas tree with a box cutter or scissor and then cut out enough wrapping paper to wrap your tree triangle.
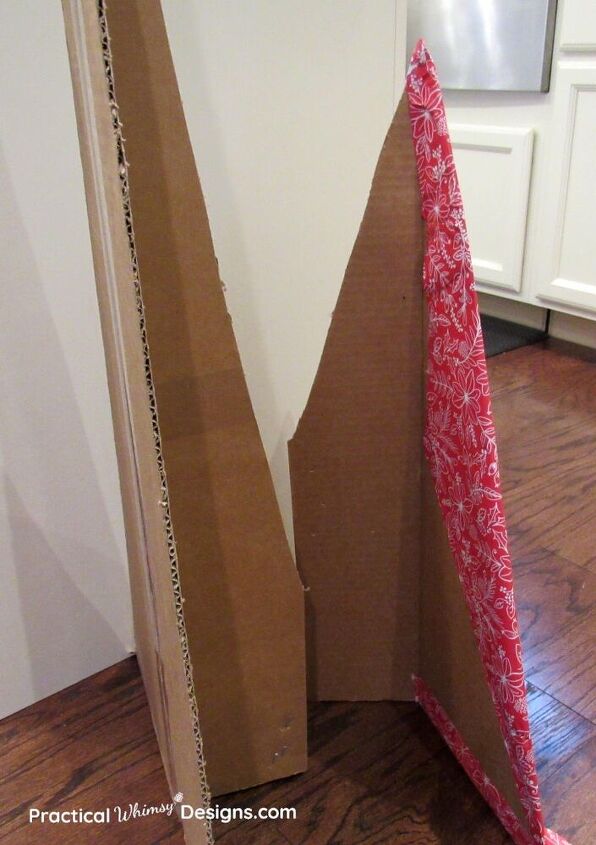
3) Optional: If you want the trees to sand up on their own, make a cardboard stand by cutting out a piece of cardboard and attaching it to the back of the tree.
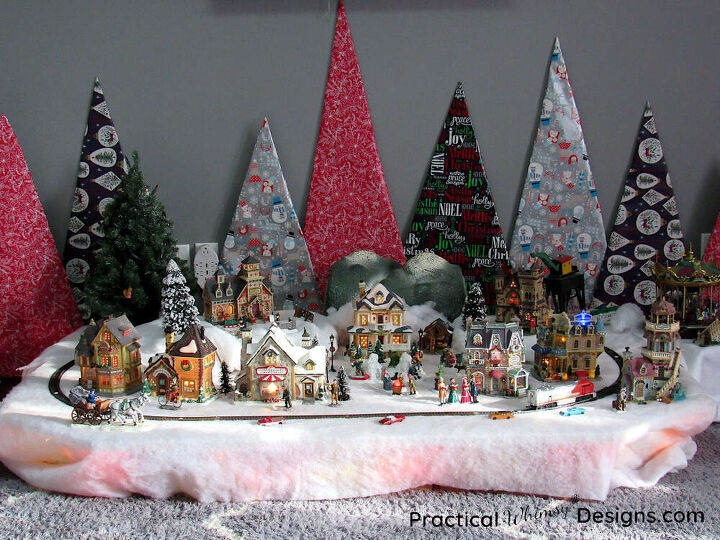
Then display your trees as part of your Christmas decorations. I love how these trees look behind my Christmas village!
Resources for this project:
See all materials


Comments
Join the conversation
-
Absolutely love it
-
What a fantastic idea! I will definitely be making these! Thank you for sharing! Merry Christmas 🎄🌲


Frequently asked questions
Have a question about this project?