


Painting Our Exposed Basement Ceiling

We recently renovated our basement into a game/living area. The ceilings were pretty low with the duct work and HVAC so we didn't want to drywall the ceiling making it even lower. We decided to simply paint them out which would give an open, industrial feel.
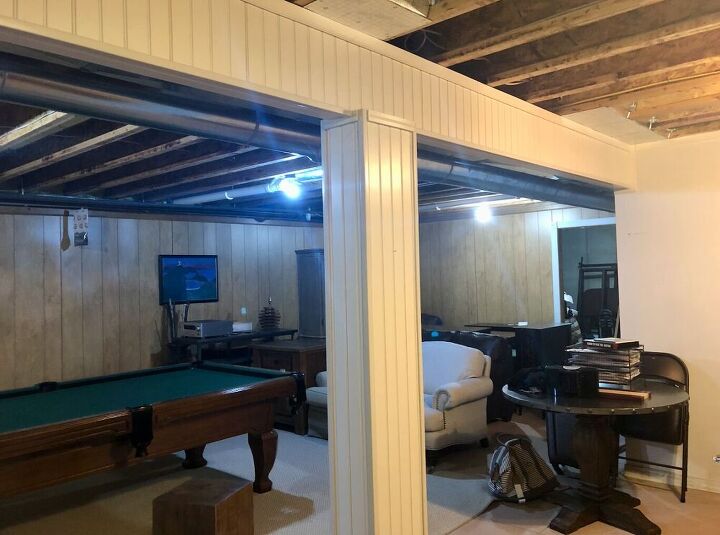
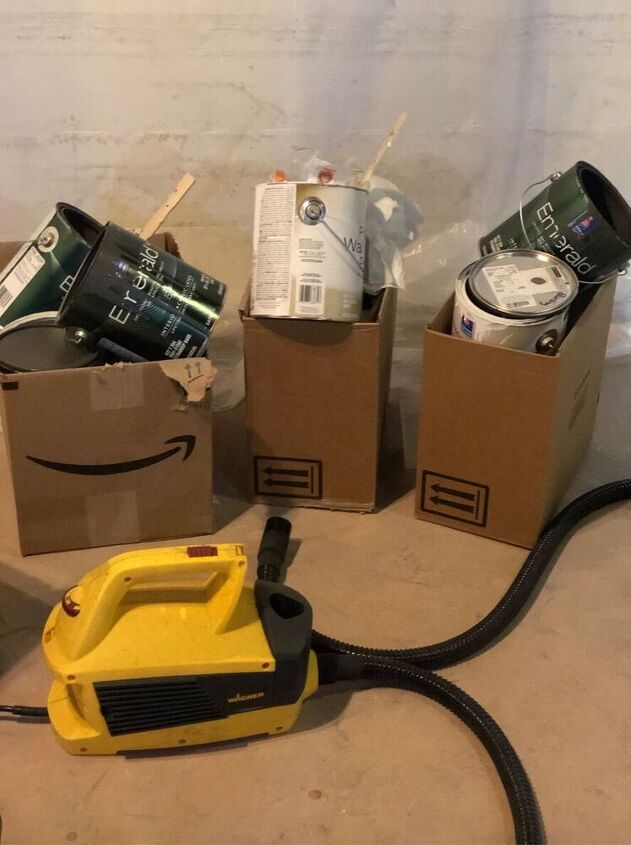
This is where we began. Sort of a dumping ground for all of our excess furniture and such.
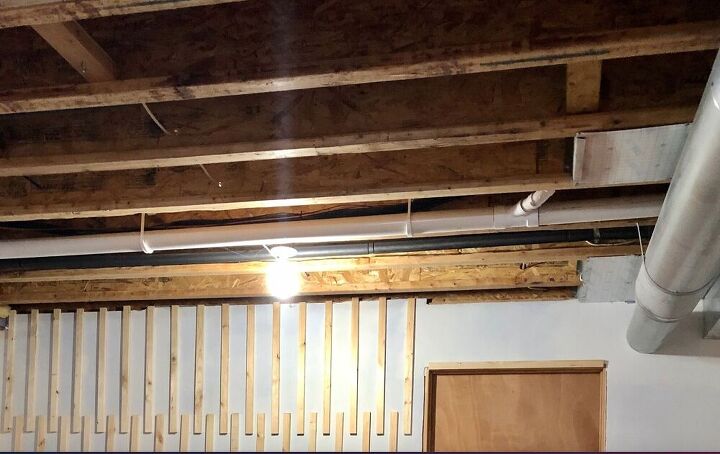
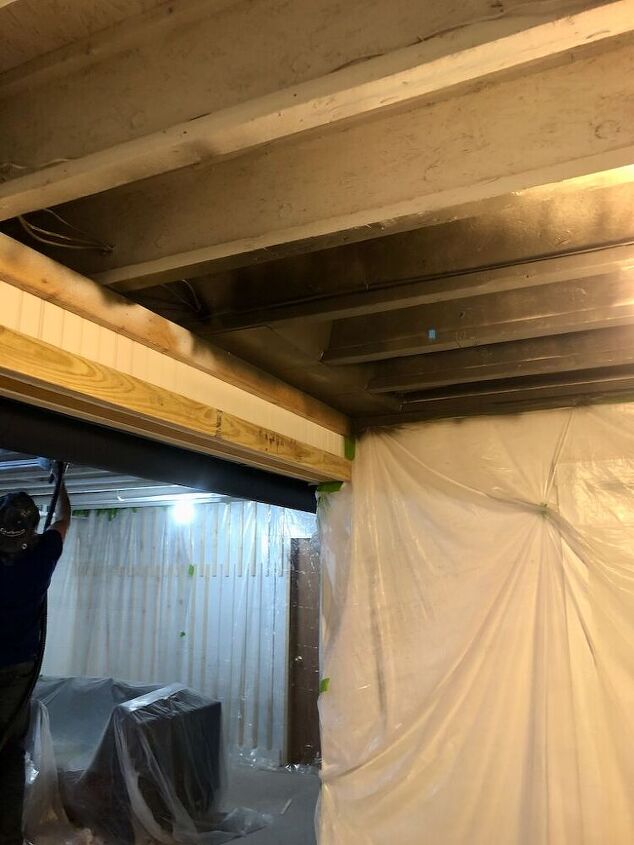
Our ceiling was basically plywood, beams, pipes and duct work. The ceiling is about 625 square feet and we knew we were going to have to use a sprayer to get the job done right. We started by talking to our local Sherwin-Williams dealer about what supplies we would need.
We prepped the area by using plastic sheeting to cover anything that might be exposed to over spray. We didn't have to worry about the floors because we were going to finish them. We then used Sherwin-Williams Premium wall and wood primer and sprayed 2 solid coats (it soaked up about 3.5 gallons).
The priming took most of the afternoon and we let it dry between coats. The next day we started on the actual painting.
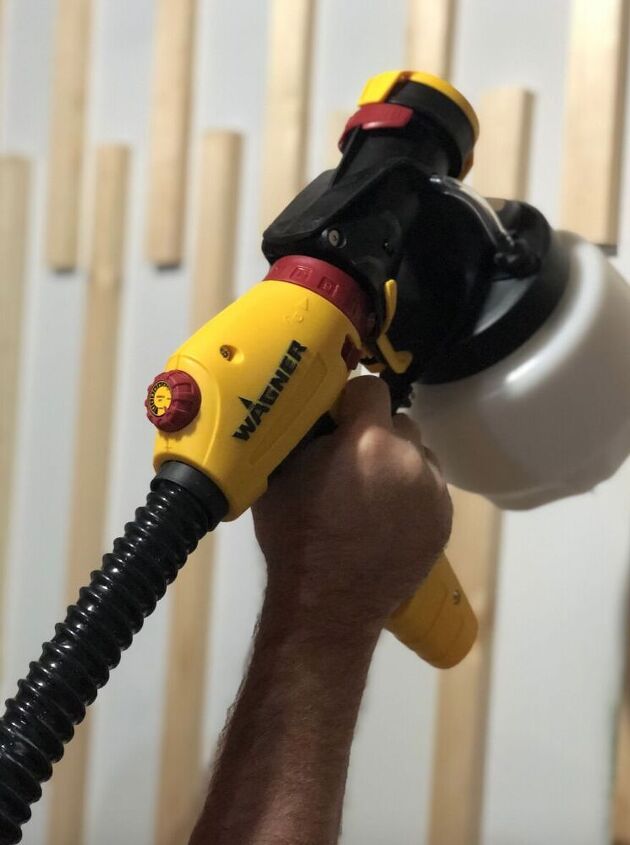
We choose SW Urbane Bronze for the ceiling. It's a beautiful dark grey. A couple of tips when using the sprayer. Keep it clean! It slowed considerably when it was dirty. Use a consistent side to side motion to get a smooth finish (especially on the metal parts).
Even with 2 coats of primer the wood still soaked up a lot of paint. We went through another 4 gallons of paint for the ceiling.
We waited two hours between each coat so this step took us a couple of days.
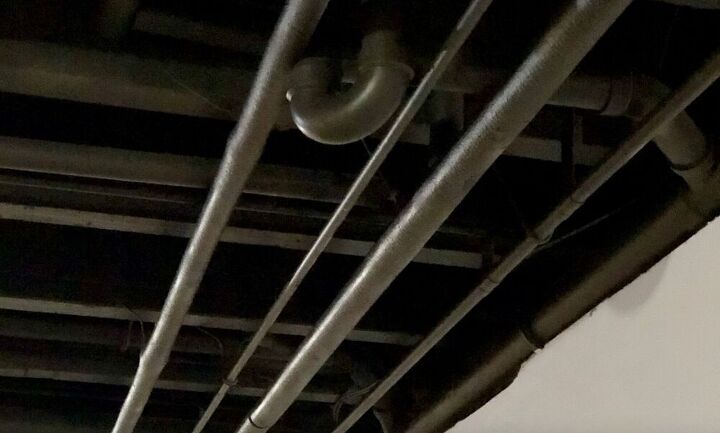
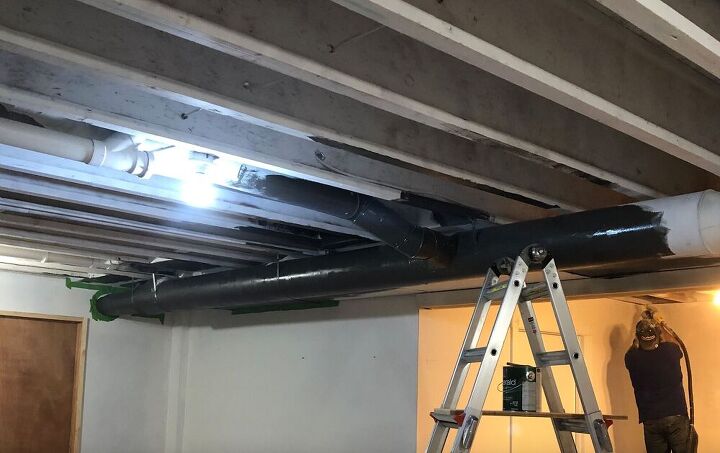
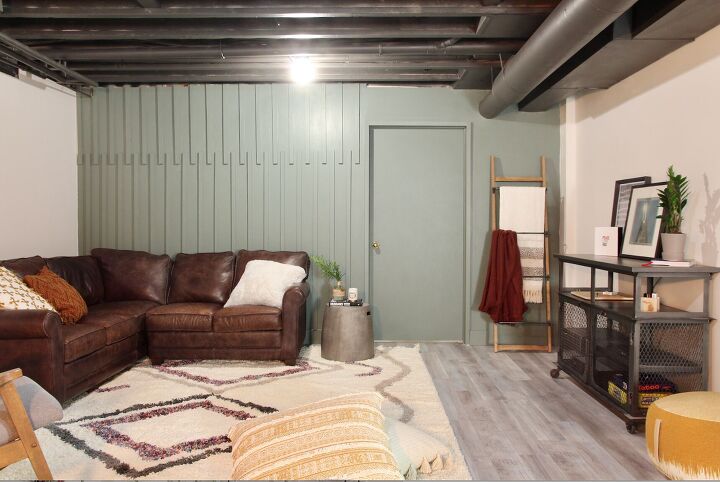
We even painted the wrapped pipes. The end result was this was a LOT of painting but it turned out even better than we thought!
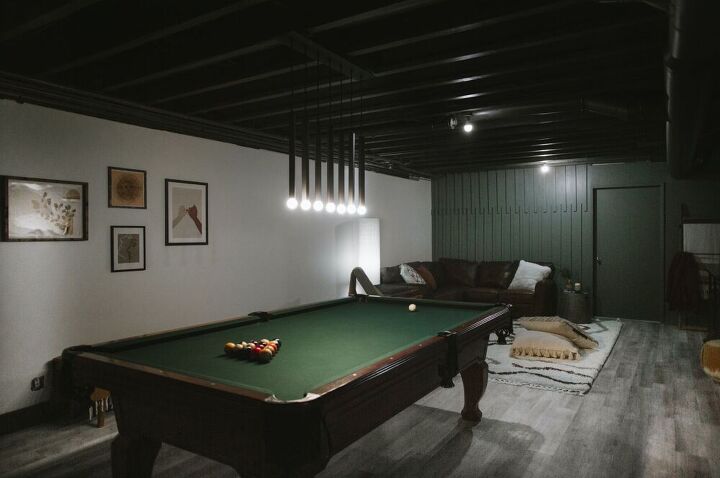
We went from a basement that was basically a dumping ground to a very comfortable space to entertain in!
Resources for this project:
See all materials


Comments
Join the conversation
-
I really love the finished space. Industrial style type ceilings are so cool.
-
This idea should be helpful to all of us. Those rafters are just unpleasant looking in their raw state. My laundry room, especially, will be much improved. Thank you.


Frequently asked questions
Have a question about this project?
Ur ceiling u left without insulation ,my basement is walk out with doors , and above that is the kitchen, it would be freezing? Upstairs
so u have a solution?!?
I've seen basement ceilings painted dark but never in a step by step form. Thanks for your tips. One question; you painted right over all the electrical wiring? We have so many wires in our ceiling - the hydro box is in the room where I want the ceiling done.
Very nice. Ours is like this as well and I was debating on using long material and staple/drape across but it would be so much material. This is a better alternative. Did you keep they paneling and paint it or did you take it off? If you stated in the instruction, I apologies I must have missed it. Thanks!