


Bedroom Built-ins

While creating a bedroom it’s always nice to utilize all space effectively. Opting for some built in storage plans to really bring this room to life while saving space.
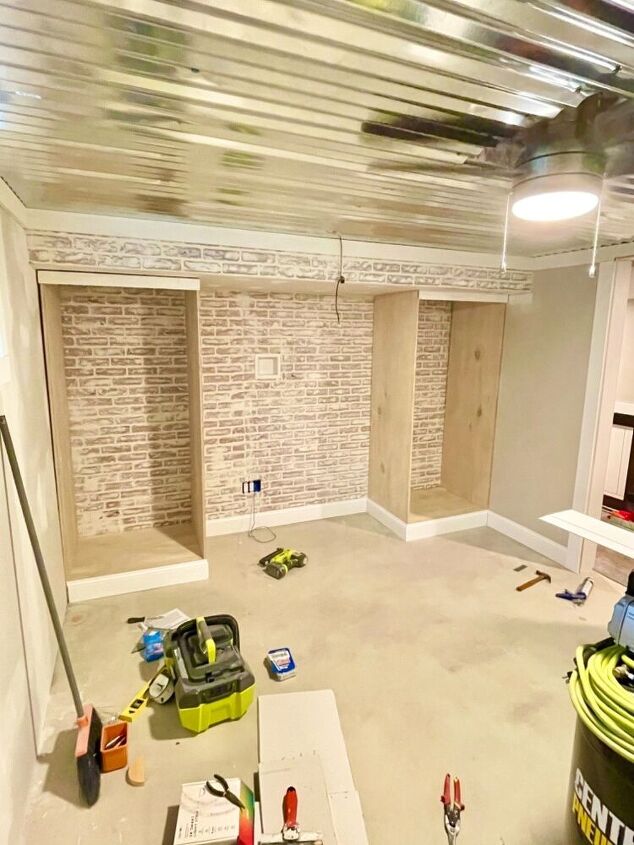
After a quick drawing I set out to homedepot for material. I had them rip the plywood to size for me there to make assembly a little easier. In my case I decided to make cabinets 24 inches deep and tight to the ceiling at 74 inches in this space.
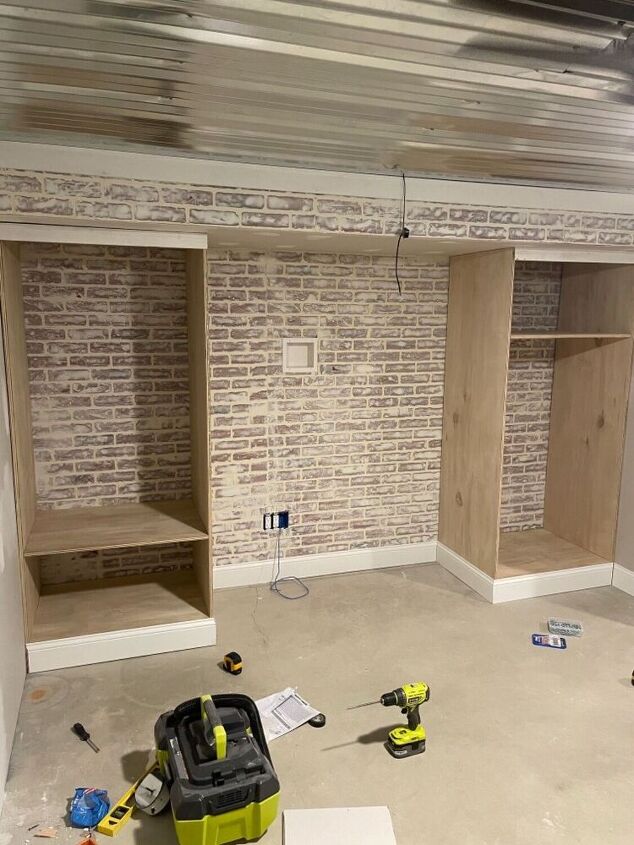
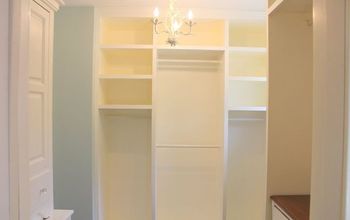
With main cabinet boxes secured in place I determined and set shelf heights as well as trimmed the bottom out with matching baseboards to complete the built in effect.
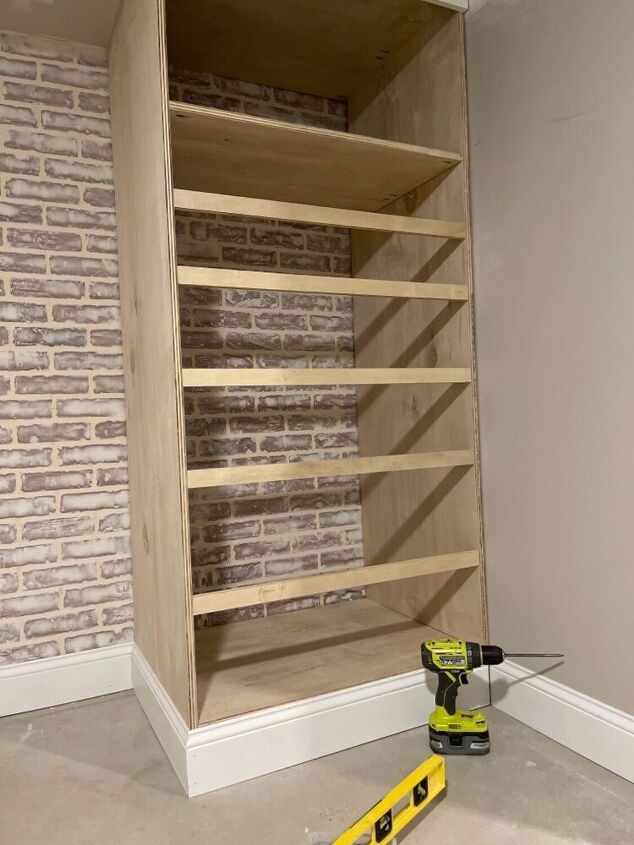
One side will be for hanging storage and the other will be drawers to serve as the dresser in this room. Determine drawer sizes and add dividers. I used 1x2 to complete this section.
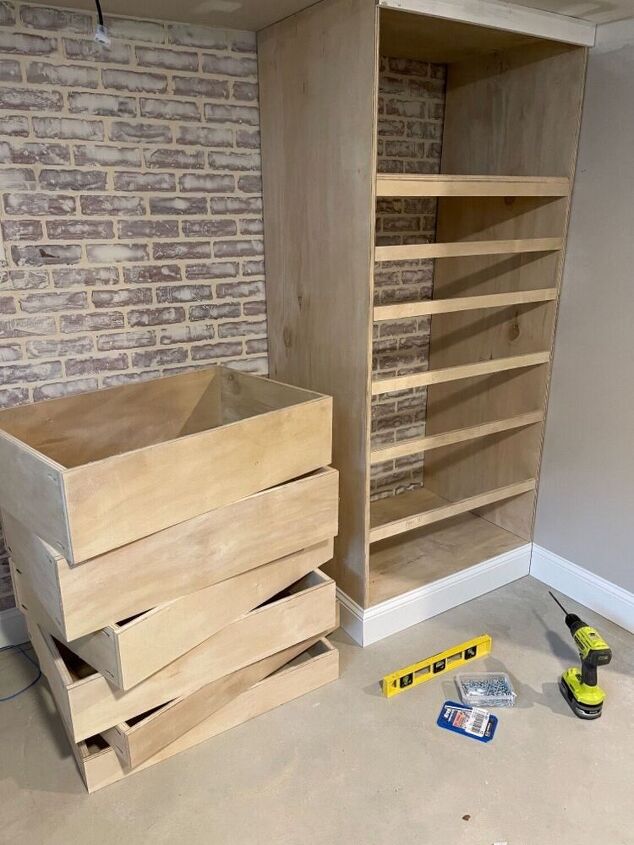
Next is too cut and assemble drawers I did this using all pocket holes and a kreg jig pocket tool for hidden and tight screw points. I made 2 8inch drawers 2 6 inch drawers and 2 4 inch drawers.
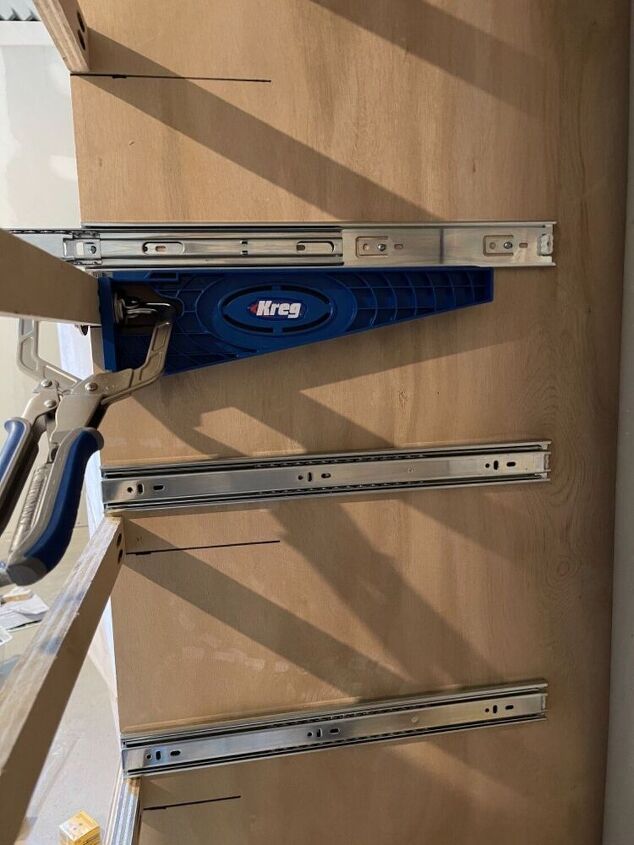
Using the kreg cabinet tool I aligned each drawer side using the tool to keep everything level.
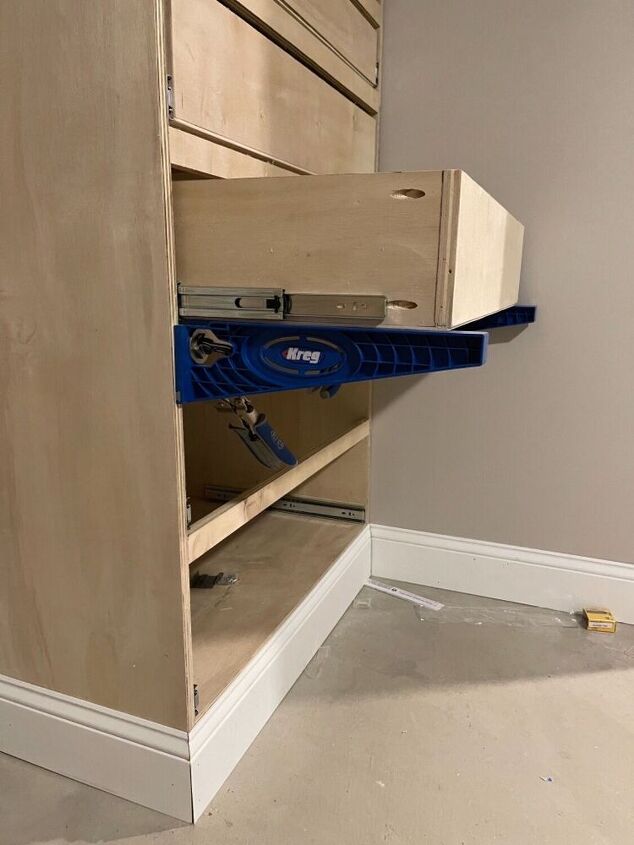
By flipping the tool to the outside it then holds the drawer level in place while securing the drawer slides to the drawer.
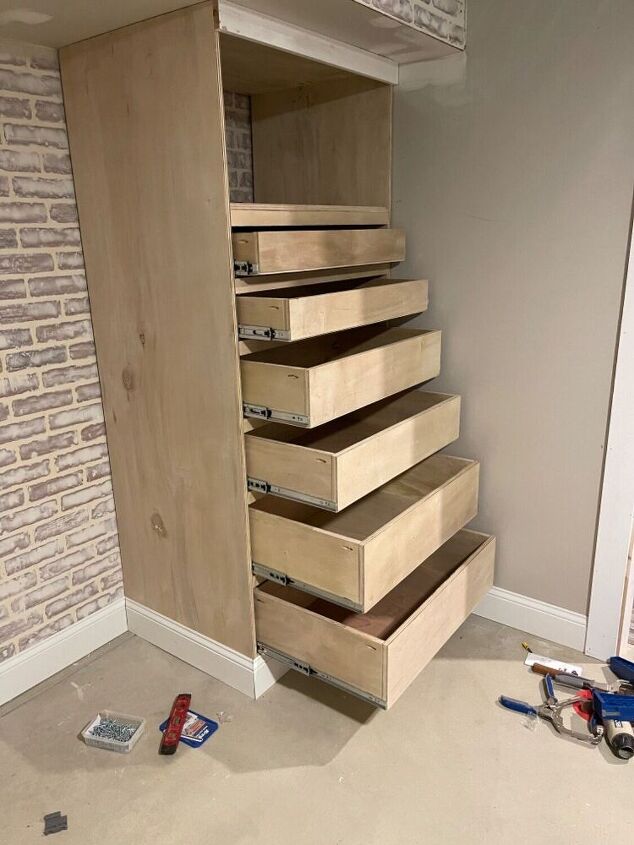
With all drawers now installed test the function of each to ensure it is operating properly and no adjustments are needed.
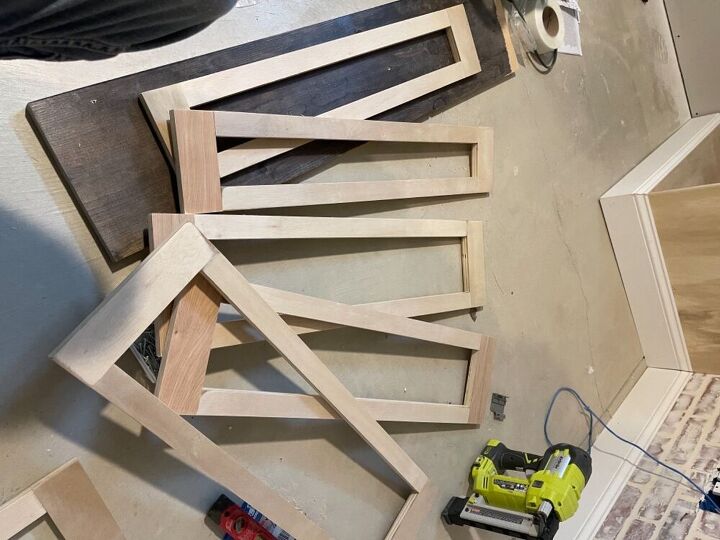
Drawer fronts were next to be made completing these with the shaker look.
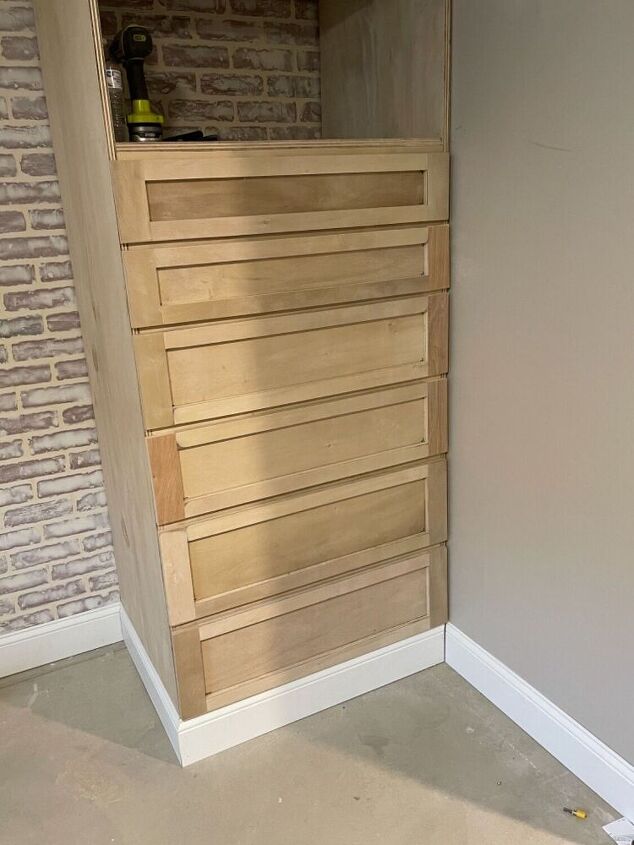
Drawer fronts are secured to the drawers making sure all gaps stayed equal. This is achieved by starting at the bottom and working toward the top measuring each one as you go.

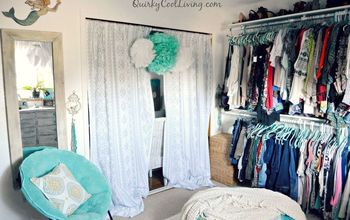
View of both built ins. Again one just has a door to serve as closet for hanging storage.
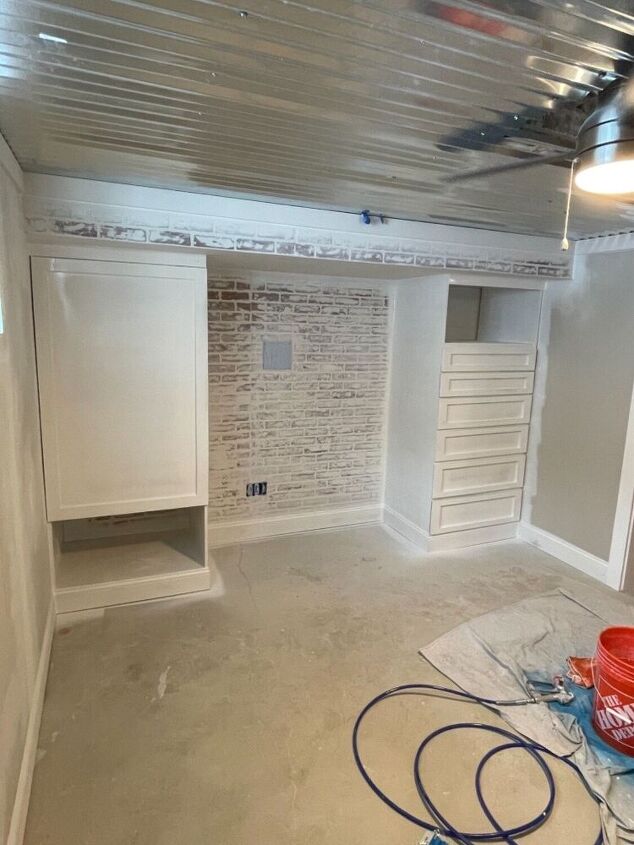
After a good sanding prep and filling any imperfections using wood filler I also caulked all of the edges and seams as well as the drawer fronts and applied a few heavy coats of Killz primer.
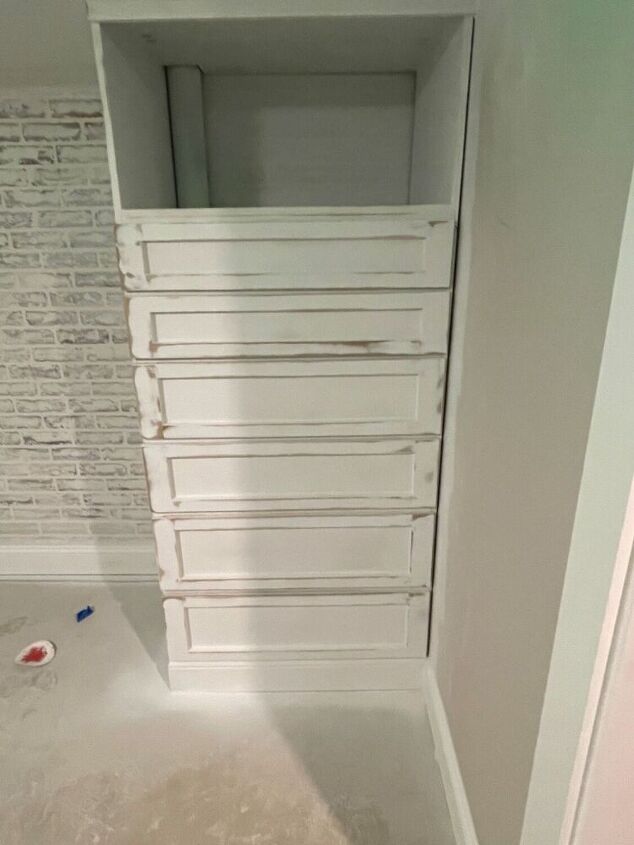
Remember it’s only primer this your your opportunity to provide a good finish. Give the primer a good sanding transition through the grits of sandpaper in each step.
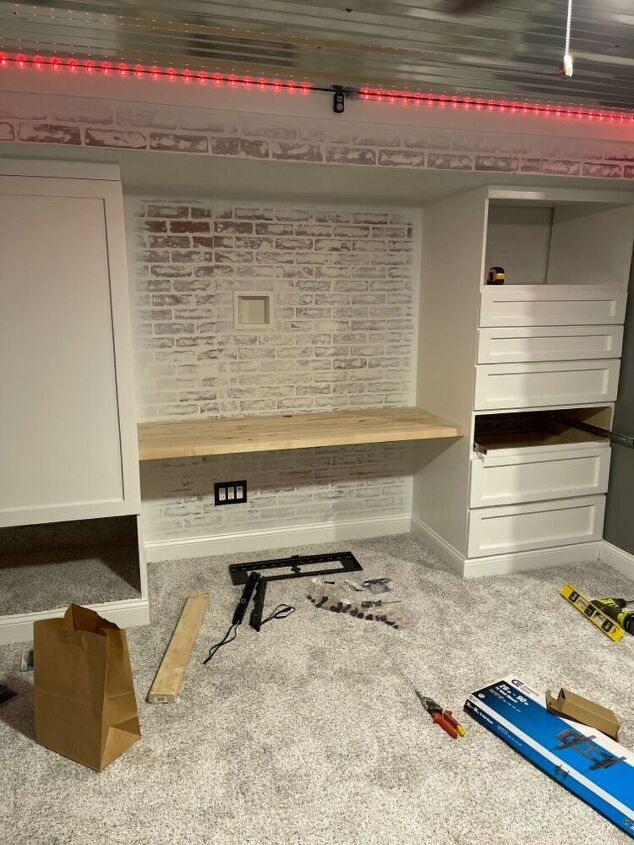
I then final painted about 3 coats using an extra white enamel from Sherwin Williams. Using a piece of butcher block countertop I added between the two sections to provide a desk space.
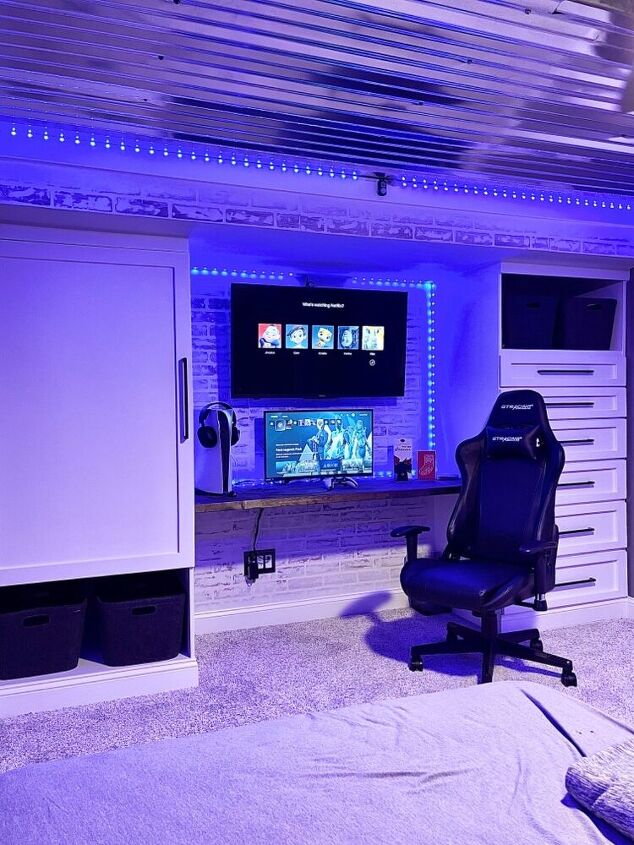
Cabinet hardware is installed and you can now enjoy this awesome room addition
Comments
Join the conversation
-
Fabulous plan and look! I'd love to see the entire finished room

-
So often folks shortchange the efficiency of the storage space by choosing only standard cupboards or basic shelves. You had the foresight to go the extra few steps and install drawers in different depths. IMO they are the most versatile, accessible way to maximize both vertical and horizontal space. Well done.


Frequently asked questions
Have a question about this project?
I absolutely love this! Question though, how did you mount the desk part?
That is stellar. Is the brick real brick, or facade? So love the drawers, and the shelving too. I think though, I may have put a pull out drawer on the left for the deeper area, where you have baskets. They are cool, but where I live, dust is king. Desert. LOL.