


DIY Coil Rope Basket Challenge

Today I want to share what I learned from making a coil rope storage basket. With any DIY project you will learn from trial and error. Often I imagine a project looking one way and then, as you begin to make and create, it begins to take a life all its own. This inspired Anthropologie storage basket project was no different.
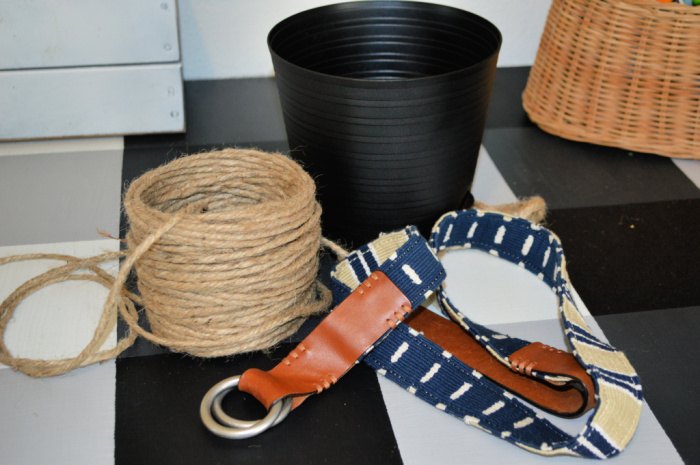
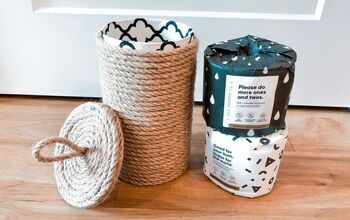
If you love Dollar Tree crafting you most likely have things on hand for this type of DIY project. I happened to have an unused plastic flower pot, a belt I got for a quarter, and jute twine. Materials Needed
- Form of any size
- Jute or nylon rope (measure form to determine how much you need)
- Clear hot glue sticks (at least 1 package)
- Hot glue gun
- Tool to protect fingers from hot glue
- Scissors to cut rope
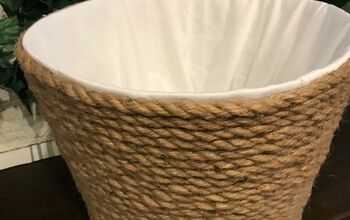
The pot was orange so it got a coat of black spray paint both inside and out. I didn’t want orange to pop through any potential gaps in rope.
Once it dried it was time to twine. This time I didn’t flip the form and that seemed to work really well (see blog post link below for full post on what I learned from this Anthropologie challenge). I didn’t use as much glue and I was able to get a pretty tight coil.
I just kept coiling until I ran out of cord which is why it ended up higher than the lip of the container. See. Sometimes the unplanned is the best plan of all.
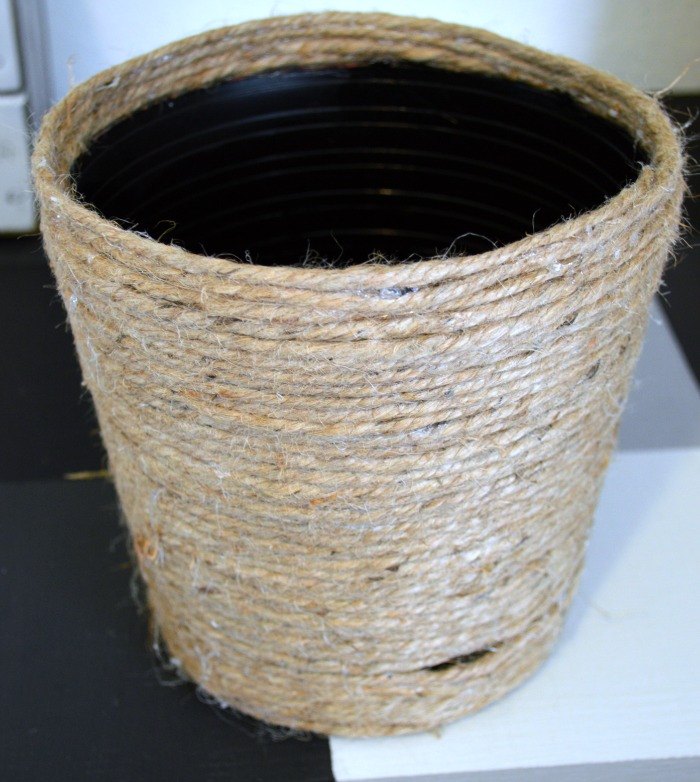
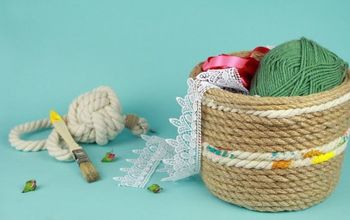
You can still see the glue so here's a tip. Very carefully take a lighter and slowly move back and forth over the rope. It will create a cleaner looking surface.
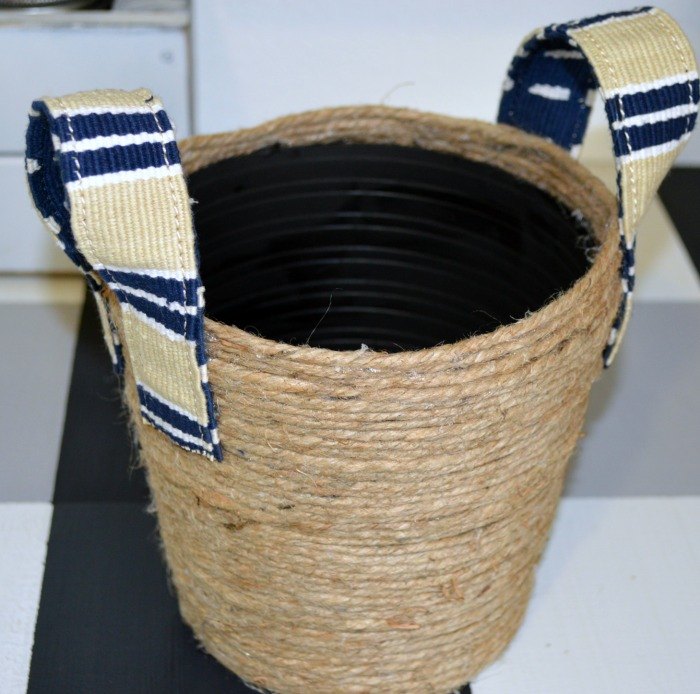
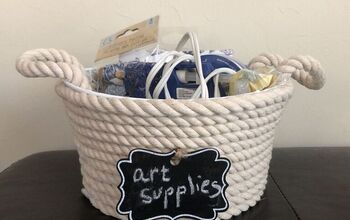
To add the handles, measure what you would like the handle height to be then cut the belt. If your worried the ends will fray, burn the ends. Place one end on the side and play around with it a bit until you like what you see.
Glue in place. I used E6000 and a bit of hot glue to attach to the container. By using E6000 you strengthen the handles and ensure they won't fall off when you lift your cute coil rope storage basket.
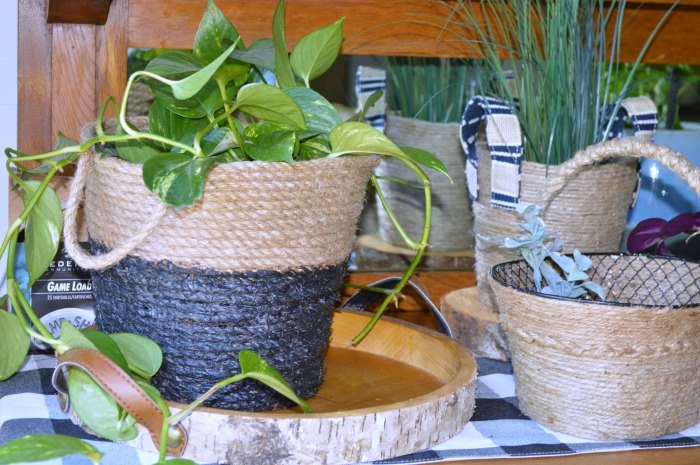
Here's the AFTER shot.
If you would like to see how how to make a basket using a form like the basket with the painted lower half, head on over to the blog for the full post.
Happy DiYing, my friends!
Resources for this project:
See all materials


Comments
Join the conversation
-
Thank you, Kevin! I'm glad I could offer a bit of inspiration.
-
Hi Kelli, instead of a lighter I used my hair dryer to melt the little strings of glue. Thank you for the idea mine came out great.


Frequently asked questions
Have a question about this project?
Where do you hot glue? Between the rows or the twine yo the pot?
How would you recommend waterproofing these so that I could have them outside? These are absolutely adorable and I’d love to have some on my patio. Thank you!