


Floating Sofa Table From Reclaimed Barnwood

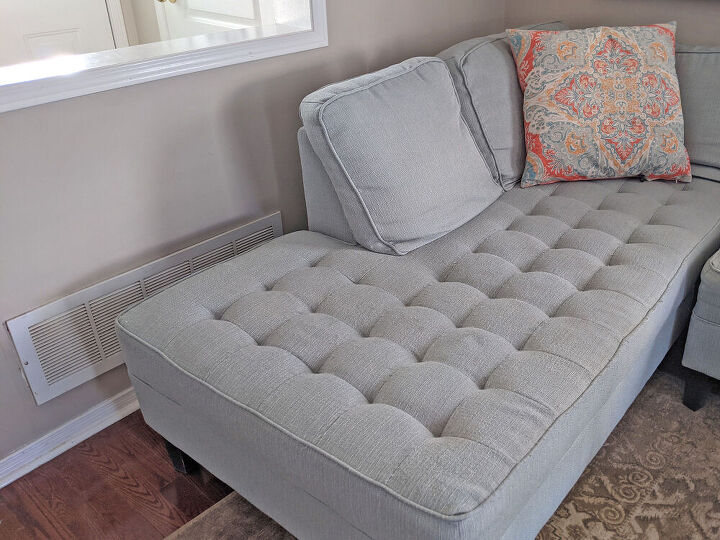
The small seating area on our main floor is a bit of an odd layout. After moving the L-shape couch from our family room into this area recently, it was too large for the space and also covered the air intake vent. I kept pulled it away from the vent, but every time someone sat on it (even our chubby dog) it would slide back up against the vent.
Best wood finish!
I needed to find a solution to keep the couch away from the vent. My first though was a sofa table, but having done that in the family room I noticed that every time the couch bumped the table it left a mark on my freshly painted wall!
I googled and found out that furniture should be a minimum of 10 inches away from the intake vent. I had a pair of shelf brackets that were one foot deep, so I decided to create a built-in sofa table using those brackets. 🥚
WOOD
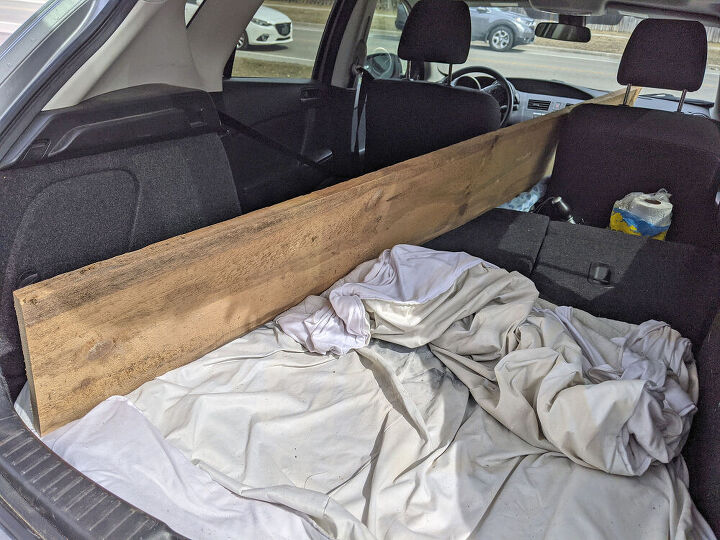
The first thing I did was go onto Marketplace to find places selling barnwood. There was a farm only eight minutes away where I found a board the width and height I wanted. I had brought my bracket and it was the perfect fit. The farmer trimmed the piece to the length I wanted – eight feet.
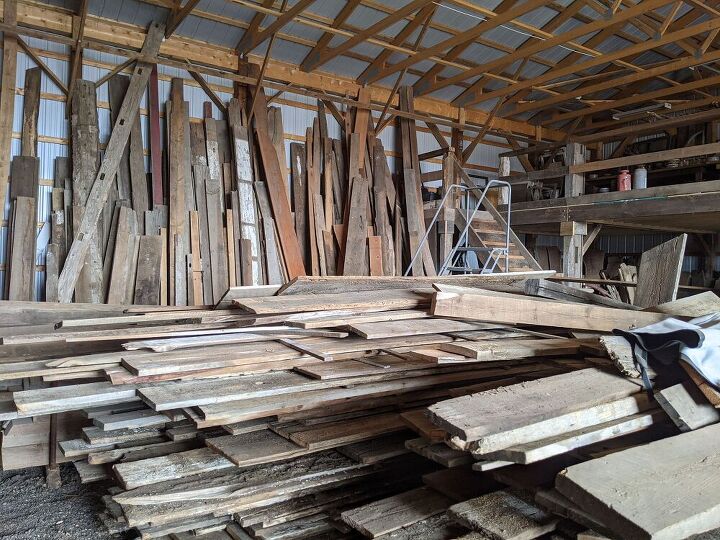
Fortunately, it was a short drive!
SANDING
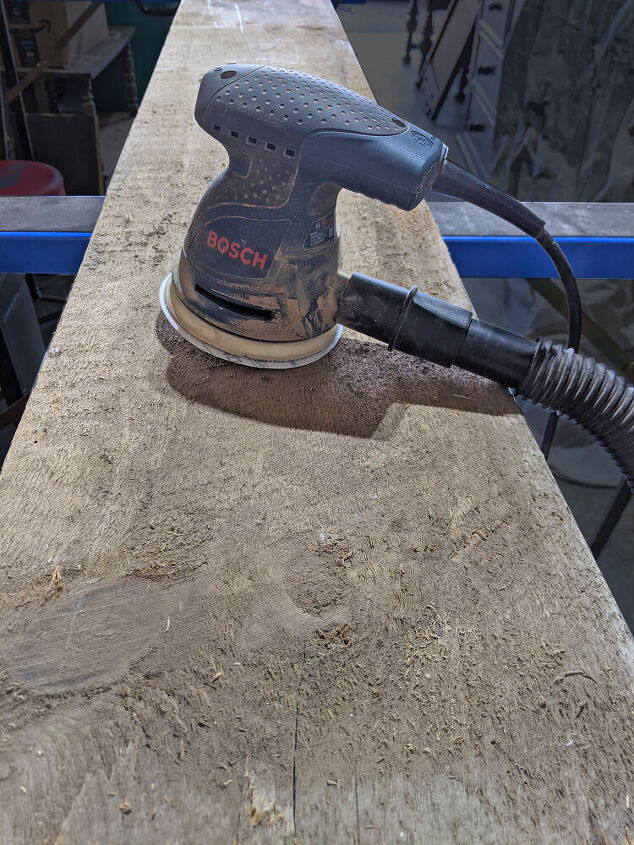
I sanded the board using my orbital sander with 80 grit paper. And then again with 220 grit to smooth it all out.
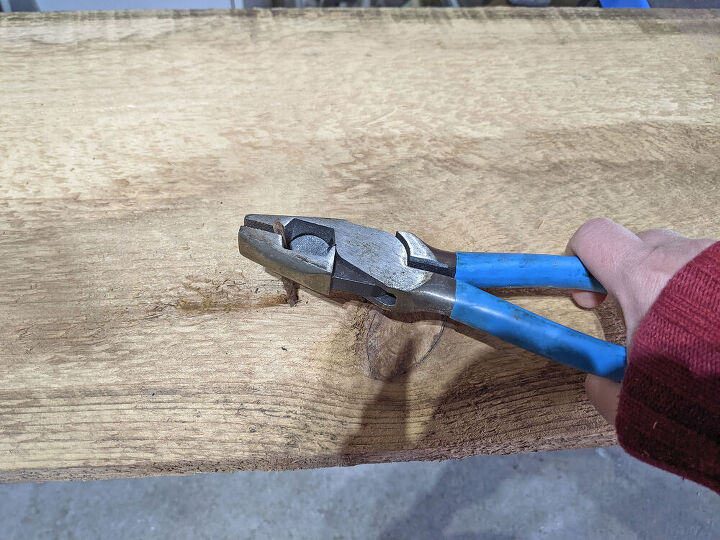
NAIL REMOVAL
While sanding I noticed a large nail in the board. I used pliers to bend it straight and pull it out the other side. I think the nail hole adds character, so I didn’t bother filling it.
TRIMMING THE BOARD
After sanding, I placed the bracket on the board…and the board was too wide!! I assume I must have placed my bracket on the section the farmer cut off! With the help of my friend Ron, we ripped 1/4 “ off the board using a table saw. My saw is missing the guide arm so we clamped a board to the saw to guide the barnwood for a straight cut.

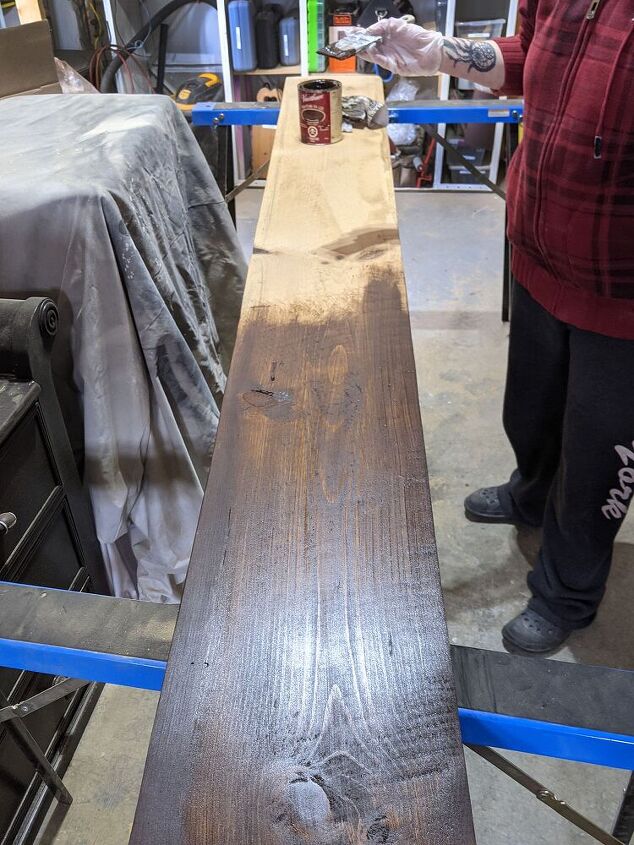
STAINING
I stained the board with dark walnut to match the other surfaces in that space. The gel stain was old and had turned runny so I used a brush to apply it and then wiped off the excess with a cloth.
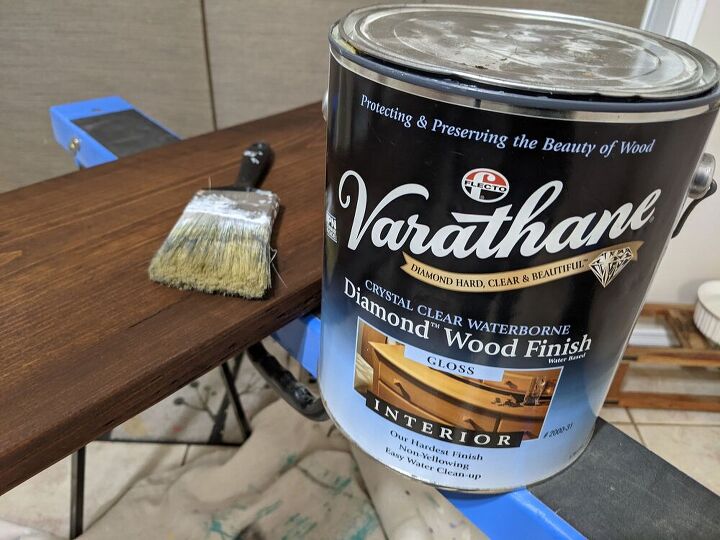
SEALING
I applied wood finish, using a brush – 3 coats.
ATTACHING TO THE WALL
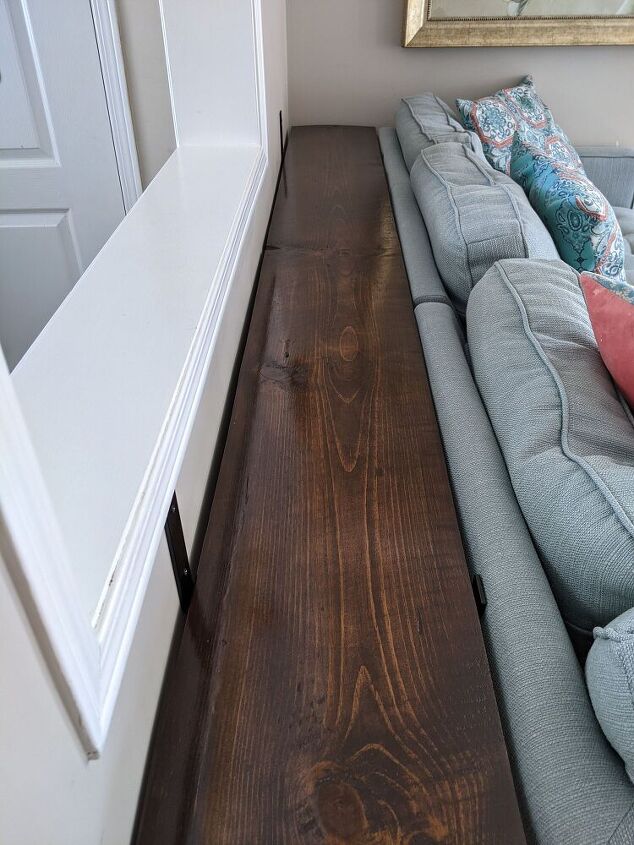
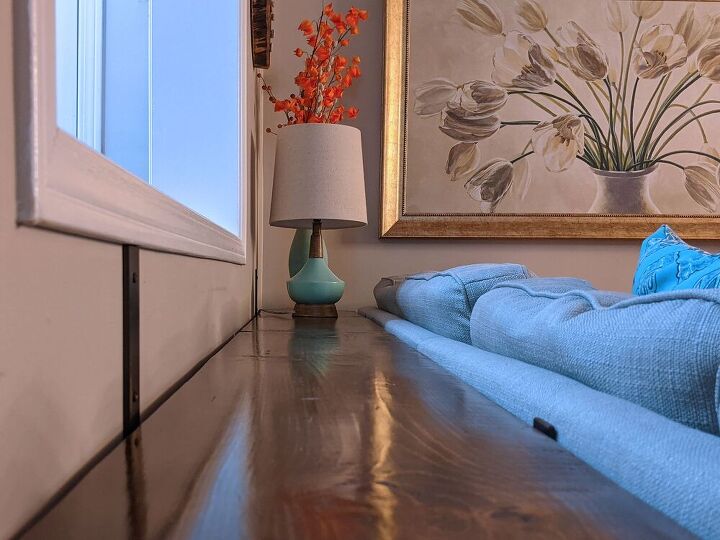
I attached the brackets to the wall, drilling each bracket into a stud. I lined it up so the board would be at the same height as the wood frame inside the couch, to act as a bumper.
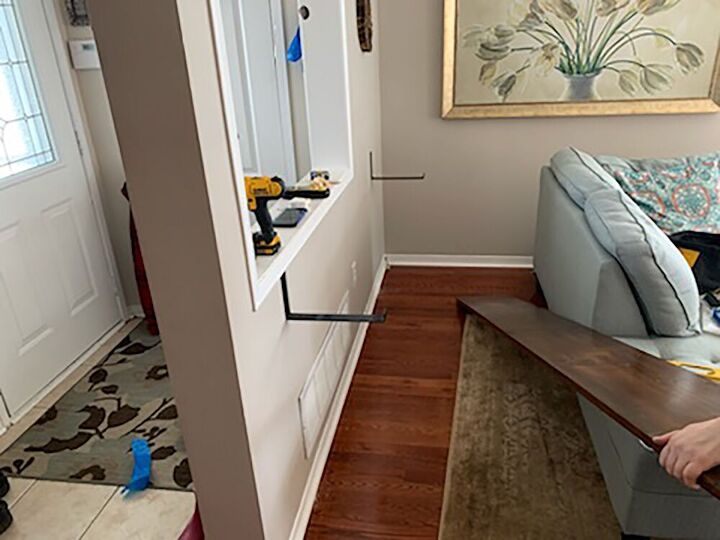
Once it was all in place I wasn’t loving how the couch looked in front of it - it seemed awkward because the shelf was longer than the backrest on that side of the L shape. So I turned the couch so the backrest width matched the length of the board and I felt that looked better.
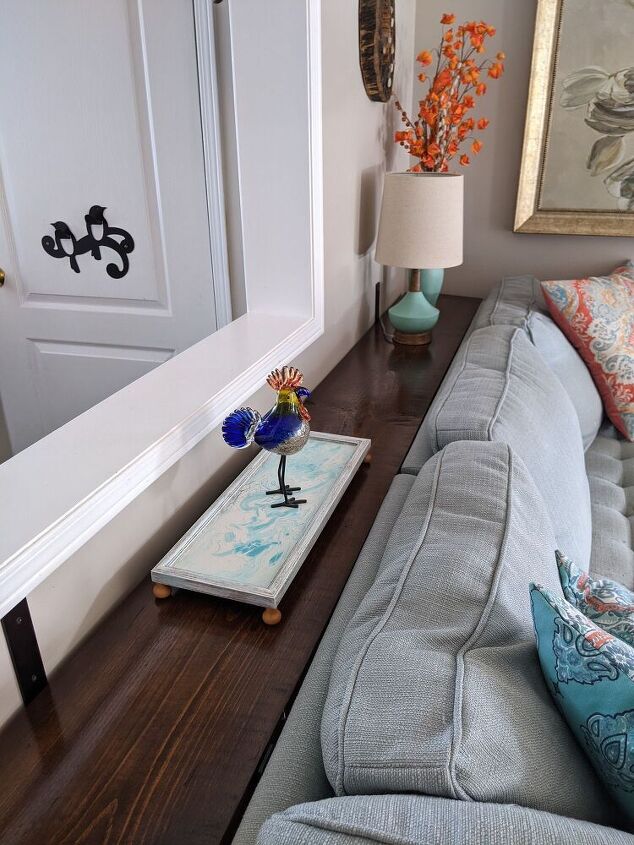

I think this was a quick, easy and inexpensive solution to my runaway couch problem. And if things ever go back to normal, I’ll buy a new one that fits the space better. 😊

🥚

Resources for this project:
See all materials


Comments
Join the conversation
-
You blocked your cold air return to your furnace. Not a good thing.
-
Great idea, looks fantastic, and I love that dog too!!


Frequently asked questions
Have a question about this project?
What colour is your couch; looks grey til last pic then is a lovely blue.
I’m curious why you put the bracket on display instead of turning it over & attaching underneath the board then to the wall where it would be out of sight?
We have that chaise lounge without the second piece. It came with our house when we bought it. Can you tell me the brand, name, etc? I’d love to know where we could get the 2nd piece. Thanks!!!