


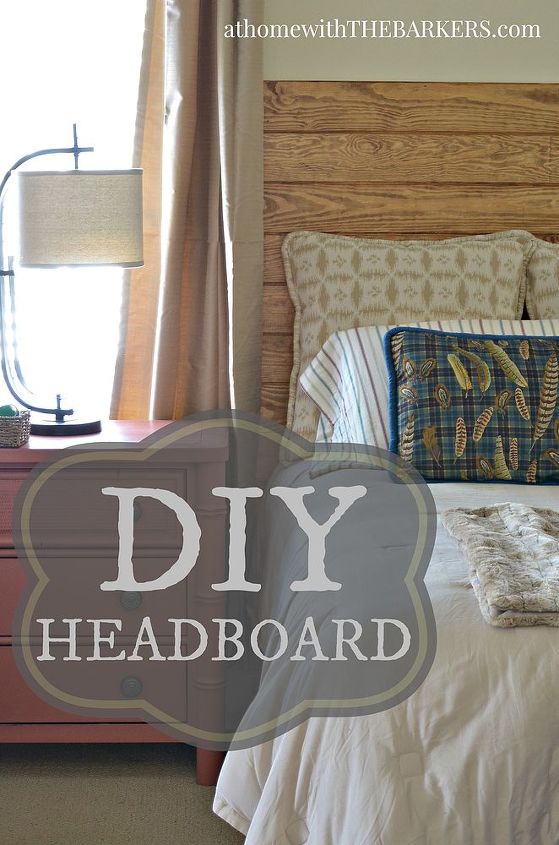
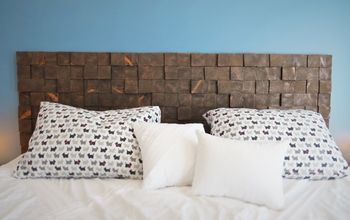
DIY Headboard
We are working on a master bedroom makeover and we are moving right along. I wanted a different look for our room this time around so we decided to get rid of our bed (gave it to my brother and his wife) and build our own headboard. My husband picked up the tongue and groove 6 inch wide pine boards from the home improvement store. Depending on how tall you want your headboard you will need a different amount of boards. Also, we have a king size bed so we needed to buy the 8 foot long boards. We had to cut our boards down by 9 inches to fit our headboard between the windows. It was a perfect fit by using the window framing as our straight edge.
The most important 2 things about adding wood panel boards is to nail them into a stud and make sure they are level. If you get the very first board level you are good to go after that.
Mark you studs first, then start laying the first board.
The full tutorial is on my blog and I would love to have you visit!

Making sure the very first board is level is key to a perfectly straight headboard.

This Airstrike is not necessary, you could surely use a hammer but it makes the job go really fast and easy!
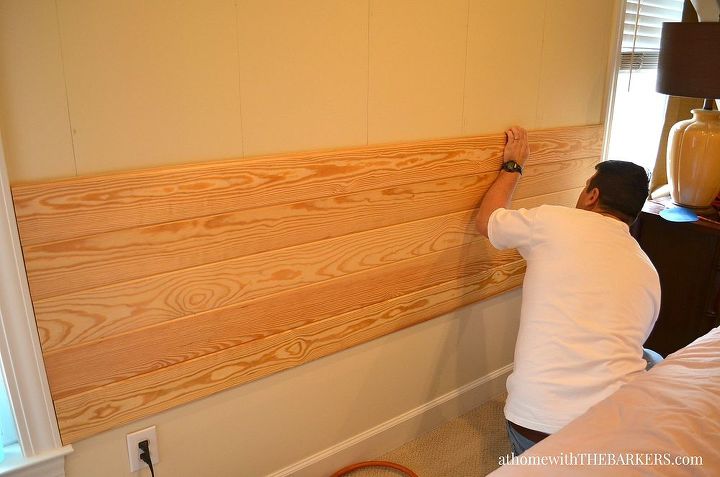
Snapping the boards into place is easy with tongue and groove.
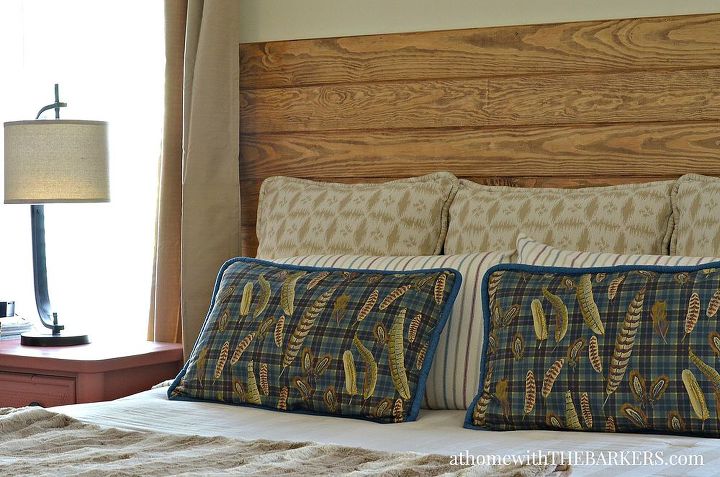
I love how it turned out!!
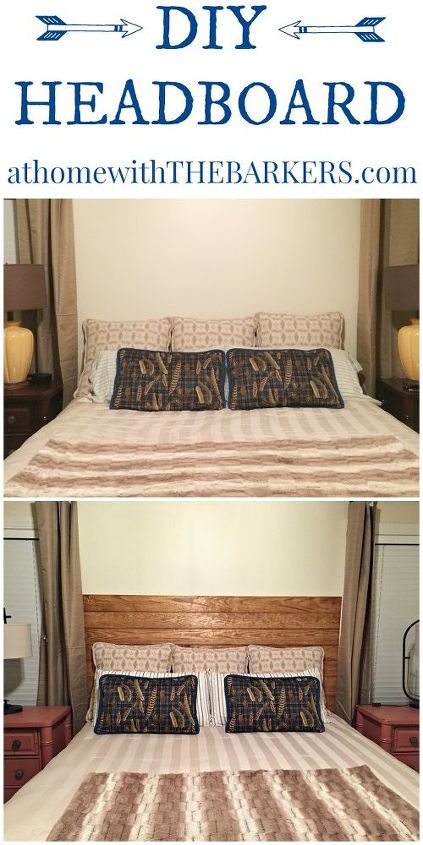
Before and After

Want more details about this and other DIY projects? Check out my blog post!


Frequently asked questions
Have a question about this project?