


How To - Distress Pottery
Step by Step Instructions - How To Distress Pottery
Happy Thursday! Last week on Wednesday around noon we lost our internet connection and it was out until Sunday morning. Boy, I about went crazy being disconnected. It is amazing how much I depend on the internet to get things done.
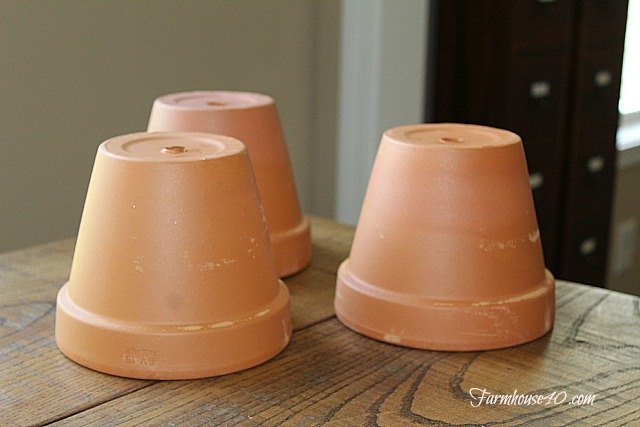
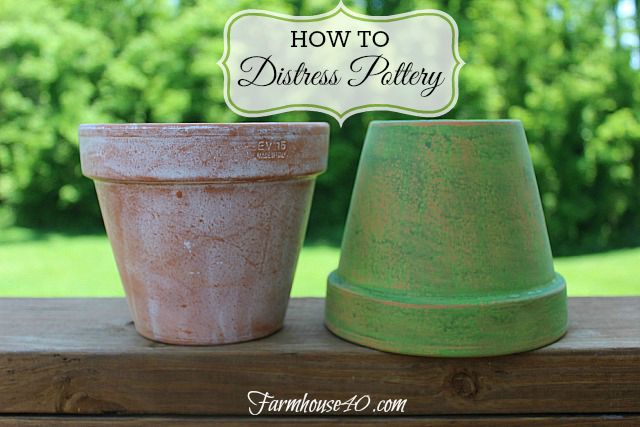
I bought new terra cotta pots to use for this project. First I will show you the water method.
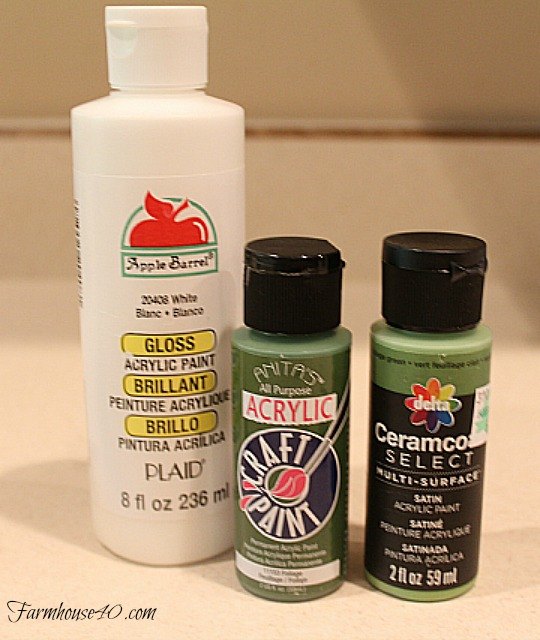
I used acrylic paint in greens and white. I found acrylic paint on Amazon for a very low price
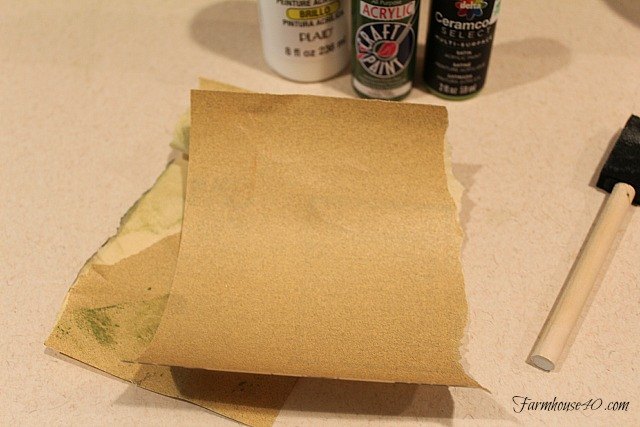
You will need sand paper. I used a fine grit paper.
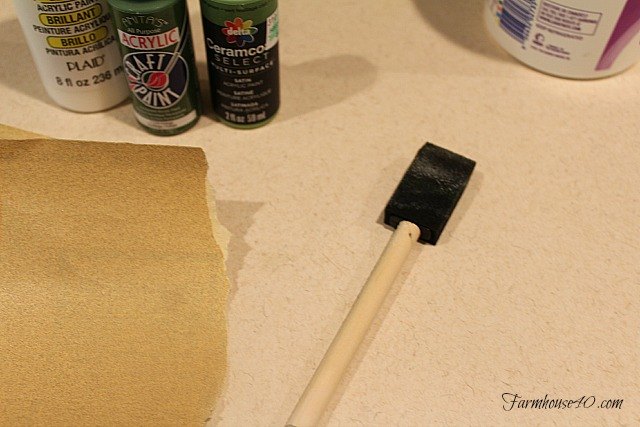
Sponge Brush
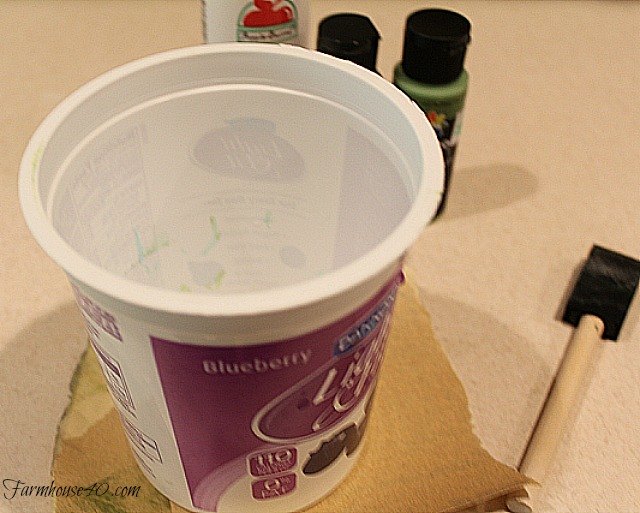
Container to thing paint
Thin paint by adding just a little water to your paint. As soon as you paint the pot, run under very small stream of water.
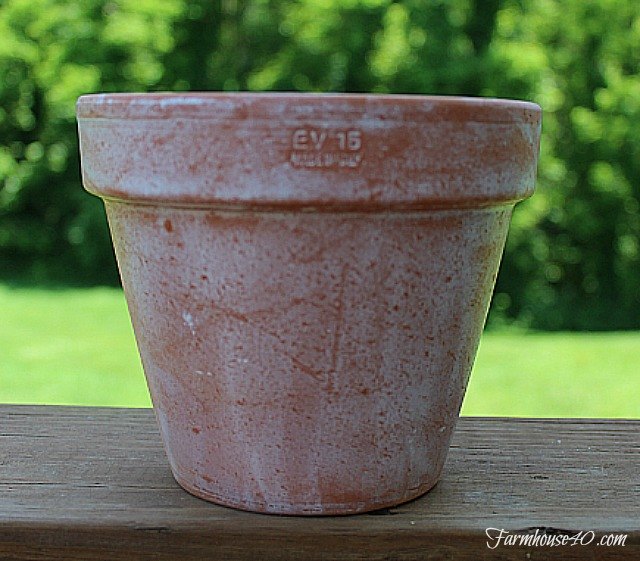
Let Dry. All finished and ready to enjoy!
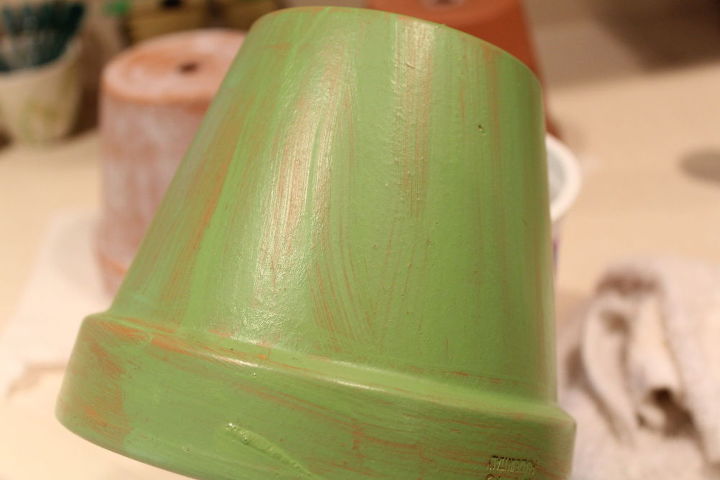
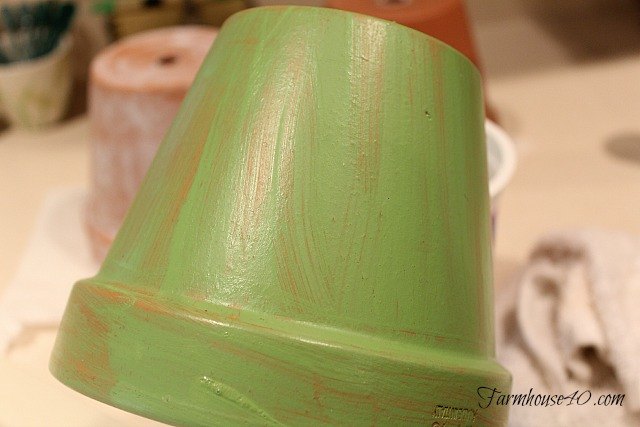
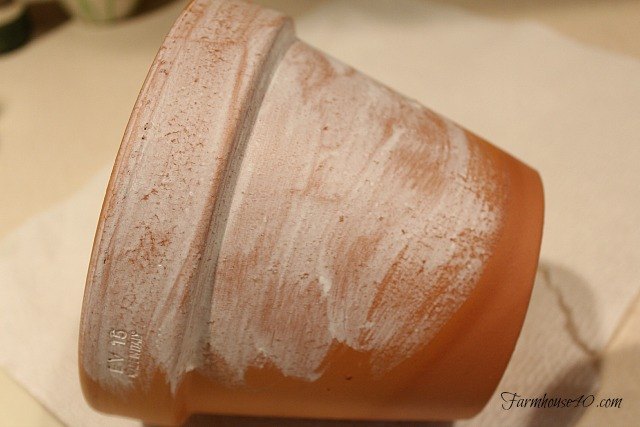
The Second Method – Sanding. I used two paint colors that complimented each other. I used a lighter green and a darker green. First paint you light color onto the pot. Let dry just until it is tacky to the touch. Then sand the areas that you want to distress.
After you are happy with the sanding, you paint your second coat of darker color.
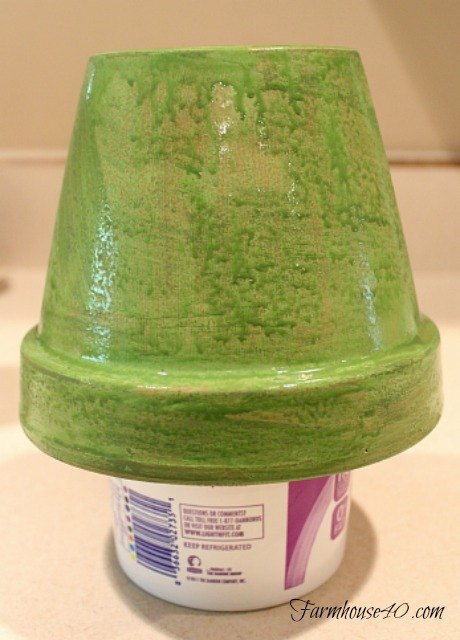
Let the second coat dry completely. Drying the pots on top of a yogurt container works great.
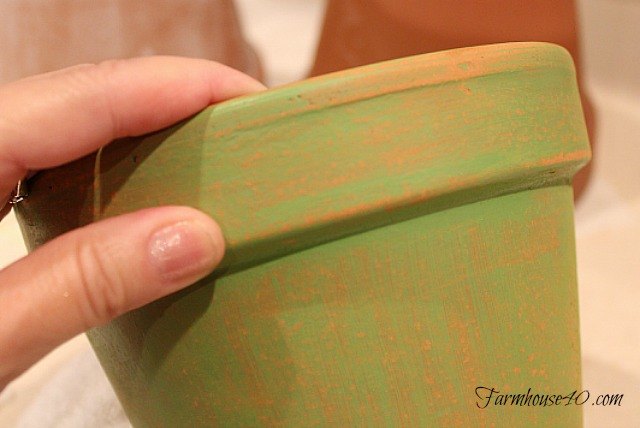
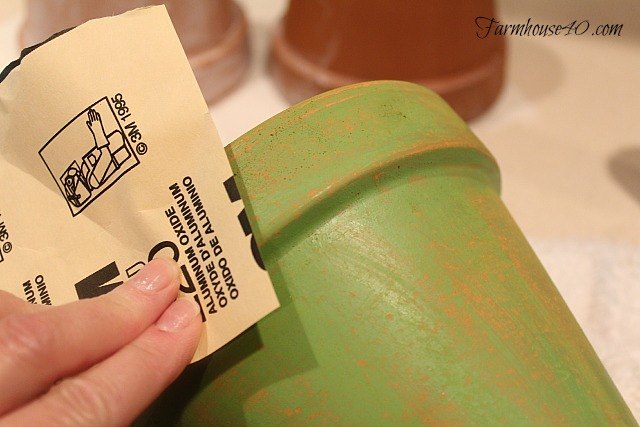
Once the second coat is dry, sand again to get additional distressing. There is no wrong or right to this. Just sand until you get the look you like. If you take off to much paint, repaint that area, let dry and sand again if you want to have less distressing.

I sanded the second coat until I got the look I liked. I was on the phone with my son while sanding. He said, what are you sanding? LOL I didn’t think he could hear it or would be able to tell what the noise was, he is a master painter so he knows sanding when he hears it. BOOM! Got me. I am a crazed DIY’er multi-tasker so it was hard for me to be standing by the pots while on the phone and not work on them, but that really is rude to not give him my full attention. Sorry Joseph.
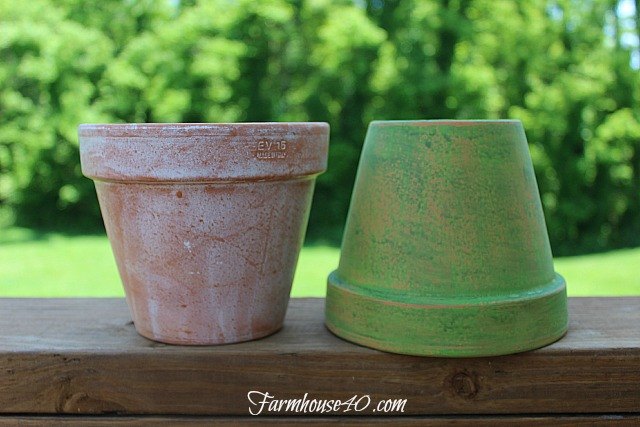
All finished. Now you have your beautiful pottery to enjoy.

Want more details about this and other DIY projects? Check out my blog post!
Comments
Join the conversation
4 of 14 comments
-
How does this remain waterproof or is it indoor only please? Love both ideas by the way And I used different colours (opposite in the colour wheel) so they showed through in the sanding method.... Looked fab!
- See 1 previous
-
Glad it worked out for you. Thanks Trish for the tip on patio paint. I have only been using my pots on the front porch which is covered.


Frequently asked questions
Have a question about this project?
Have you ever tried the cement paper that same company makes. It's my next go