


My First Fabric Painted Chair {Learning Experience}
Well guys…one thing you will always find on this blog is honesty. Not that I will post every bad project, because…well, that is not gonna happen! (HA!) But, I will post ones that anyone can learn from. This is one of those. In pictures, this one looks great…but it is certainly one of those that you wouldn’t want someone coming and looking to closely at, if you know what I mean…and I am sure you do.
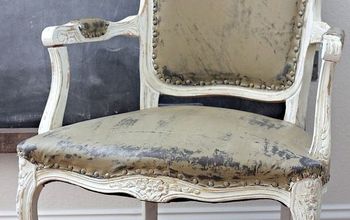
So, let’s get started. I found this awesome chair at a local thrift store for $20. I had been really itching to paint some fabric on a chair because I have seen soooo many tutorials…and it looked like so much fun. I actually already had one that I was going to do, but it is pretty detailed…and I am not quite ready to do that like I thought I was. So, I found this one…and it was just what I thought I needed.
So, let’s get started. I found this awesome chair at a local thrift store for $20. I had been really itching to paint some fabric on a chair because I have seen soooo many tutorials…and it looked like so much fun. I actually already had one that I was going to do, but it is pretty detailed…and I am not quite ready to do that like I thought I was. So, I found this one…and it was just what I thought I needed.
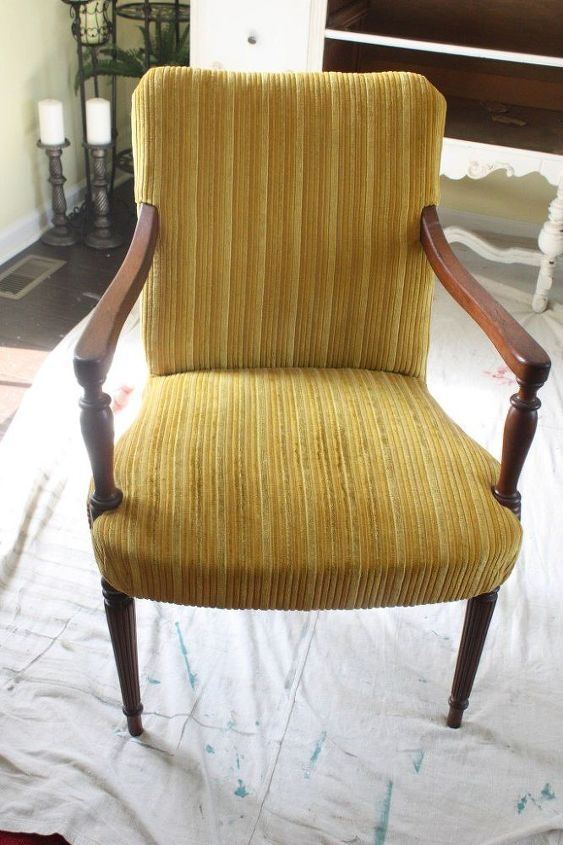
Notice how I said just what I thought I needed? Well, I say that because I do not think I want to attempt one with this kind of fabric again. I will explain more later.
So to get started on this project, I got some Vintage Market & Design Antique White chalk paint that I had on had. I had just a little bit left, and it needed to be used up, so I knew once I watered it down good that it would give me a good first coat. That is not the color I wanted to paint it all, but it would give a good base.
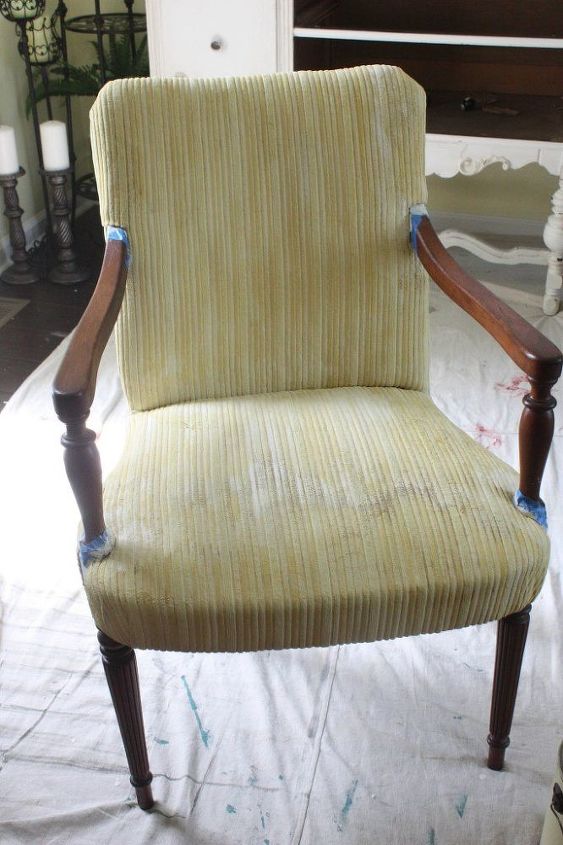
Here is the chair after 1 coat of the paint. Looks pretty bad, but it already MUCH lighter. I just really brushed it into the cracks the best I could. And as you can also see, I put painters tape around all of the wood so that I didn’t get paint on it…which I still did, of course! {I am so bad about that…}
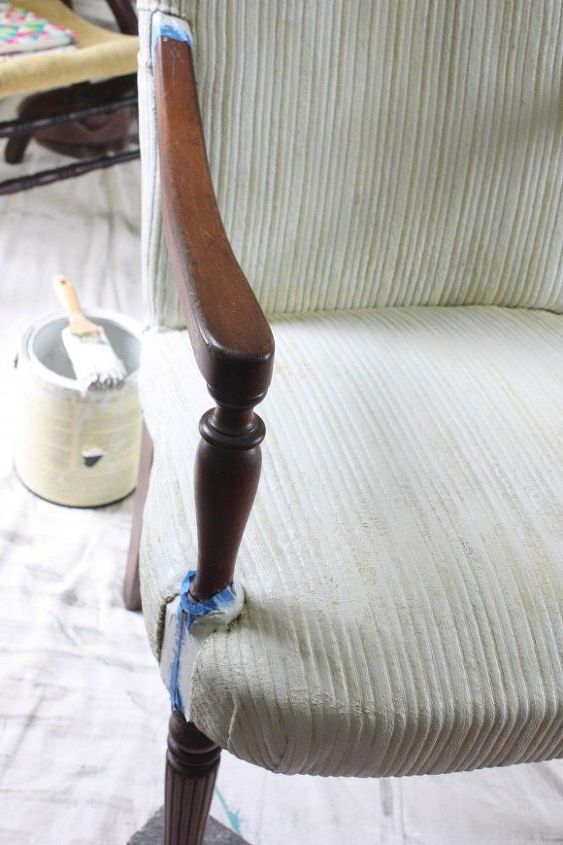
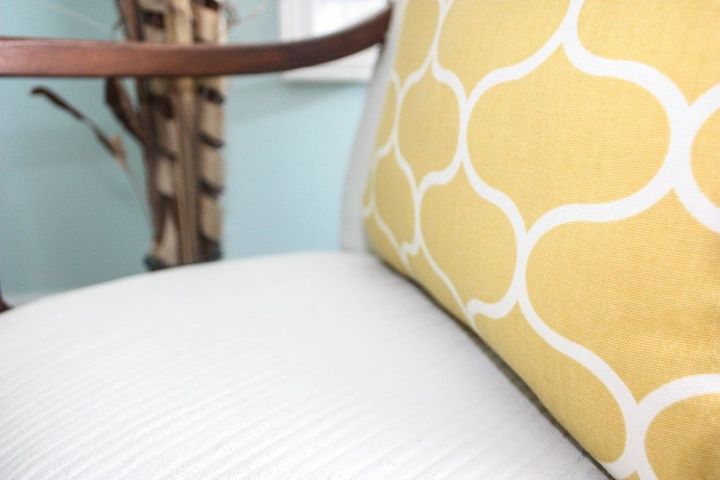
Here is the chair after the second coat. For the second coat {and my actual paint color}, I decided to use some leftover latex paint that I had on hand from our master bathroom. It is called Madeline Steps by Valspar and it is a very light gray…almost looks white in some light. I watered it down really well too, but not so much that it wouldn’t stick to my brush. This coat made a huge difference. It was really starting to take form…and also starting to get kind of bumpy in some spots, no matter how hard I tried to smooth it. {One of the reasons I did not like this type of fabric!}
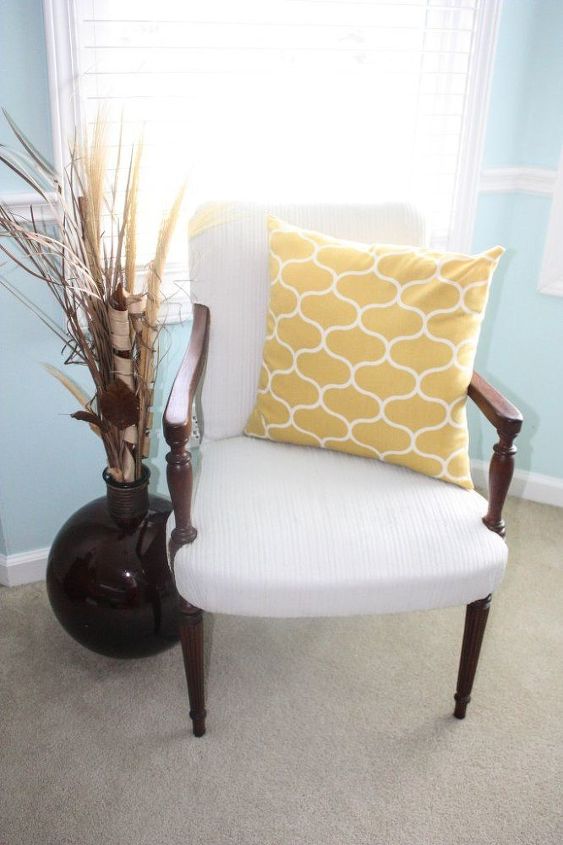
Here is the finished product! It is hard to tell that anything is wrong with it in these pictures…and I am glad about that! :) This is just a chair that will be sitting around in our bedroom for looks, more than likely…so I am not concerned with the issues. It was a learning experience! There is lots of hard balls where the fabric balled up, and it is definitely not soft {which I knew it wouldn’t be…and I didn’t care about that because it will not be sat in}…BUT if you don’ t investigate too closely, it is a nice looking piece that you can put a cute pillow or throw on, and go with it!
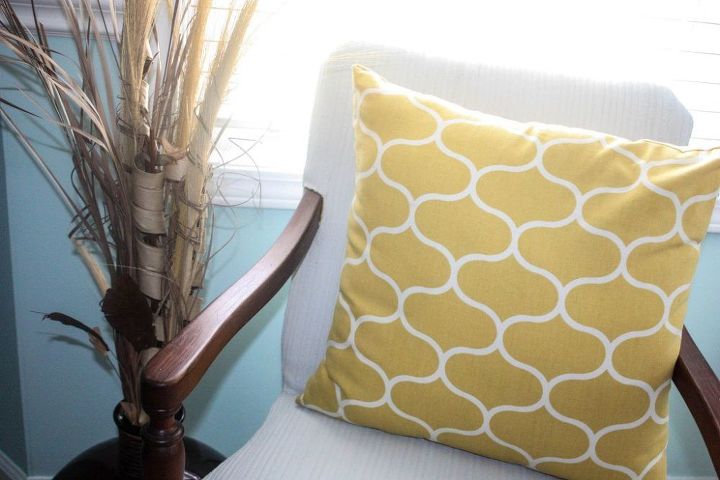
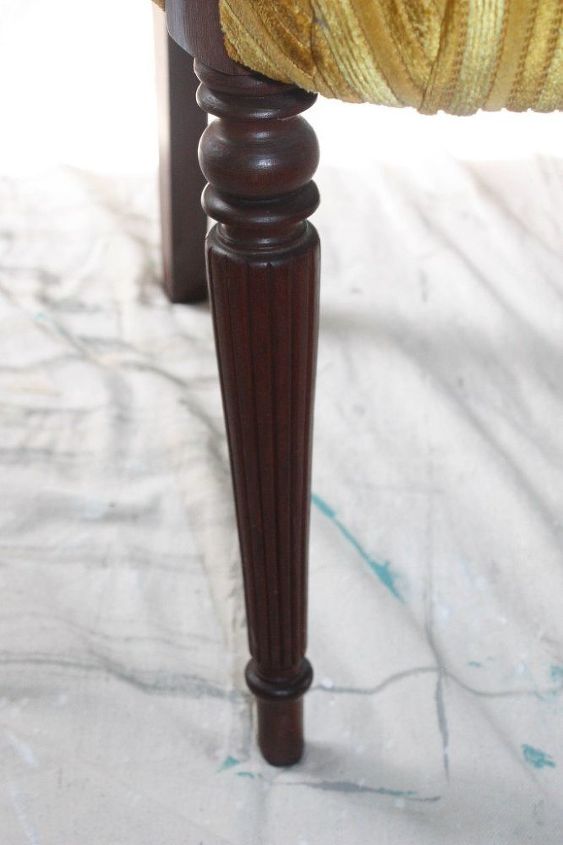
I do love the contrast of the light colored fabric with the dark wood. I am really glad that I chose to not paint the wood! {All of you wood lovers who hate on us that paint it, I know you are happy!}

Want more details about this and other DIY projects? Check out my blog post!
Comments
Join the conversation
3 of 7 comments
-
I have been wanting to do this and keep flip-flopping. Did you sand between the coats? Apparently that helps a lot.
-
I think it looks great! I have wanted to try this but thought I would try painting some pillows first. You are more brave than I am!!


Frequently asked questions
Have a question about this project?
I’ve seen that you can sand the fabric in between coats. ?? Your chair looks 💯