


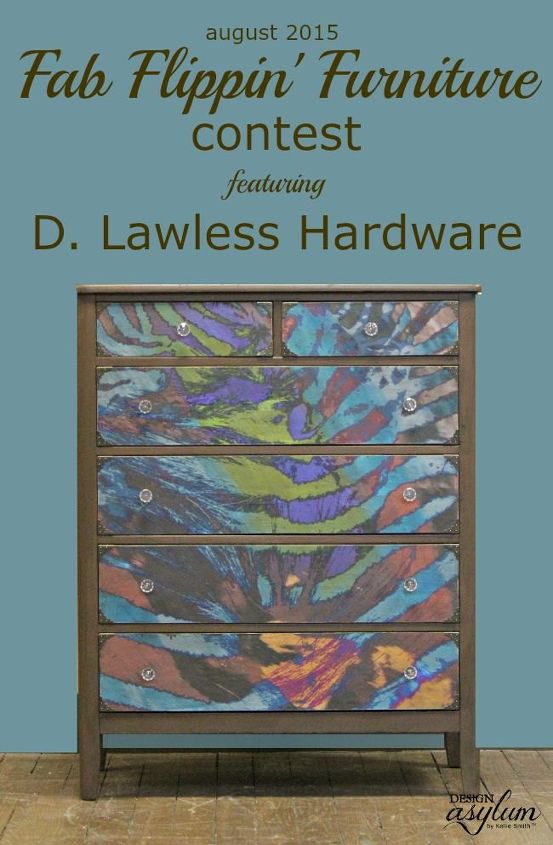
Fab Furniture Flippin' Contest
I recently joined a Facebook group that does monthly contests for furniture makeovers.
The Fab Furniture Flippin' Contest Group
I thought, "I'll wait a few months and join in on a contest later, when I have time".
Ummm, I joined the first one that came my way.
I couldn't resist.
I joined it for three reasons:
1. The name of the contest is "Icing on the Cake".
Hellooooo, I love cake.
2. D. Lawless Hardware sponsored the project and we were able to use their hardware.
Their pieces are fantastic and the prices are crazy low!
3. The project was about embellishing furniture, so I got to use a new Velvet Finishes product that isn't even on the market yet!!
So exciting!!

I can't wait to share it with you!! Eeeek!!!!!!!
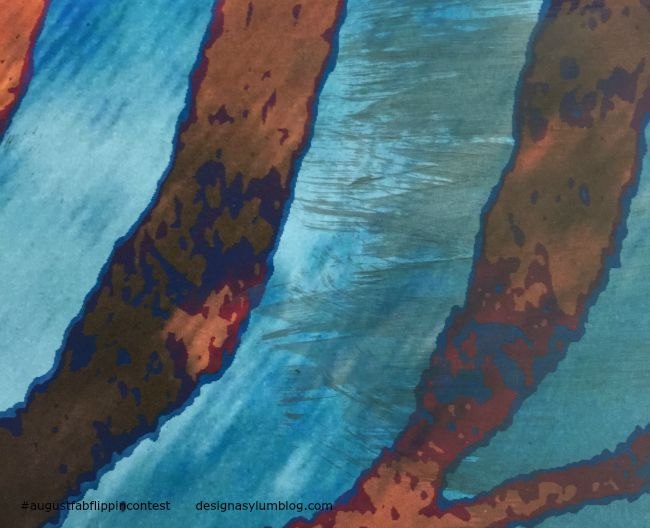
Some of you know that I have a business partner, my friend Melanie Honig, in a textile design design business.

Gorgeous, right?
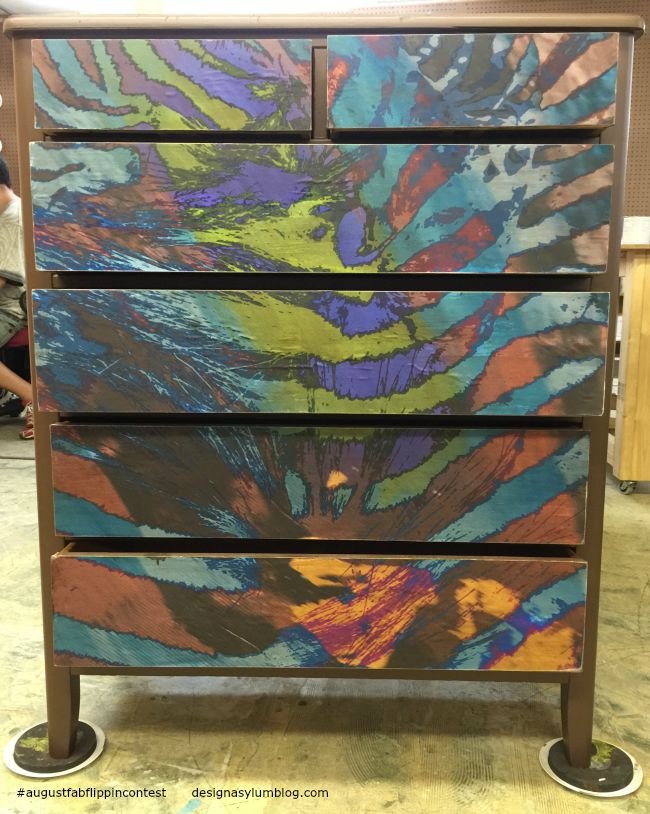
After I trimmed that off, I had the bottom edge for the bottom drawer.
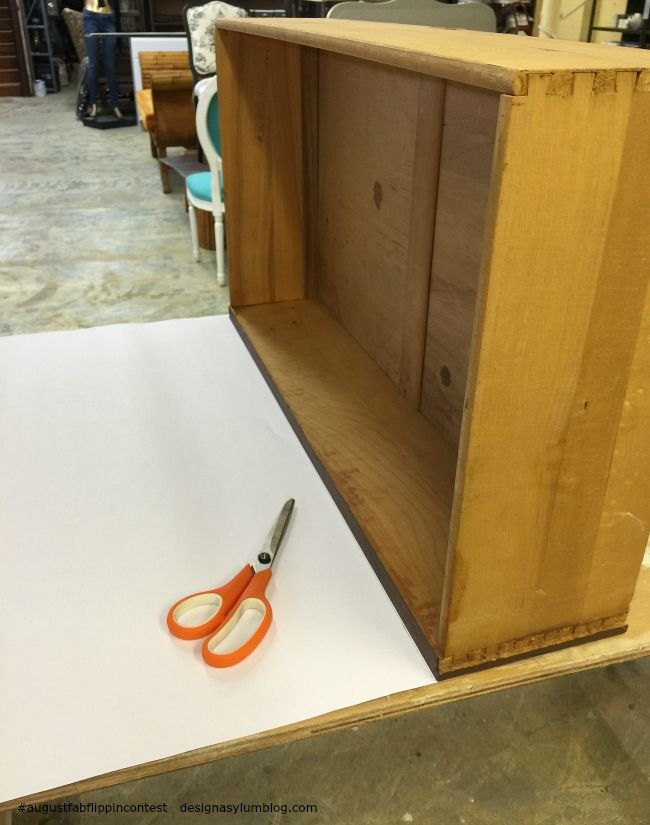
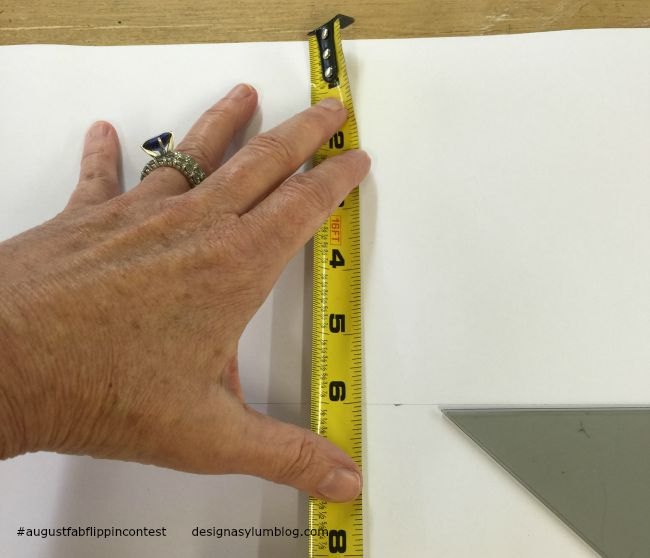
I simply lined up the drawer straight on the paper, marked with a pencil and cut. After I removed the drawer from the paper and before I made my cut I lettered "R", "L" and "B" for right, left and bottom.
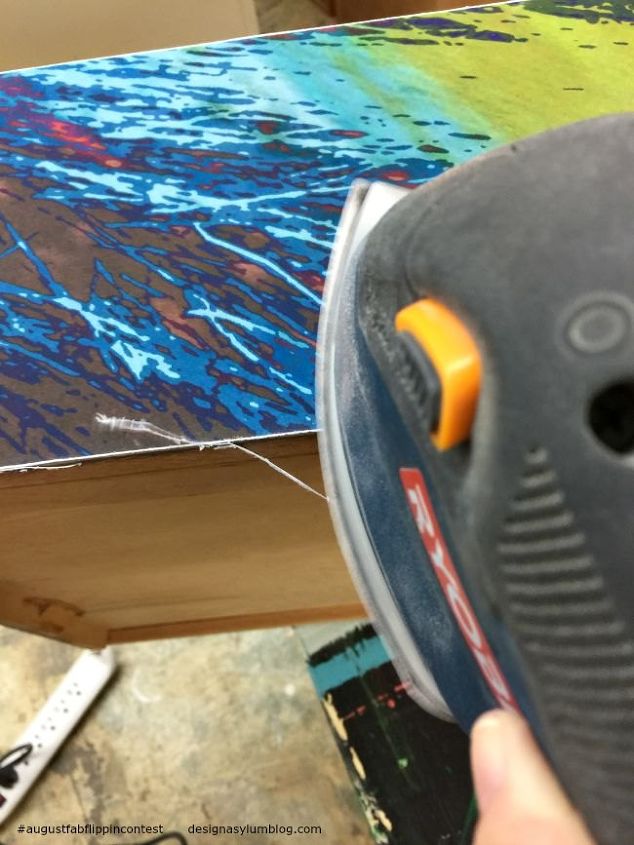
I use a Ryobi Corner sander but you could also use a sanding block.
You can see here, the difference the glaze makes. The left side is the paper as printed and the right side shows the glaze.
HOWEVER...
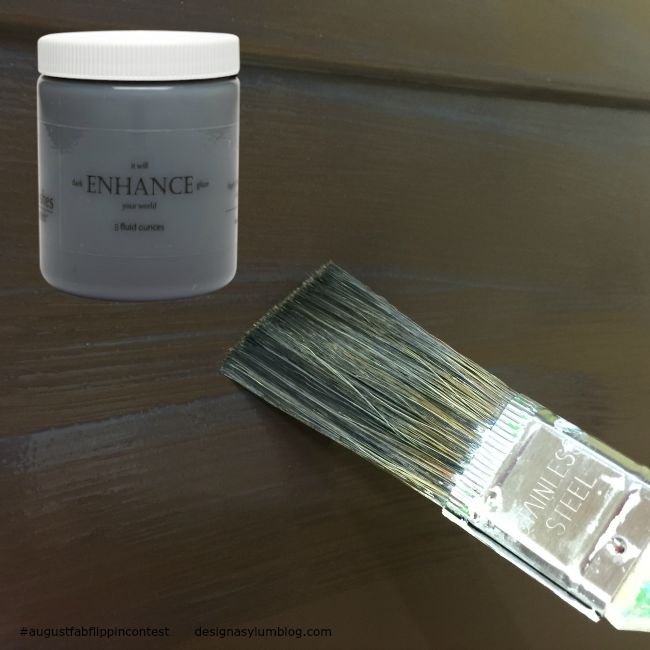
The Enhance Glazes are also added protection for the paint finish.
You need to know that D. Lawless Hardware doesn't just have drawer pulls and knobs.
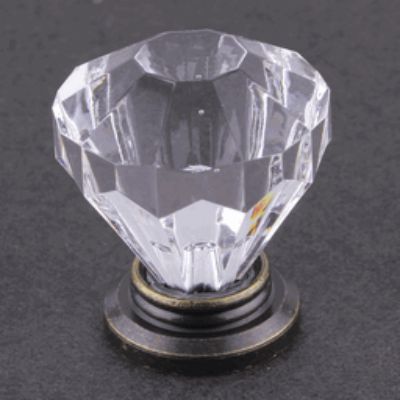
The perfect knob for this project!
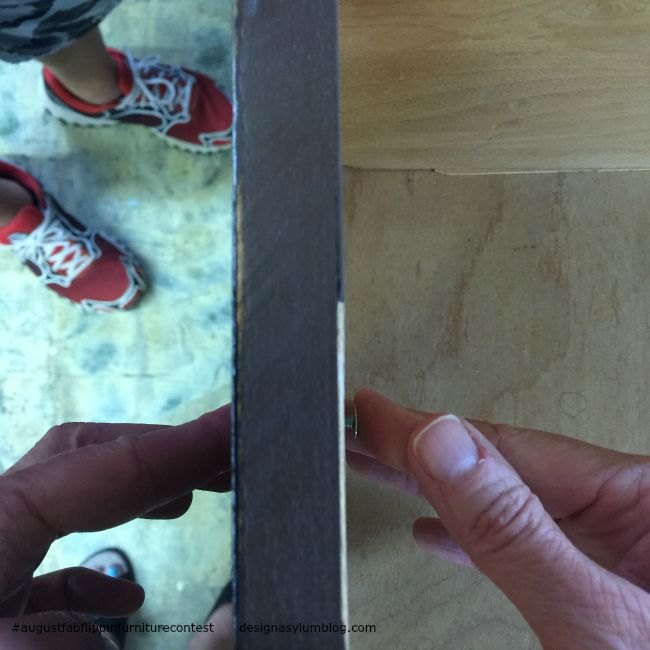
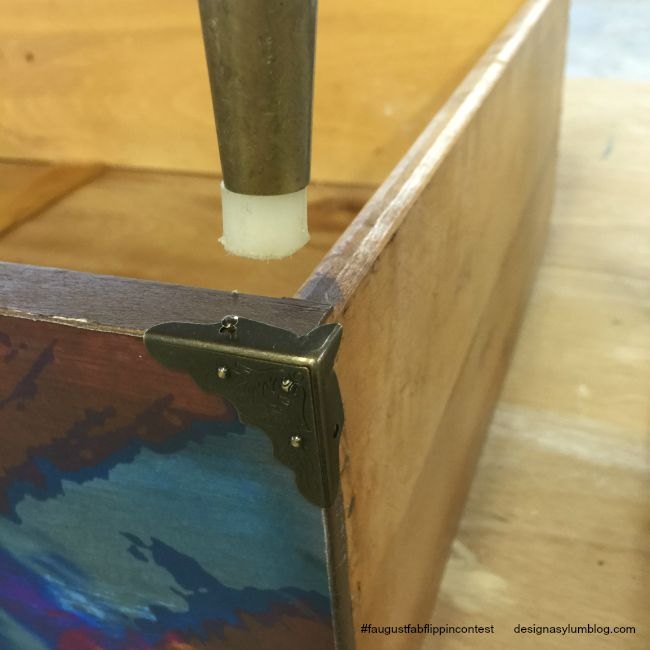
I took the screw that came with the knob and pushed gently from INSIDE the drawer. I pushed against my finger so as to only make a dent, not go through the paper. I only wanted to mark where the screw would go. After I made the mark, I pushed the screw through the paper from the OUTSIDE of the drawer. I did not want the paper to tear outward, but inward.
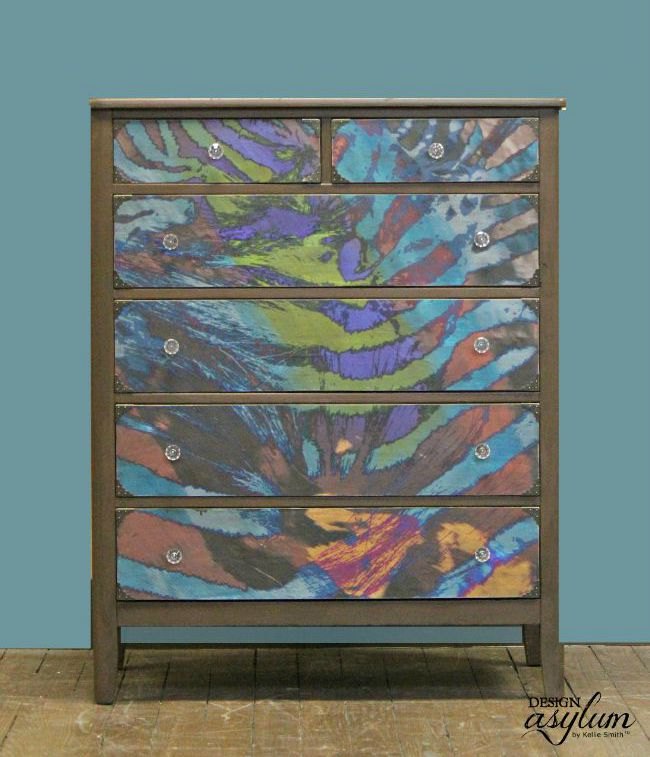
I did ok, right?

The featured hosts for this month are Michelle at Dandelion Patina and Evey at Evey's Creations.
SPONSORSHIP DISCLOSURE

Want more details about this and other DIY projects? Check out my blog post!
Comments
Join the conversation
4 of 14 comments
-
I love this! Beautiful work and such a great idea. Nothing better than refurbishing than throwing away....
-
@Kellie from Design Asylum Blog this is stunning and i am so happy that you gave several shout outs to D. Lawless Hardware they are the best people and the product is well made and the prices very very affordable xx


Frequently asked questions
Have a question about this project?