


From Baby to Toddler: Nursery Makeover & Transition
2 Materials
6 Hours
Easy
Two years ago this month we started our nursery renovation. We found out we were expecting and just knew that the upstairs wasn't acceptable for housing a newborn. So we set to work gutting and refinishing the room.
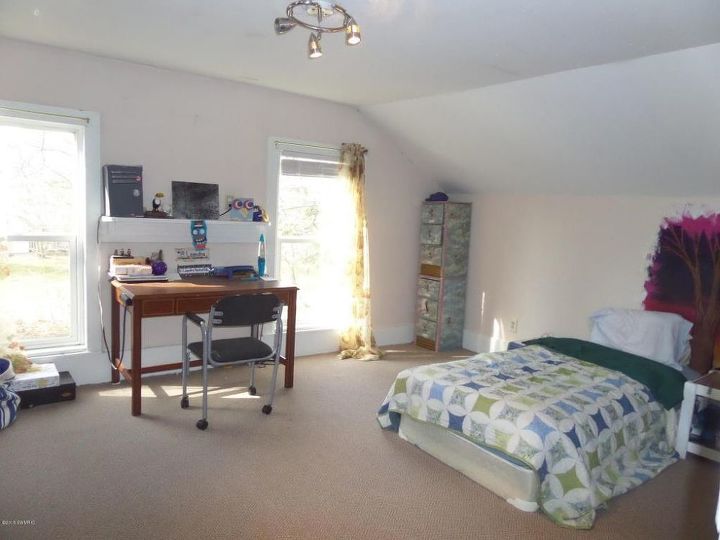
Listing Photo
This was our listing photo. The walls were made of lath and plaster and were basically falling apart.
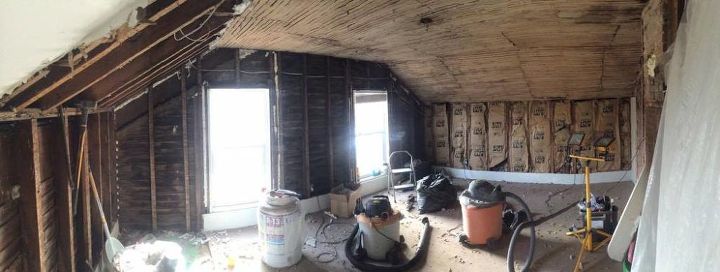
During Renovation
We stripped the room down to the studs and got to work. We reframed the closet and drywalled the entire room, as well as redoing much of the electrical and adding more outlets and light switches. It took us about two months to finish this renovation and get it ready for a newborn baby.
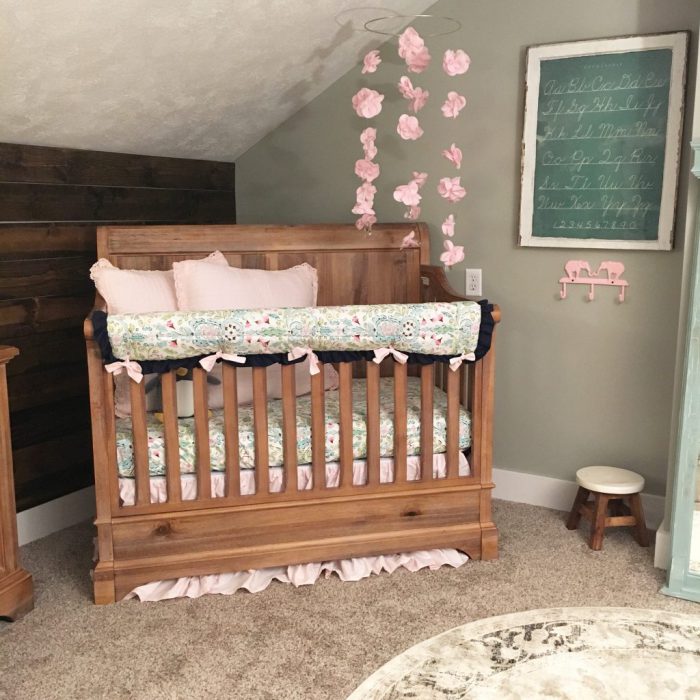
This is basically where we ended up leaving the renovation when we had the baby. We installed a shiplap accent wall along the one very long wall and stained it in dark walnut.
Fast forward to today, and as our daughter is making the transition to a toddler bed (which we pick up this weekend) I knew it was time to make some changes in her room.
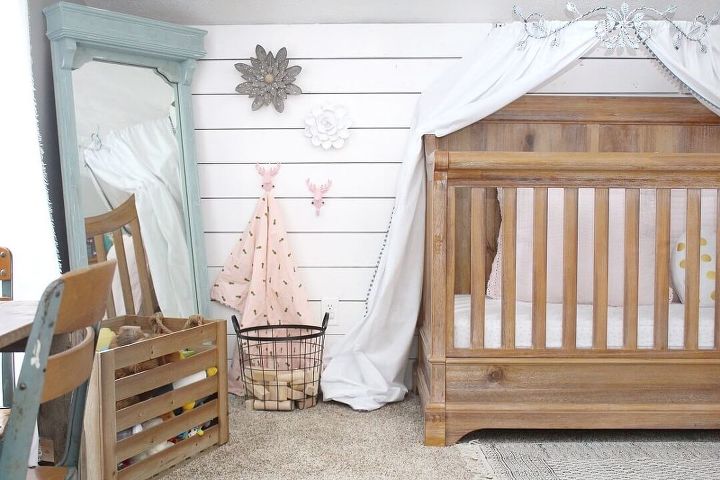
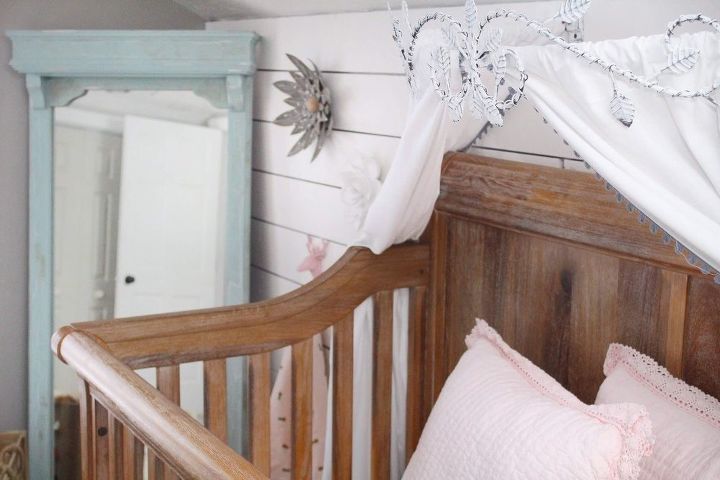
I decided that the dark walnut shiplap was darkening up the entire room and just wasn't fit for a little girl. I found some of the leftover white trim paint we had on hand and repainted this shiplap in one night!
I then shopped the house and also used existing decor from her room to change things up. We have yet to spend even a dollar on this makeover! The only thing we will be purchasing is her toddler bed which will go right under the canopy where the crib is now!
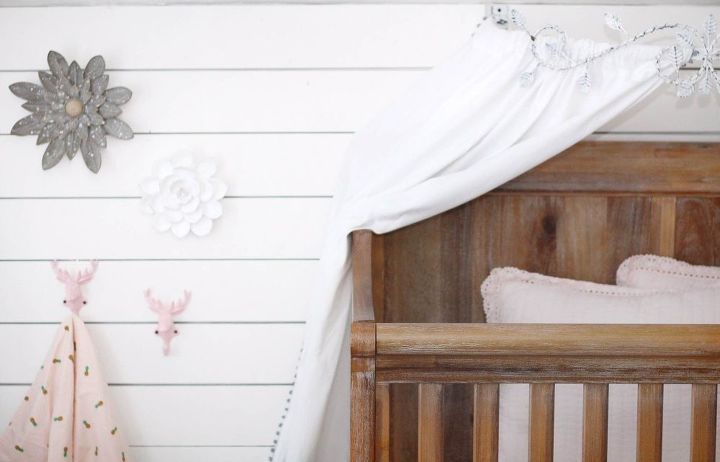
The canopy was a gift from my grandmother when I was a child and I had been storing it in my basement in hopes that one day I could use it again. It was a bronze color so I quickly brushed some white chalk paint over it and gave it a light sanding to give it a distressed look. It was ready to hang within the half hour! I also "borrowed" these curtains from my craft room. With the blue pom pom edge, I just knew they belonged in here instead.
The pink deer hooks were hiding on the wall behind her door so I moved them over here where they could be utilized easier and within eyesight because come on, they're so cute!
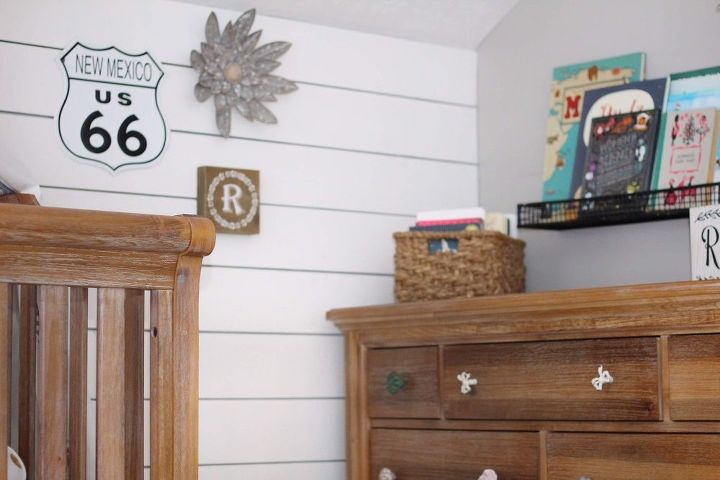
All of the wall flowers you see are from Hobby Lobby and were hanging in the middle of the shiplap wall over her desk. When I moved the bed here, I just moved the flowers outwards to frame either side of the canopy.
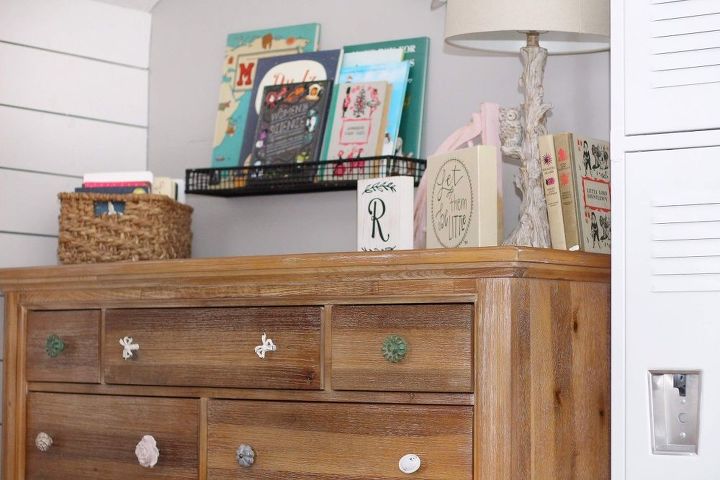
The one thing we haven't finished in this room is adding an attic access door. In fact, behind those books on the shelf is a tiny hole we had started to cut to install the attic access but we never got around to making a door. So for the time being I hung up this metal black shelf I had laying around my house and added some of Ryan's favorite books. No more hole and a great place to display her favorite books as they change!
I also swapped out the knobs on this dresser for mismatched ones from Hobby Lobby. They gave the dresser a chic and girly feel!
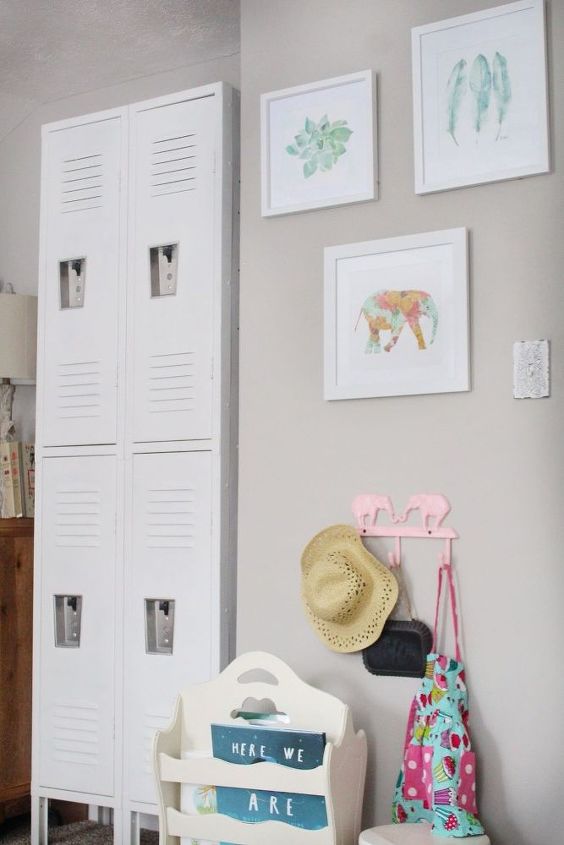
The one change we made in this area was done a few weeks ago when I swapped out some letters that spelled "baby" with these adorable watercolor prints. I figured since my baby isn't a baby anymore, the change was needed!
For all product sources, visit my blog post here!

Want more details about this and other DIY projects? Check out my blog post!


Frequently asked questions
Have a question about this project?