How to Stain Wood

If you don't know how to stain wood it can be a little intimidating the first time. Don't worry! I've got your back on this one.Staining wood is one of the first projects the OG (old guy as Dad says) taught me was to stain projects. I remember not loving the smell at all. I still don't like the smell but the results are gorgeous!
So in finishing out basement space I wanted a bar top to go along the back of the sofa. Our basement is going to be the place where we gather with friends and family to watch hockey games (Go Wild!) so I wanted a space that we could sit and have drinks, and still see the TV.I had vintage spindles that I wanted to upcycle for my project so I picked up a 16 foot Pine table top from my home improvement store. Once my husband and I stopped fighting over the color I was ready to stain the bar top!What You'll Need
- Stain In Your Preferred Color
- A rag or Staining Pad (I'm too cheap to buy a special staining pad but you do you)
- Rubber gloves (just used Dollar Tree kitchen gloves)
- Sandpaper in a fine grit like 220 (You might not need it but better to have)
- Saw horses or a table to put the project on
- A drop cloth if you're worried about your floors or the ground. Dollar tree sells them in the hardware section or just pick up one of their plastic table cloths
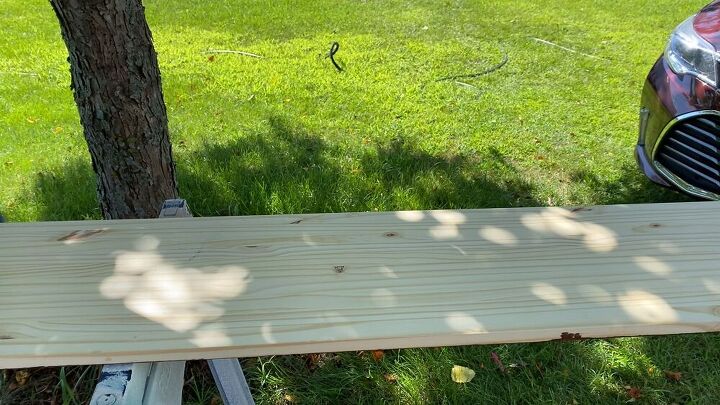
The first thing you'll want to do is take this project outside or into a garage. Seriously the smell is bad and it will fill your house if you stain inside, and it lingers for days. Just be safe and work outdoors or a garage if you can. If you can't open your windows and where a respirator to ensure the safety of your brain cells.I set mine on some saw horses in the back yard so any drips won't be a problem but if you are working on a surface like the floor of your garage you might want to protect with a drop cloth. In my garage I still wouldn't because it doubles as my workshop but I know some people are particular about their garage floors. If that's you then please protect your floors.
I absolutely recommend wearing gloves to use any type of stain. As the name implies this product is designed to stain things and that includes your skin and fingernails. You don't have to be fancy and buy surgical gloves. I got my rubber kitchen gloves from Dollar Tree for $1. They worked perfectly.I keep old towels that I cut up to use as rags. An old t-shirt works great too. I've even used my daughter's baby socks after she grew out of them. Just make sure you have a clean mostly cotton cloth. If you want to invest in a staining pad they do sell them at the home improvement store, but they are unnecessary in my opinion.
Dip the rag into the stain and let it soak up. You want to make sure it's good and saturated with stain. Don't be afraid just dunk it right in there and let the rag wick it up.
You want to start at the corner of your project and work your way across. Once you start you DO NOT want to stop. You have to keep working the stain until the how area you are working with is done.Now if this were a table with legs you could do the top and take a break then move to the legs. You just don't want to stop half way and then pick up again. It will be difficult to blend the line so make sure you work the whole surface until it's done. Likewise if you drip make sure you smooth them out quickly.The process is like cleaning a table after dinner. Wipe the cloth back and forth, with the grain, making sure to overlap each previous line. When your cloth starts to dry dip it back in the stain. You want to keep your cloth wet.Once you've covered the whole surface wipe away any excess stain. Just take a clean portion of the cloth and wipe with the grain until the excess is gone.
Do you need to sand the finish before you clear coat it? Maybe. I did not but if the surface had fuzzed up I would have. Sometimes when you stain raw wood the stain can raise the grain a little making the surface fuzzy or textured. If that happens when the stain dries just take a 220 grit sandpaper and lightly sand with the grain to get rid of it. Before clear coating you'll want to make sure to clean the dust off.My project didn't need a second coat. The surface took the stain beautifully. It was nice and even so I didn't need to coat it again. If when you wipe away the excess you decide you want a more saturated color then go ahead and repeat the process above (yes, I would use the 220 before the second coat).
You will definitely want to protect the surface in some way. You can use a tung oil, a polyurethane, or some other type of topcoat for your surface. I chose Varathane Triple thick in a matte finish. I like the look of it and I couldn't be happier with the finished product!
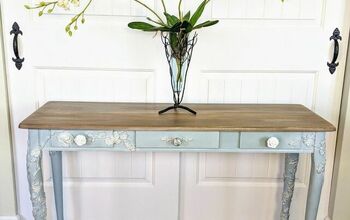
Now I have the bar top I wanted! If you want to see a video of the full process I've included it below.If you want to see another of my basement projects check out this post and find out how I painted my entire basement for less than the cost of 1 premium gallon of paint!
Watch the full tutorial on my YouTube Channel!
Enjoyed the project?









Frequently asked questions
Have a question about this project?