


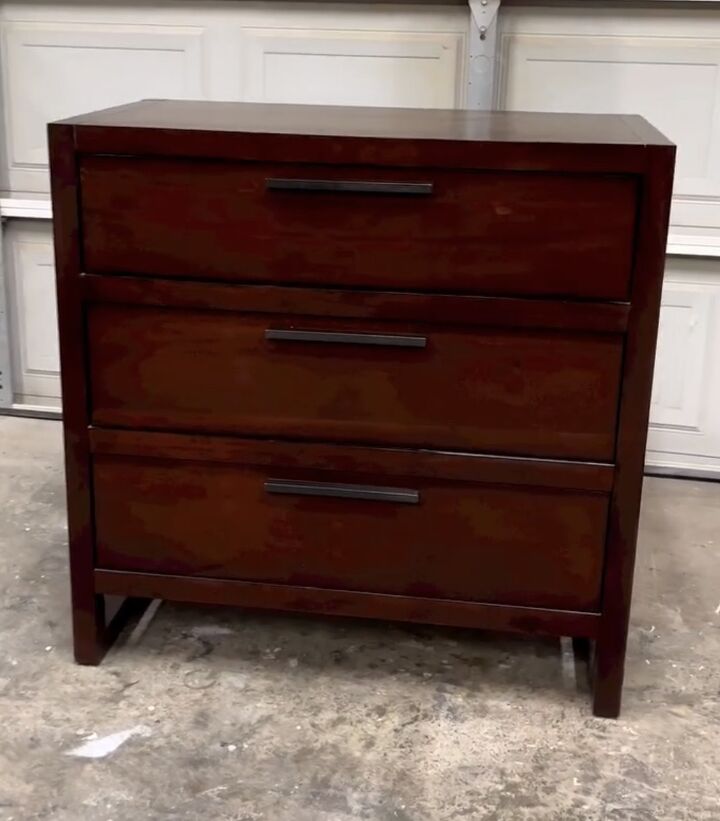
How to Turn a Dark-Finish Dresser Into a Light-Finish Dresser
I had a dresser with a dark factory finish that desperately needed some TLC and I wanted to turn it into a light-finish dresser. Here’s how I stripped the dresser and transformed it from a dark finish into a beautiful light finish. Trust me, it's easier than it looks!
Tools and materials
- Soap and water
- Clean cloth
- Paint stripper
- Chip brush
- Plastic putty knife
- Paint for wash (choose your color)
- Foam brush
- Water-based top coat
- General Finishes Wood Glaze
- Mixing bowl
- Measuring cups
- Protective gloves
- Eye protection
- Drop cloth or newspapers
Steps
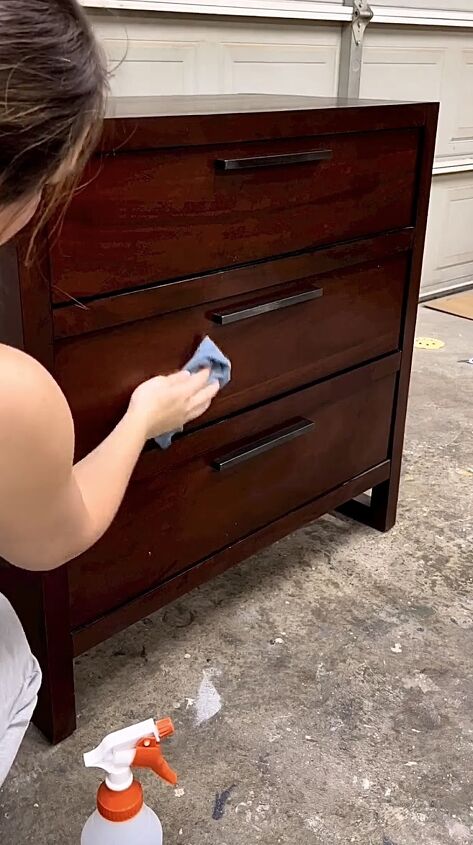
Step 1: Clean the Dresser
The first step is super simple but crucial. Take some soap and water and a clean cloth to give your dresser a thorough cleaning. Remove any grime or dust that may have settled on the wood. This will ensure that the paint stripper adheres well in the next step.
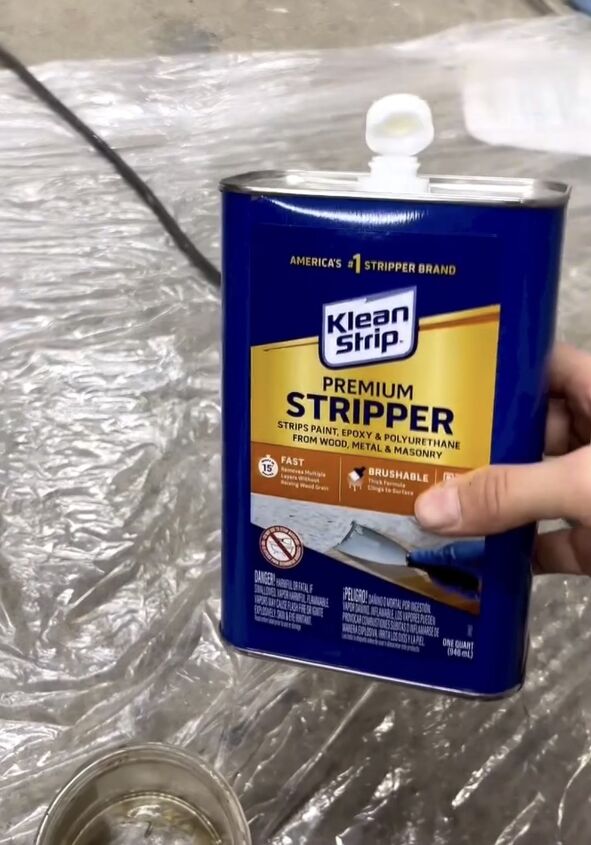
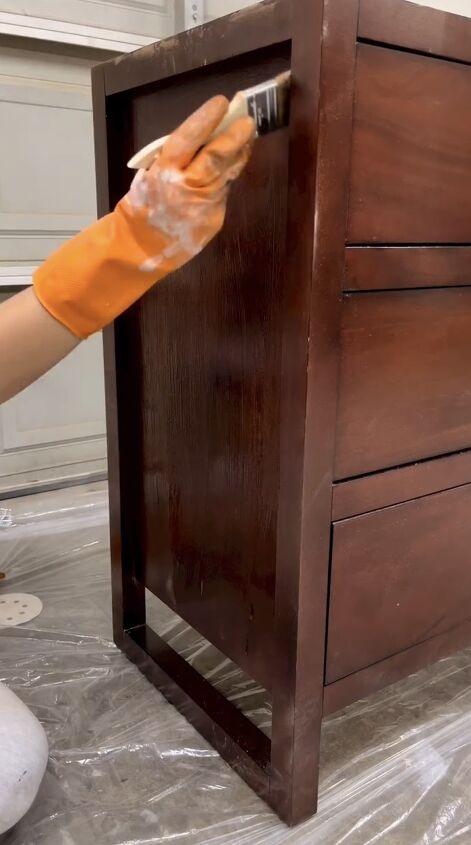
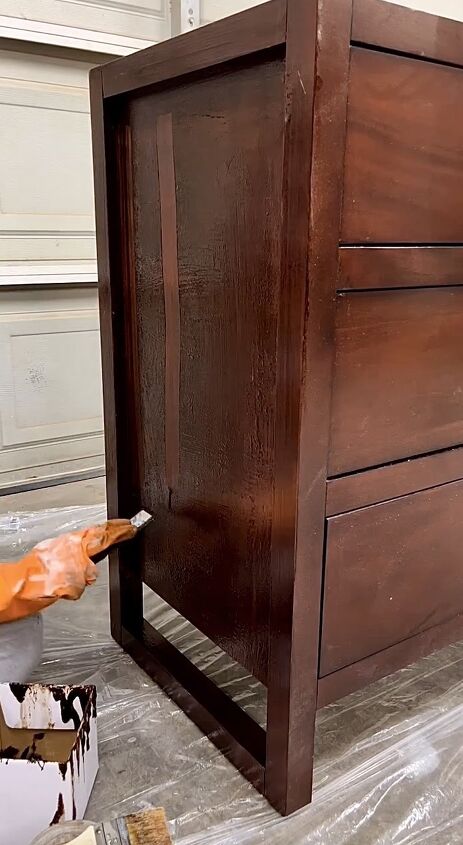
Step 2: Apply Paint Stripper
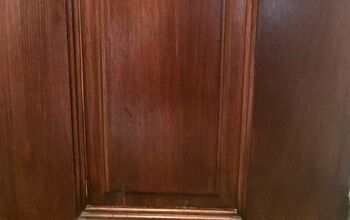
Once the dresser is clean, it's time to strip away that old dark finish. Put on your protective gloves and eye protection, then generously apply your favorite paint stripper to the wood using a chip brush. The aim is to layer it on thick so that it can effectively penetrate and soften the old finish.
Step 3: Scrape Off the Old Finish
After letting the paint stripper sit for about 15 minutes, grab your plastic putty knife and gently scrape off the old finish. You'll notice how easily it comes off, revealing the natural wood underneath.
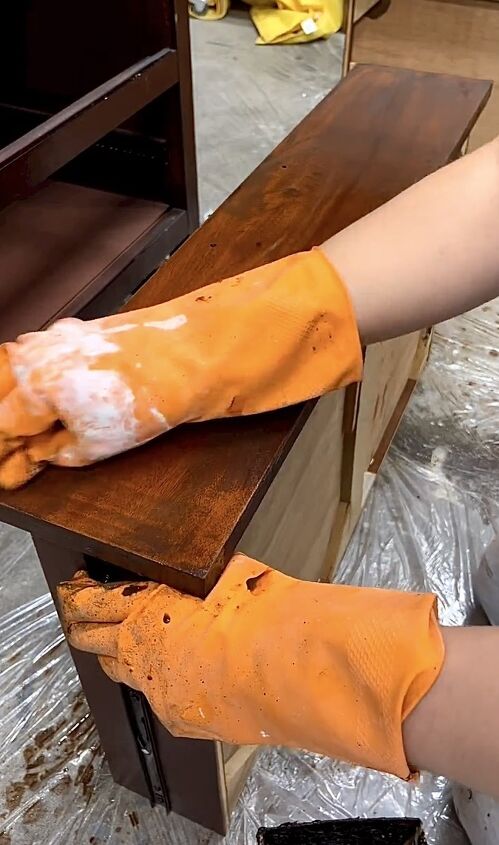
Step 4: Clean Again
After all that scraping, you'll want to clean the dresser again with soap and water. This will remove any leftover stripper and prepare the wood for the next steps.

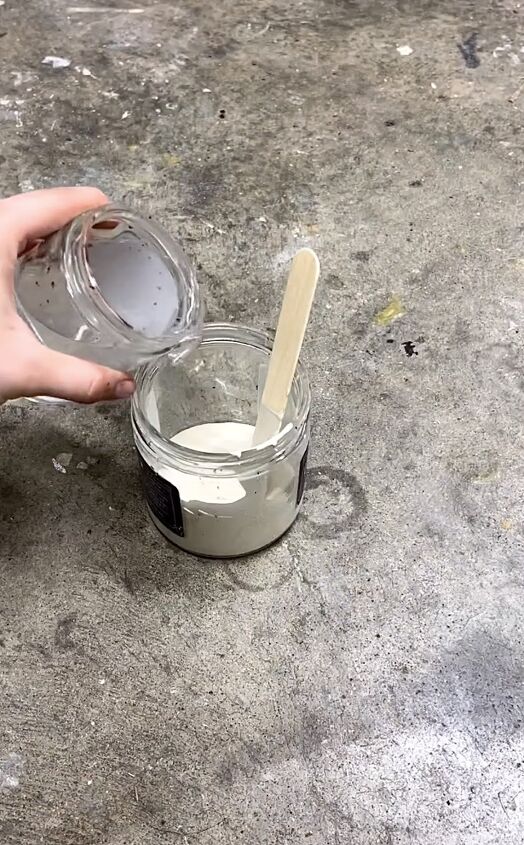
Step 5: Prepare and Apply the Paint Wash
In a mixing bowl, mix one part paint to two parts water to create a paint wash.
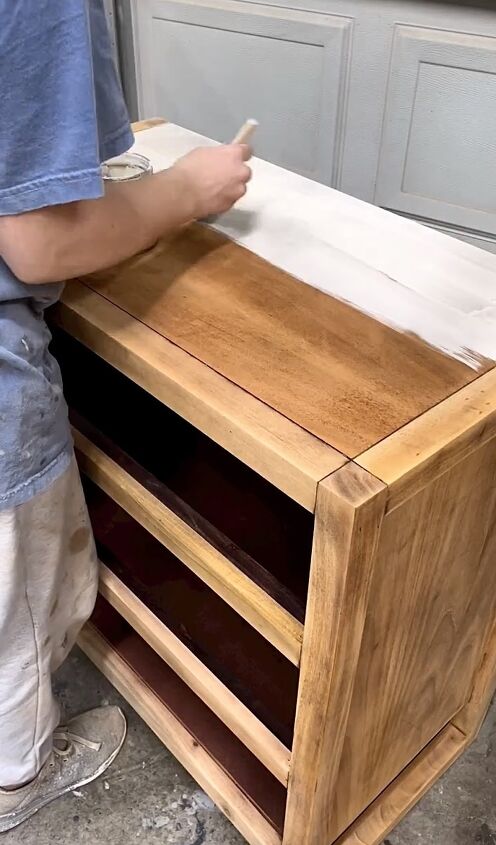
Once your mixture is ready, use a foam brush to apply it to the wood.
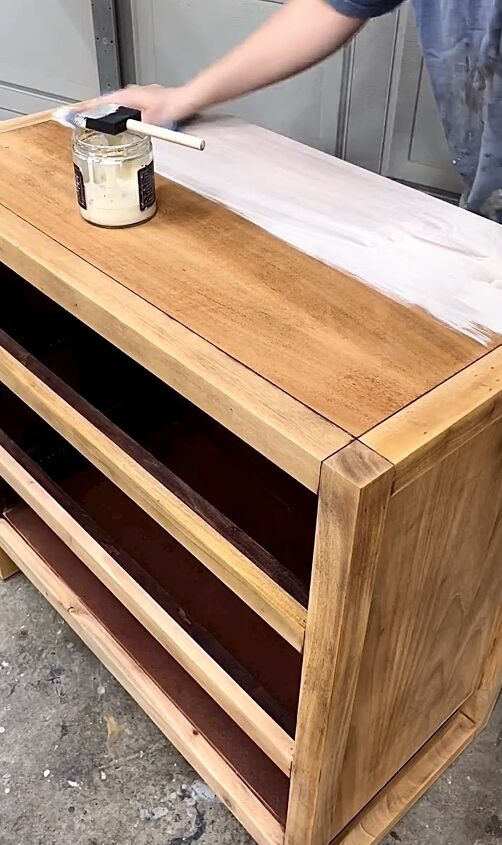
Make sure to work in sections, quickly wiping the wash away with the wood grain using a clean cloth. This will give it a nice light finish while allowing the natural wood grain to show through.
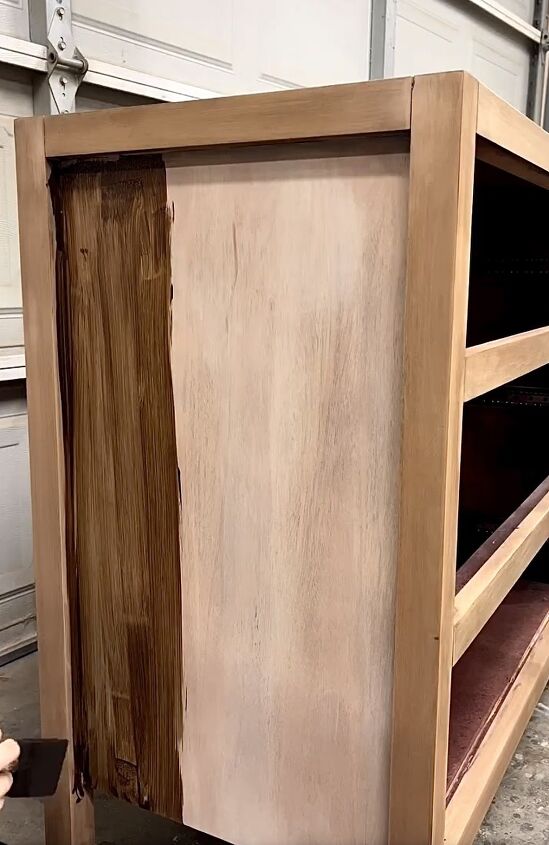
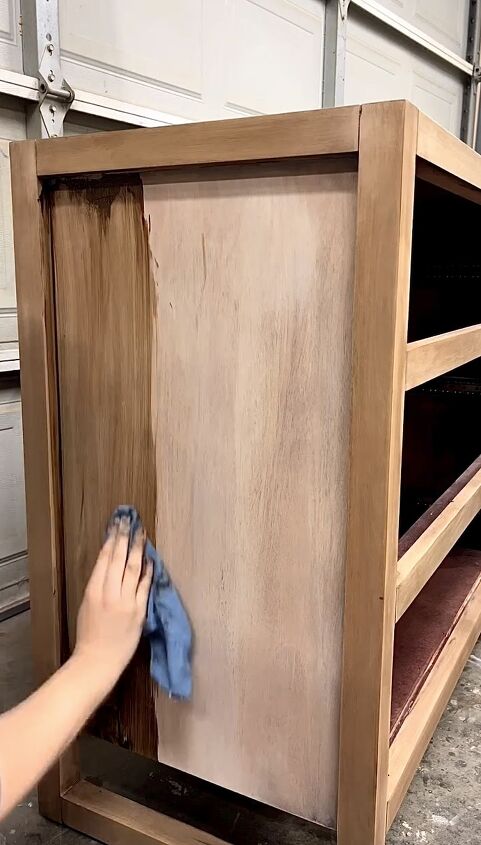
Step 6: Add Depth with General Finishes Wood Glaze
Once the paint wash is completely dry, it's time to add some depth to your light-finish dresser. Layer it with General Finishes Wood Glaze using a clean foam brush, to get the customized look you desire. This is what gives the piece that beautiful richness and variation in color.
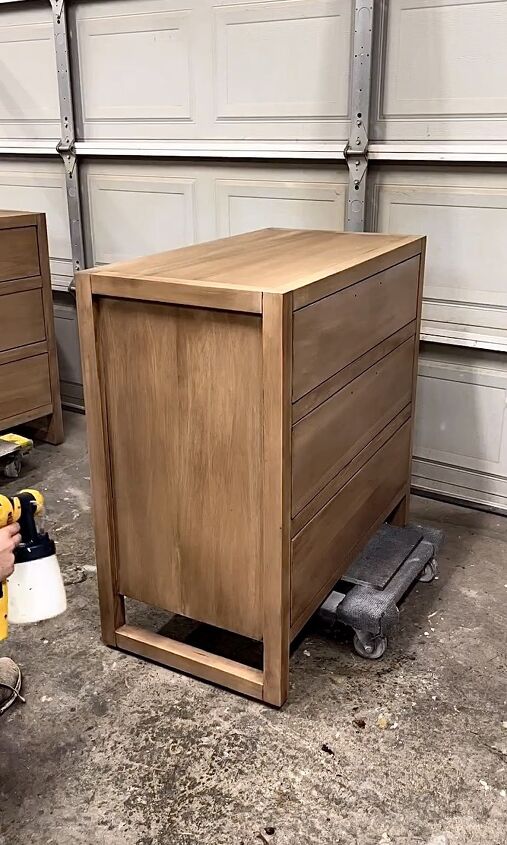
Step 7: Seal with a Water-Based Top Coat
The final step is sealing your masterpiece. Once the glaze is dry, apply a water-based top coat to protect all your hard work. Use a clean foam brush or a sprayer to apply a thin, even coat, and then allow it to dry completely.
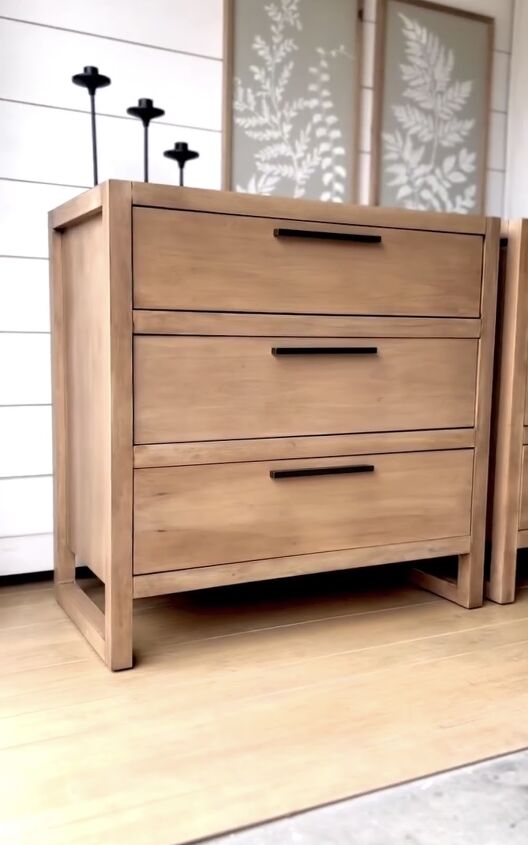
DIY light-finish dresser
Voilà! Your dresser has gone from dull and dark to dazzling with a light finish.
Let me know what you think about this dark-finish dresser transformation into a light-finish dresser in the comments below. Have you done a glow-up on furniture recently? Let me know what you’ve been working on.
Follow @rhettsrefinishes on Instagram for more DIY ideas.


Frequently asked questions
Have a question about this project?