


Sleigh Bed Makeover

We bought our daughter a lovely queen size sleigh bed many years ago. After MANY moves, it had managed to acquire a lot of scratches and dents. So, she asked me to give it a new look.
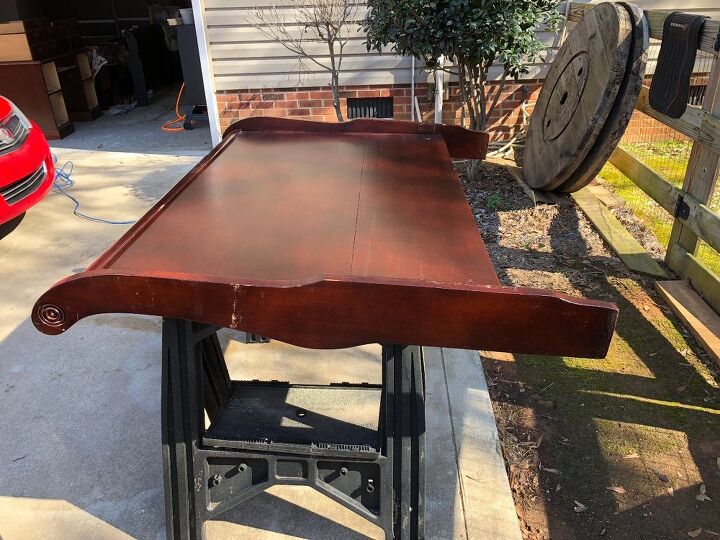
Here is a before picture of the headboard. Already set up on the saw horses to be sanded down. Now, I know a lot of people skip prep work, but I believe it is key to an excellent finish.
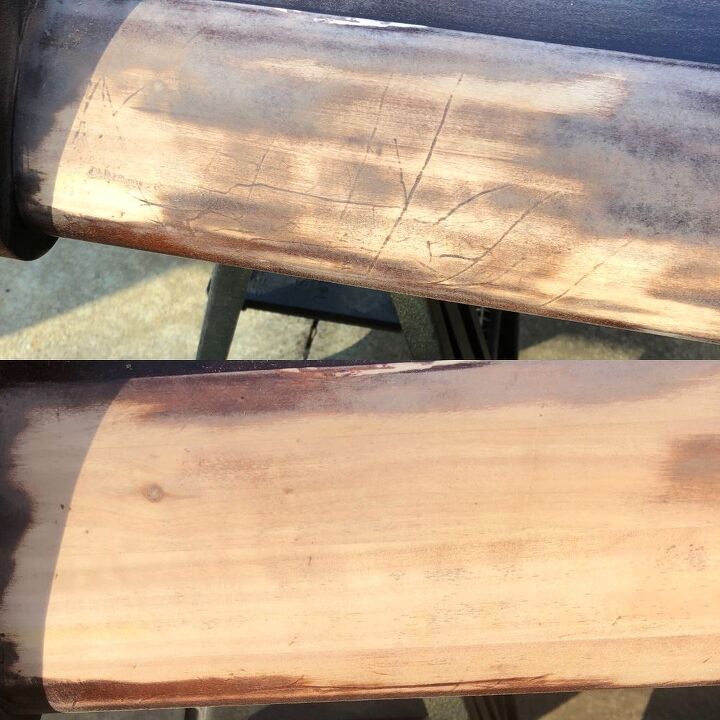
Sanding! Here you can see some of the scratches that i wanted to sand out. Depending on the finish you want, you can leave some blemishes to make the shabby look more realistic. However, my daughter only wants a light distressed look.
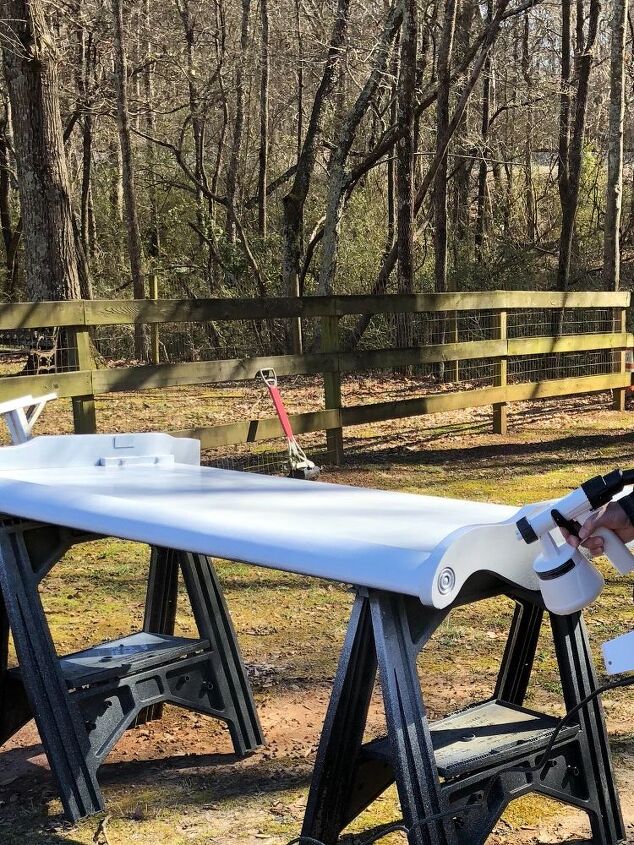
Chalk paint time! I have always used a brush, but got this sprayer. Let me say, so much faster! No pesky brush marks either. If you are going to do a lot of painting, great investment.
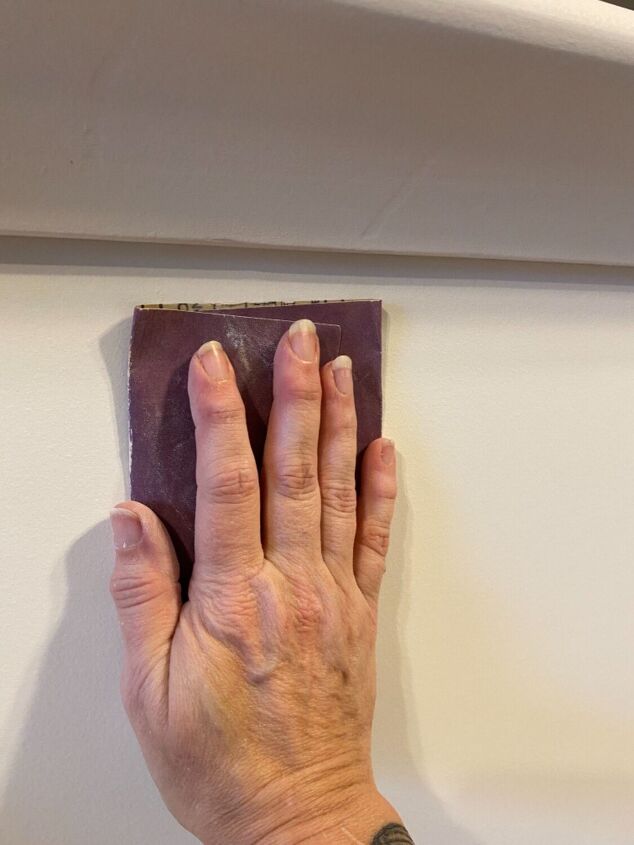
I always do a light sanding between coats of chalk paint. I just love the silky smooth feeling after you sand.
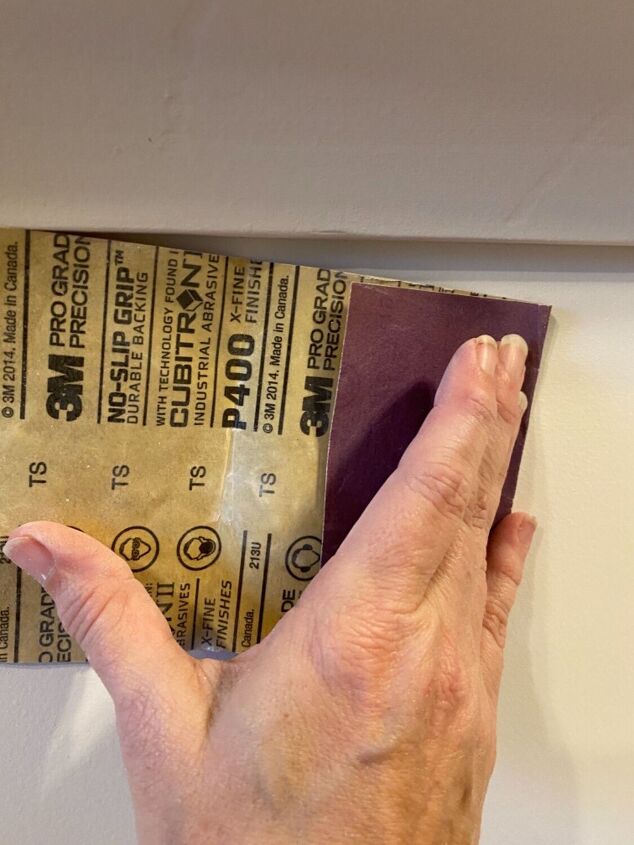
I like to use a finer grit since my goal is not to sand too harshly.
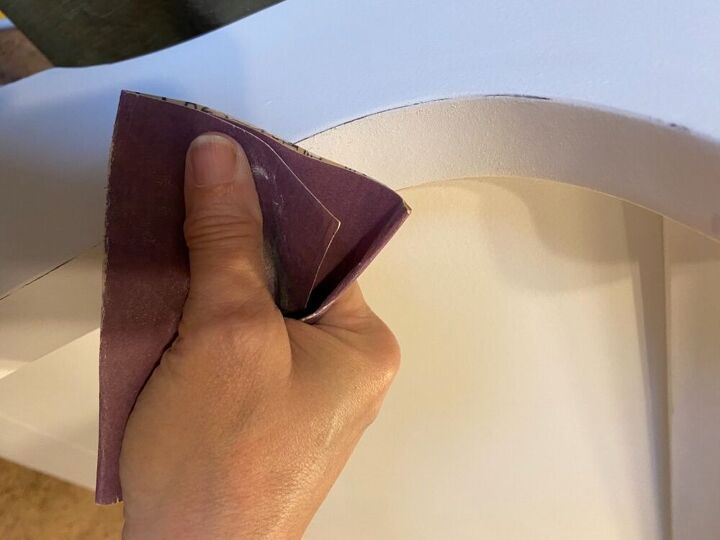
I used the same sand paper to lightly distress the edges.
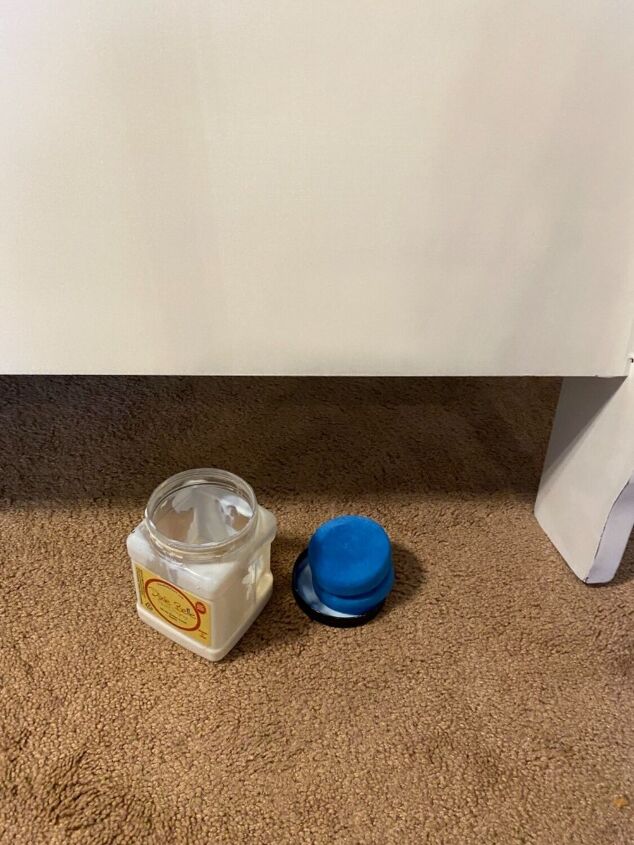
I finished up using Dixie Belle satin applied with the Dixie Belle blue sponge. Seriously, don’t try to cut costs and use a cheaper sponge, because it just isn’t the same.
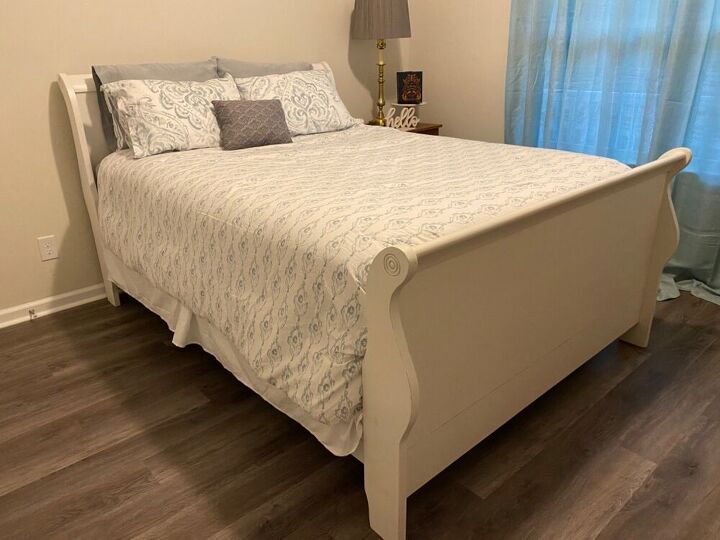
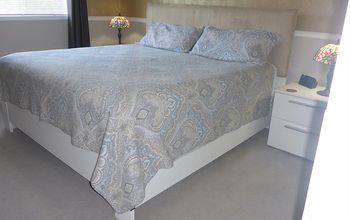
Once it was all done, we transported it to our daughter’s new home. My husband helped her husband set it up in the guest room. I think it looks amazing in the room.


Frequently asked questions
Have a question about this project?