


Build a Slatted Side Table With Light

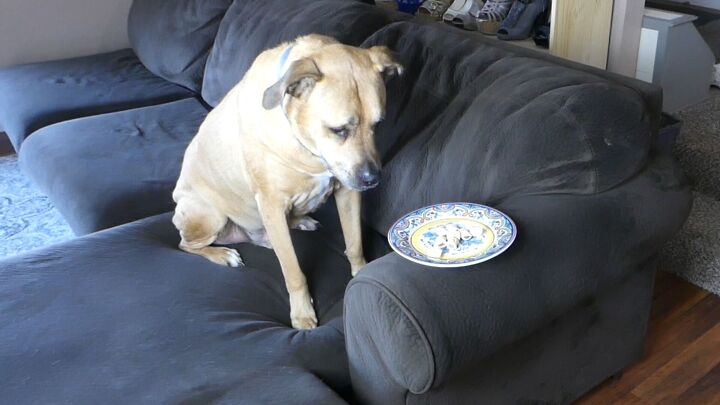
Bailey needs a table... but not just any table.
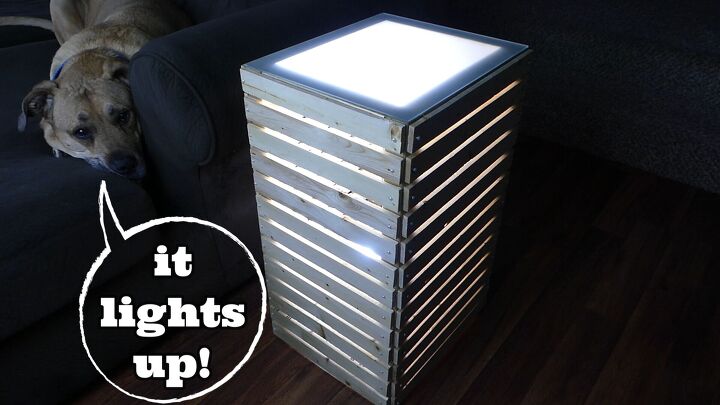
A good piece of furniture is eye-catching but an exceptional one does double duty. So let’s make a Slatted Side Table with Light – it’ll serve its typical purpose as a table but the slats and the light source inside will create the moody glow of an accent light.
You’ll need: (do your project material shopping on Amazon HERE - proceeds from this affiliate link generate monthly donations to animal shelters and rescue organizations at no additional cost to you!)
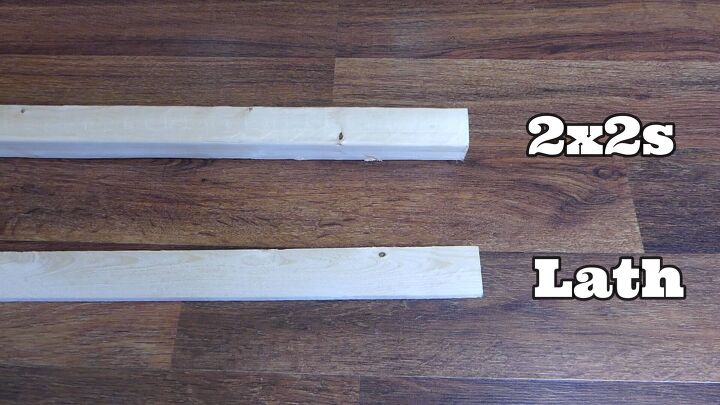
* 2x2s and lath
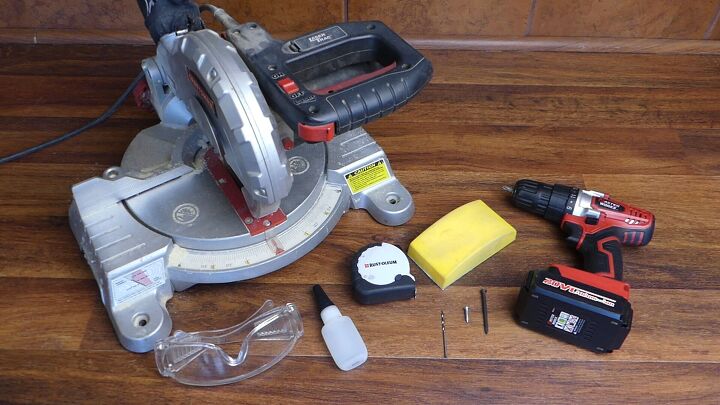
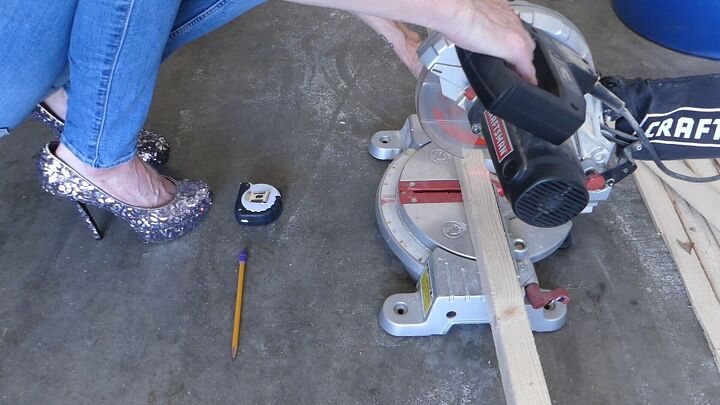
* A miter saw, safety glasses, measuring tape, clear super glue, a sanding block or sandpaper, a drill and bits for pilot holes and screws, three-quarter inch screws, two-and-a-quarter inch screws.
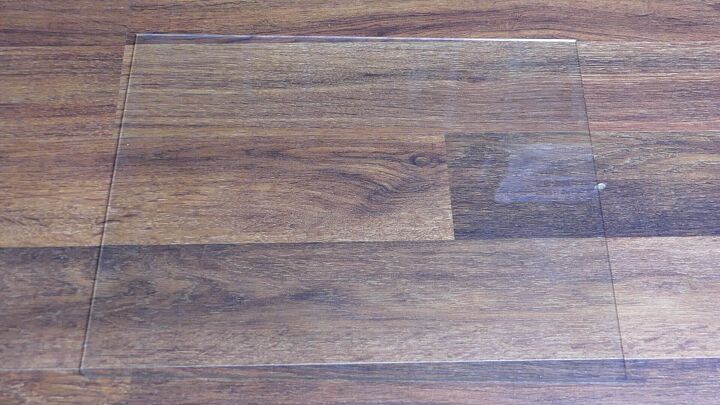
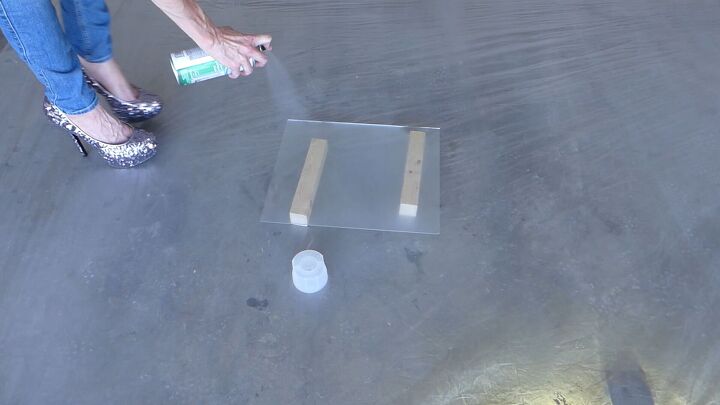
* A piece of tempered glass or rigid acrylic. This should be the size you want your table top. Mine is 12x14 inches
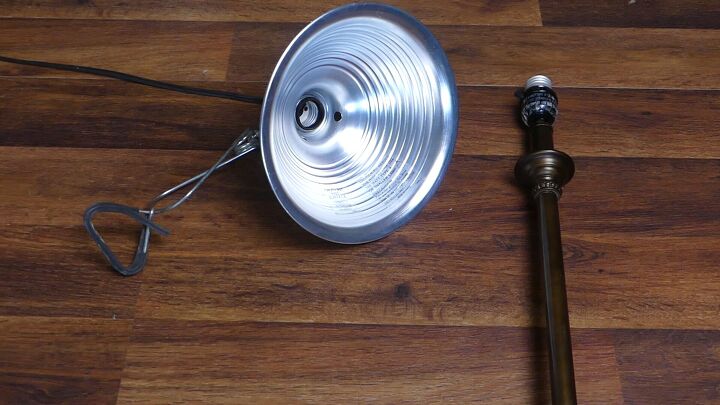
* A light source, such as a clamp light or a short lamp
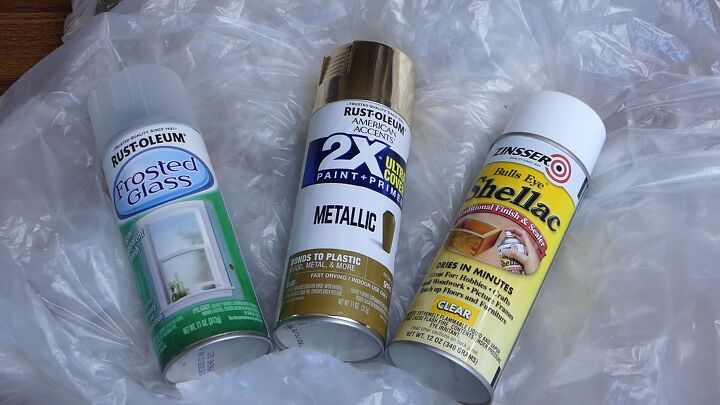
* A drop cloth, frosting spray for the glass or acrylic, and your choice of paint or stain for the finish. I’m using Rust-Oleum’s 2x Paint and Primer in metallic gold on the frame and shellac on the lath.
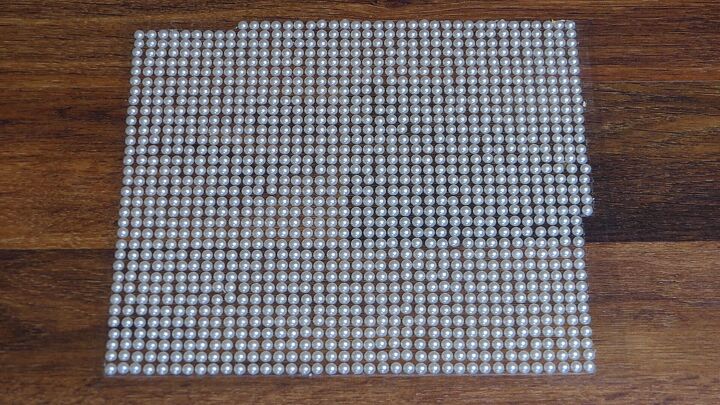
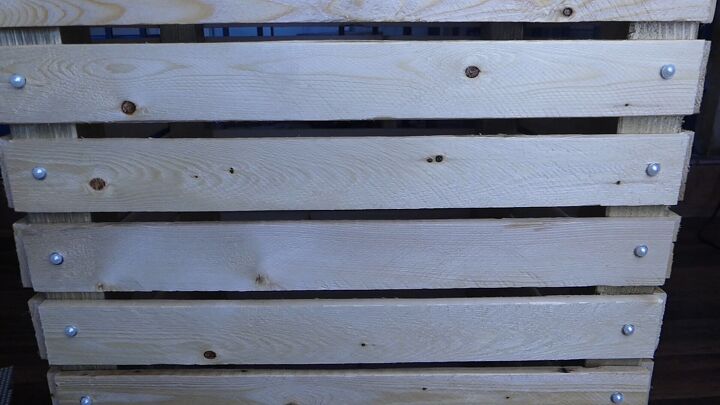
* While I’m using screws to securely hold the table together, the screw heads aren’t exactly attractive. I’ll be using these adhesive pearls to hide the screws and create some textural interest.
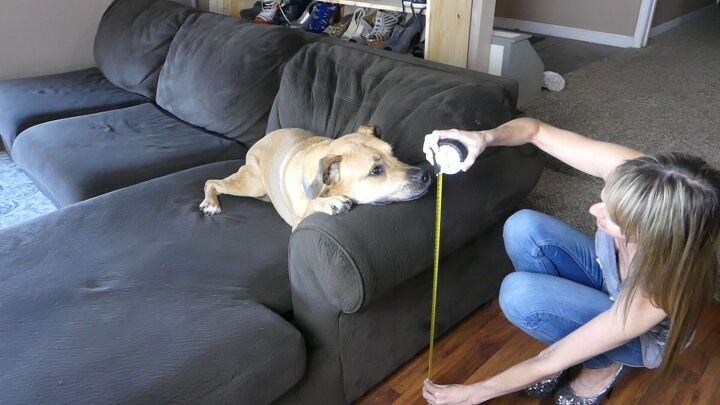
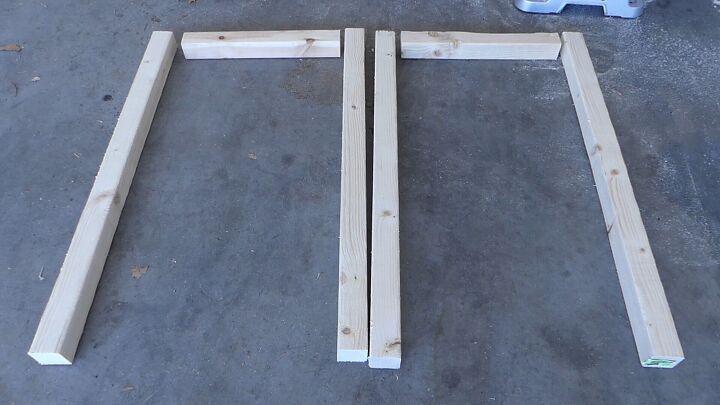
First, measure for the height of the table. I’ll be building it to be 24 inches high so it’ll work well next to this couch.
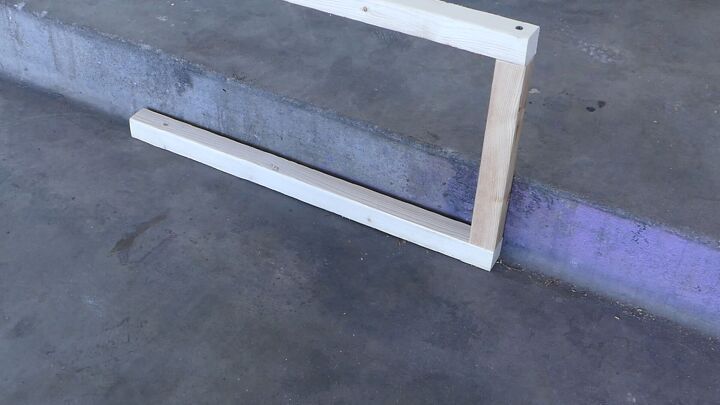
Measure the 2x2s and cut four at the table height.

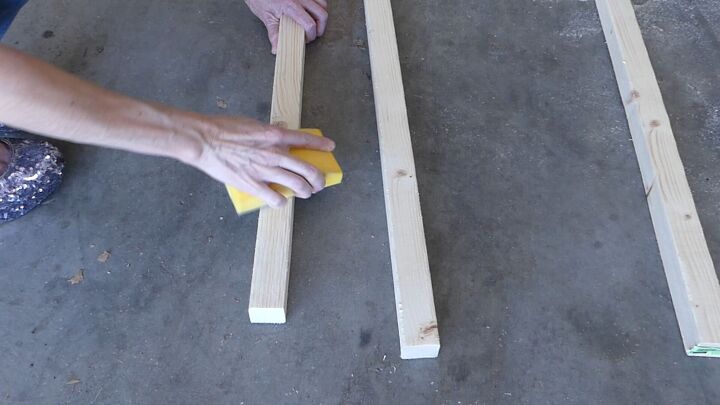
Sand all of the wood as you go.
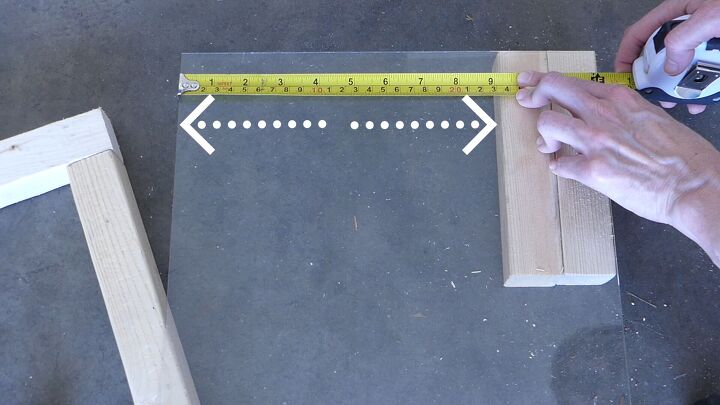
Next, lay the glass down so that two of the 2x2s are underneath and measure the remaining length of the glass. This will be the measurement for two of the top sides. Mine comes to 11 and a quarter inches.
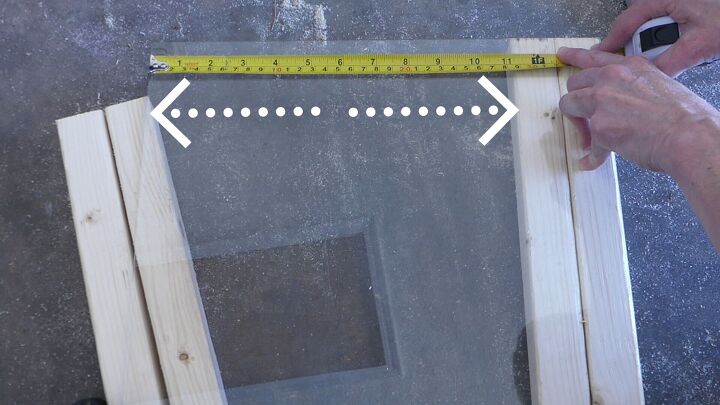
Cut two 2x2s to that length…
Drill a pilot hole and screw into the longer 2x2s to make two sides of the frame.
Lay the glass down over two 2x2s again to get the other side’s length. The shorter side comes to 9 and a quarter inches.
Cut two 2x2s to that length.
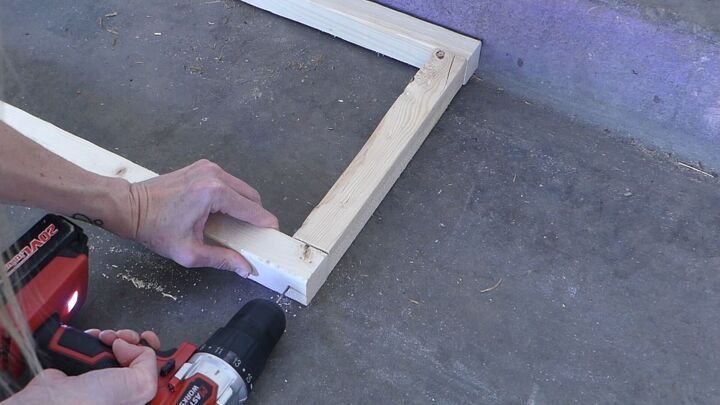
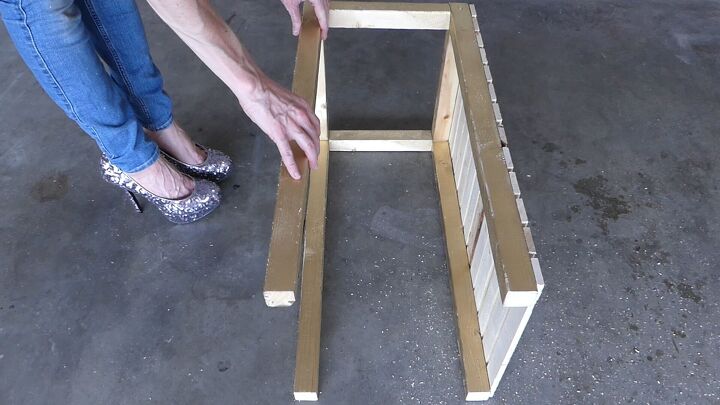
Lay one side of the frame down...
and place the 9.25" length against the corner.
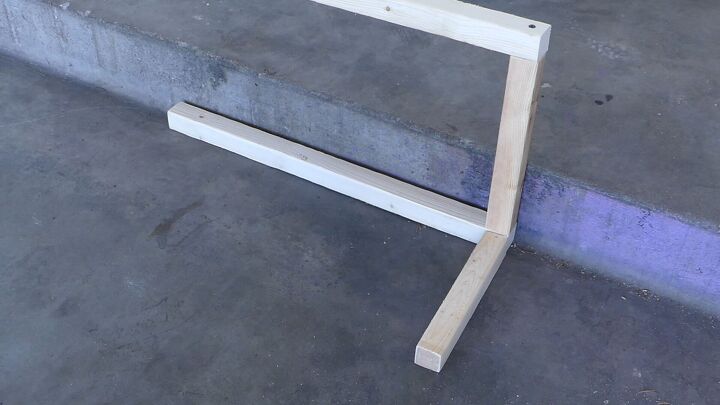
Add the other side of the frame and secure in place with the screw.
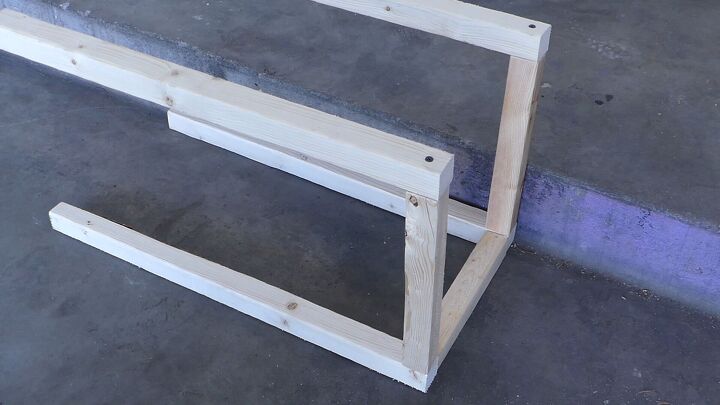
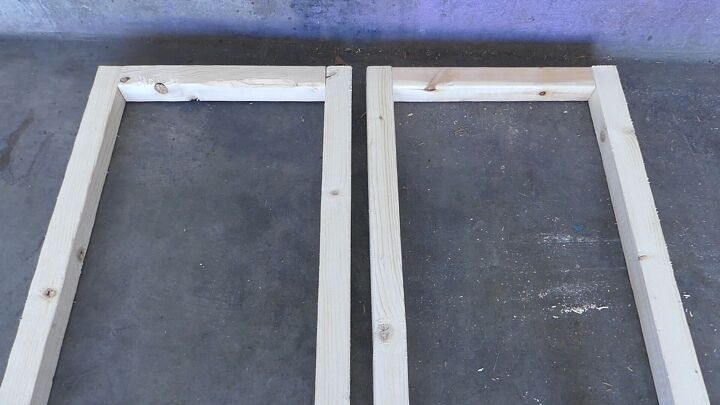
Do this on both sides to complete the frame.
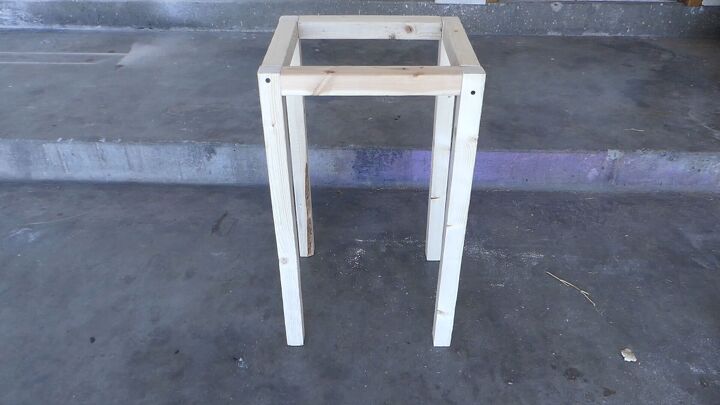
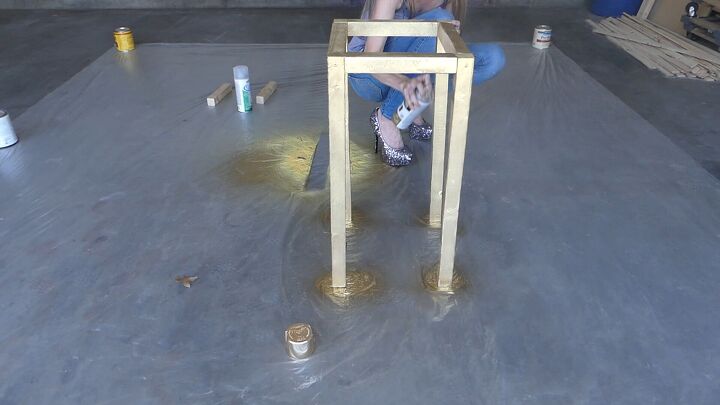
Spray paint the frame over a drop cloth and allow to fully dry.
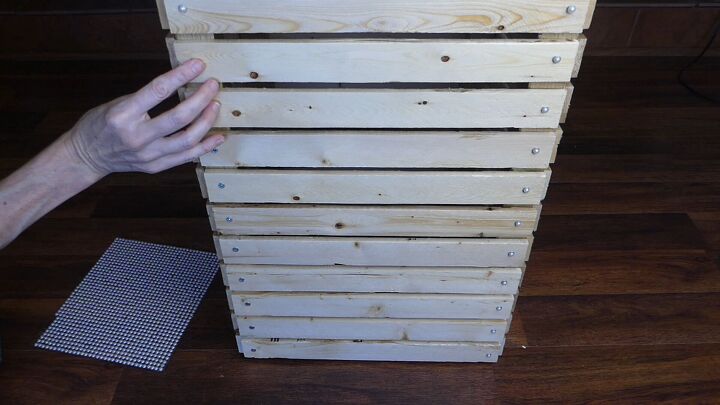
Time to add the lath! The longer side is 14 inches so we’ll start cutting lath at that length.
Secure the first piece of lath to the top edge of the frame by drilling pilot holes and then following with the screws.

Use a piece of lath as a spacer and then lay the second piece down next to it.
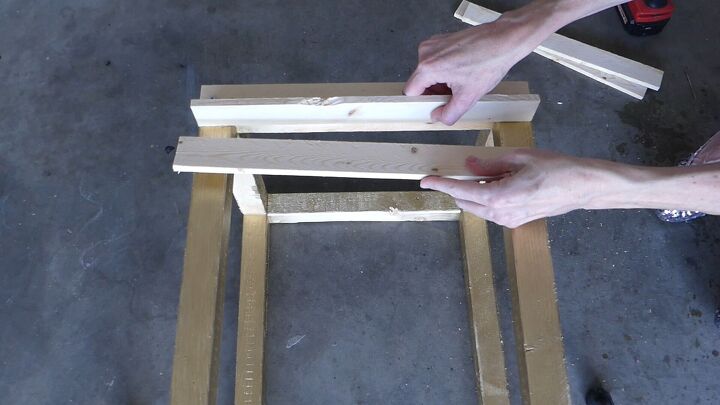
Secure in place with screws.
Continue using a spacer between each piece of lath to complete the first side.
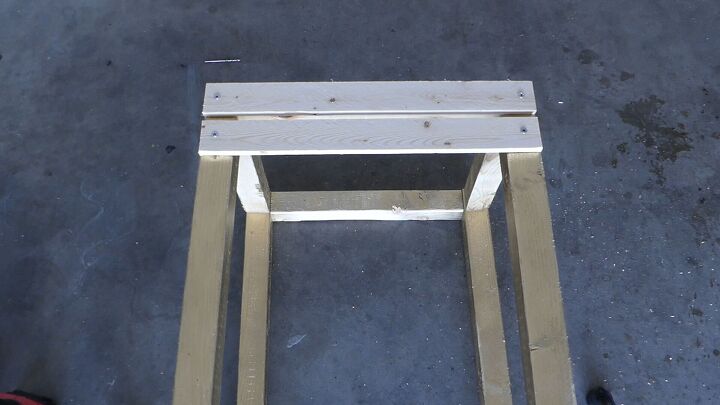
Flip to the next side and continue. The shorter side’s width is 12 inches.
On to the third side…
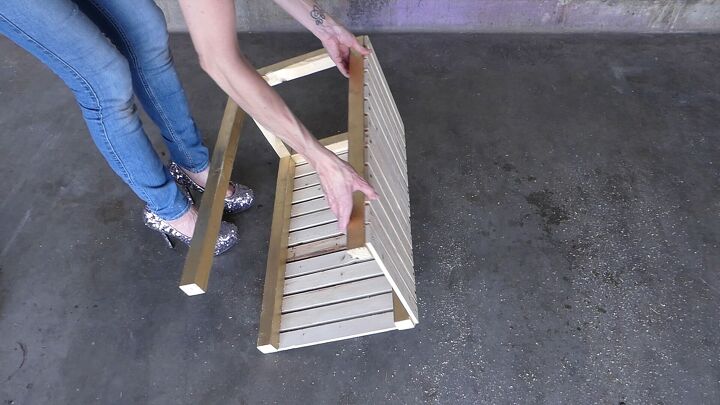
And the last side.
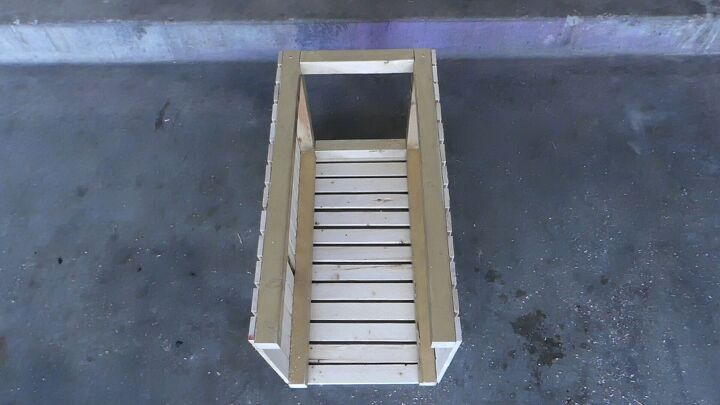
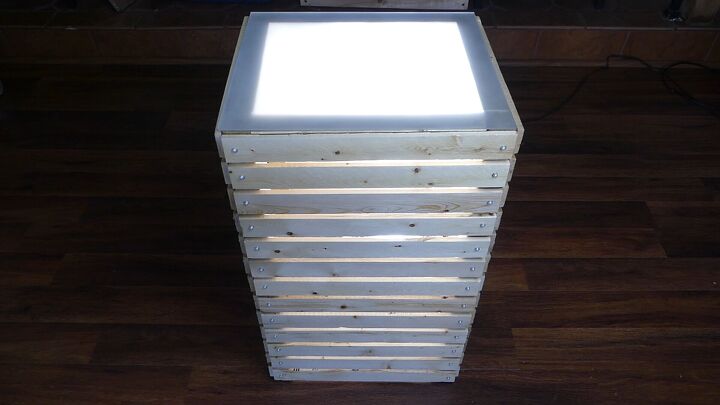
All four sides should be covered with spaced lath.

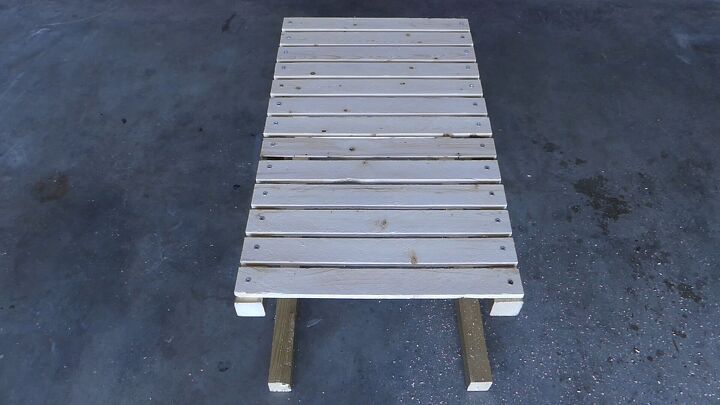
Since I’m using shellac on the lath and it’s clear, I won’t need to protect the gold frame from the spray. The shellac protects the wood while allowing the natural texture and color to fully show through.
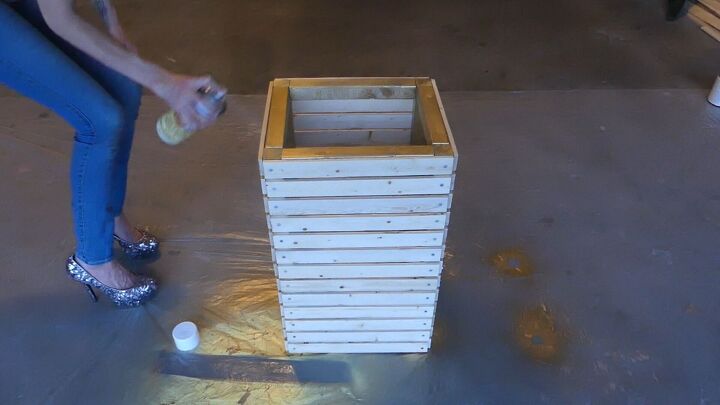
I’m also spraying the frosting spray on the glass so the table will glow when lit. Allow everything to fully dry.
Once dry, add the adhesive pearls to the tops of all the screws.
Once applied, they look like pearls with metallic collars.
Dot a bit of the super glue to each of the table’s corners and place the frosted glass on top. Press down gently for several seconds until the glue sets.
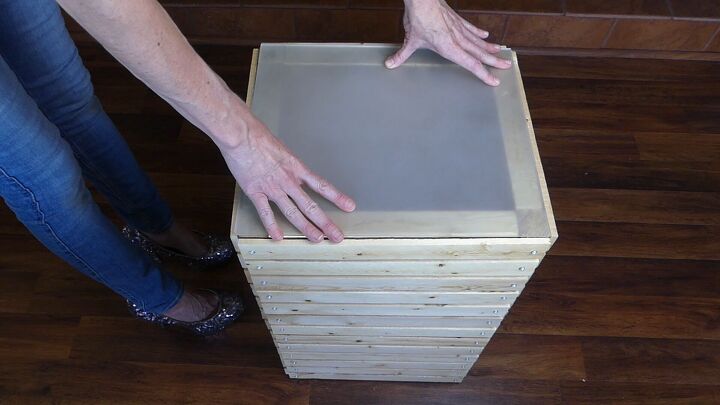
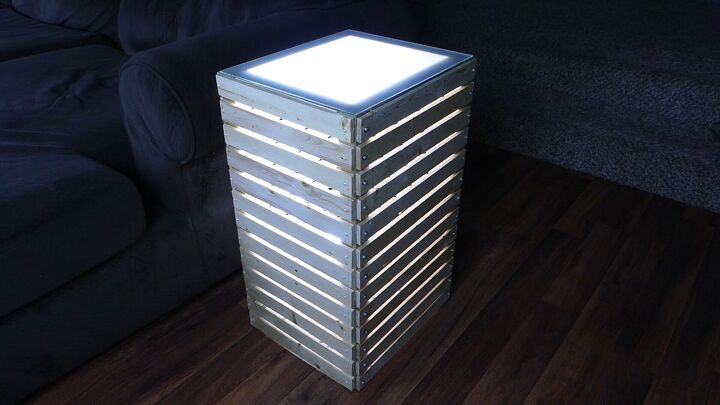
Place the table on top of the light source and it’s ready to use!
Now, Bailey has a table...
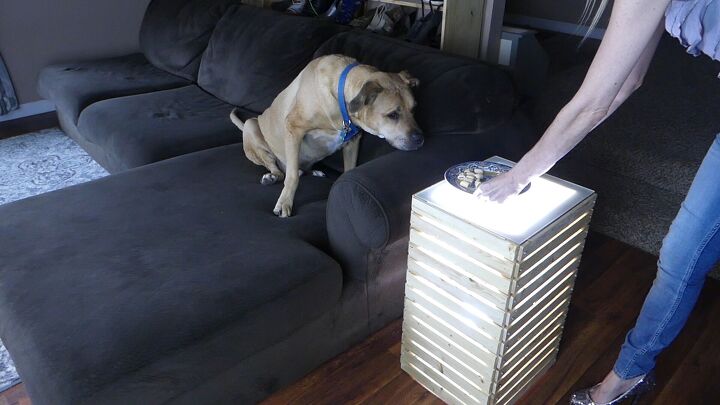
...and the room has an accent light!
Watch the step-by-step video tutorial to make your own! Proceeds from this video and the entire channel raise monthly donations for no-kill animal shelters and rescue organizations. Watch, like, share, and subscribe to help raise these monthly donations ❤
Resources for this project:
See all materials


Comments
Join the conversation
-
Beautiful and what a great helper you have.
-
Oh my God! your dog is adorable! Very nice table!!!


Frequently asked questions
Have a question about this project?
LOVE the shoes but do you really work in them??