


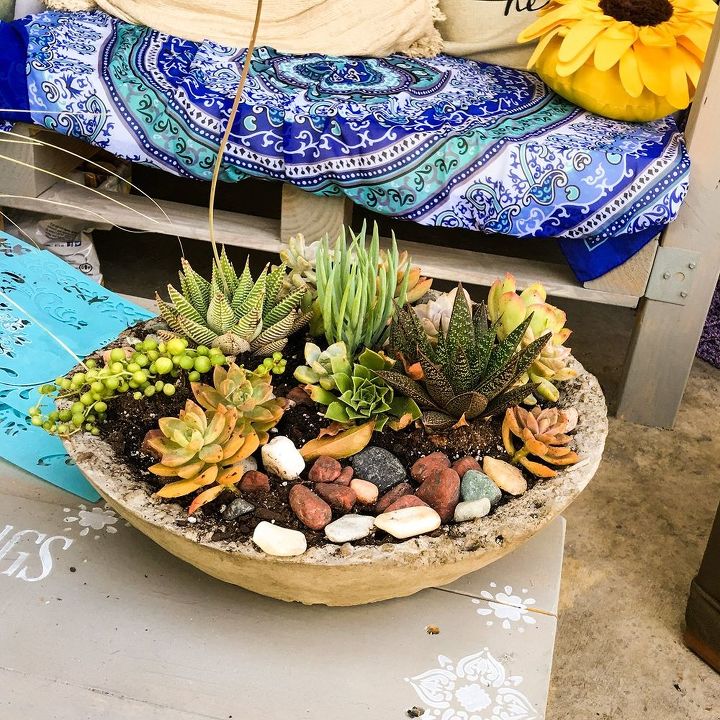
How to Make Concrete Pots in 15 Minutes

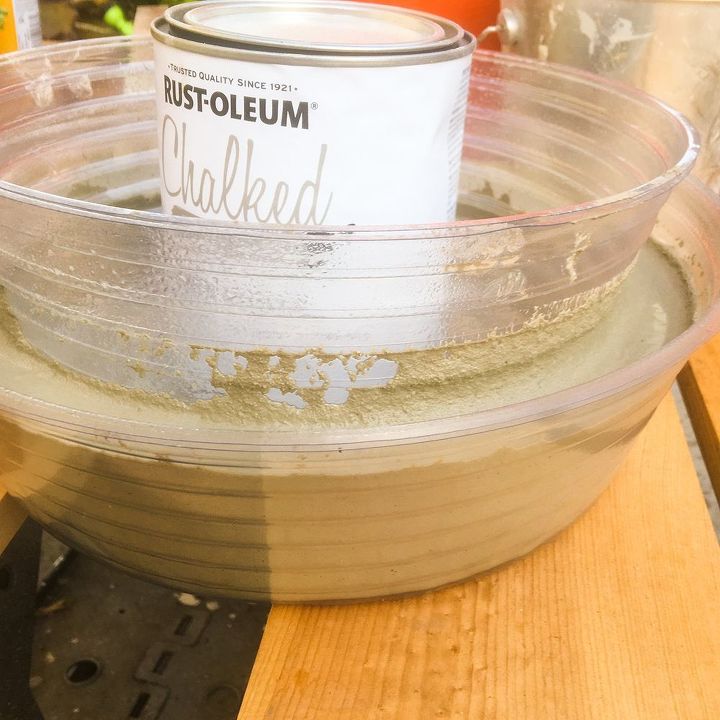
Concrete is the new terra cotta. Whether you use Rapid Set, which creates a smooth, light finish, or QuikCrete, which creates a rougher look, you can't go wrong. It's super simple and so satisfying.
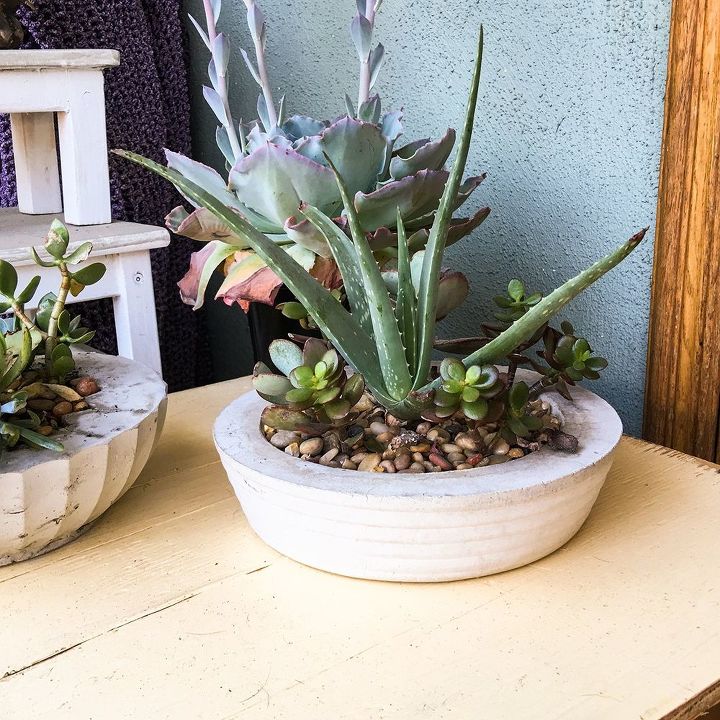
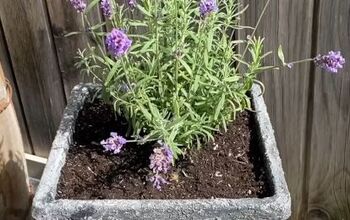
Clip off a few new growth succulents and you have a gift or decoration that only you could have made.

Below is an example of QuikCrete (rougher look, harder to mix with water)
Here's what you need:
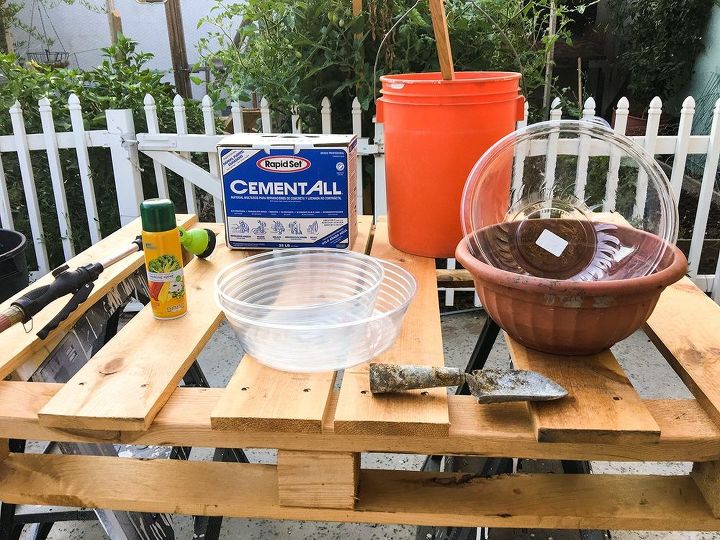
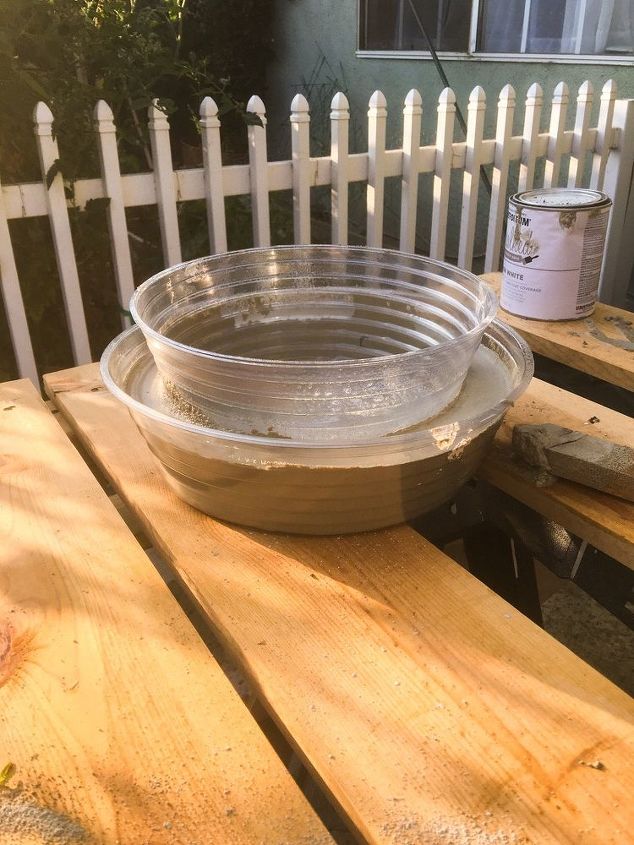
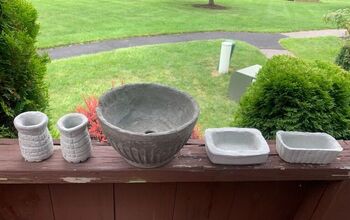
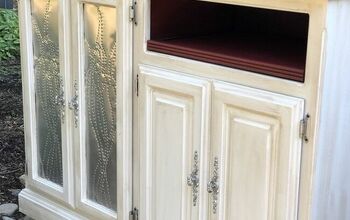
Each pot you are making needs a top and bottom form. They can be made of plastic or glass, but glass may break. It's easier to use plastic. Can be rigid or not. The items on the left above are drainage pots that go under planters. I use the deep ones. I like the interesting detail, and the horizontal ridges will show up on your finished pots.
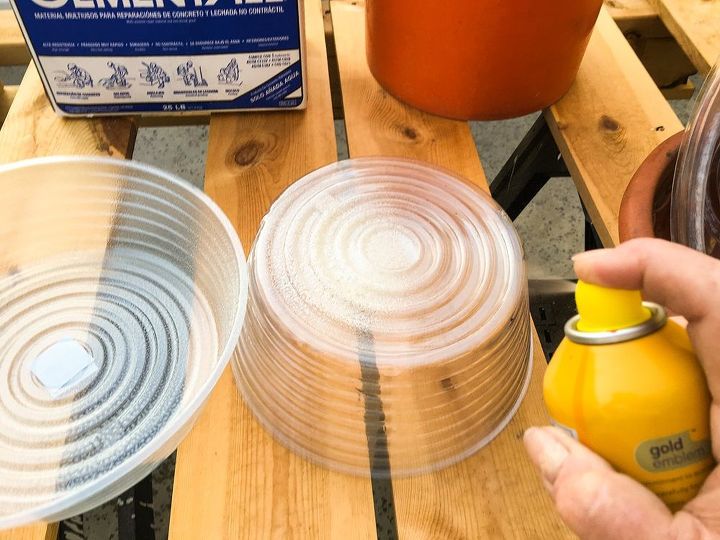
Since we are working with Rapid Set, get everything ready before you mix. Heavily coat the interior of the bottom form, and the exterior of the top form, with cooking spray.
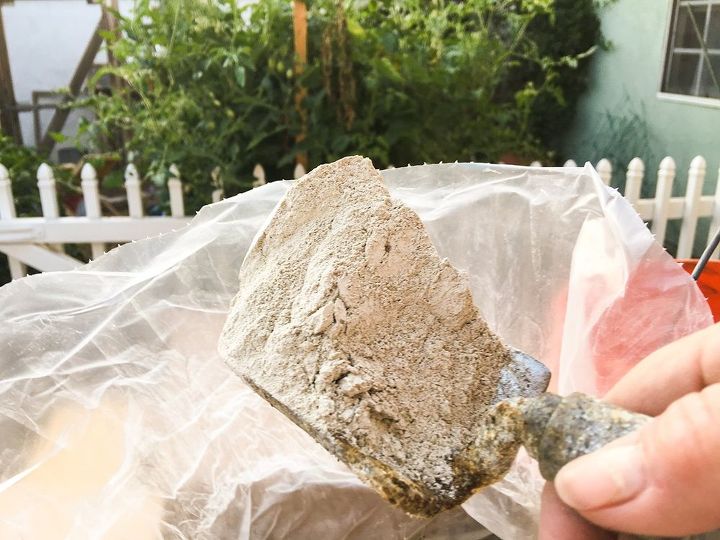
Now it's time to mix. The secret is, use a deep bucket (like a 5 gallon paint bucket), and add two trowels of mix to some water. Don't worry about the consistency yet. Just mix until smooth. Add another trowel or two, some more water. Keep doing this until you reach the amount you need, plus a little more. You'd rather mix a bit more than be stuck without enough. Smoosh the lumps as you mix against the side of the bucket. You're going to want to keep the mix as easy to work (by not adding too much dry), so you get as smooth a mixture as possible. When you think you are getting kinda close to what you need, add enough mixture (no water at this point) and get it so that it's the consistency of zucchini bread dough. Not as thin as cake batter, not as thick as bread dough. You want it smooth, and pourable. You'll figure this out yourself, I can give you all the instruction in the world, but still pictures simply don't show it. And....bonus! It's hard to go wrong.
Pour into the bottom form. Don't go too high, because you are going to press your top form in to create the bowl, so you need to allow for displacement. If you work quickly you can guesstimate, press in your top form, and if you didn't pour in enough mix, remove the top form and add some. If you want a drainage hole, you can poke a tiny dowel in, before you place the top form on. I use a drill press. Sometimes I don't put a drainage hole in, as I live in a hot, dry climate, and having the water not drain away helps.
Remember, this is rough and tumble crafting, don't get too worried about perfection. You'll create this schmutz around the edges of the top form, as you move it around, trying to press it down and center it. This stuff comes off later. You may need to add something heavy to hold it down.
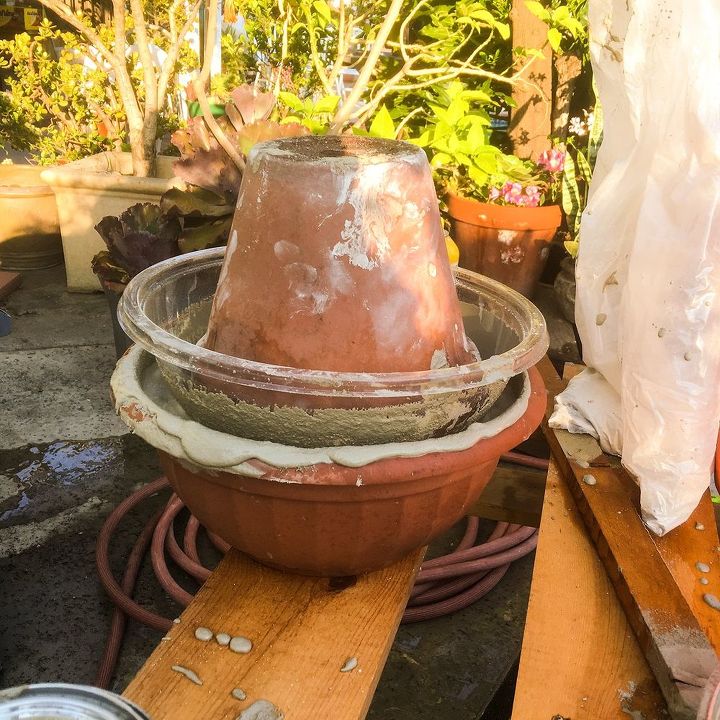
Really heavy, if you are working with deep bowls. Again, rough and tumble crafting. We're making a mess people.
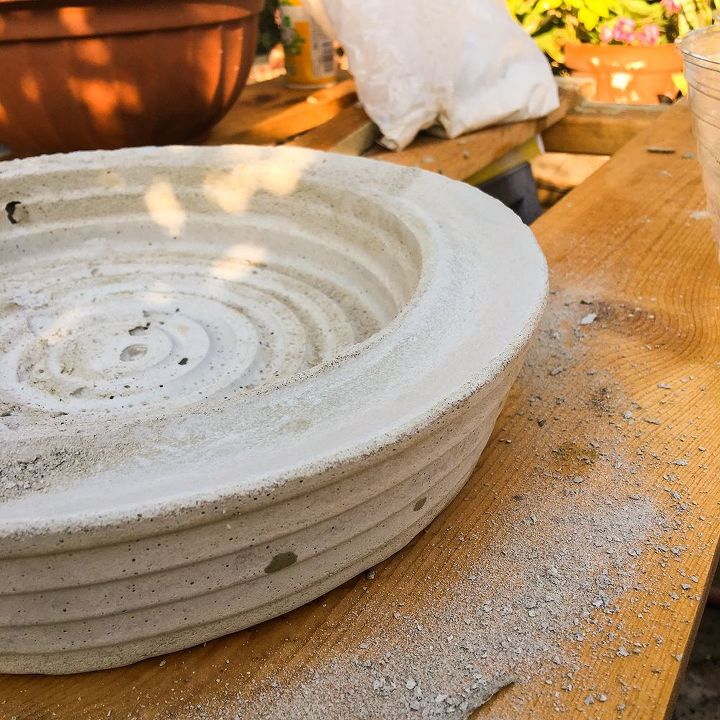
Let your bowls sit for about 15 minutes. You'll feel the heat generated by the Rapid Set. Once the mixture turns from the gray above, to a lighter white shade, you're ready to move on. You can double check by watching the top form, it usually tends to separate from the set mix. Once that happens you can remove the top form. If you press your finger in and it's hard, you can turn your bowl upside down and gently remove your finished product.
Don't worry if it looks like this below.
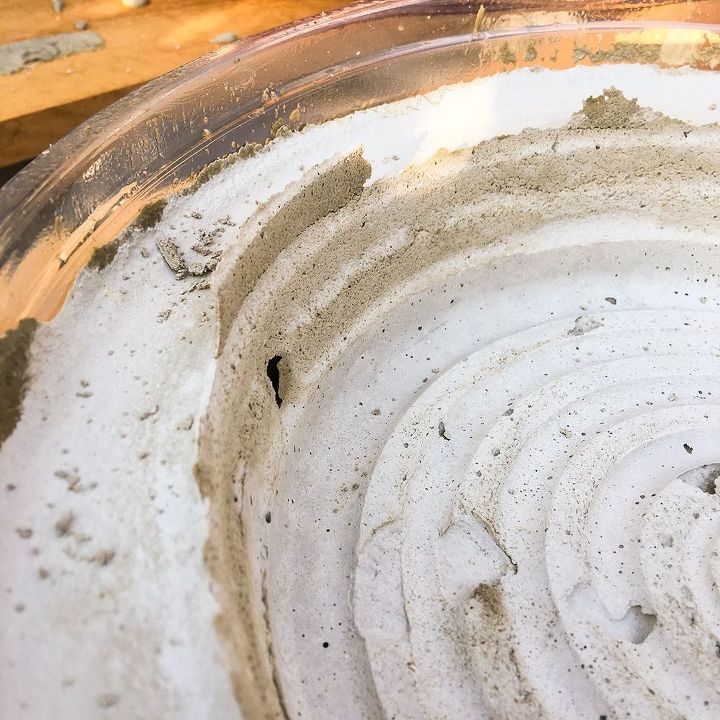
Um yeah, so not pretty. See that air hole? Not to worry, again people, this is rough and tumble crafting. And that edge coming up? That cracks right off.
In fact, you can take a metal file and go over the edges and top and smooth things down quite a bit. Below you'll see what it looks like after I've done that.
Let it cure for a day in full sun. Although I've planted within hours of creating them, I've been advised to let them cure. Whatever.
To create a drainage hole I use a drill press.
You're done! YAYAYAYAYAY
Comments
Join the conversation
-
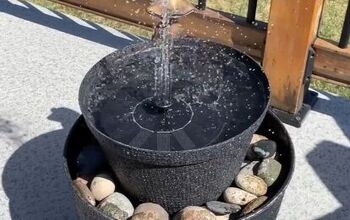
Been looking for ways to make shallow bowls for a flowing bird bath. A few of these should do fine.
-
I’m always looking for new forms to use for my cement flower pots. I’ll try the water saucers next. I’ve been using plastic water bottles and other plastic containers for my forms. See below.


Frequently asked questions
Have a question about this project?
Do you think it is possible to make garden balls. I am looking at 18", 14" & 10"balls. I would also want to paint them. Thank you.