


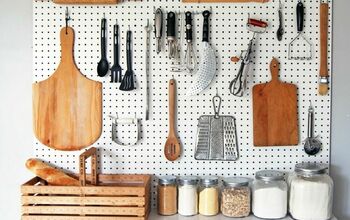
DIY Pegboard Box

Every time I wrap a present I spend more time gathering up all the supplies and trying to remember to put them all back where they belong then time spent actually wrapping the gift.
I track down the scissors and the ribbon and the bags and the card and the tape and cart it to the table.
Then I wrap the gift and run out the door.
And in my rush I never return anything where it belongs and the supplies scatter to the four corners of the earth…..never to be found again.
Until now.
All the wrapping supplies have finally found a home.
Here’s how to make a pegboard box and a gift wrapping station.
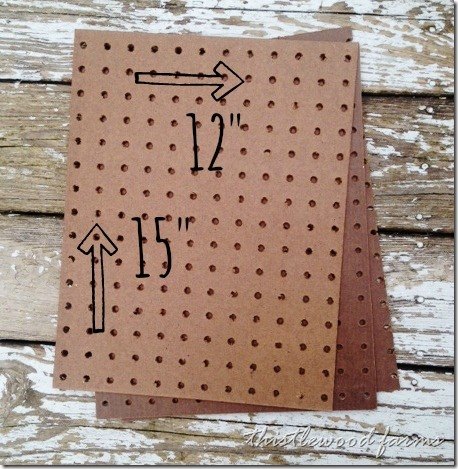
Step 1: Start by cutting the pegboard
The pegboard comes in small pieces at the home improvement store.
You can have it cut there.
You will need three pieces of 12” x 15” cut pegboard.
And two pieces of 12” x 12” cut pegboard.
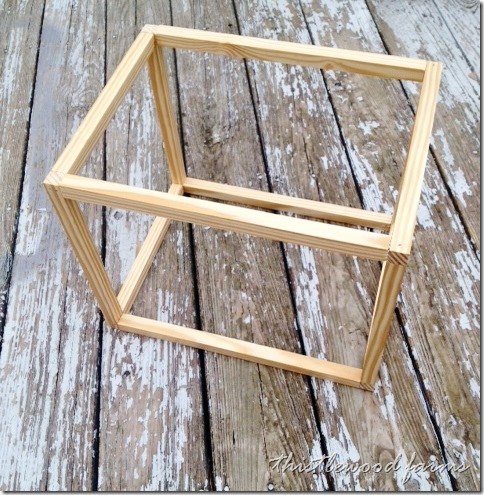
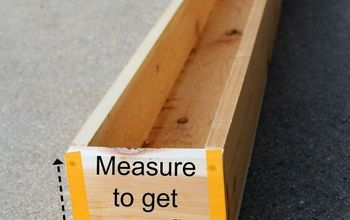
Step 2: Make the frame
Create the frame out of square molding pieces.
Cut 4 12” pieces.
Cut 4 10 1/2” pieces.
Cut 4 13 1/2” pieces.
Start by creating two squares for the end out of 2 12” pieces and 2 10 1/2” pieces.
Attach together with wood glue.
Then connect the two end squares with the 13 1/2” pieces to create a box.
Attach together with wood glue.
Let frame dry.
Nail all pieces in place with finish nails.
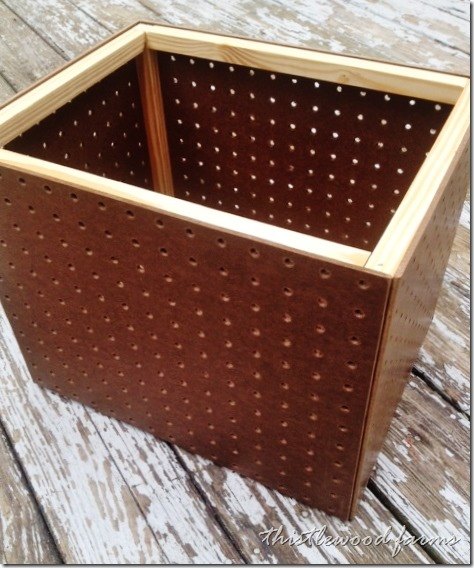
Step 3: Attach the pegboard to the frame
Attach the pieces to the frame with wood glue.
Let dry.
You can use painter's tape to hold the pieces in place until the glue dries.
Step 3: Paint
I spray painted the box with white spray paint. If you are using regular paint instead of spray paint, I would recommend a primer.
After the white paint dried, I taped off the sides and spray painted a pink stripe to add an accent.

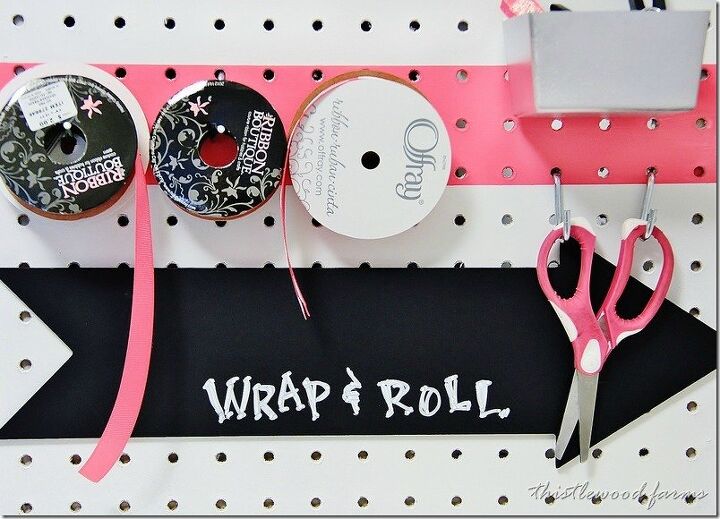
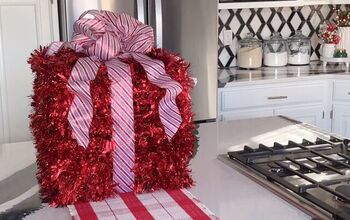
Step 4: Organize
Next, I organized the pegboard box. I added scissors and ribbon and bags and everything I could ever need to make gift wrapping a breeze.
It all has a home.
And everything is right again and organized in the craft room and I don't have to search for supplies when I want to wrap a gift.
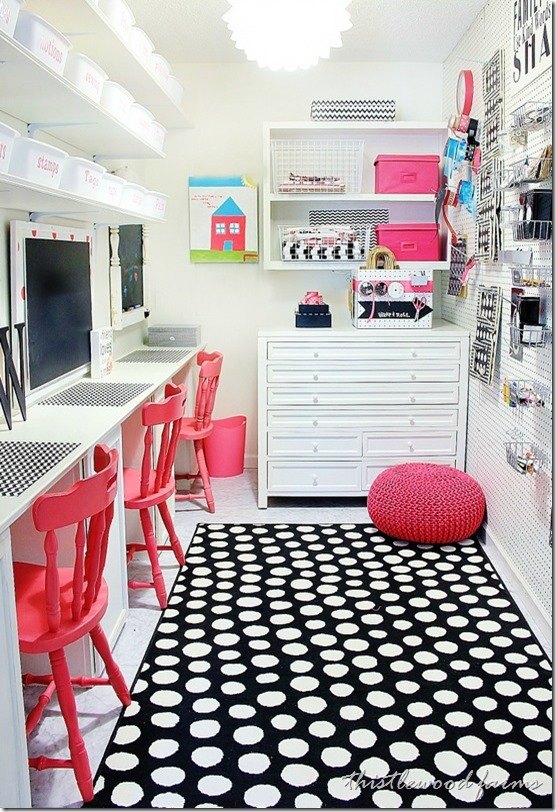
Here's the pegboard box in the craft room. It's so portable and easy to use. When I need to wrap more than one gift---especially around the holidays--I bring the box out to the area where I wrap gifts. It helps keep all the supplies where I need them.
And now?
There's a place for everything.
And everything in it's place.
Do you like this organizing project?
Here are a few more projects to help keep your space organized.
Resources for this project:
See all materials


Comments
Join the conversation
-
This is an adorable space!!
-
Anyone would love to wrap or craft in this organized colorful space! Great post!


Frequently asked questions
Have a question about this project?