


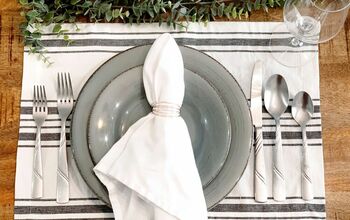
Simple Napkin Ring DIY
OMG! This simple D-ring napkin ring diy project is now one of my favorite DIYs!
It’s SO EASY and turned out SO CUTE!
Plus, it’s super cheap to make.
You can easily make a set for any occasion, or as a gift for a friend.
Just think of all the different cute ribbons out there!
And then use them with gold, silver, or black D-rings.
The combinations are limitless!
Supplies for Simple Napkin Ring DIY
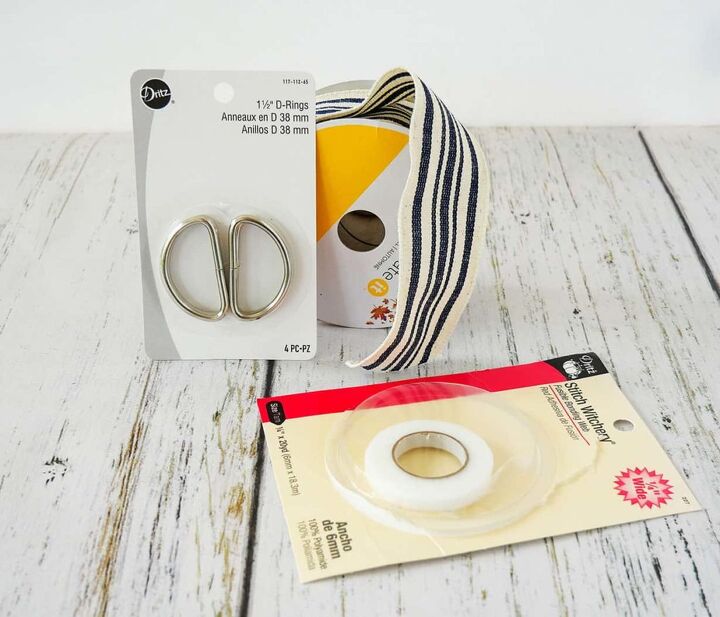
- Ribbon
- D-rings (2 per napkin ring)
- Stitch Witchery
- Scissors & iron
How to Make Simple D-Ring Napkin Rings
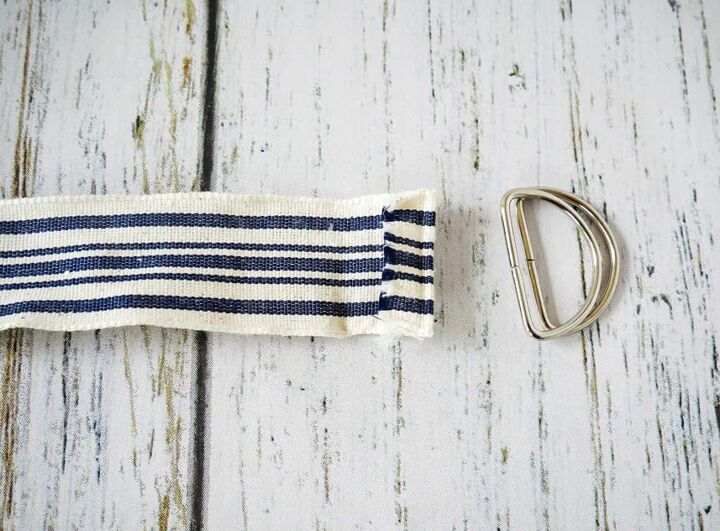
Step 1: Finding D-rings and ribbon for your easy diy napkin rings
The first step in making these simple napkin rings is buying D-rings the same width as your ribbon.
I used 1.5″ D-rings because my ribbon was 1.5″ wide.
They were a little harder to find, as most D-rings are available in 1″ or 1.25″.
So getting your D-rings first, is a good idea.
Then choose a ribbon the same width as the D-rings.
Step 2: Prepping the ribbon to make your napkin rings
I found that it’s best to measure your ribbon longer than you think you’ll need, because you can cut it down at the end.
I measured and cut 12″ lengths of ribbon for the number of napkin rings I was making.
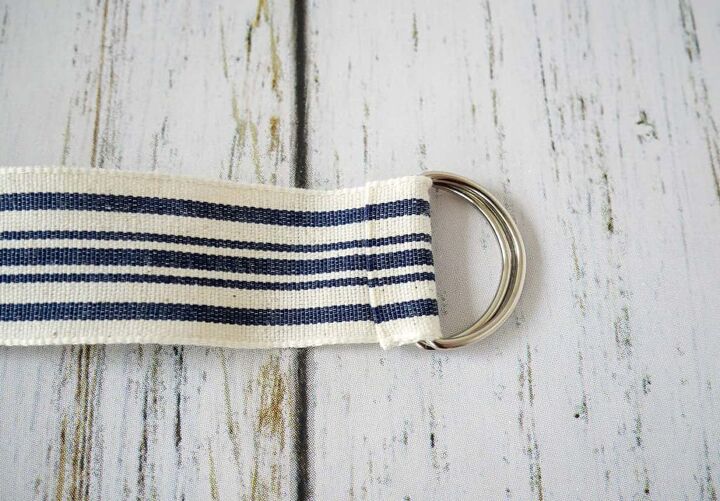
Take one end of your ribbon and fold it over about 1/4″.
Depending on the stiffness of your ribbon, you might want to press it down to create a nice edge that stays in place.
This will help hide the raw edge of your ribbon.
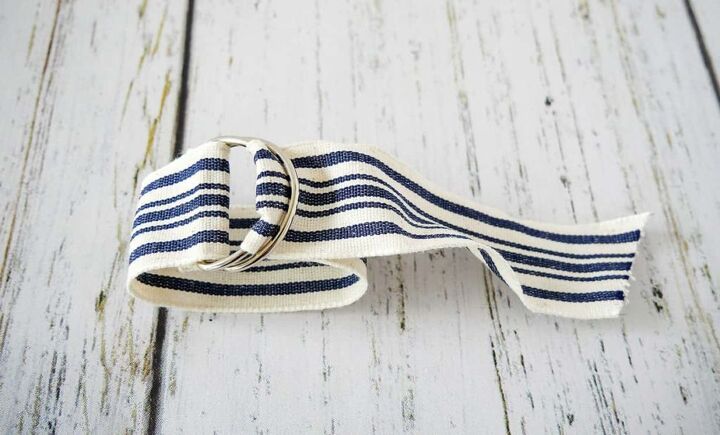
Step 3: Adding the D-ring to the ribbon
Take 2 D-rings and slide the ribbon thru both of them.
Cut a piece of the Stitch Witchery a little shorter than the width of your ribbon. Lay it on the ribbon, just past the D-rings.
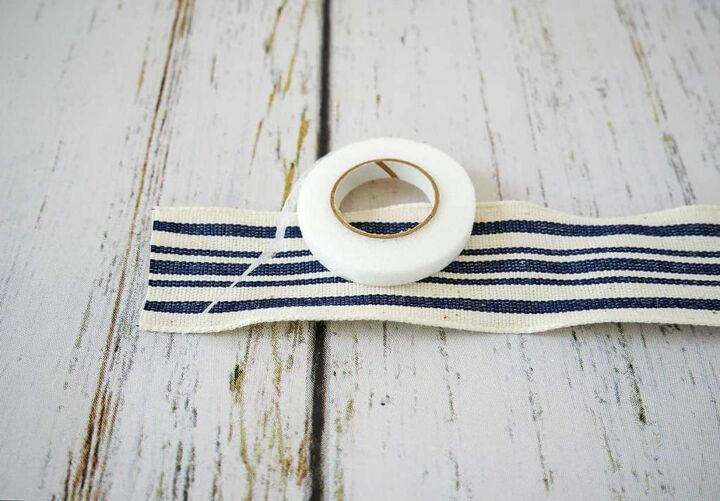
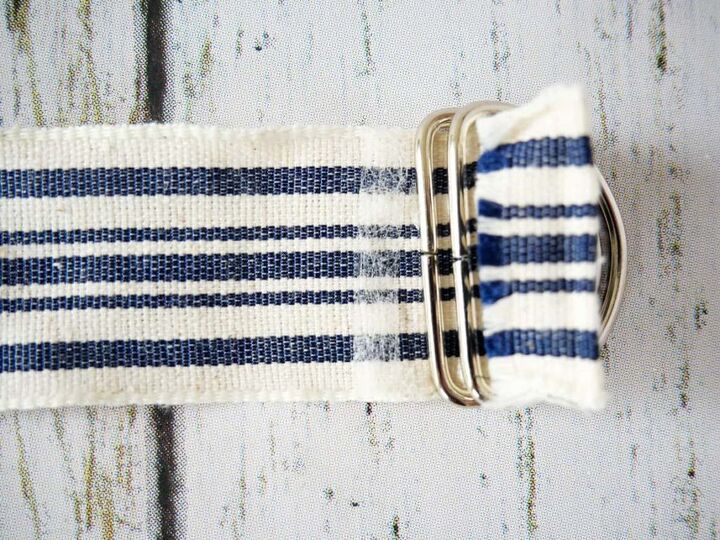
Then fold the ribbon over the straight side of the D-rings.
Following the instructions on the Stitch Witchery packaging; iron the folded edge of the ribbon to the back of the ribbon.
Using Stitch Witchery will fuse (bond) the ribbon together. So no need to sew!
This creates a pocket for the 2 D-rings and secures them in place.
Note: you can use fabric glue instead of Stitch Witchery. You’ll just need to secure the ribbon in place until the glue dries.
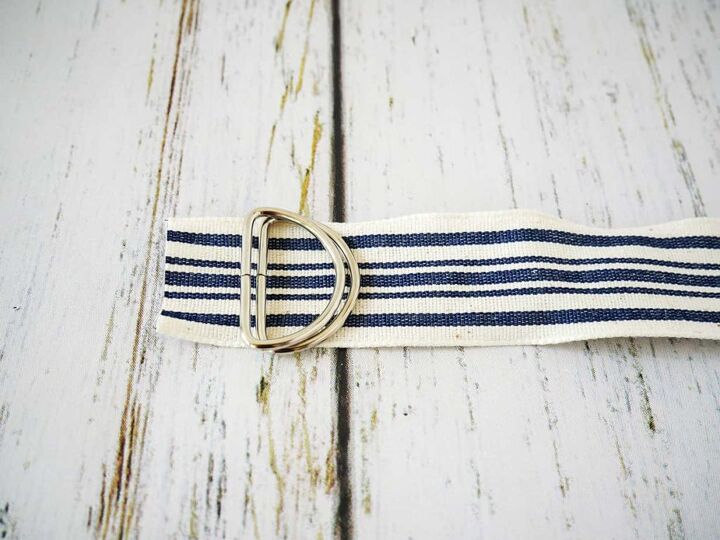
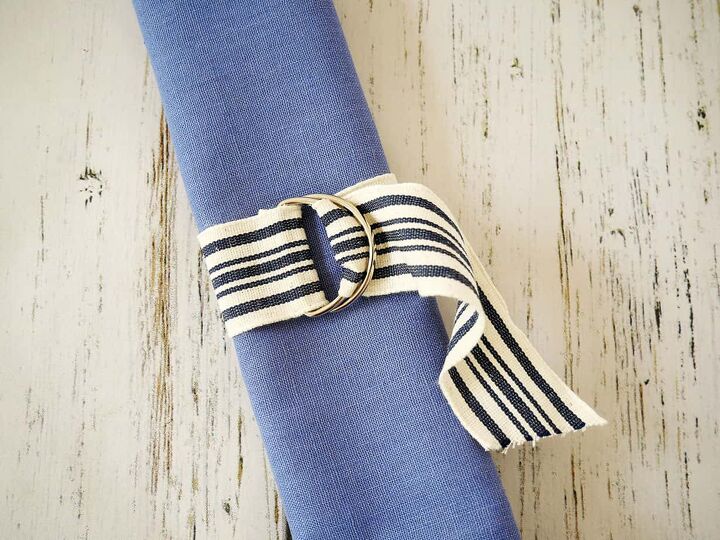
Step 4: Creating the simple D-ring napkin ring diy
Now to make this into a napkin ring.
Slip the raw edge of the ribbon thru both D-rings.
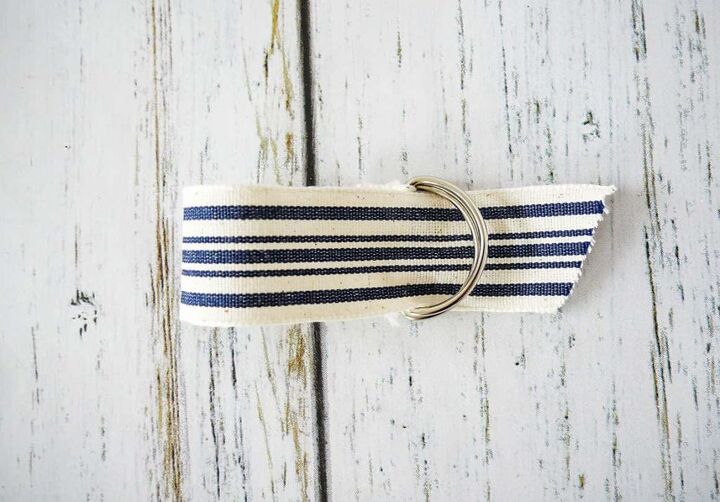
Then slip the ribbon back over one D-ring and thru the second D-ring.
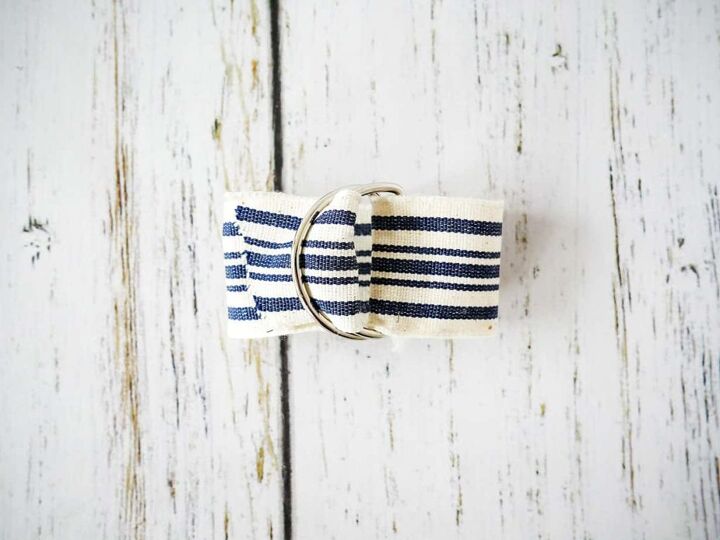
Pull to create a loop for your napkin to go thru.
Voila!
Time to add the napkins.
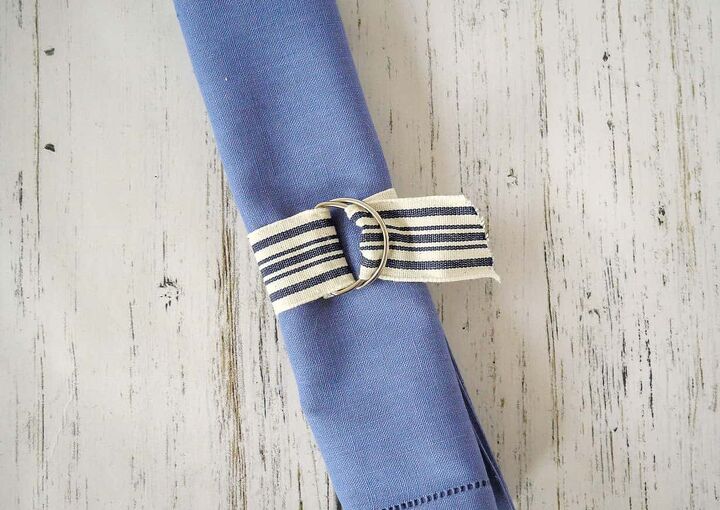
You can either leave the ribbon long and let it drape, or you can cut it shorter.
Whichever you prefer.
Note: if you don’t like the raw edge of the ribbon, or if the ribbon you chose easily frays, fold over the end of the ribbon and use the Stitch Witchery to secure it in place. This will create a nice clean end for your ribbon.
Check out how cute they look on my patriotic 4th of July table, here.
Link to other easy diy projects:
- Easiest DIY Napkin Rings for Everyday
- Pretty Lace Flower Pot DIY
- DIY Unique Menu Holder
- Simple DIY Wood Tray with Handles
- DIY Wine Cork Napkin Rings
- Simple Moss Bowl Centerpiece DIY
- Diamond Napkin Rings
- Twisted Paper Flower Napkin Rings
- Simple 2-Tier Tray


Frequently asked questions
Have a question about this project?