


Use a Cracker Box to Make a Napkin Holder

by
Choyce
3 Materials
$8
2 Hours
Easy
I had some peel and stick tile left over from doing a backsplash, a load of free time one day, and the need for a napkin holder..
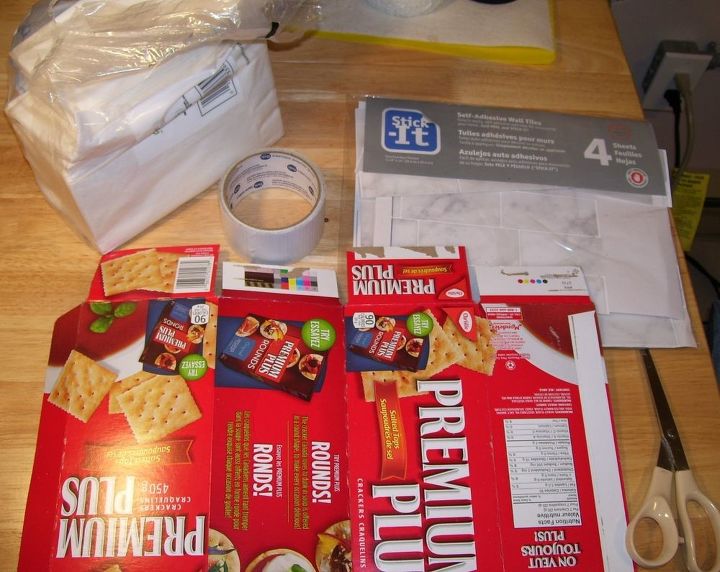
I assembled the materials I thought I'd need. Cracker box, white duct tape, scissors and peel and stick tiles. Depending on the design of the tiles, this project would require four to five sheets of the 12 inch tiles.
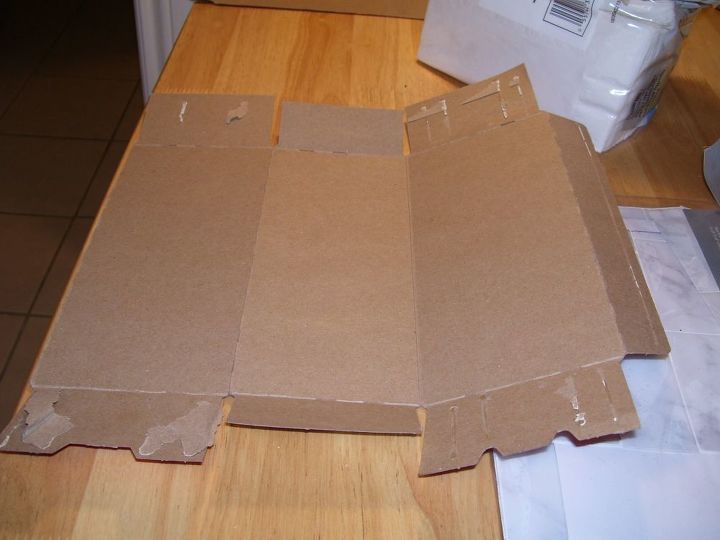
I flattened out the cracker box and cut off any bits I wouldn't need for the project.
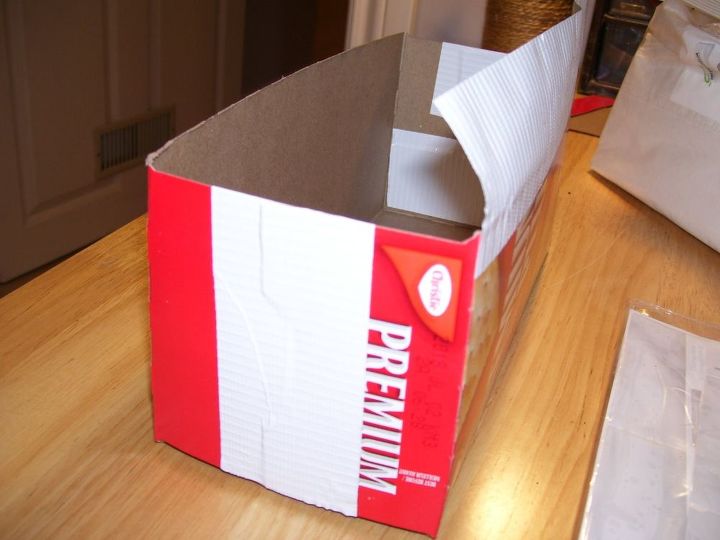
I taped up the flaps of the box.
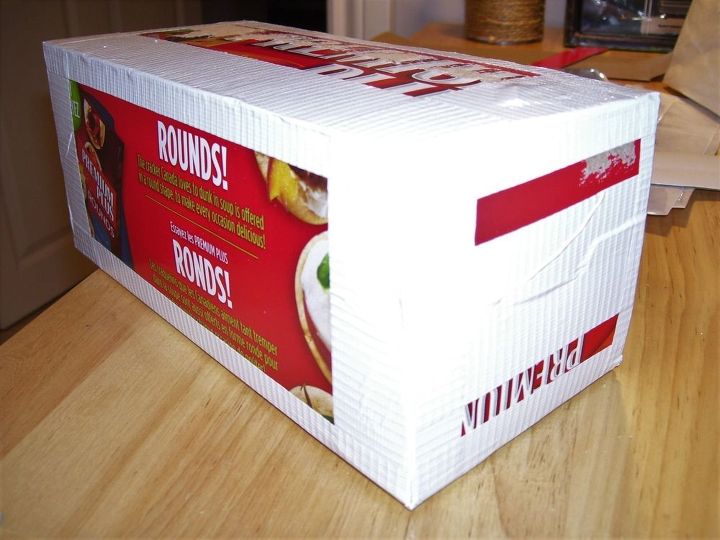
Then reinforced all the edges. I placed one piece of the peel & stick tile on the bottom of the box, and noticed that the red was showing through! So I went ahead and taped the whole box with the white duct tape. This, as it turned out, made the box sturdier.
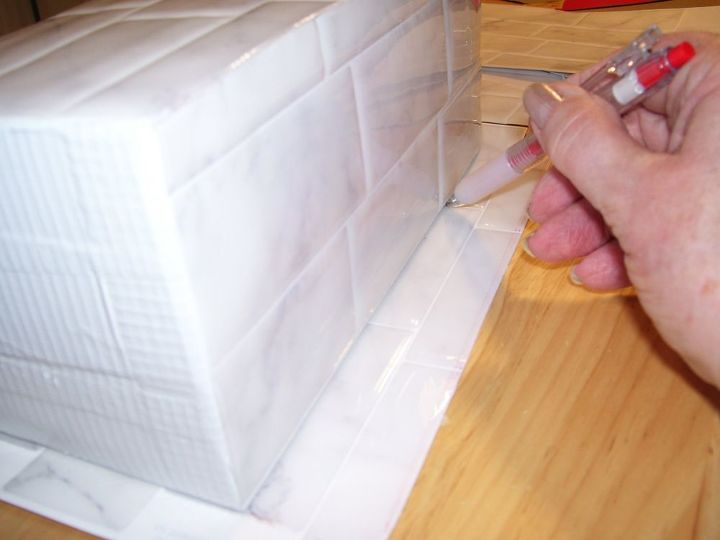
I applied the tiles to the box, inside and out. The inside was tricky! For added stability I wanted an insert piece for the inside bottom, here I marked out the size I would need.
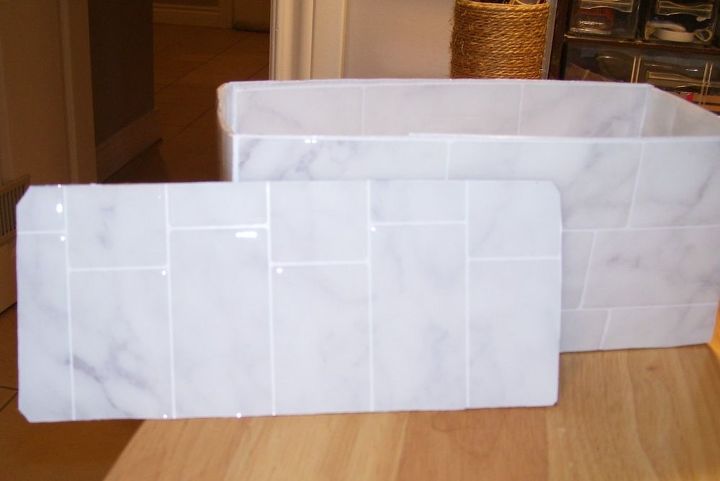
I made the bottom piece slightly smaller than the box, so it would slide in there. I stuck the tiles onto a piece of the cracker box that I had cut off at the start. Also, I cut little angles off all four corners to make it an easy fit.
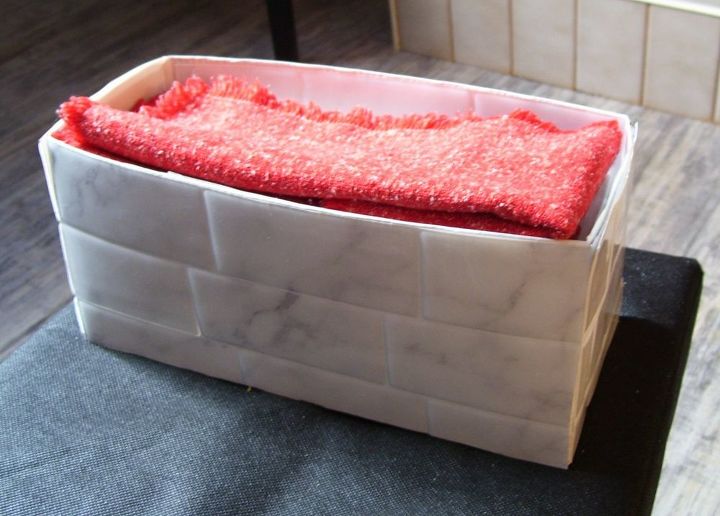
This is it, all finished, with napkins in it. This holder is great because it will hold the "dinner size" paper napkins perfectly. Now I need to decide where to keep it.
Resources for this project:


Any price and availability information displayed on [relevant Amazon Site(s), as applicable] at the time of purchase will apply to the purchase of this product.
Hometalk may collect a small share of sales from the links on this page.More info


Frequently asked questions
Have a question about this project?