


Whirlpool Crochet Flower Doily
Crochet Doilies make lovely addition to your home decor. Crocheted doily patterns are very versatile and easily changeable to your liking. You can make them as small or large as you want. They are excellent crochet projects for both beginners and advanced crocheters. They often work up quickly and they make wonderful decoration items and great gifts.
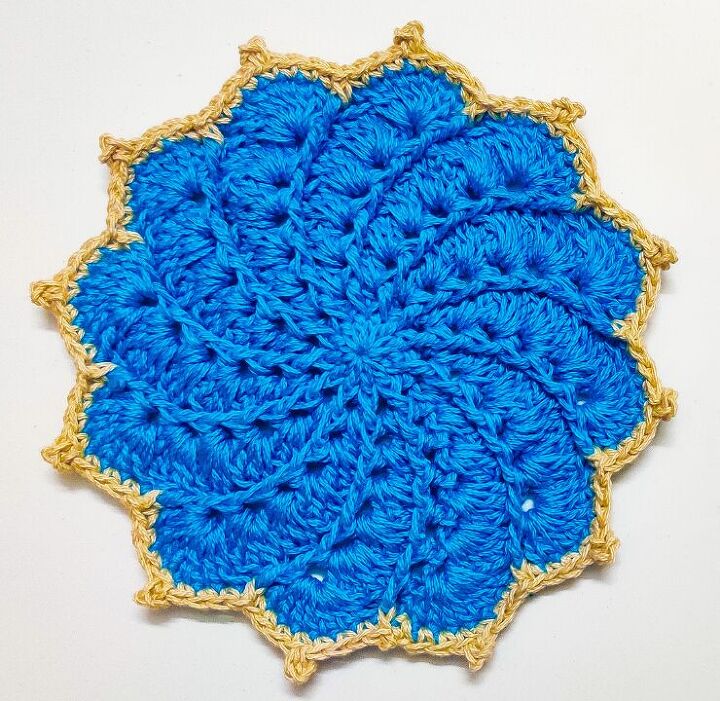
Here is a simple pattern for Whirlpool Crochet Flower Doily. The pattern is easy and quick to make. It is just right for dressing up your little spaces on shelves and small end tables. You can also you up your scrap yarn to create this pretty little flower doily. You can use different color combination of your choice.
Size:-
7 inches
Notes:-
For this whole Pattern, the Starting Chain 2 is not counted as a stitch. It is just to bring the yarn to a working height. Start the next stitch in the same stitch.
Here is the Video Tutorial:-
You can follow along with this tutorial video. Please be sure to subscribe too!
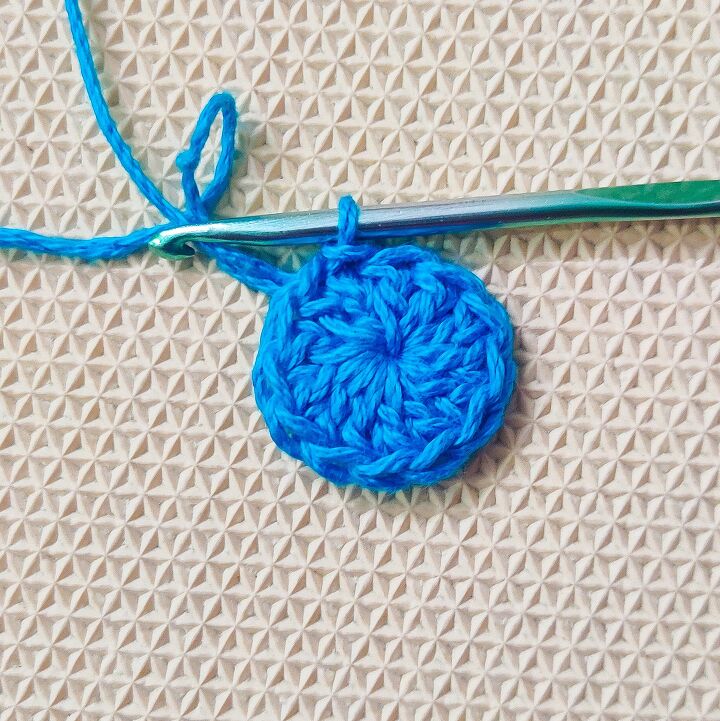
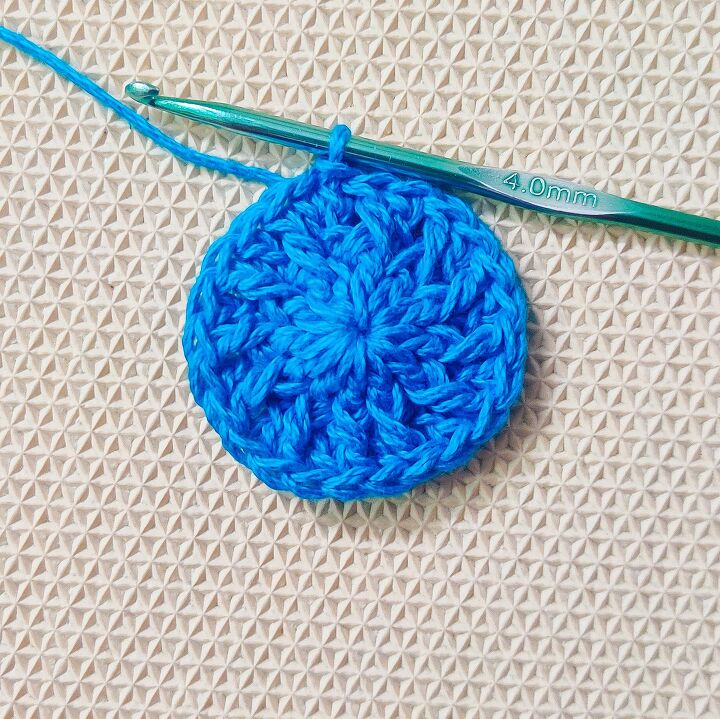
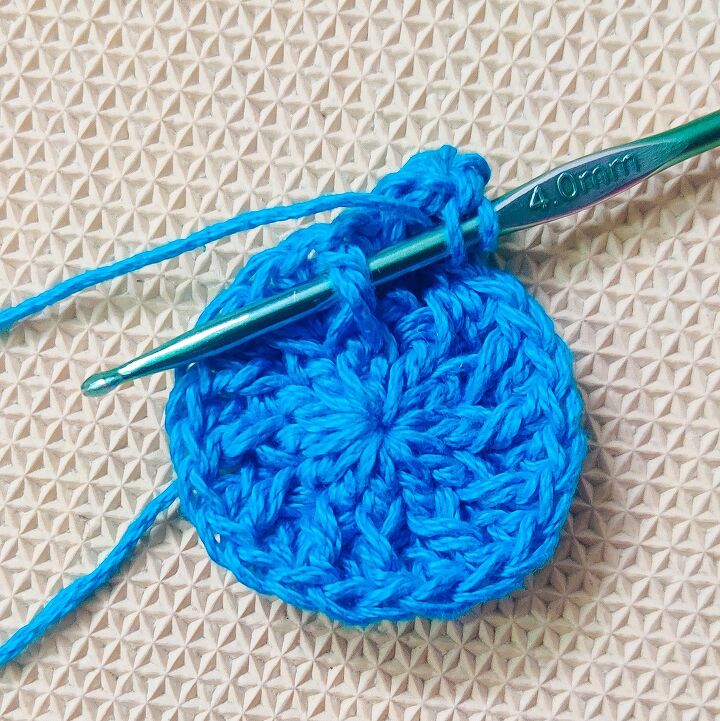
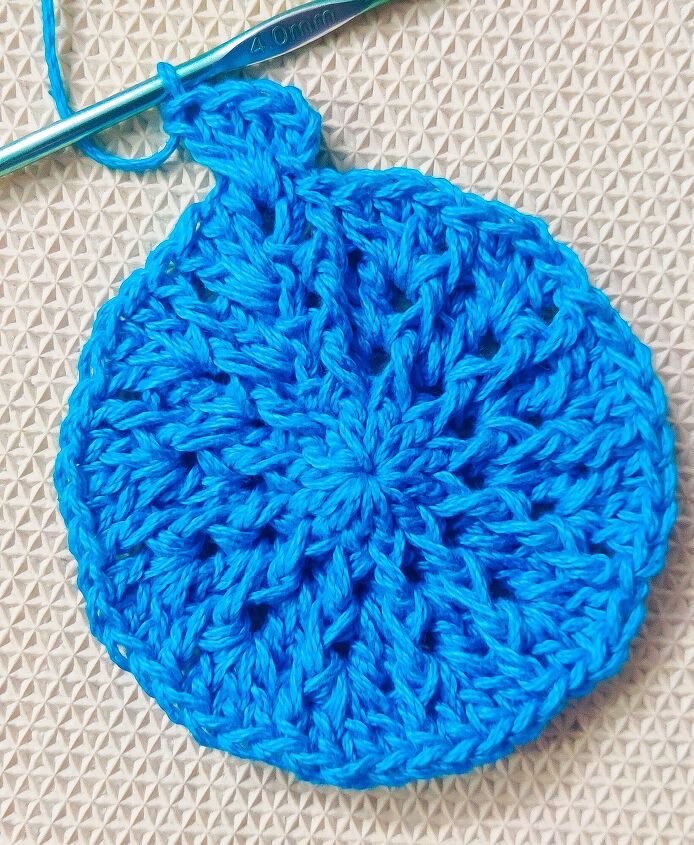
Round 1:-
Start with a Magic Circle.
12 Double Crochets in the circle.
Pull the yarn end to close the gap.
Slip Stitch on top of the first Double Crochet.
Round 2:-
Start with Chain 2(Not Counted as a Stitch)
1 Double Crochet in the same stitch.
1 Front Post Double Crochet in the same stitch.
Repeat(1DC,1FPDC in same stitch)
Slip Stitch on top of the first Double Crochet.
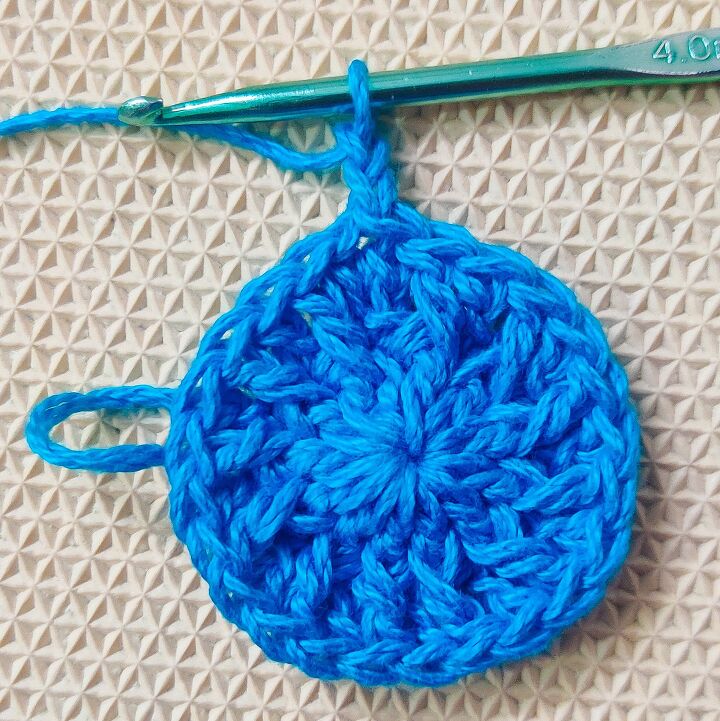
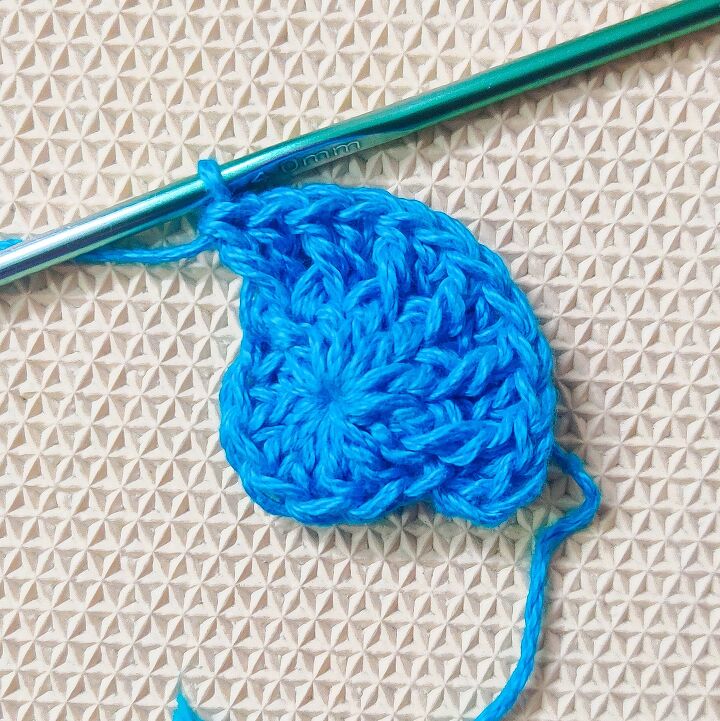
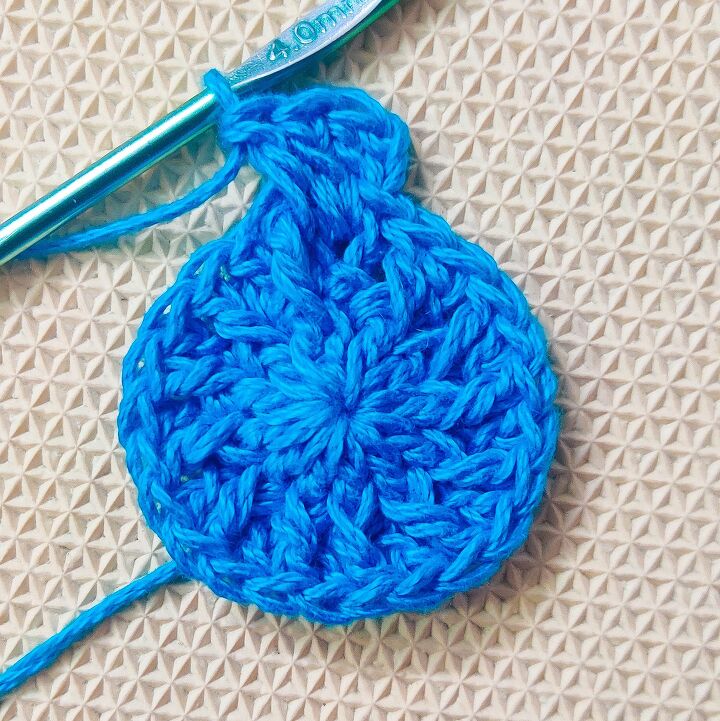
Round 3:-
Chain 2.
2 Double Crochets in between the Chain 2 and the First Double Crochet.
1 Front Post Double Crochet on the Front Post Double Crochet from the previous round.
2 Double Crochets in between the Front Post Double Crochet and the next Double Crochet.
1 Front Post Double Crochet on the Front Post Double Crochet from the previous round.
Repeat(2DC, 1FPDC)
Slip stitch on top of the first Double Crochet.
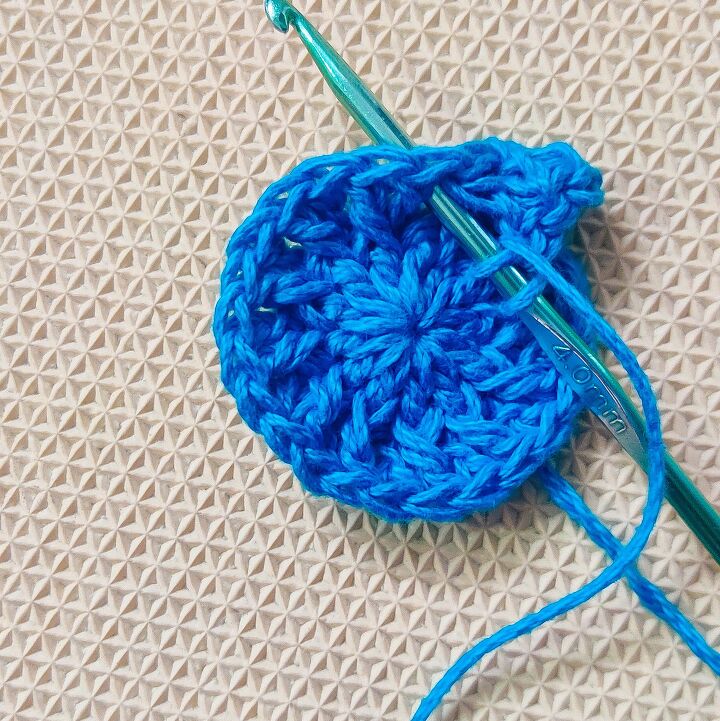
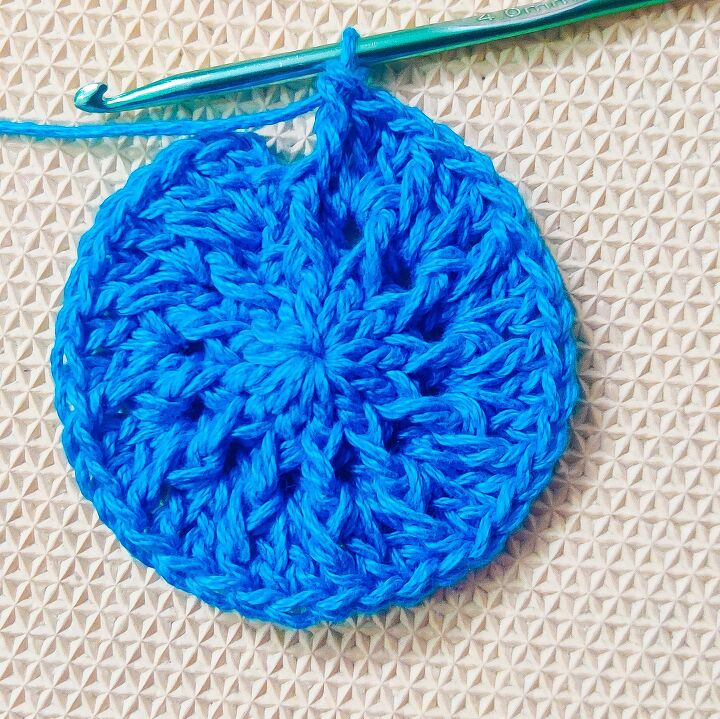
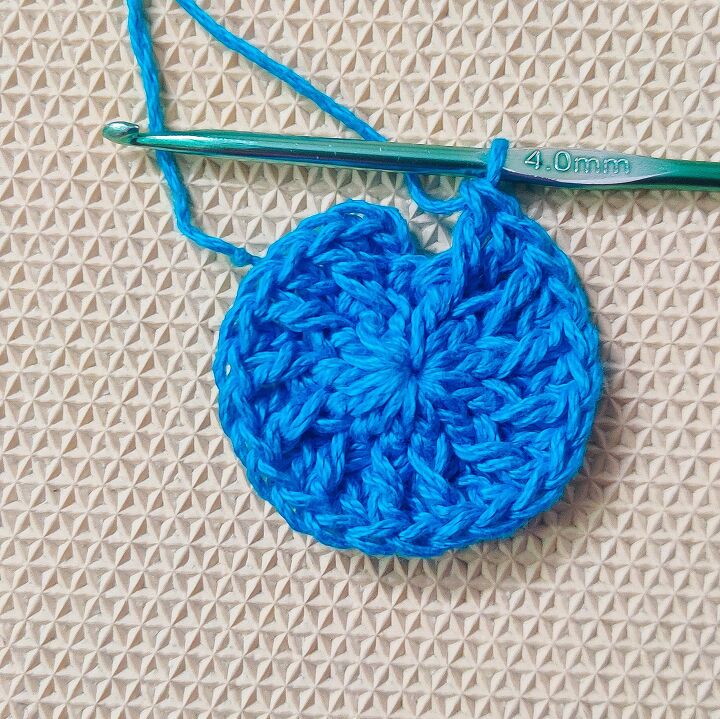
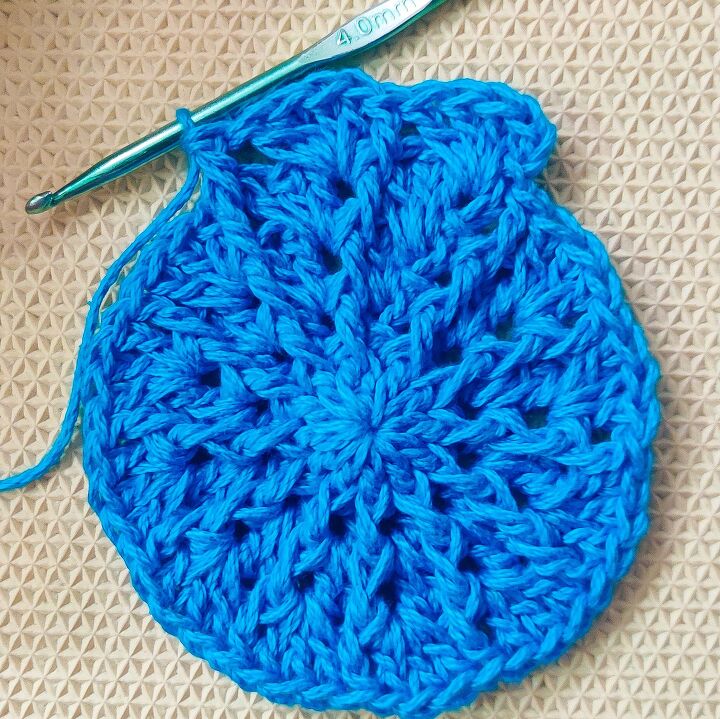
Round 4:-
Chain 2.
3 Double Crochets in between the Chain 2 and the First Double Crochet.
1 Front Post Double Crochet on the Front Post Double Crochet from the previous round.
3 Double Crochets in between the Front Post Double Crochet and the next Double Crochet.
1 Front Post Double Crochet on the Front Post Double Crochet from the previous round.
Repeat(3DC, 1FPDC)
Slip stitch on top of the first Double Crochet.
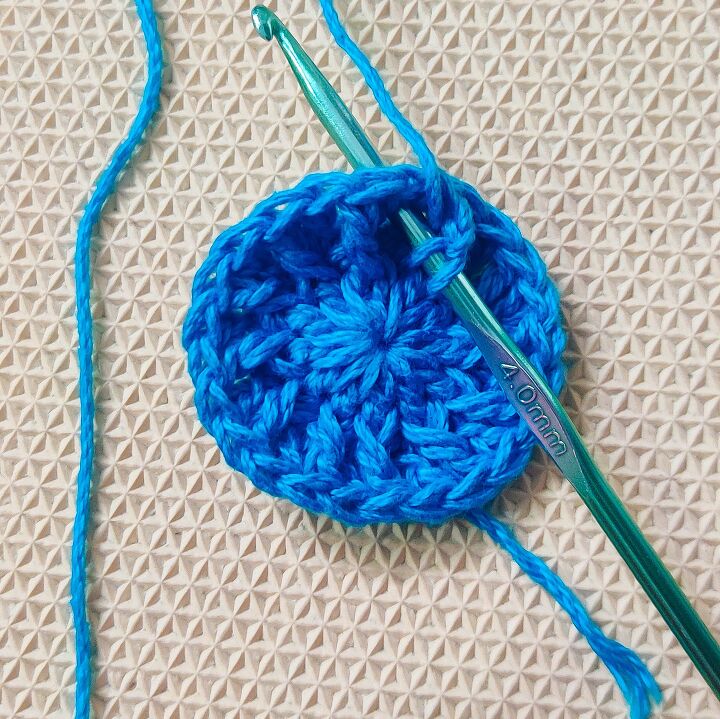
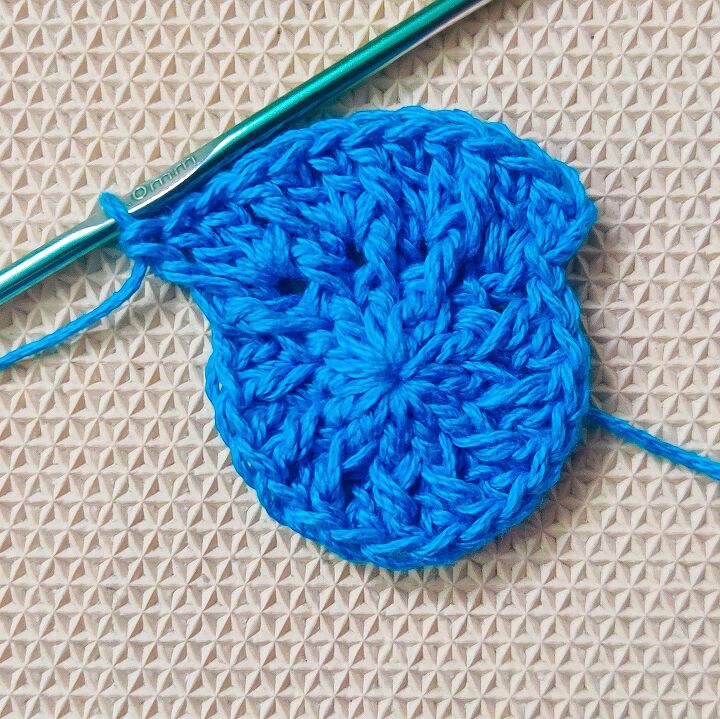
Round 5:-
Chain 2.
4 Double Crochets in between the Chain 2 and the First Double Crochet.
1 Front Post Double Crochet on the Front Post Double Crochet from the previous round.
4 Double Crochets in between the Front Post Double Crochet and the next Double Crochet.
1 Front Post Double Crochet on the Front Post Double Crochet from the previous round.
Repeat(4DC, 1FPDC)
Slip stitch on top of the first Double Crochet.
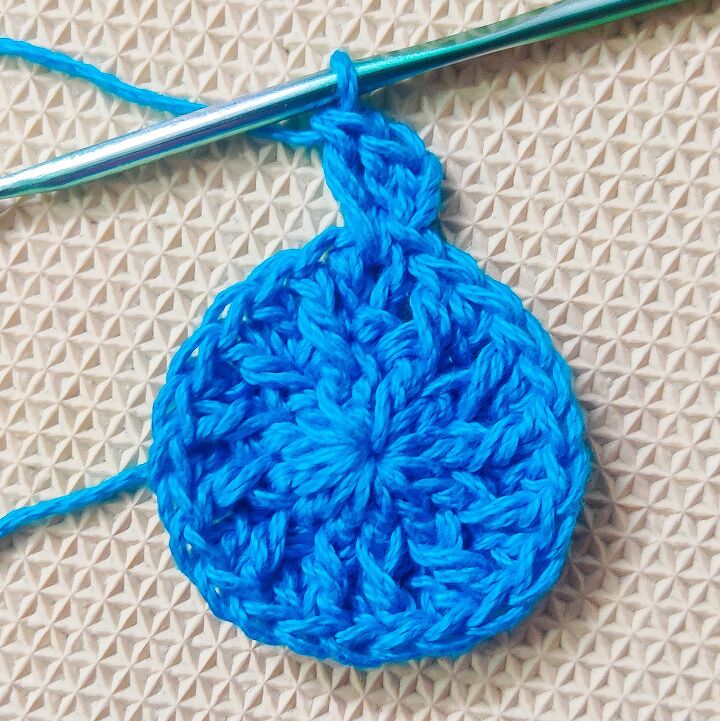
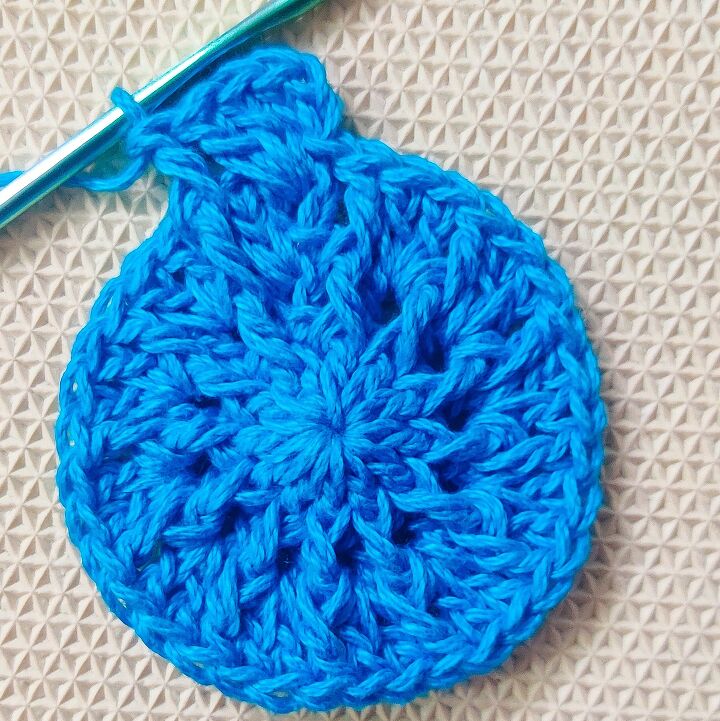
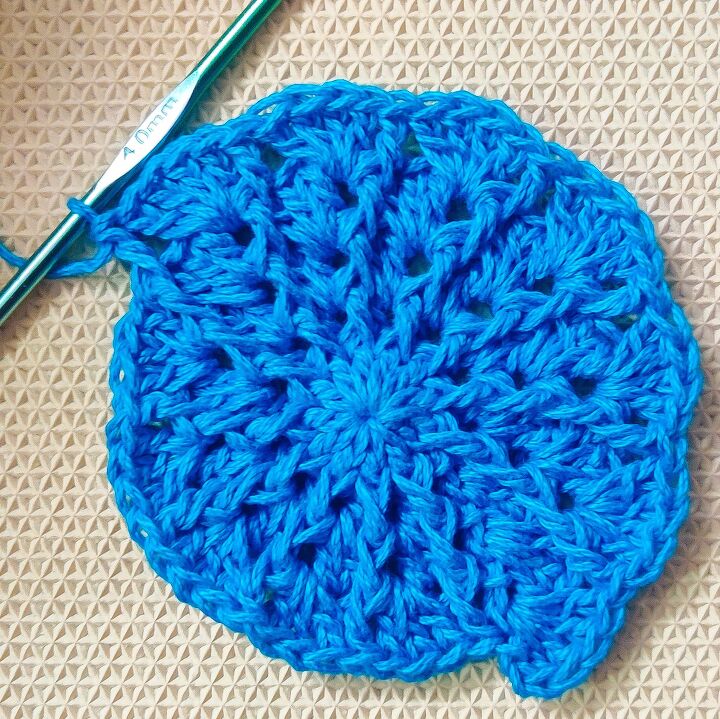
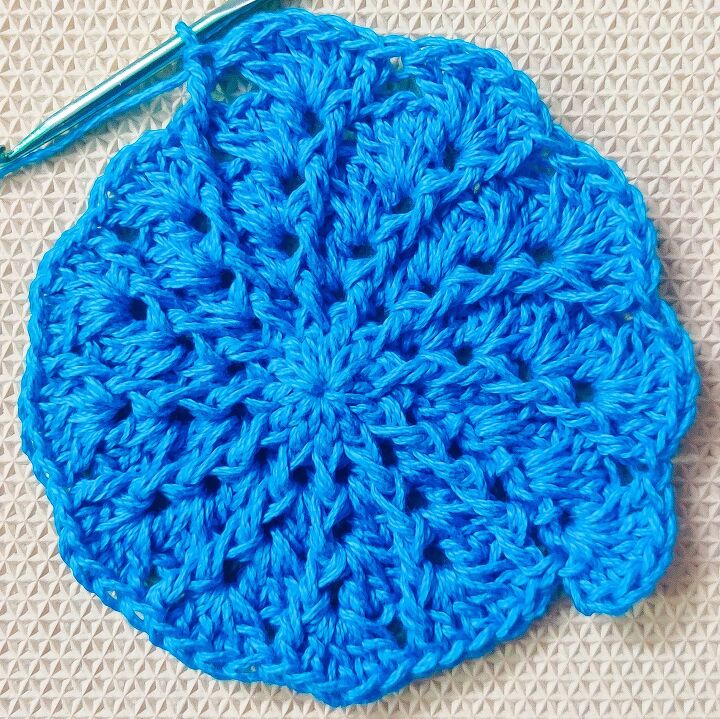
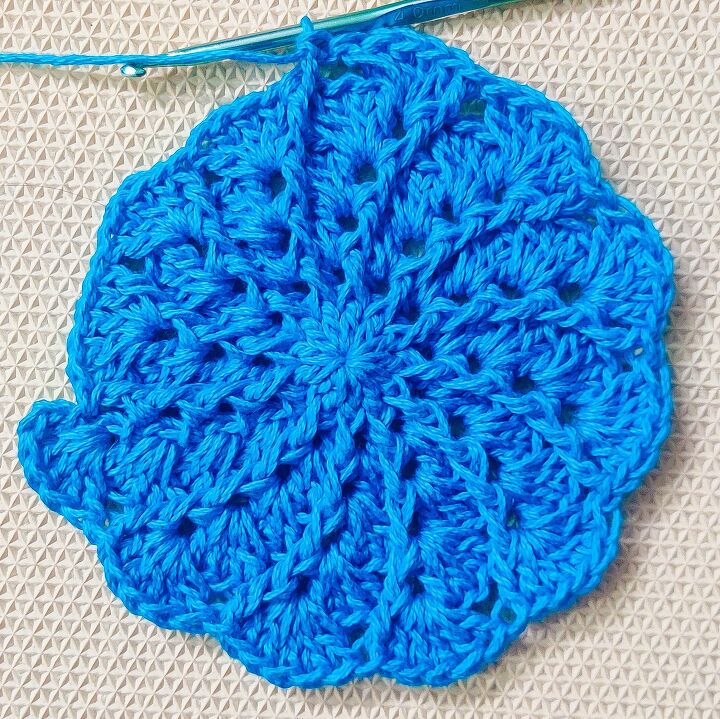
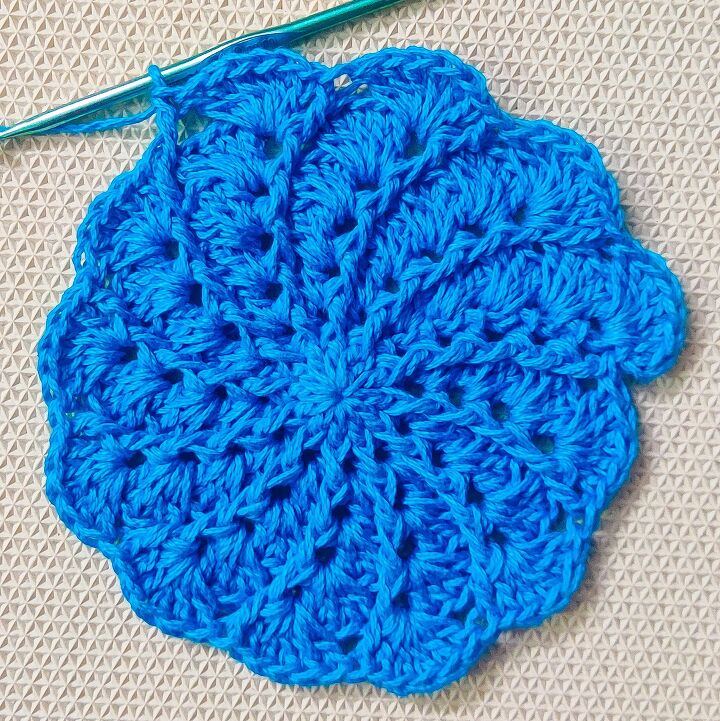
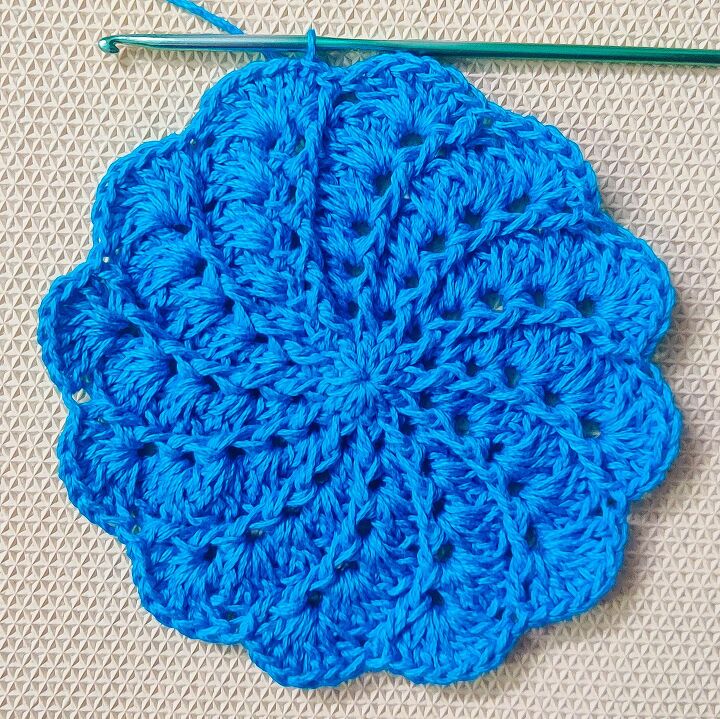
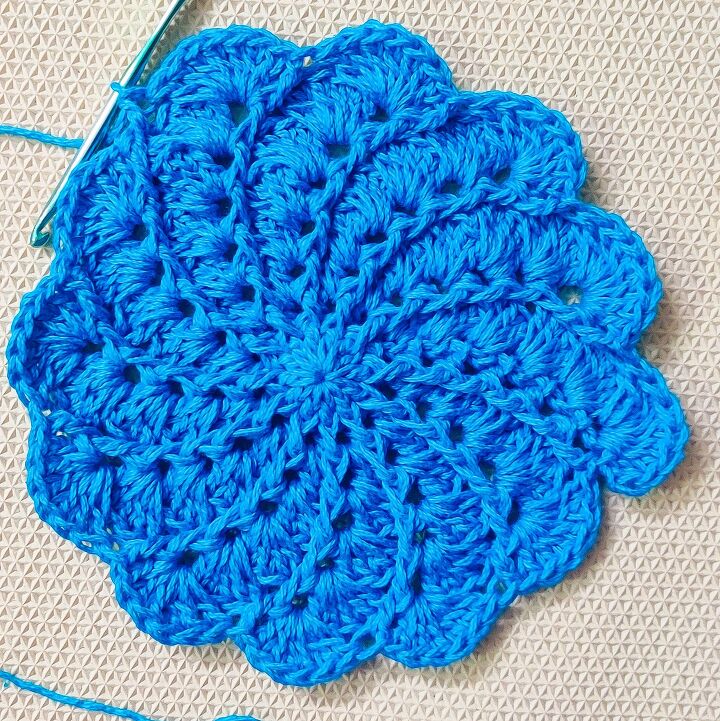
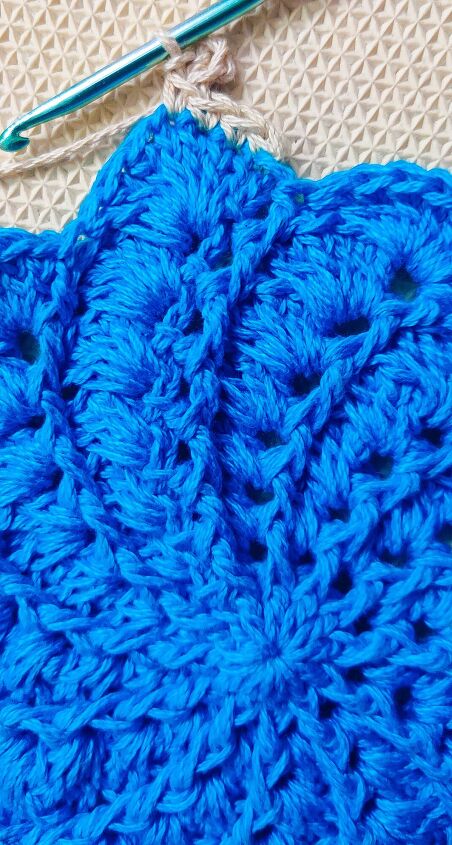
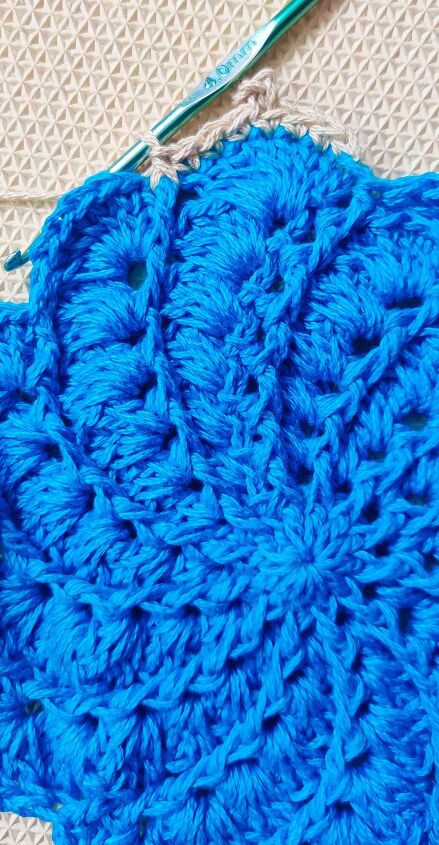
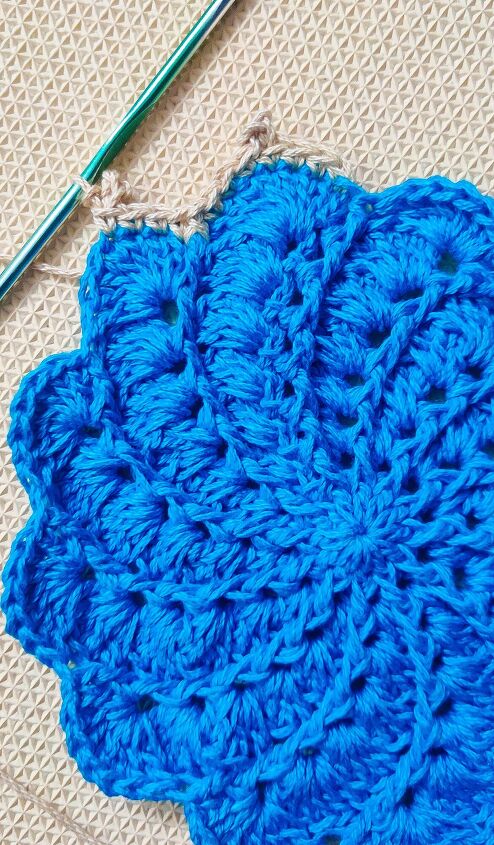
Round 6 to Round 8:-
Repeat the increase pattern for 3 more rounds.
Change yarn color at the end of Round 8.
Remember to :-
Start each round with Chain 2.
Keep increasing the starting stitch by 1 with each round.
1 Front Post Double Crochet on the Front Post Double Crochet.
The increase pattern will be as below:-
Round 6 - (5DC, 1FPDC)
Round 7 - (6DC, 1FPDC)
Round 8 - (7DC, 1FPDC)
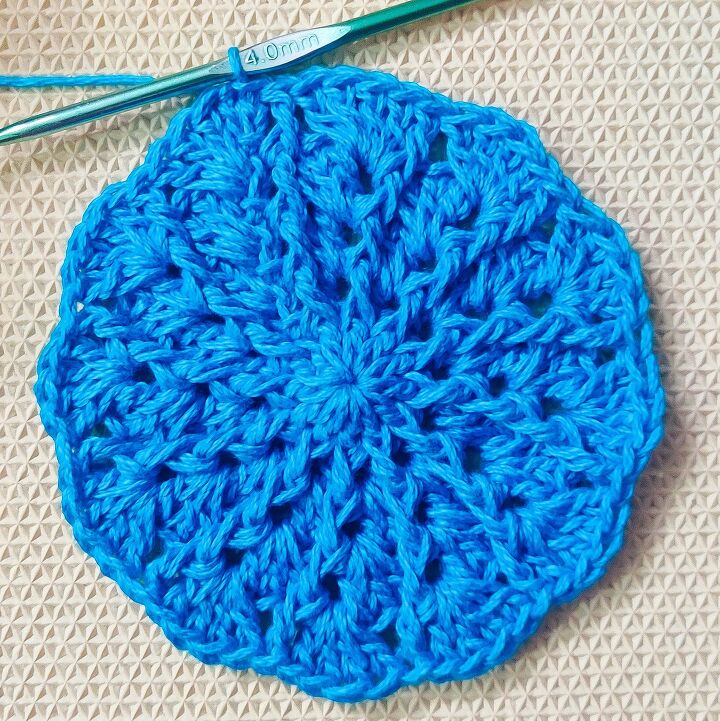
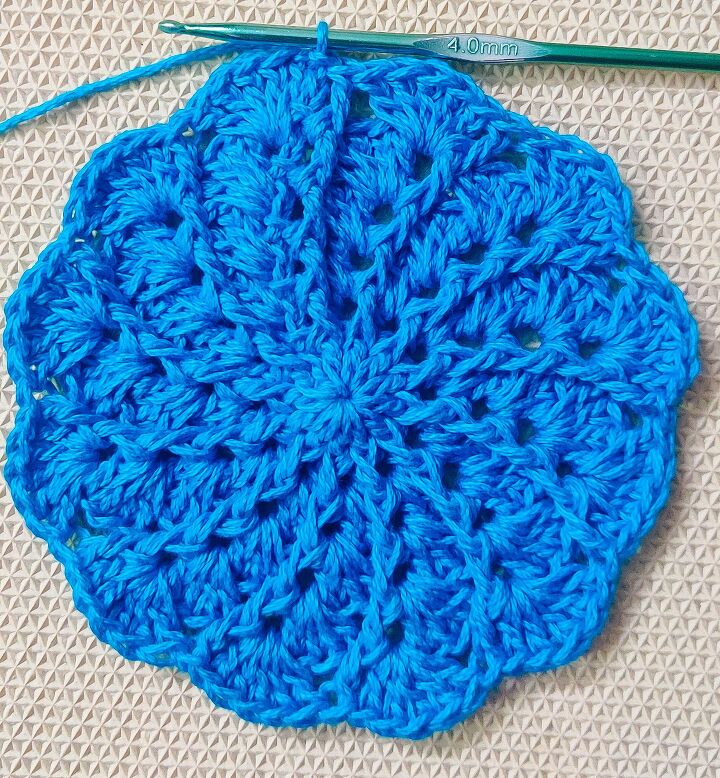
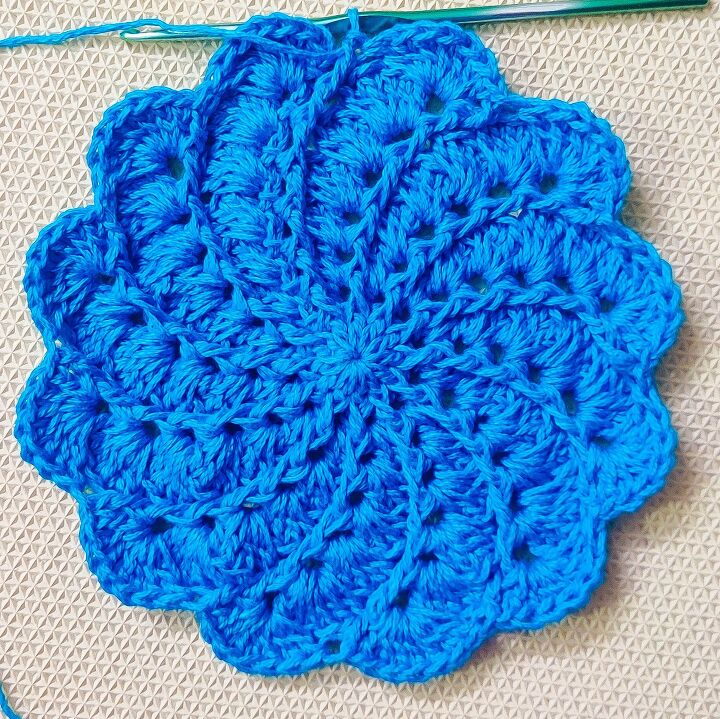
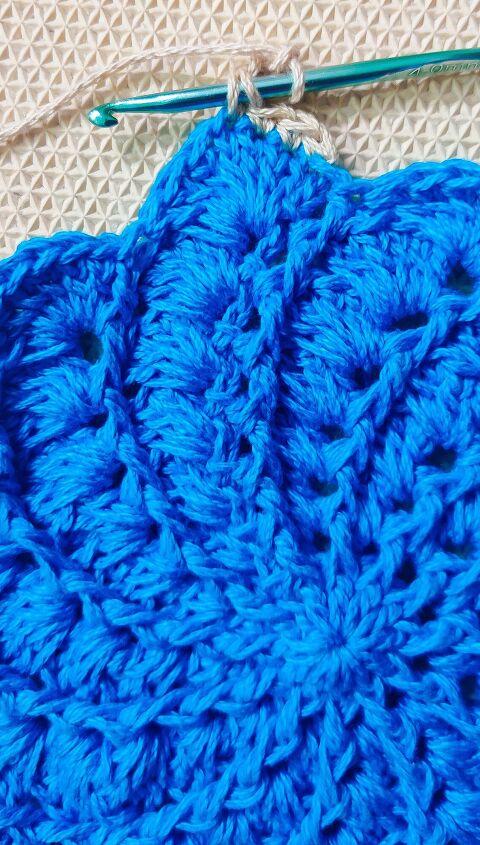
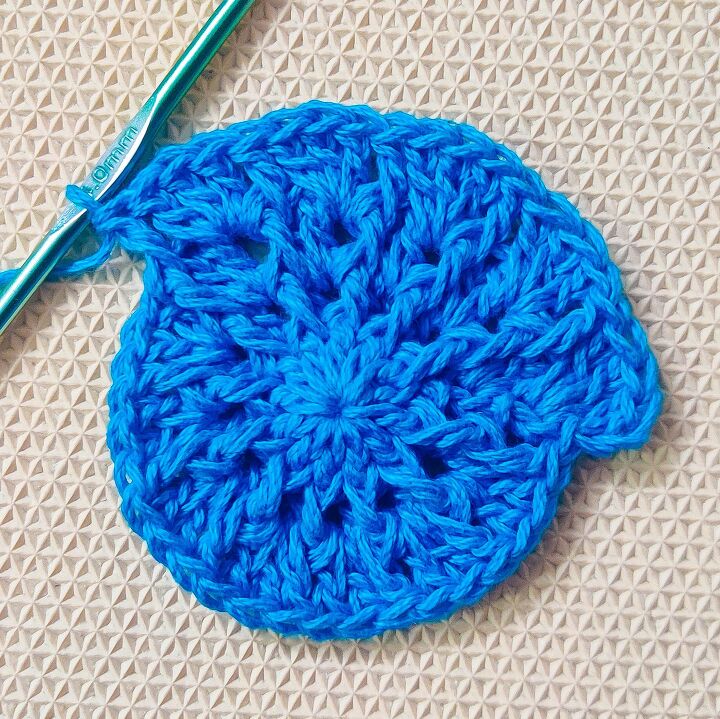
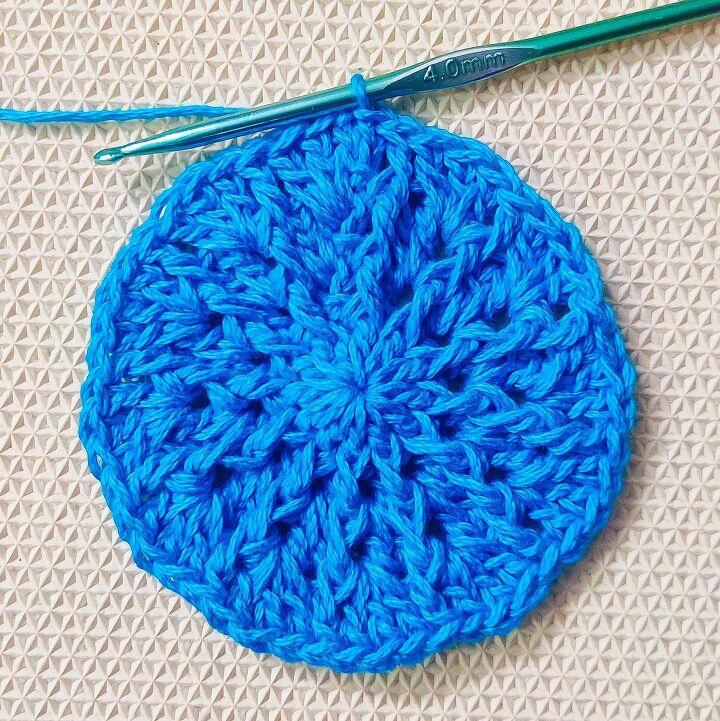
Border:-
Chain 1.
1 Single Crochet each in 4 Stitches.
1 Picot Stitch.(i.e. Chain 3 and make a Slip stitch into the Bottom stitch).
1 Single Crochet each in the next 3 Stitches.
1 Front Post Single Crochet on the Front Post Double Crochet.
Repeat(1 SC*4 , 1 Picot ,1 SC*3)
Slip Stitch on top of the fist Single Crochet and weave off.

Comments
Join the conversation
-
I have croched mine with string and then use them under lamps, and nicknacks and flower pots. I have also dyed them red, green [for Christmas] Orange, gold and tan [for Halloween and Thanksgiving.


Frequently asked questions
Have a question about this project?