


How to Make a Halloween Wreath (Easy DIY)
You can make this DIY tulle wreath for Halloween or change up the colors for any season, holiday or occasion.

This is such an easy wreath to make! Simply tie small pieces of tulle around a wire wreath frame using a slip knot. You only need tulle and a wire wreath form to make the base wreath. From there, just layer on additional items to decorate your wreath.
Tulle: What type of tulle should you use? You can use pre-packaged rolls of tulle or purchase it by the yard and cut your own strips. For my project, I purchased tulle by the yard since it was on sale at my local craft store and they had the colors I wanted.
Wire Wreath Form: You can find the wire frames at a variety of stores, including craft stores, Amazon, Walmart or Dollar Tree. As an alternative, you could repurpose the frame from an old wreath.
Decorations: Once you cover your wire wreath frame with knots of tulle, you get to decorate your wreath. Add embellishments, such as a large bow or flowers. Have fun and be creative! While these items can result in additional cost, you can limit the expense by using decorations from the dollar store, a thrift sore, or around your home.
Here’s What I Used:
Materials
- Tulle in Color 1 (by the yard OR by the roll)5 yards of 54” wide tulle, OR 2 rolls of 6” tulle (25 yards per spool)
- Tulle in Color 2 (by the yard OR by the roll)5 yards of 54” wide tulle, OR 2 rolls of 6” tulle (25 yards per spool)
- 1 piece of heavy card stock or thick cardboard (at least 6” wide and 9” long)
- 14” wire wreath form
- Large bow
- Wire (such as floral wire, a pipe cleaner or 18 gauge aluminum wire)
- Stem of artificial flowers and twigs
- Zip ties
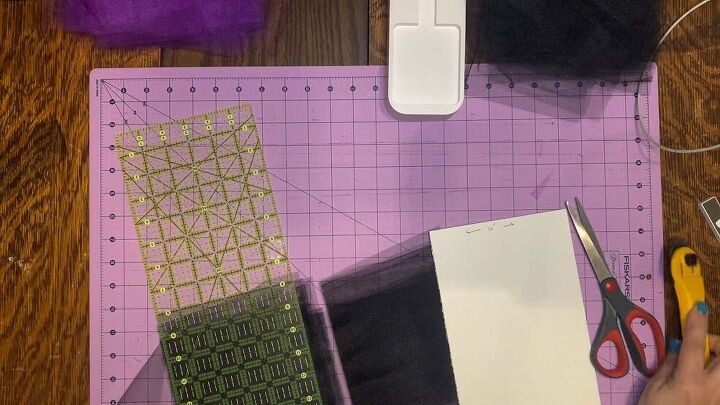
Tools
- Rotary cutter and/or scissors
- Cutting mat
- Wire cutter

The 14″ wire wreath form I used for this project consisted 4 rings divided into 6 sections. When detailed information is needed, I will refer to the rings by number, from Ring 1 (outermost ring) to Ring 4 (the innermost ring).
This tutorial is based on a 14″-wire wreath frame. If you use a smaller or larger wire frame, you will need to adjust the amount of tulle up or down accordingly.
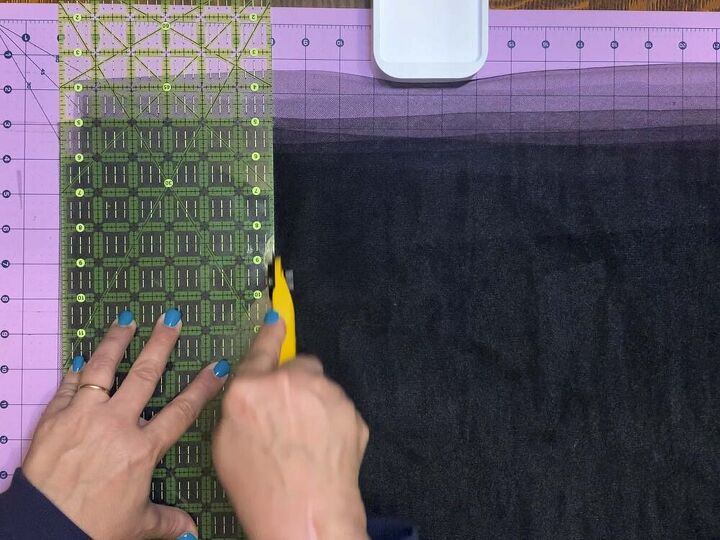
Step 1: Fold the 5 yards of tulle into a smaller rectangle and cut into 6″ strips
Note: if you’re using roll of 6″ tulle, skip to Step 2.Fold the 5 yards of 54″ wide tulle into an 18″ by 54″ rectangle to facilitate cutting. Place the folded tulle onto cutting mat on a flat surface. Using a straight edge and rotary cutter, cut the tulle into 9 strips of tulle (each 6″ wide and 5 yards long). Do this for both colors of tulle. You should have 18 strips of tulle after completing this step.
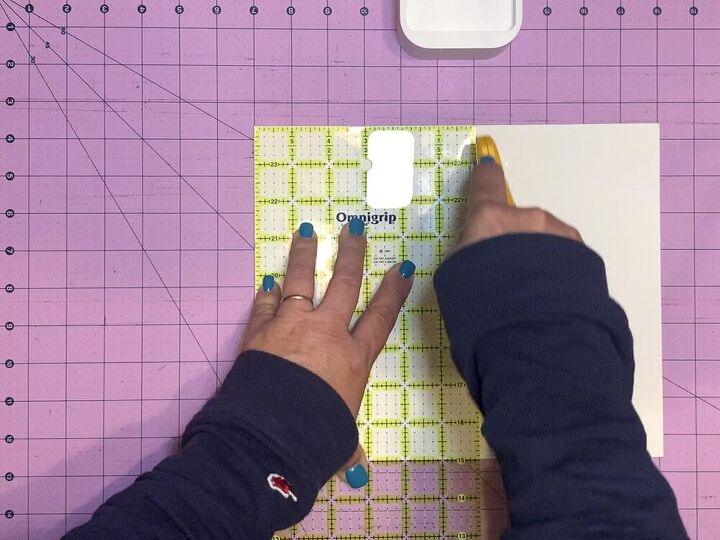
Step 2: Cut 6″ x 9″ piece of cardboard for wrapping tulle strips
Using scissors or straight edge and rotary cutter, cut a 6″ wide by about 9″ long piece of cardboard. This will be used to help cut the long strips of tulle into 6″ squares.
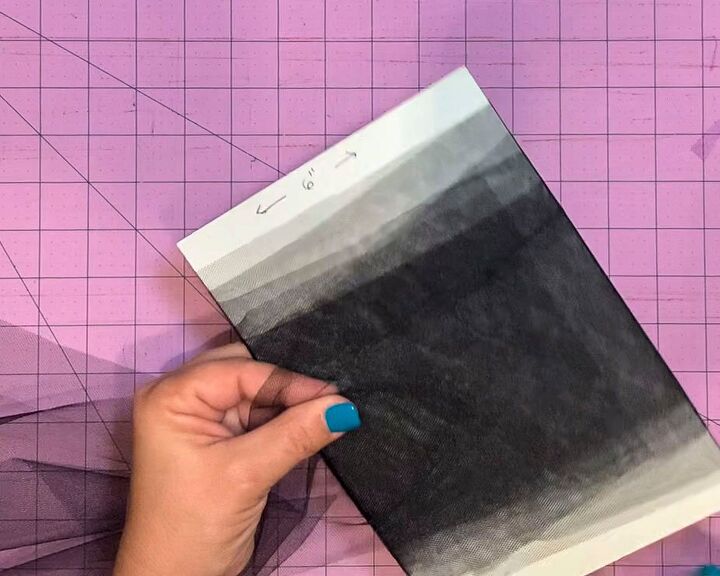
Step 3: Wrap tulle strip around piece of cardboard from Step 2
Take one of the 9 strips of tulle from Step 1 and wrap it around the 6″-wide piece of cardboard from Step 2.
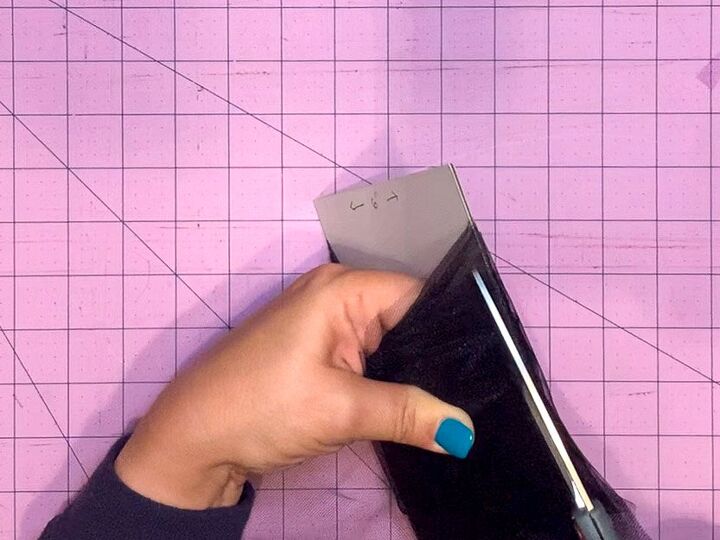
Step 4: Cut tulle along one side the cardboard
Using scissors, cut the tulle along one edge of the cardboard. This will result in 6″ by 12″ pieces of tulle.
Step 5: Cut tulle into two 6″ squares
Either using scissors or a rotary cutter and straight edge, cut the rectangular stack of tulle in half creating two 6″-square stacks of tulle.
Step 6: Cut all 18 strips of tulle (9 of the first color and 9 of the second color from Step 1).
Repeat Steps 3-5 for all 18 strips of tulles (9 strips of the first color and 9 of the second color from Step 1).If you’re using rolls of tulle instead of yardage, repeat Steps 3-5 for all 4 rolls of tulle (2 of the first color and 2 of the second color).When finished, you’ll have two stacks of 6″ square pieces of tulle in two different colors.
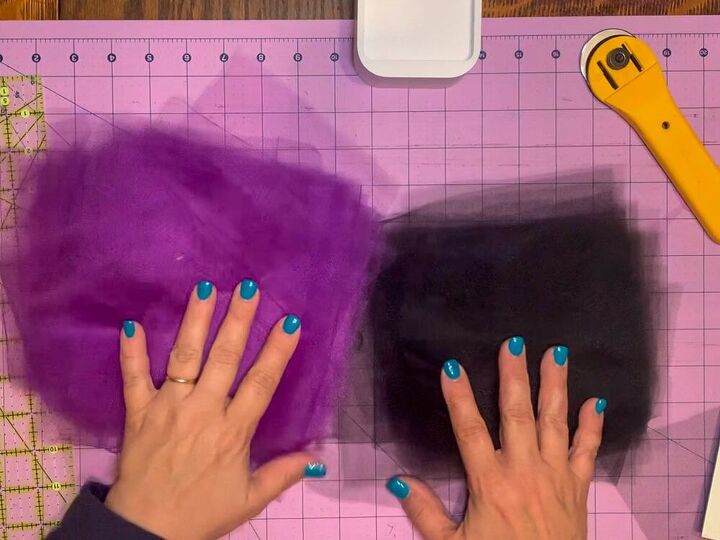
Step 7: Select two squares of the first color of tulle
Pick up two squares of your first color of tulle and stack them one on top of the other.
Step 8: Fold the square in half
Fold the tulle from Step 7 in half to form a 3″ by 6″ rectangle. You don’t need to measure; the measurements are just provided to help clarify the instructions.

Step 9: Scrunch up tulle rectangle from Step 8 into a long strip
Gather up the the rectangle of tulle from Step 8 and form it into a long narrow rectangle about 1″ wide more or less.
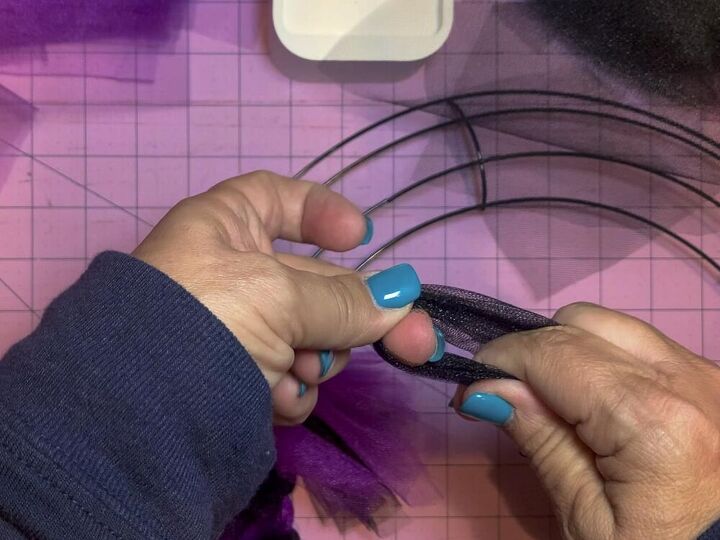
Step 10: Form a u-shape around your finger with the length of tulle
Take the rectangle of tulle from Step 9 and wrap it around your finger to form a u-shape. This will be tied via a slip knot to the wire wreath frame.
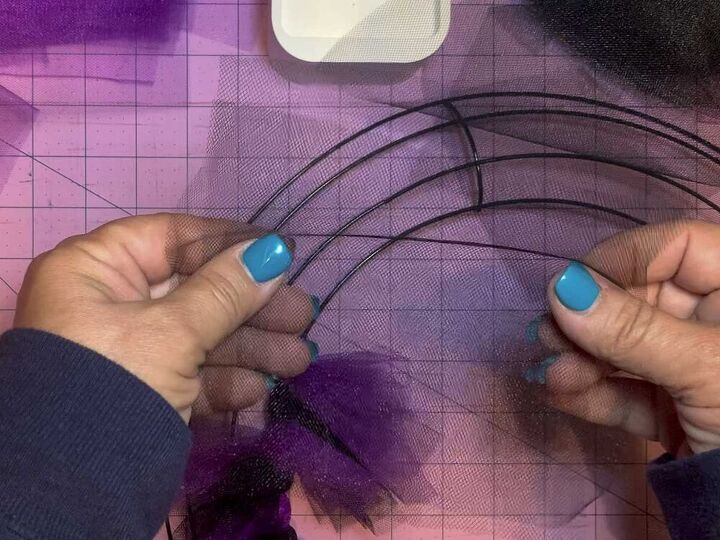
Step 11: Thread folded end of tulle under one ring on the wire wreath form
Thread the loop end of the folded piece of tulle folded under Ring 4 (the innermost ring) of the wire wreath form and up between Rings 4 and 3.
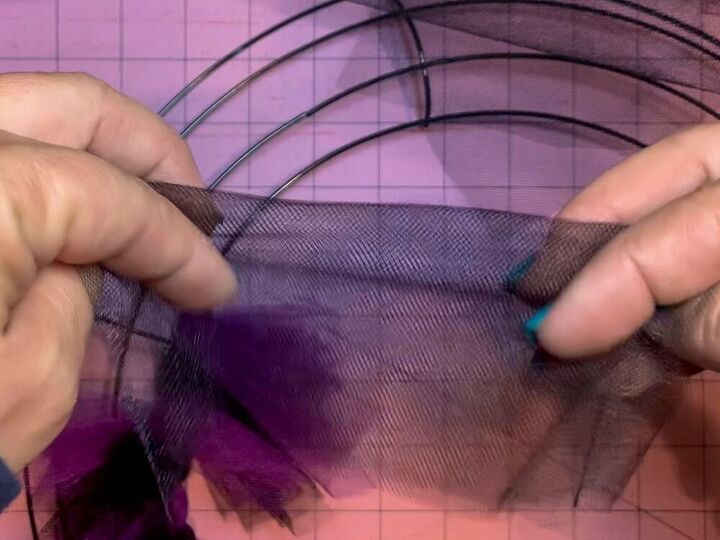
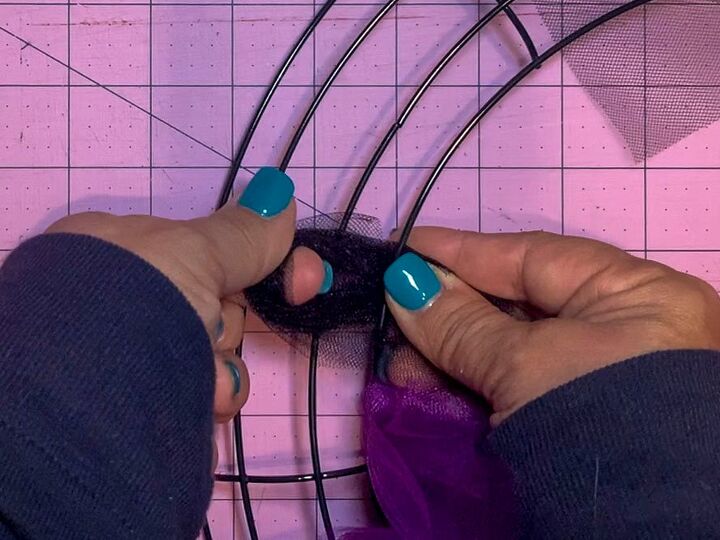
Step 12: Wrap tail over bar and feed through loop
Take the tail of the piece of tulle. In the image in the previous step (Step 11), the tail is held in my right hand. Wrap the tail over the top of Ring 4 (the inner ring) and feed it through the loop end of the tulle to form a slip knot. In the image in the previous step (Step 11), the loop is held in my left hand.
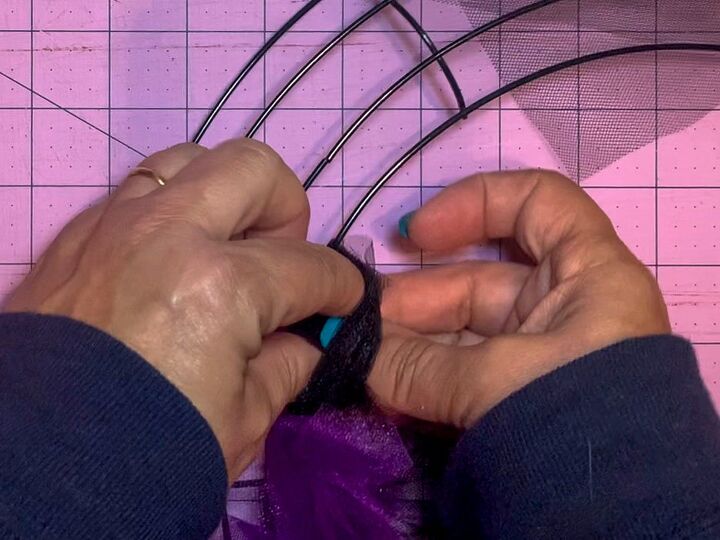
Step 13: Pull Tail to Tighten Knot
After threading the tail through the loop, pull the tail taut to tighten the slip knot around the wire.
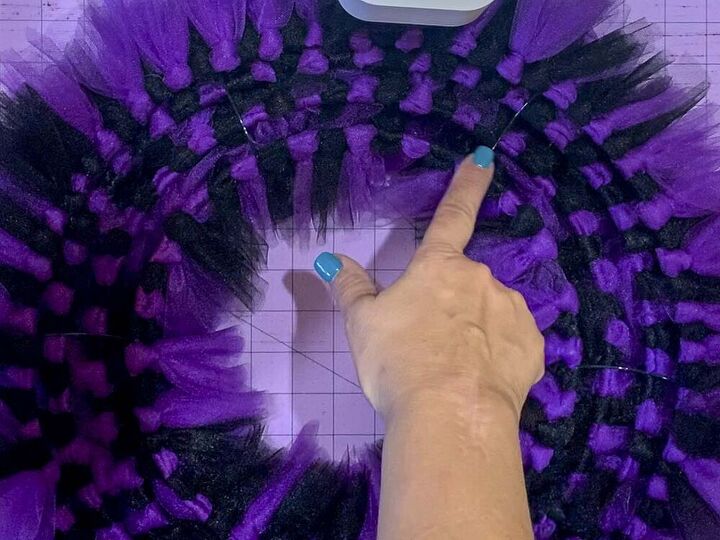
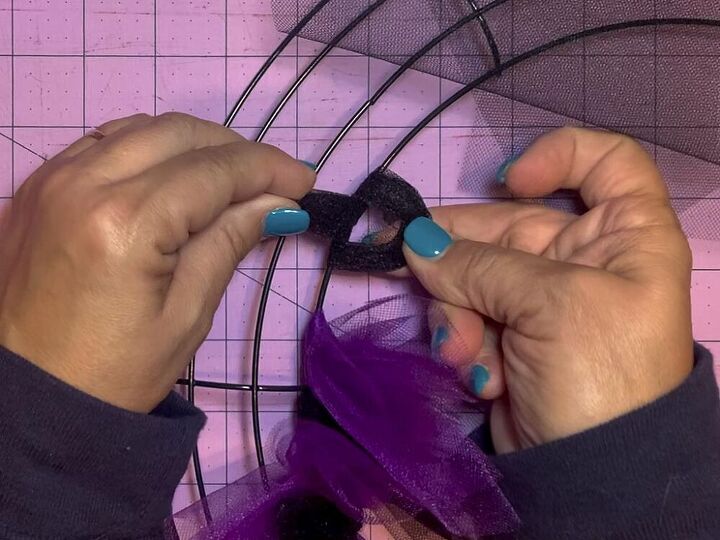
Step 14: Continue tying slip knots until wreath form is full
Continue to tie slip knots of alternating colors of tulle until you cover the entire wreath. The image below shows the knots from the back side of the wreath.Each of the 6 sections on Ring 4 (the innermost ring) contain 8 knots, for a total of 48 knots on the inner ring. Moving outward, each section of Ring 3 contains 10 knots, for a total of 60 knots. For Ring 2, each section contains 12 knots, for a total of 72 knots. Finally, on Ring 1 (the outmost ring), each section contains 14 knots, for a total of 84 knots on the outer ring.
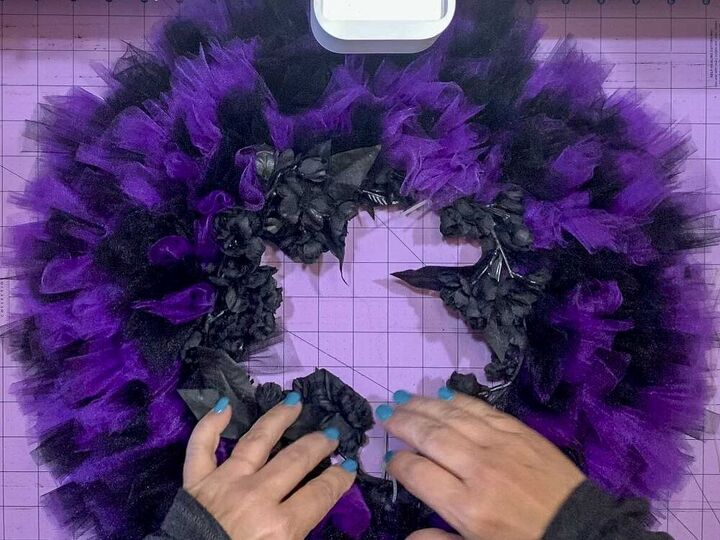
Step 15: Wrap a stem of artificial flowers around the inside of the wreath
Take a stem of flowers and wrap around the interior of the wreath. Secure the stem to the wire frame using a couple zip ties.

Step 16: Tighten the zip ties on back of wreath
Pull the zip ties tight on the back side of the wreath.
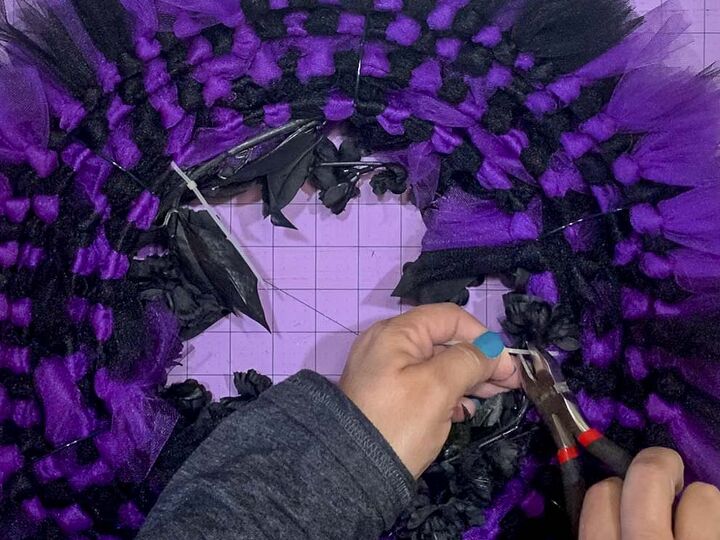
Step 17: Cut ends of zip ties
Using wire cutters, snip off the end of the zip ties used to attach the flower stem to the wreath.

Step 18: Attach a bow to the wreath
Make or purchase a large bow and attach it to the wreath using wire. Look ribbons that will complement the colors in your base tulle wreath.
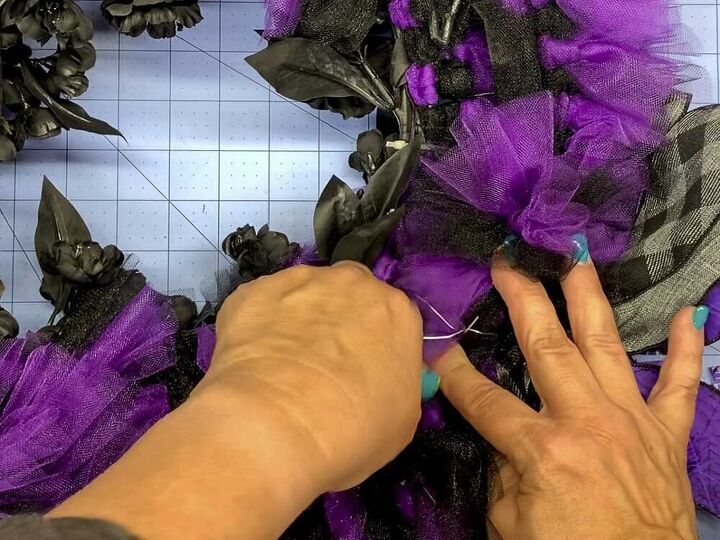
Step19: Twist wire on back to secure bow to wreath
Secure the bow to the wreath by twisting the ends of the wire and tucking any excess in the wreath. Make sure the wire isn’t poking out to prevent injuries.
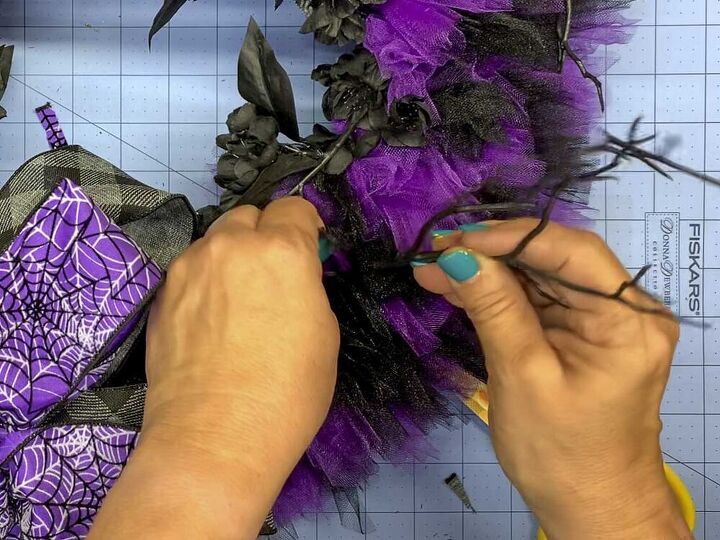
Step 20: Add twigs to decorate the wreath
Insert black plastic twigs in bet ween the pieces of tulle. If you’re concerned about wind, you can use wire to secure the twigs to the wire frame.
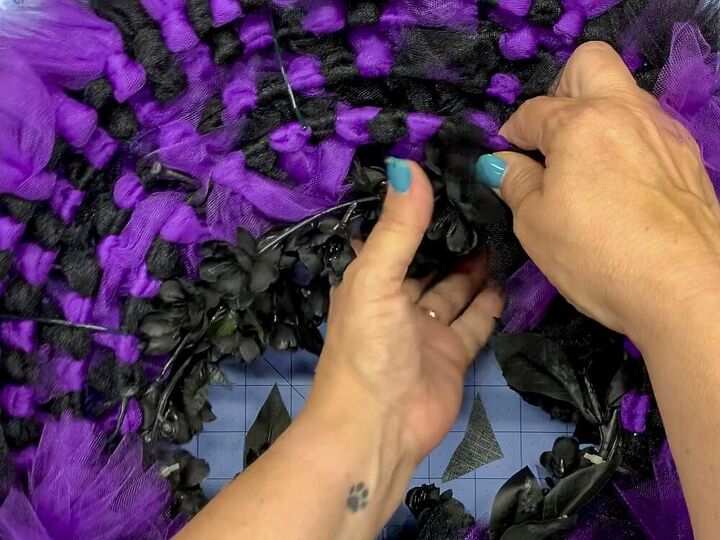
Step 21: Fix knots
Working from the back side of the wreath, adjust the knots so that the ends of the tulle are facing the front of the wreath and the knots are facing the back.

Step 22 Hang your wreath
Now it’s time to enjoy your wreath. Use a wreath hanger or a command hook and display your new wreath on your door.


Frequently asked questions
Have a question about this project?