


Scary Halloween Sign

Halloween is coming up soon so today I'm going to show you how I made a cute Chop Shop Halloween sign. It's a great addition to your decor for Halloween and so simple to make!
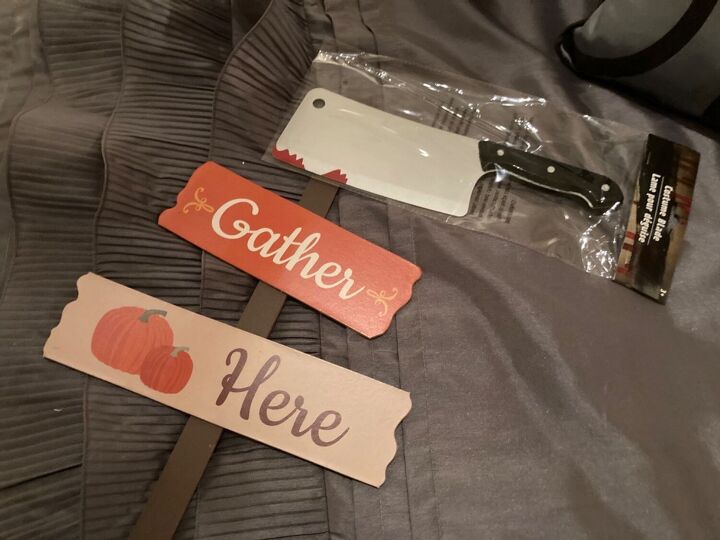
What you’ll need:
Dollar Tree sign
Dollar Tree Cleaver
Black and red paint
Waverly brown stain
Black wire
Drill
Sander
Vinyl and transfer
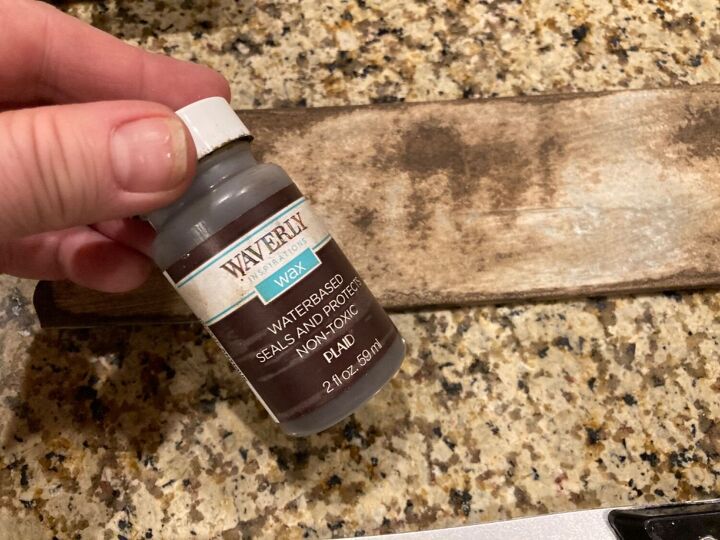
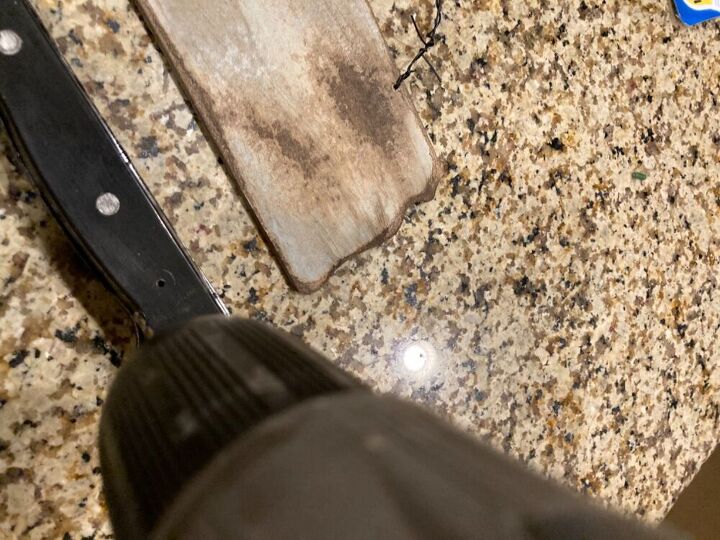
To start with, pop the sign off the stick and sand all the words off.
Then, use a sponge and your Waverly brown stain and rub it all over the sign to give it an aged and rustic look.
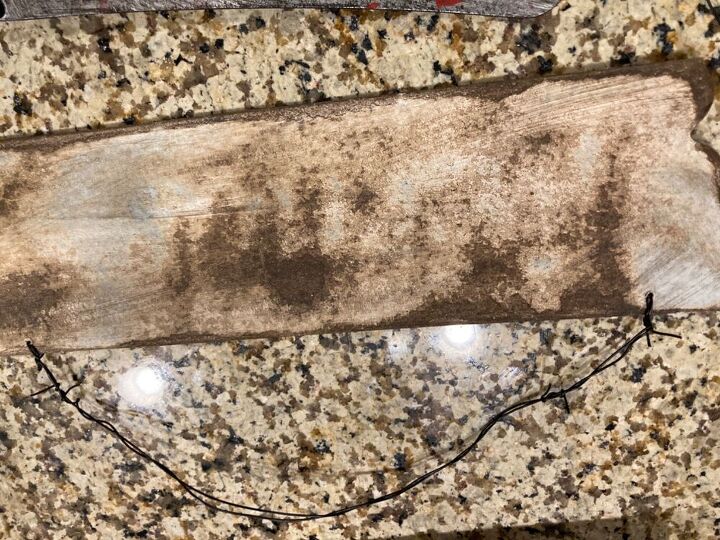
Once you finish with the stain, it should look like this.

Next, use black paint and your sponge and rub the black all over the cleaver to make it look old and aged too.
Then, take your paint brush and dip it in your red paint and flicker it over the cleaver so that it looks like blood.
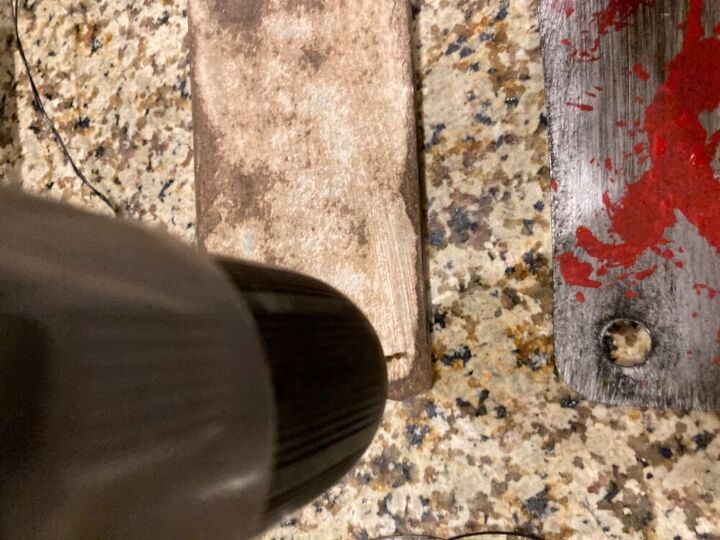
Drill two holes at the top of the sign and two at the bottom.
Also drill a hole through the handle of the cleaver.
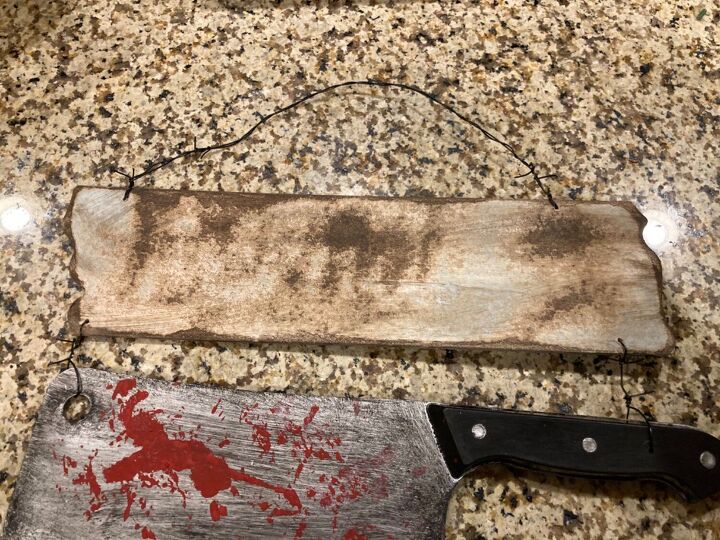
Thread the wire through the holes at the top of the sign so you can hang it up. Leave some excess pieces sticking out to look like barbwire. Then, thread the wire from the bottom holes on the sign to the holes on the knife to attach them together.
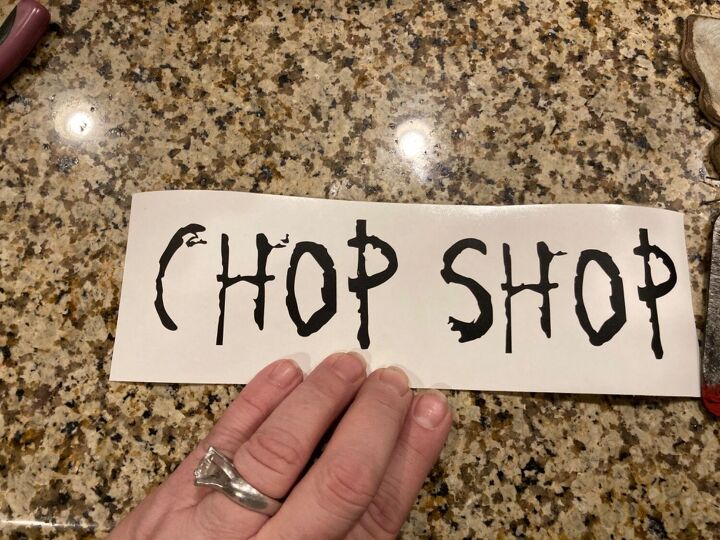
I then used black vinyl for my writing but you could pencil the words on.

Using vinyl, take your transfer and put it over the top. Use your scraper and apply it to the sign.
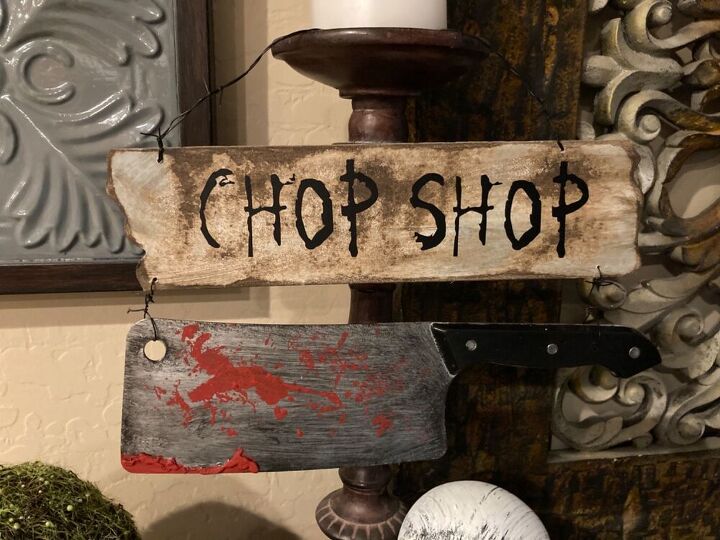
And hang it up!
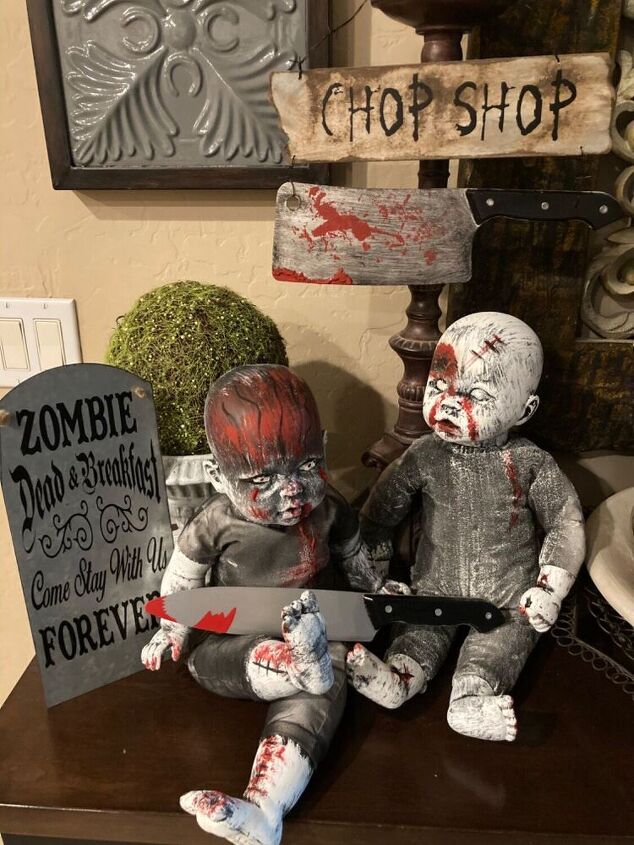
Here is my Halloween display. See my zombie baby tutorial here: https://www.hometalk.com/diy/craft/holiday-crafts/how-to-make-a-zombie-baby-43426112
Here is my video on how I made the sign. Watch how easy this is!
You can check out more of my videos on my youtube channel:


Frequently asked questions
Have a question about this project?