


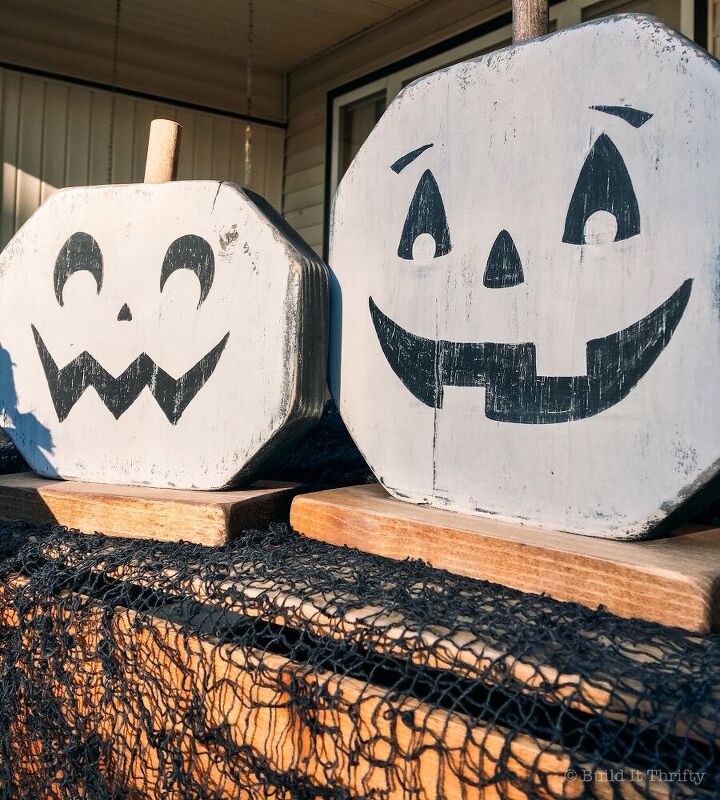
Scrap Wood Jack-O-Lanterns

These wooden jack-o-lanterns are so simple to make it's scary! All you need is two pieces of scrap wood and a wood dowel and you have Halloween decor that you can use year after year!
Cut List:
(Everything is from scrap wood except for the wood dowel)
- 2×10@8″
- 2×8@6 1/2″
- 1×4@8″
- 1×4@6″
- 2-pieces of 5/8 wood dowel@2″
These are the sizes I made but you could certainly make them larger!
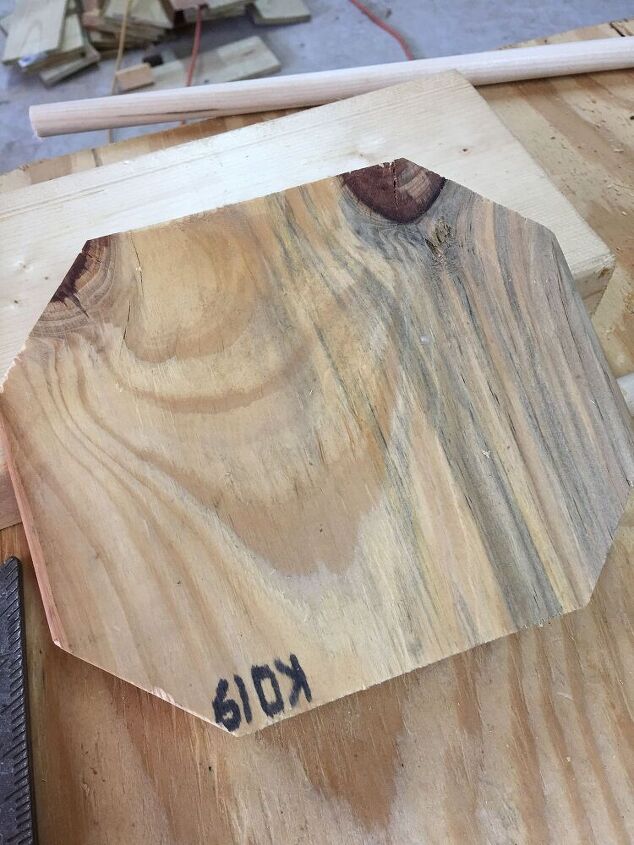
Start by cutting your 2×8 and 2×10 boards to the lengths specified in the cut list. Also, cut your 1×4 boards for the pumpkin bases. Take your 2×10 board and measure 2″ in from all four edges. Then take a speed square and measure from the 2″ mark out to the edge to get your angle. You’re essentially trying to make what looks like a oddly-shaped stop sign. For the 2×8 board, repeat the same steps but measure 1 1/2″ in from the outside instead of 2″. Adjust your miter saw to 45 degrees and make all of the angled cuts.

Next, use a 5/8 boring bit to drill holes in the top of each pumpkin. Don't drill too deep or you won’t have much of a pumpkin stem, just enough to secure the dowel with some glue.

First I spray painted them both black then after they were dry came back and dry brushed a few coats of white chalk paint. I wanted mine black and white but they can be made any color you want!
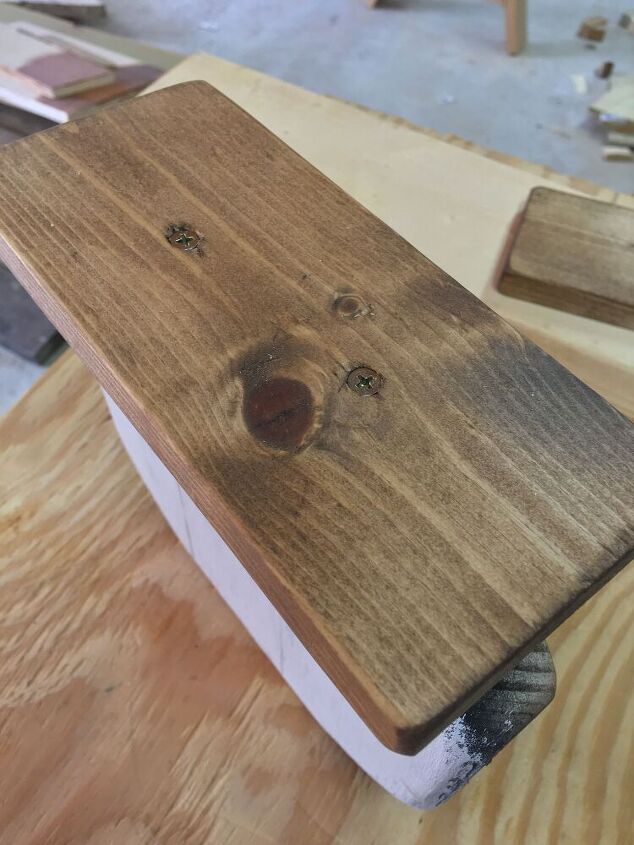
Get your two previously cut 1×4 boards. Attach the 8″ base to the 2×10 pumpkin using 1 1/4″ wood screws through the bottom of the 1×4. Repeat this step attaching the 6″ base to the 2×8 pumpkin. Handy tip-I used my Kreg Jig to clamp the pumpkin in place while I attached the base.
I also stained both bases but could be painted.
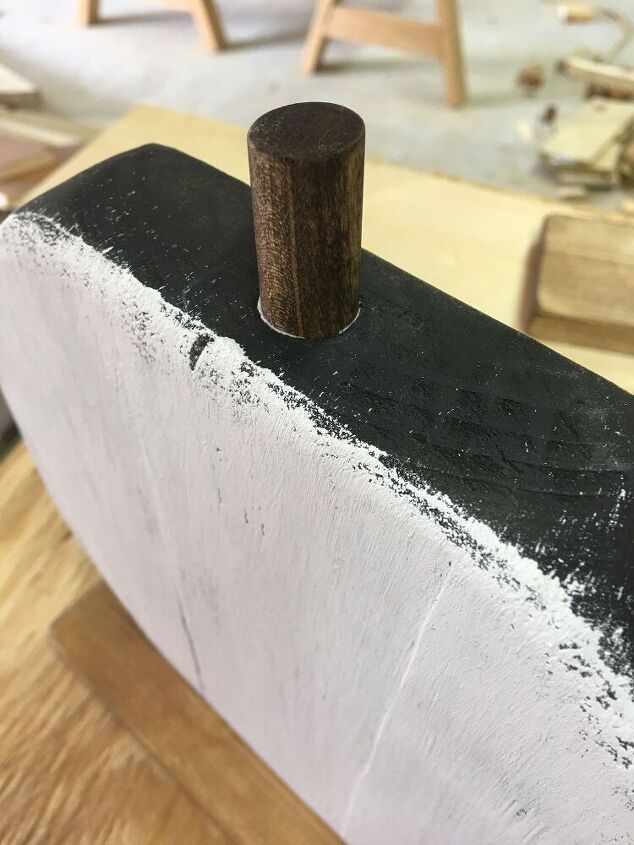
You can find wood dowels for about 98 cents at most local Walmart stores in the craft section. Cut two 2″ pieces to use later. Apply wood glue to the end of each dowel and inside the drilled holes then attach your dowels to the tops of each pumpkin. Wipe of any excess glue around the dowels and let dry.
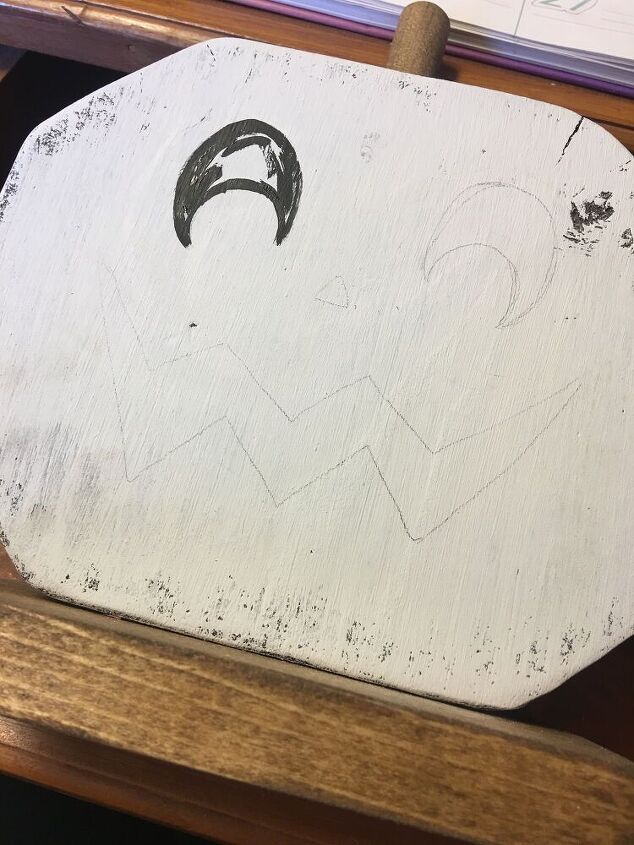
Now it’s time to bring these pumpkins to life with some faces! I just sketched out some faces in pencil before painting with black craft paint. These don’t have to be perfect. The great thing about jack-o’-lanterns faces is that they are perfectly imperfect.
After your paint is dry, distress all the edges and the faces by hand using 120-grit sandpaper. You also may want to seal these with poly if they are going to be outside.
Aren't they sweet? I already want to make some more!
For more details on this project, head to the blog.
DIY Halloween Decorations
Resources for this project:
See all materials


Comments
Join the conversation
-
What an awesome project! Thanks for sharing
-
Cute,! tks for sharing


Frequently asked questions
Have a question about this project?
What ever happened to orange pumpkins?
Was it just me? Or did anyone else see a smiling face in the first wood picture? Lol