


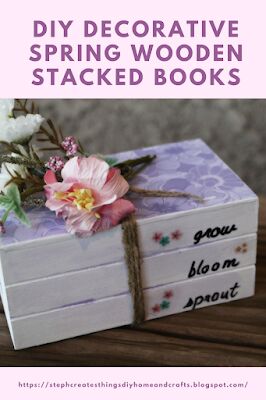
DIY Decorative Spring Wooden Stacked Books

Hello, and welcome to my blogging space! I've been creating a few Spring crafts, and this DIY project was a fun one. I created a Spring decorative wood book stack, and I'll admit it did not take much time to create, and my material list was simple. If you're ready, let's begin creating your very own wooden stacked books.
Video tutorial
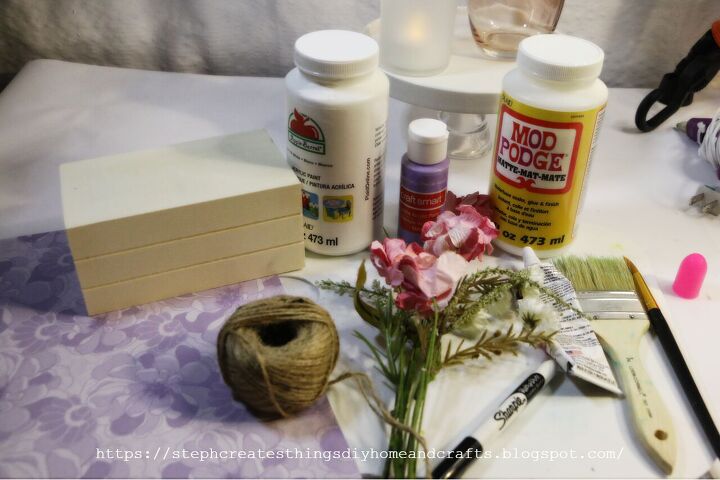
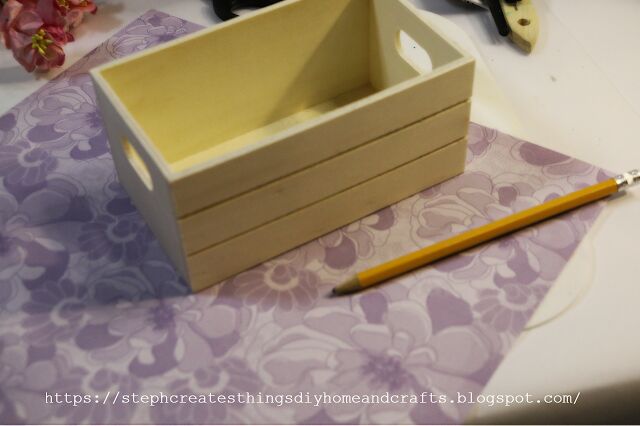
Start with taking your wood crate, and craft paper. Using your pencil, trace out the shape of your wood crate onto your craft paper.
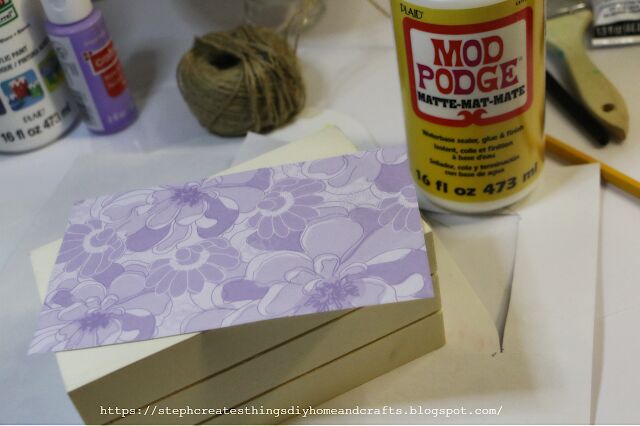
Next, use your scissors to cut out the traced shape. Once you have done this set your traced craft paper aside.
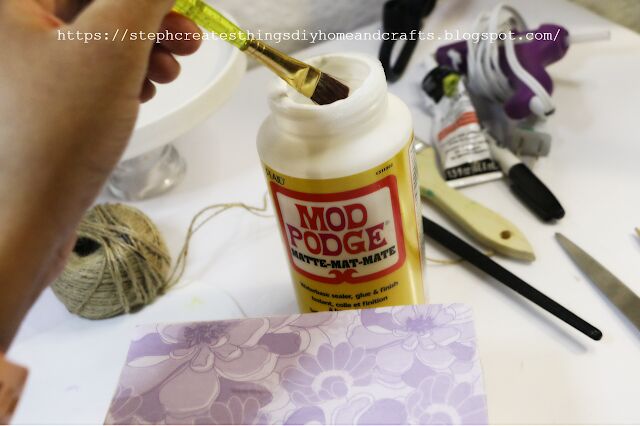
Take your wood crate, and using your paintbrush, add some of your mod podge onto the flat surface (which when flipped is the bottom side of the wood crate). Spread a thin layer of mod podge until that surface is completely covered.
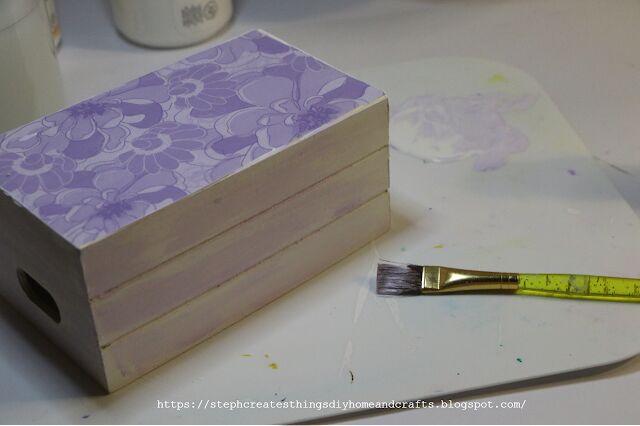
Once you have applied the mod podge, take the craft paper that you have cut to shape, and add that to the wood crate on top of the mod podge. Be sure to smooth out the craft paper. Once you have done that, take some mod podge, and add that to the craft paper. Be sure to spread it evenly, and remove any bubbles or wrinkles.
I used a heat gun to help speed up the drying process.
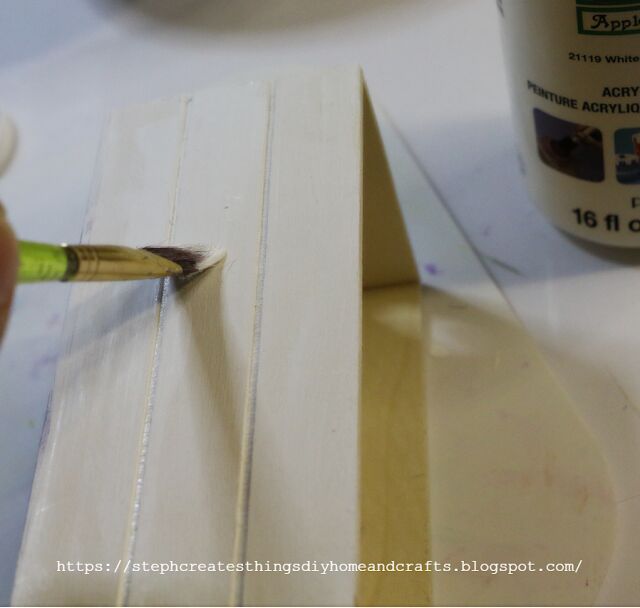
Next, take your white paint, and paint around the sides, and front of the wood crate. I applied around three coats of white paint.
Once you have applied your white paint, take your purple paint, and add just a little in with the white paint.
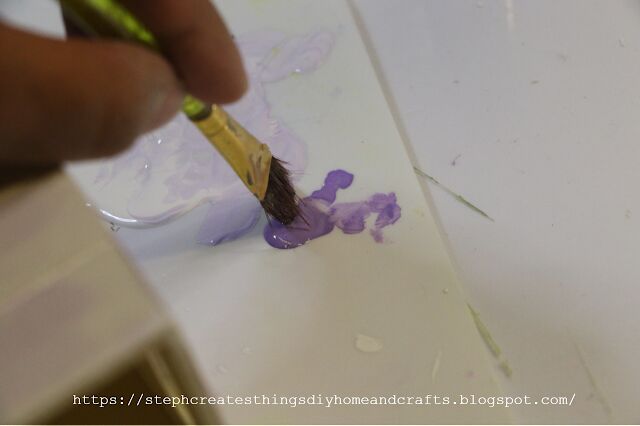
After you have mixed the two colors together, apply this mixture on top of the white paint.
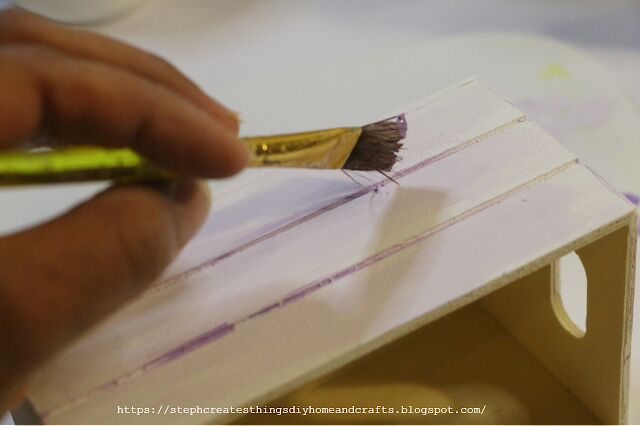
I did gentle brush strokes, and I also added some purple between the lines on the wooden crate.
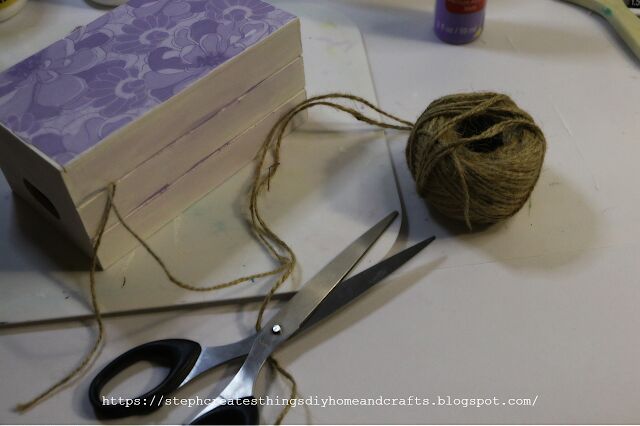
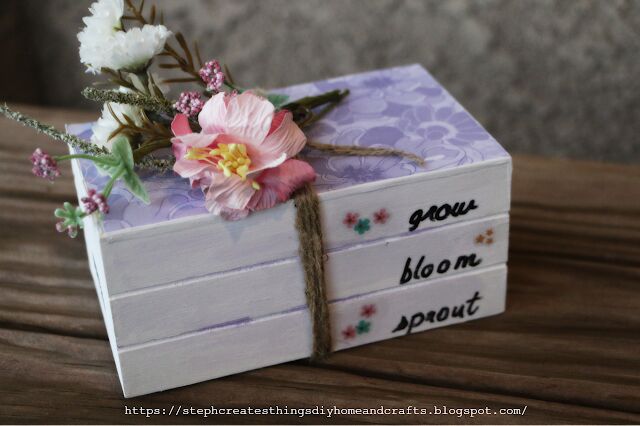
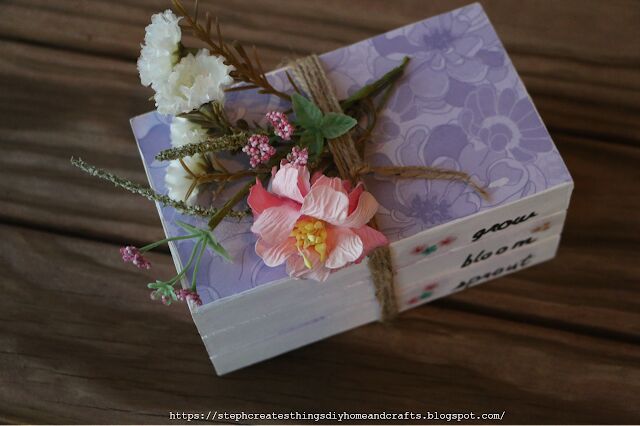
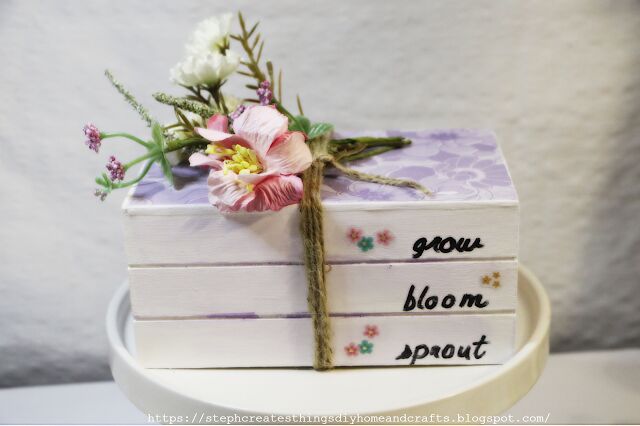
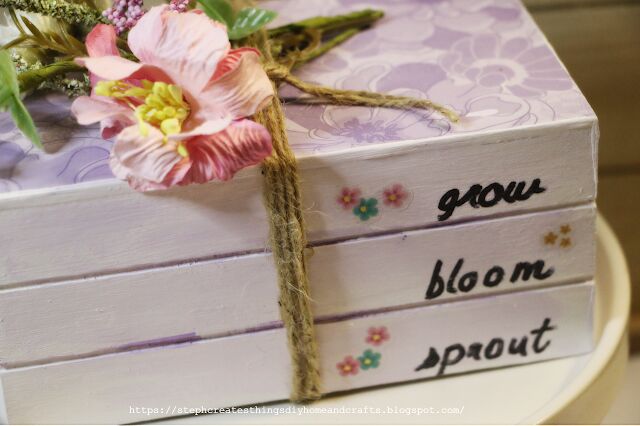
Now you're ready to take your twine and add your twine around your box.
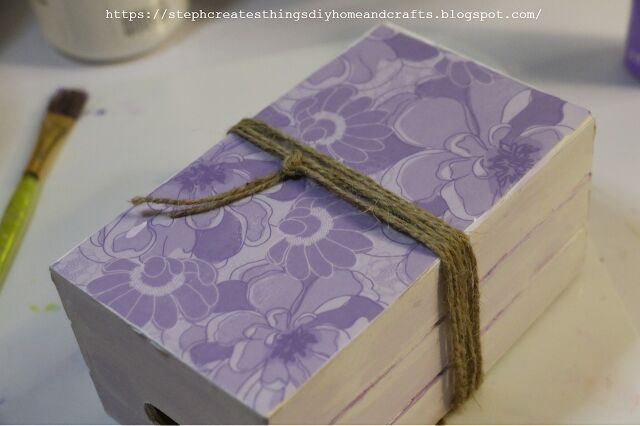
Take a few strands of twine, and wrap it around. Tie off your twine, and you're done.
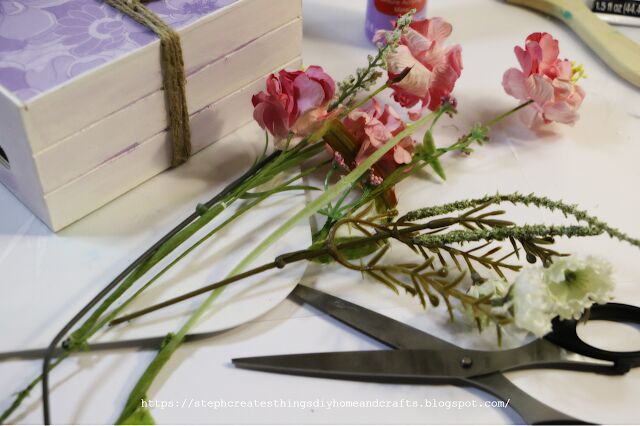
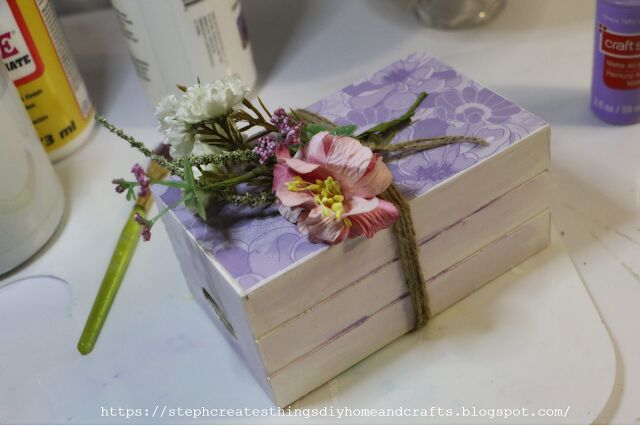
Next, take your assorted flowers, and cut to size, and add them on top of your book under the twine.

If you have a stencil on hand, take your stencil, and use your pencil to trace any letters or words on the front side of your box. I chose to add words on the right lower side of my box.
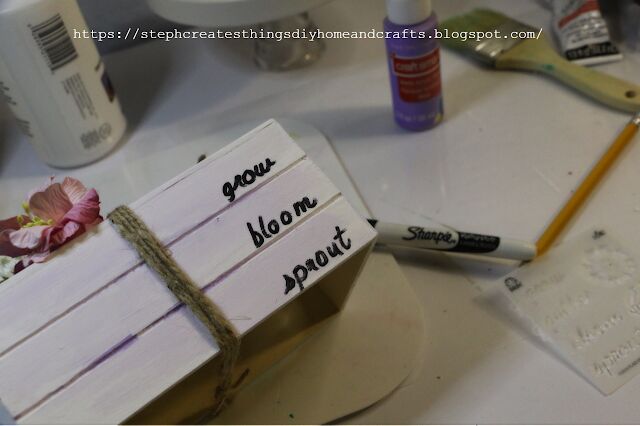
After, I used a permanent marker to trace my words.
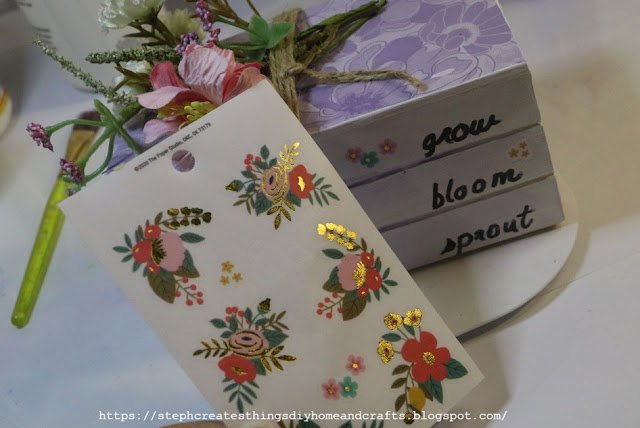
This last step is optional, but if you have any stickers you can add them to your wood books as well. I added a few that I had on hand.
And that's it. Your Spring wooden stacked books are complete. This looks adorable on a tiered tray, added along with other Spring home decor items.
Be sure to check out my other Spring crafts here--- List of spring crafts. Happy crafting! I'll see you soon.
And also be sure to check out my YouTube channel for more DIY and craft tutorials--- Steph Creates-DIY Home & Crafts
Pin/Share/Save
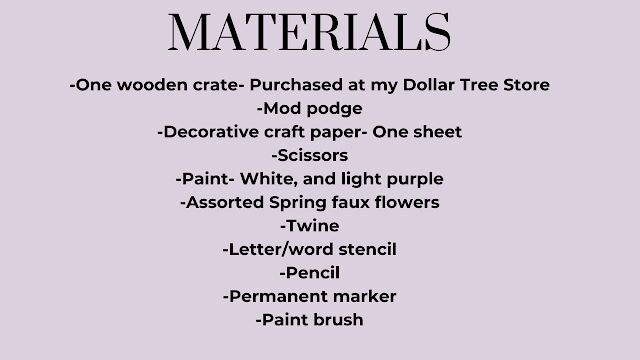
Resources for this project:
See all materials


Comments
Join the conversation
-
I love this idea; very cute & creative!
Thanks for sharing


Frequently asked questions
Have a question about this project?