


DIY Wood Bead Garland for Fall
Learn how to make a wood bead garland to use to decorate your home for fall.
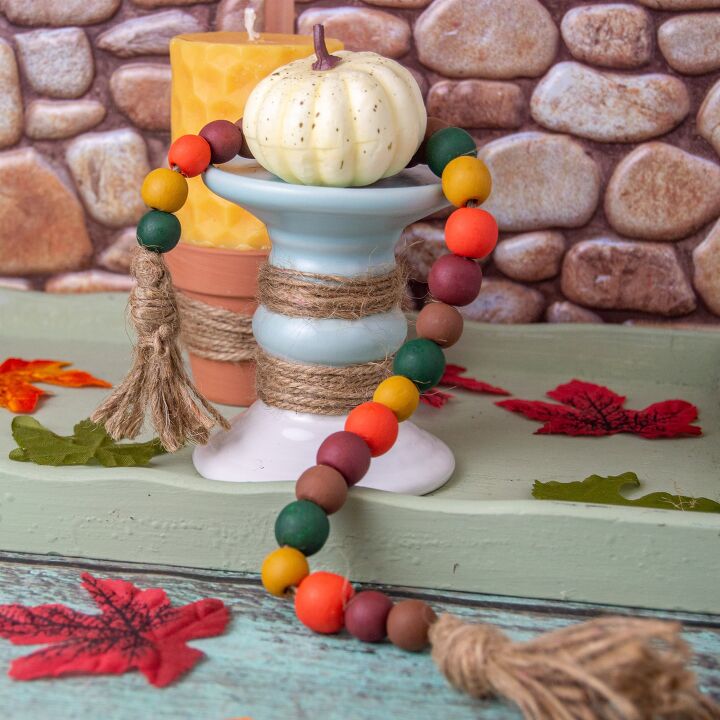
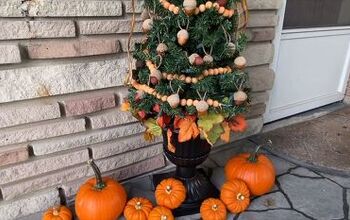
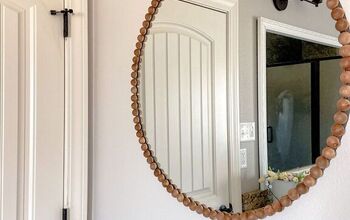
Wood bead garlands have been a hot home decor item for a few years. I love the look of a natural wood-colored garland but wanted to make a garland to use to decorate for fall.

These are the supplies needed to make this project:
- 20mm Wood Beads
- Craft Paint
- Twine
- Skewers
- Foam Brush
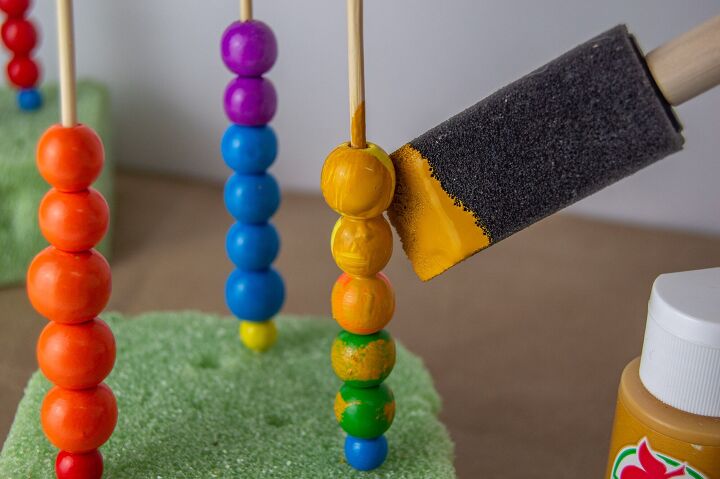
Paint beads and allow them to dry. Add more coats until fully covered, drying between each coat.
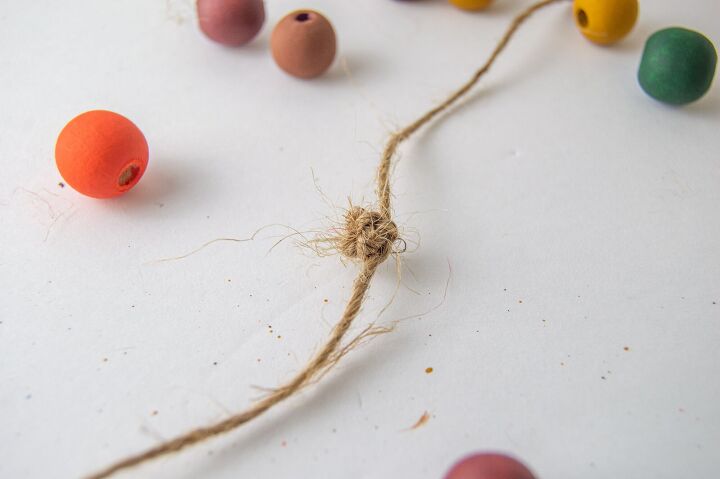
Cut about 2 feet of twine. Tie a few knots into the end of the twine, leaving about 3 inches hanging from the end. (Make sure the knot is larger than the holes of the beads so they don’t slide off.)

Begin sliding the beads onto the twine in a pattern of your choosing. Continue the pattern until you have placed all the beads on. Knot the other end. Cut off remaining twine, leaving about 3 inches at the end, and set aside.
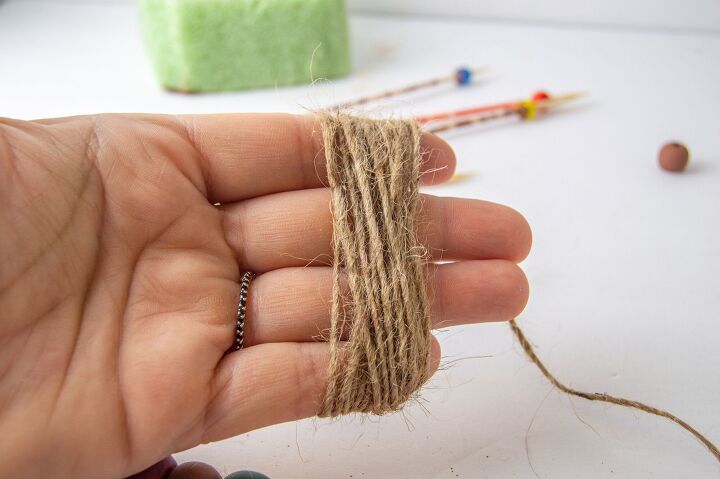
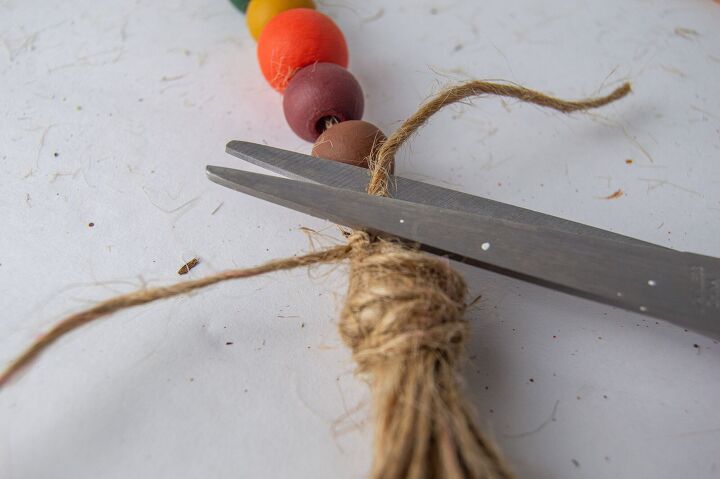
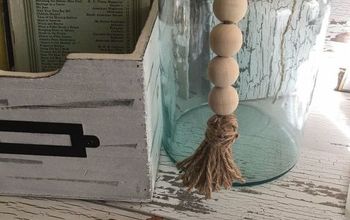
Make a tassel by wrapping twine around 4 fingers about 20 times and snip off the end.
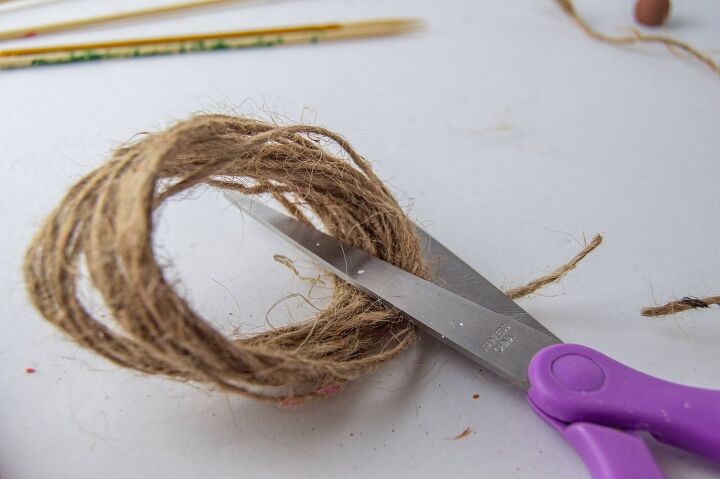
Slide off of your fingers and cut through one side of the circle of twine.
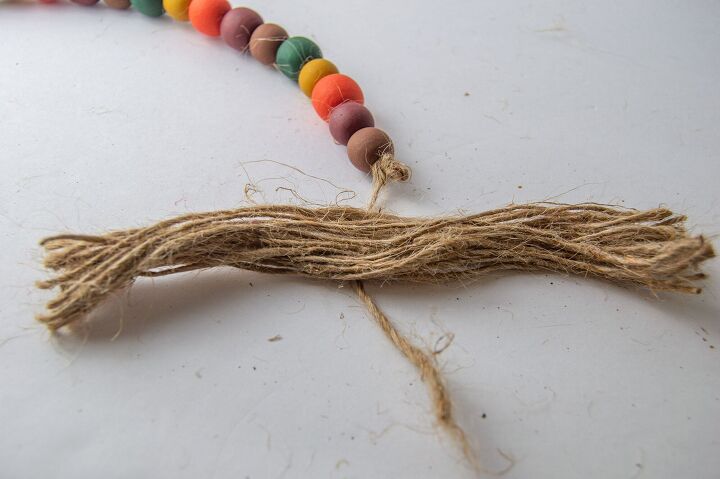
Lay garland down with the excess string straight out. Place the center of tassel strings across the top of the garland string.
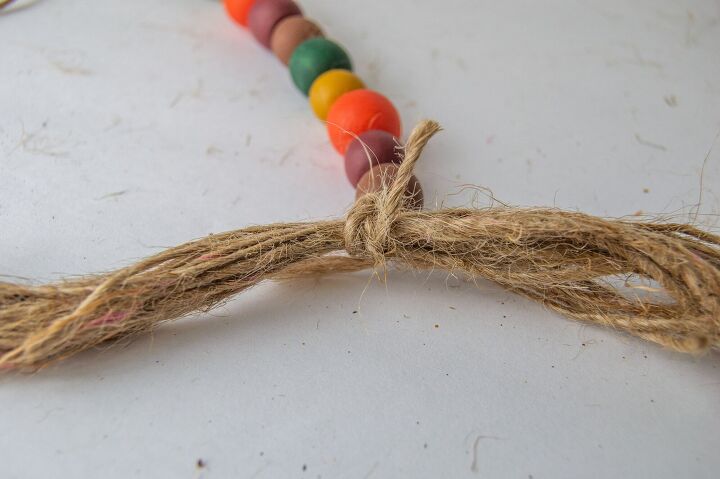
Use the excess garland string, tie a knot around the tassel strings a few times to secure.
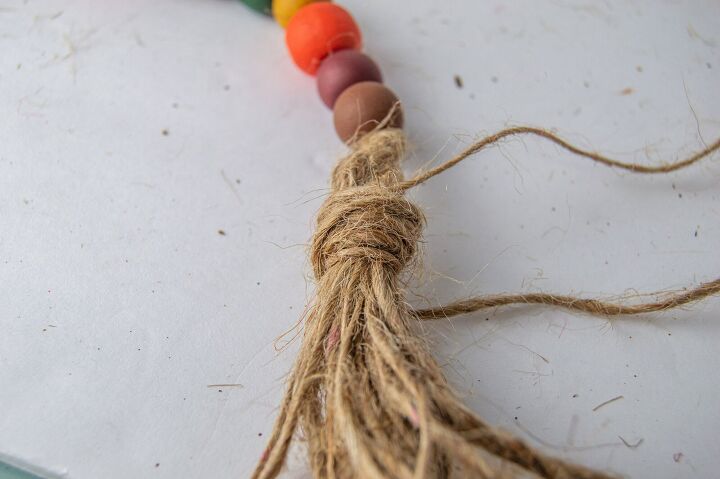
Pull all of the strings together, wrap twine toward the top about 10 times, and tie a few knots to secure.
Snip off ends.
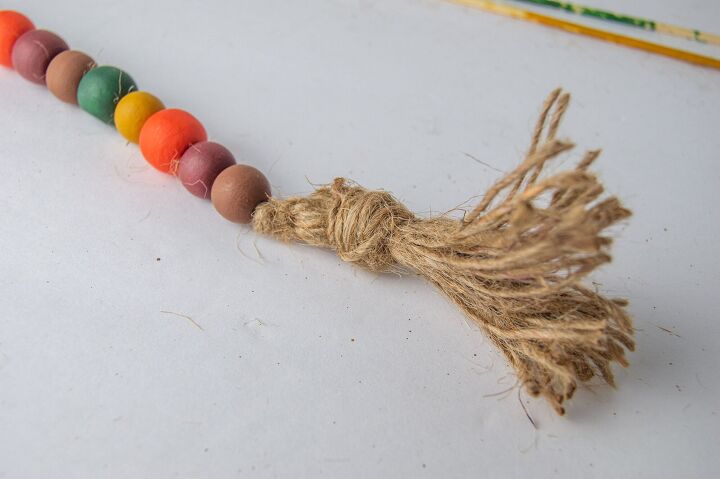
Eyeball how long you want your tassel to be and trim the ends.
Repeat making and placing another tassel on the opposite side.
Resources for this project:
See all materials


Frequently asked questions
Have a question about this project?