


Tropical Summer Wreath - Tips on How to Make the Perfect Wreath

One of my favorite things to craft are wreaths. I just love how creative you can be when making one. You can make one using just about anything. Over the years I have learned a few tips and tricks when making wreaths. Below I will walk you through the method that I find works the best for creating the perfect wreath!
For this wreath I used some faux silk flowers and greenery on a grapevine wreath. A friend of mine generously gifted me the flowers and at fist I wasn’t sure what to do with them, as they aren’t necessarily my style, but in the end I just love how they turned out on the wreath. I think it still keeps that classic traditional look that I like while incorporating some fun tropical foliage.
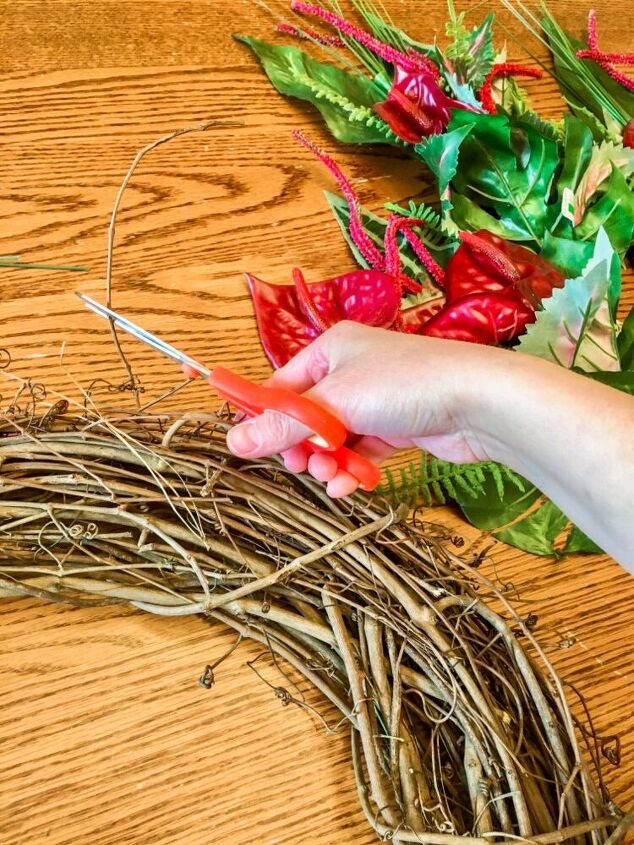
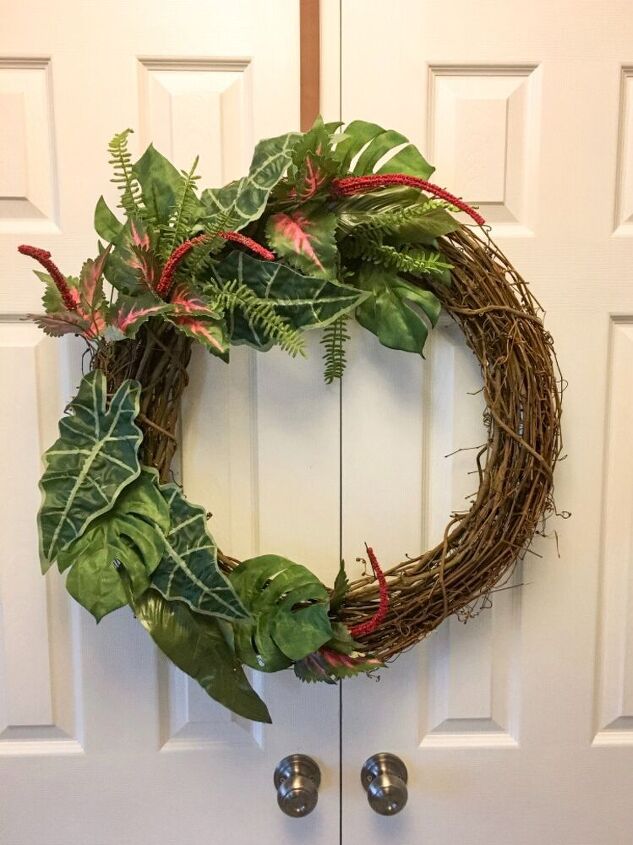
The first thing that I like to do when working with a grapevine wreath is to trim some of the branches. I like the wispy look they give to the wreath but the ones sticking straight up on the front of the wreath I trim off in order to have a flat surface to work on.
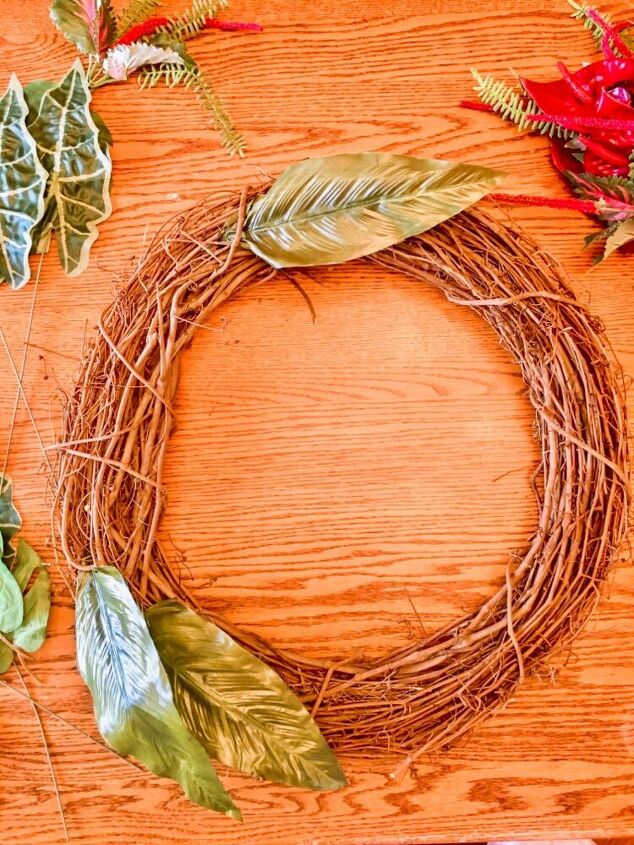
The next thing that I do is sort out all of my flowers and greenery into four piles: large leaves, flowers, long branches/grasses, and accent pieces. Once everything has been sorted I use the large leaves first and place them as a base for where the rest of my greenery will go. I am planning on only covering 3/4 of my wreath with the foliage, but if you want to cover the whole wreath make sure to evenly space out the larger leaves.
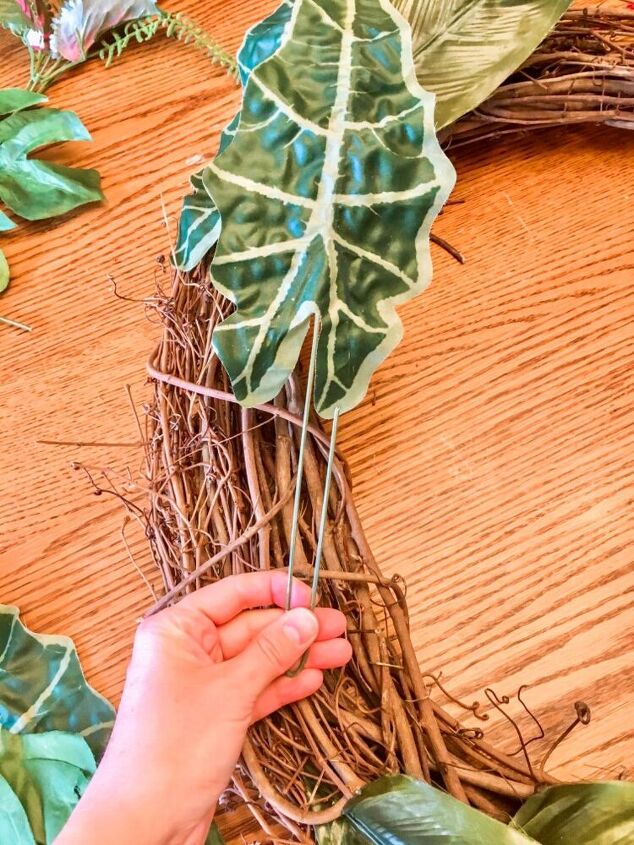
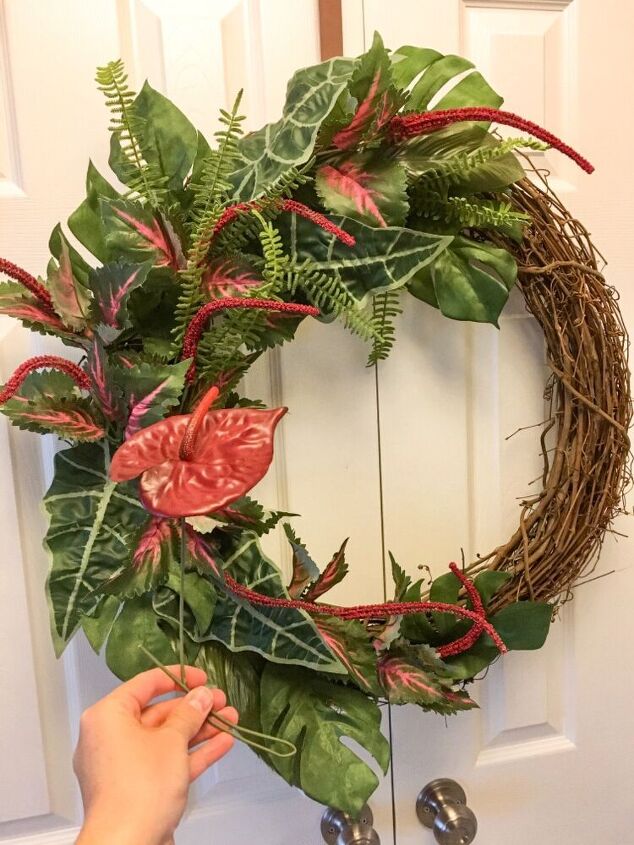
I like to bend up the bottom of the wire before putting it on the wreath to ensure a more secure hold. All you do is push the wire through the wreath where you want the stem to go. By not gluing on the stems just yet it allows time to rearrange any pieces if needed.
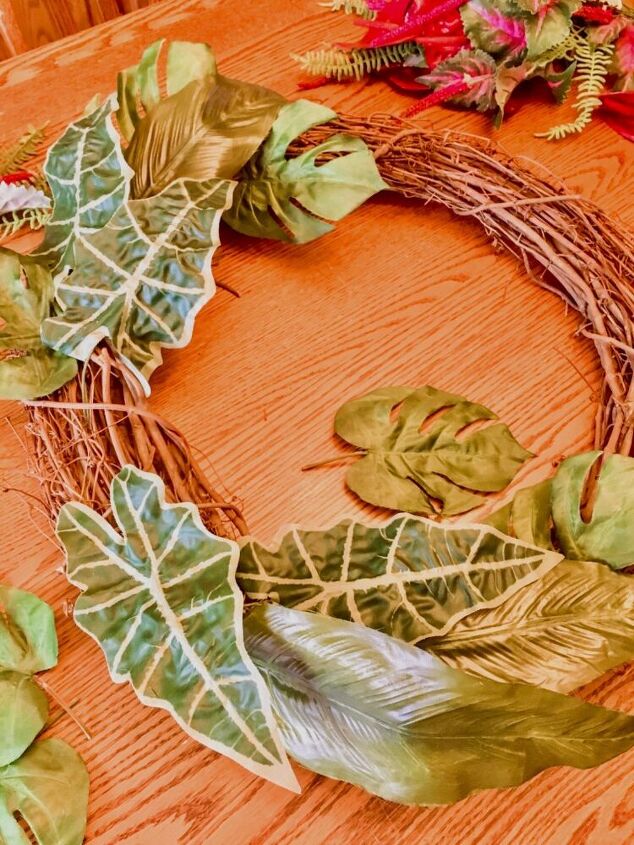
As you can see here in this picture I like to work from the outer edges towards the center of the wreath. I find that this helps make the wreath look balanced and all the leaves point nicely in the right direction. I am going for a very full look here so I layered a few leaves to give it that extra dimension.
When all of the big leaves have been placed, I like to hang my wreath up and work on it that way. I find that I get a better view, as well I can see how some of the longer stems will hang/ drape when the wreath is actually hung on my door. During this step you will attach the smaller leaves, flowers and any long stems that you have. You might have to play around with it a bit and adjust a few pieces to get it looking just how you want it, but I find this part to be the most satisfying.
Finally it’s time to add in those few special accent pieces. In this case I used these heart shaped flowers. As this is an accent chose only a few evenly spaced out so that they will stand out. You could also consider using a pretty bow or a wooden initial as your accent. Anything goes really!
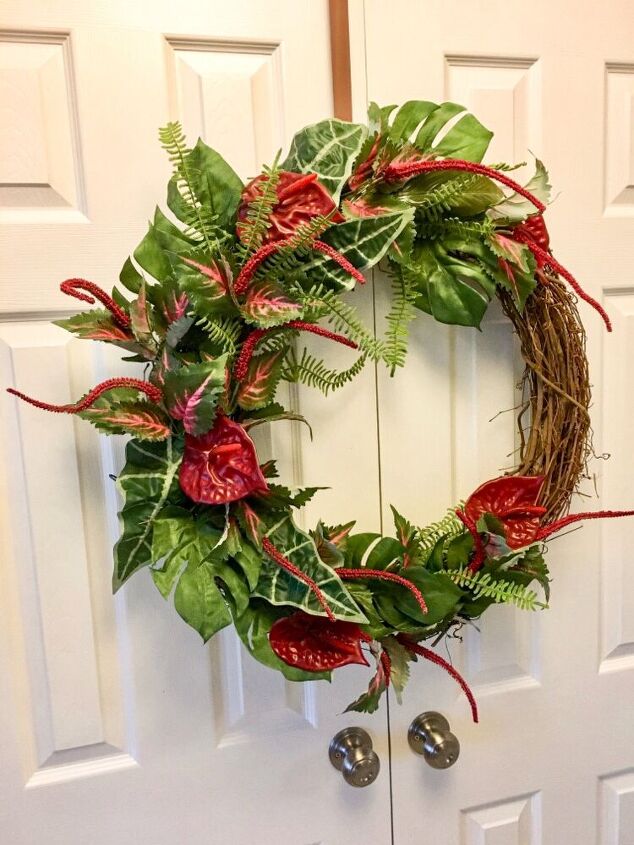
Once I am happy with the placement of everything I will go back in with a glue gun to secure some of the larger stems/ heavier flowers. Usually everything is already very secure since I like to bed the wire, but this just makes sure everything stays put.
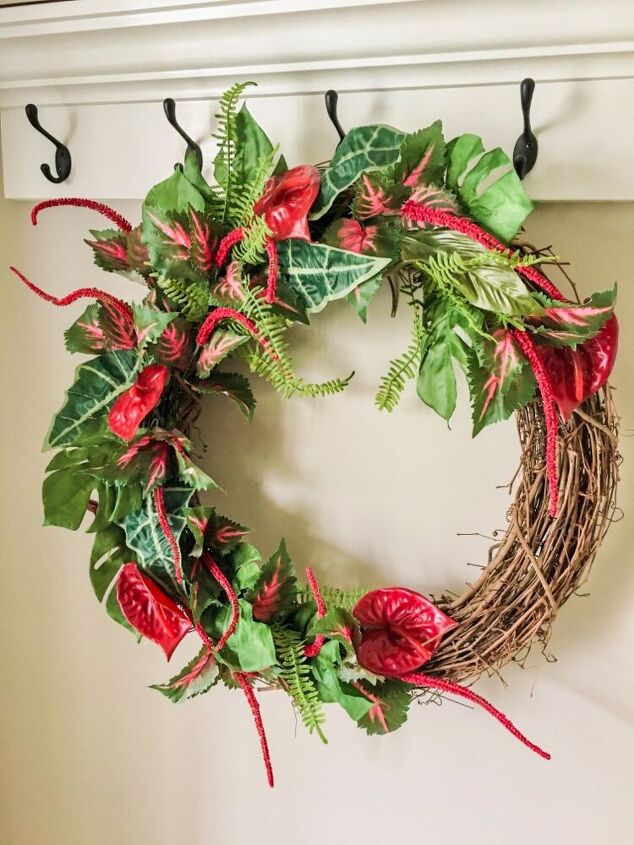
Even though I wasn’t sure about these flowers at first, I am so pleased with how this wreath turned out and I can’t wait to hang it up on my front door this summer.


Comments
Join the conversation
-
Lovely adds color to our front door.
-
What a unique look! Love it!


Frequently asked questions
Have a question about this project?